


Been a lurker for 10 years now, try to do everything myself, and have never posted on a forum. Finally made an account to document the first
 build.
 As of now this is just the bottom end (completely stock head), some supporting mods, and my Eurodyne experience.
End goal is a 2008cc stroker with oversize valves paired with a twinscroll G30-770.

Short story of the Zephyr
After owning a 5 Speed B5 A4 1.8t, MK1 TT225, and 6 speed B7 A4 Avant 2.0 and falling in love with the 1.8t, I decided to get a tiptronic B7 S4 (horrid). After a year I wanted out and decided to buy a 6 Speed B6 A4, online, from Copart that looked decent for $800. Figured I could put some work into it for that price. Gets delivered, windshield has a small crack from driver to passenger side, no exhaust after the downpipe (perfect), broken glovebox, and some rust over the rear wheel well. They were crafty with the pictures so I didn't notice. For the price and some reason I loved it immediately.
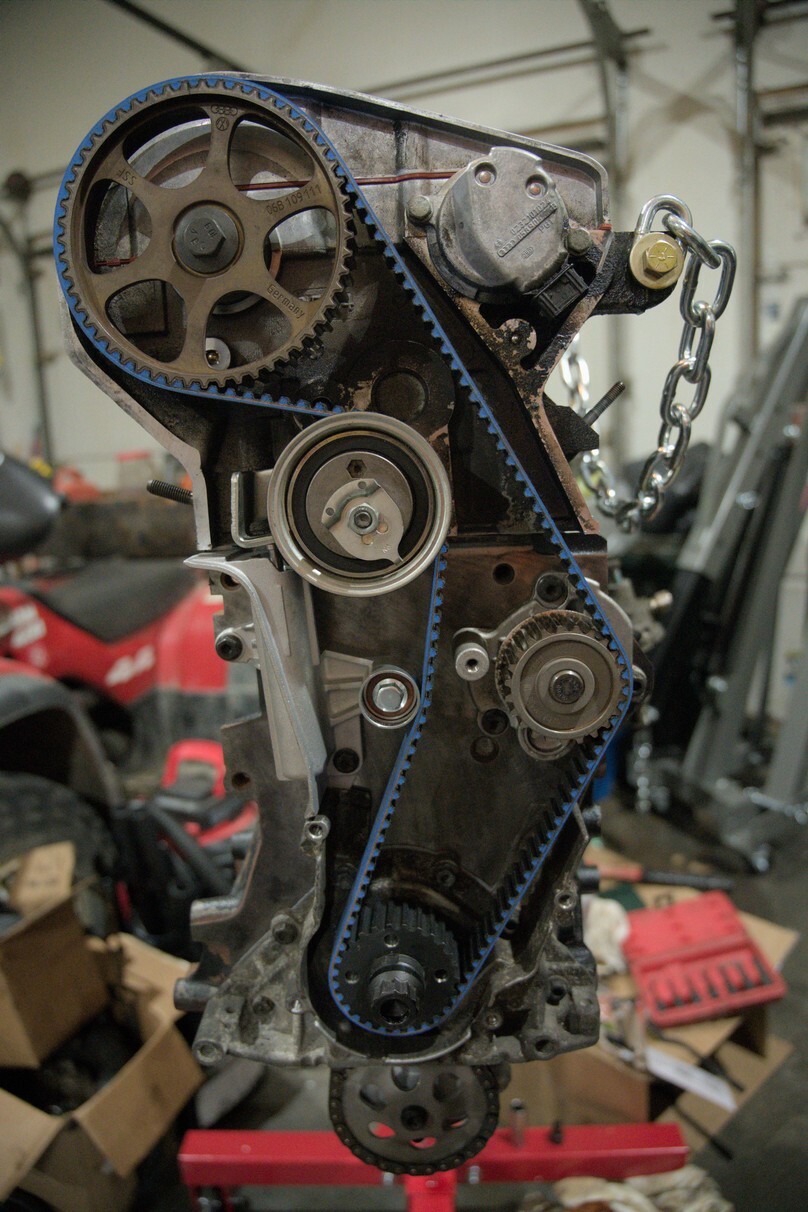
Fixed her up (minus rust) and did the timing and she didn't need a thing for 2 years. Then one day, after wanting to go big turbo since my TT, I said f**k it. Never pulled an engine or built one but in the beginning of November 2022 I bought the parts and pulled the engine.
The goal for Project Zephyr is to find a nice southern Avant to swap everything over to and create a DD sleeper while keeping the entire vacuum system modified but stock.
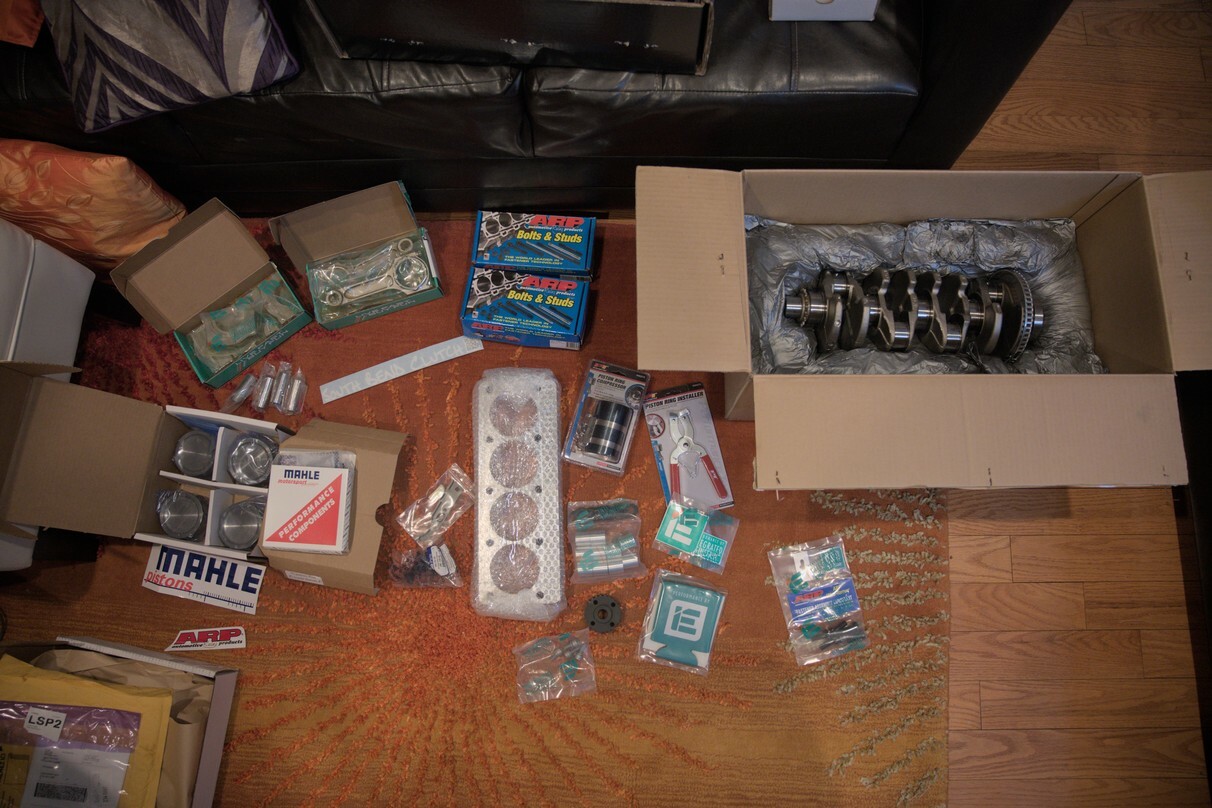
Parts That Matter
- IE crank
- IE Mahle Pistons
- IE Tuscon rods
- TT225 Injectors (for now)
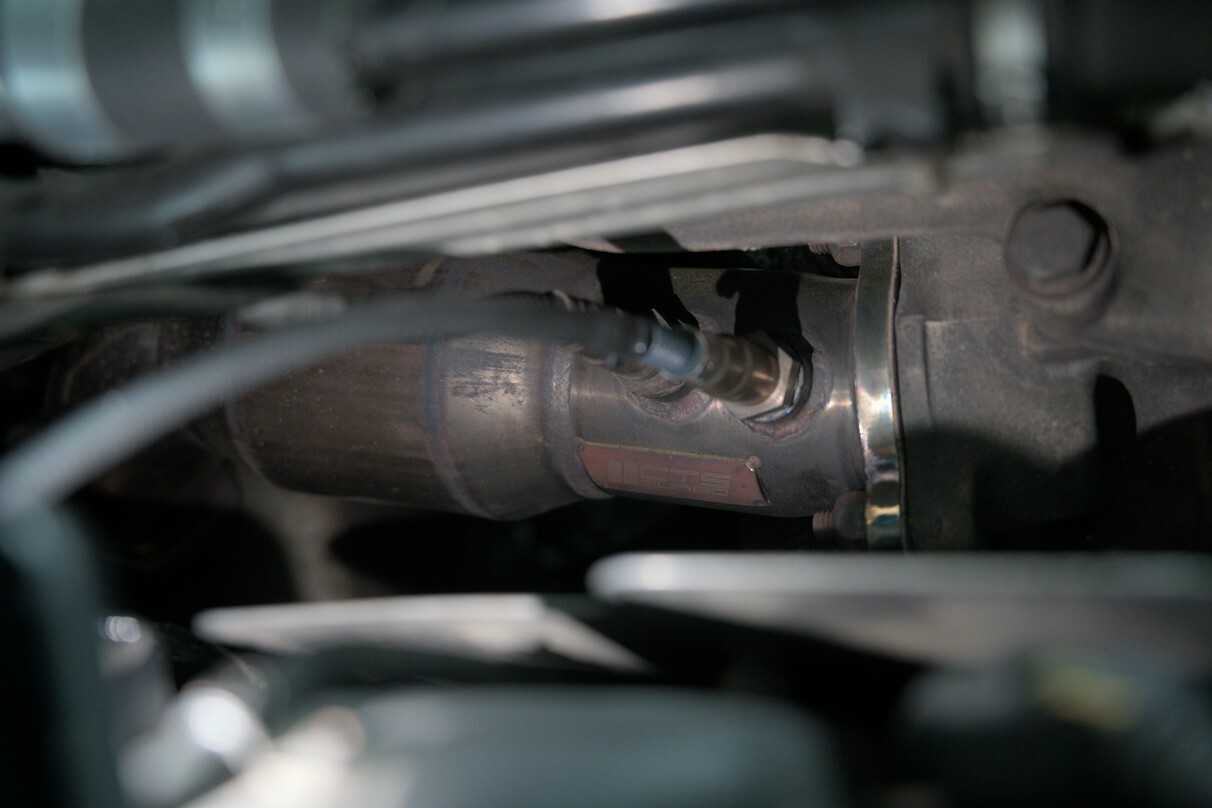
- CTS High flow cat (for now)
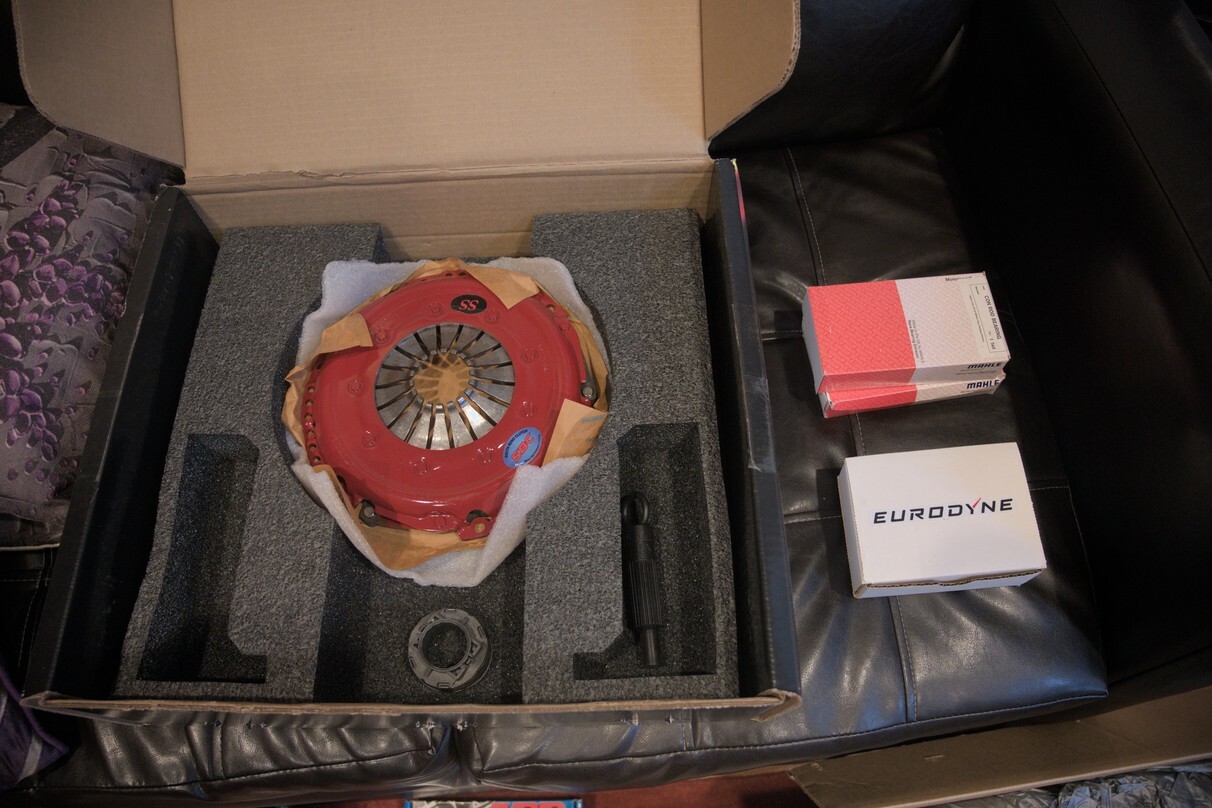
- Southbend Stage 3 Endurance clutch (kept stock flywheel, for now, not sure if I like it)
- IE Street/Race Cams (uninstalled, Black Friday deal lol)
- Ignitron
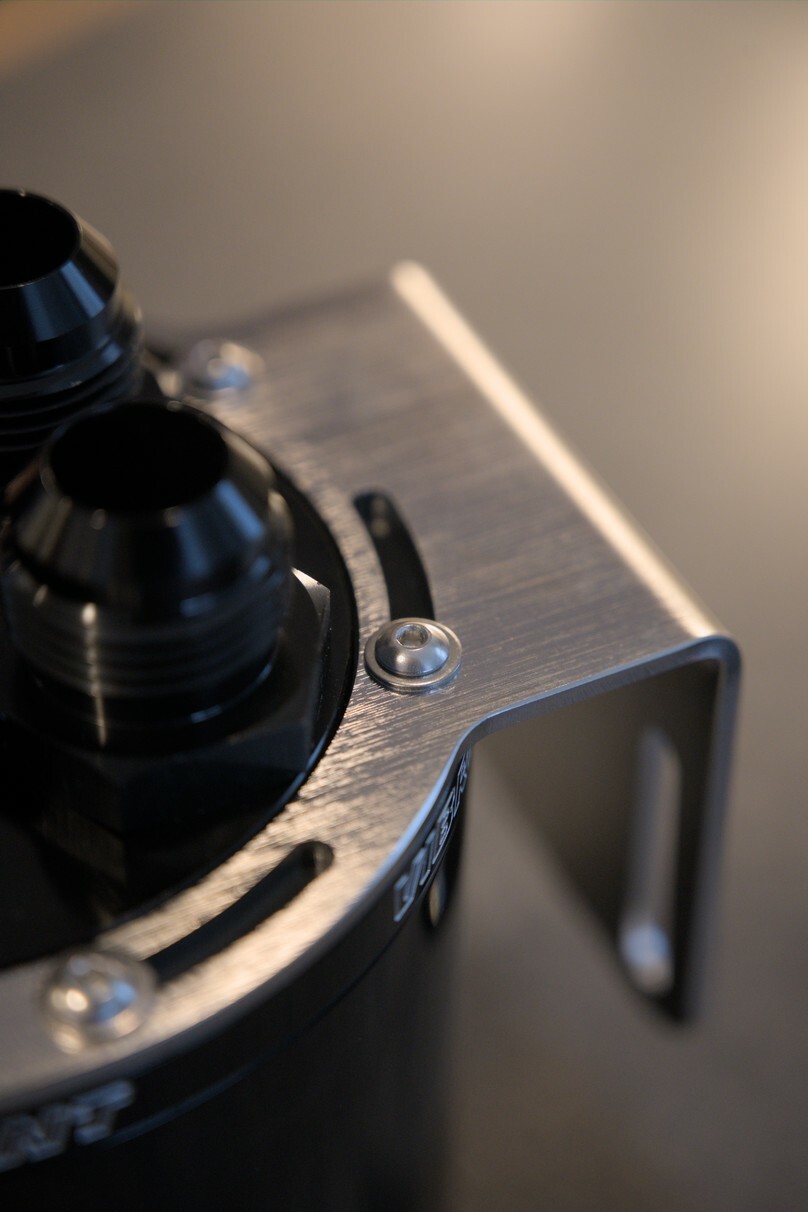
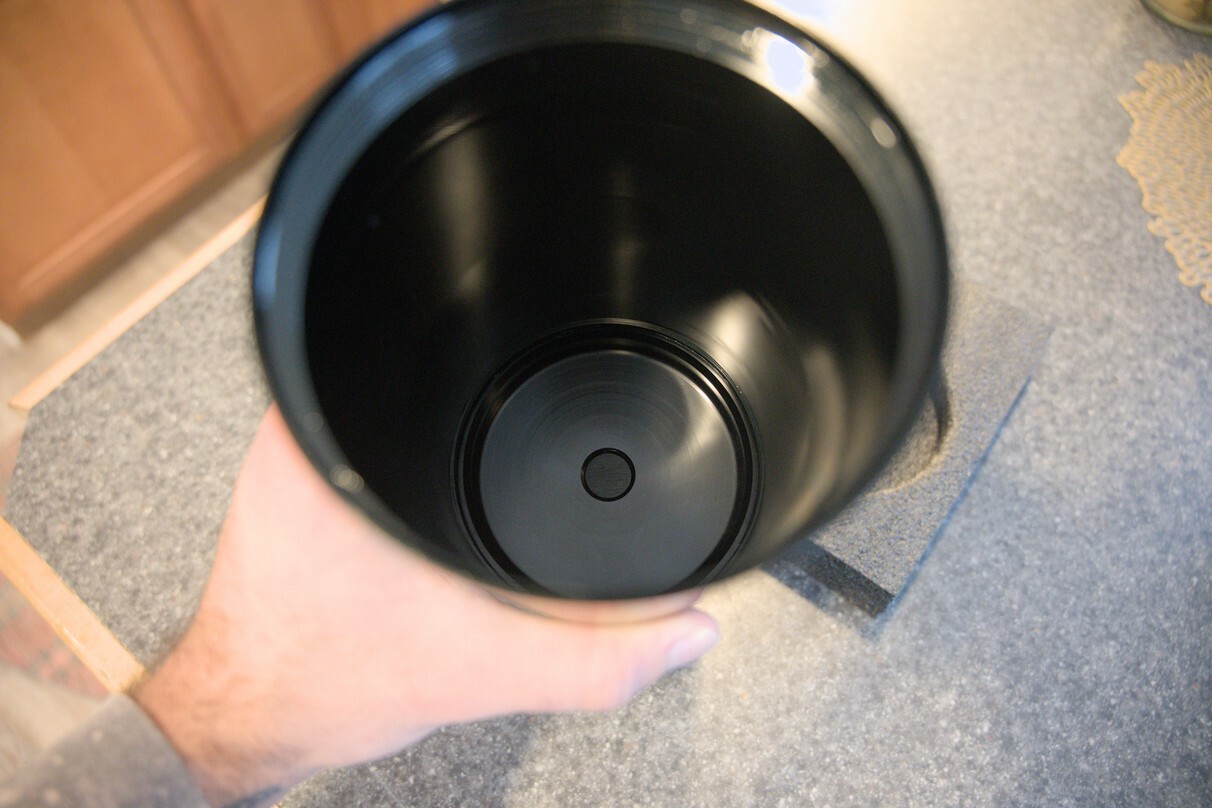
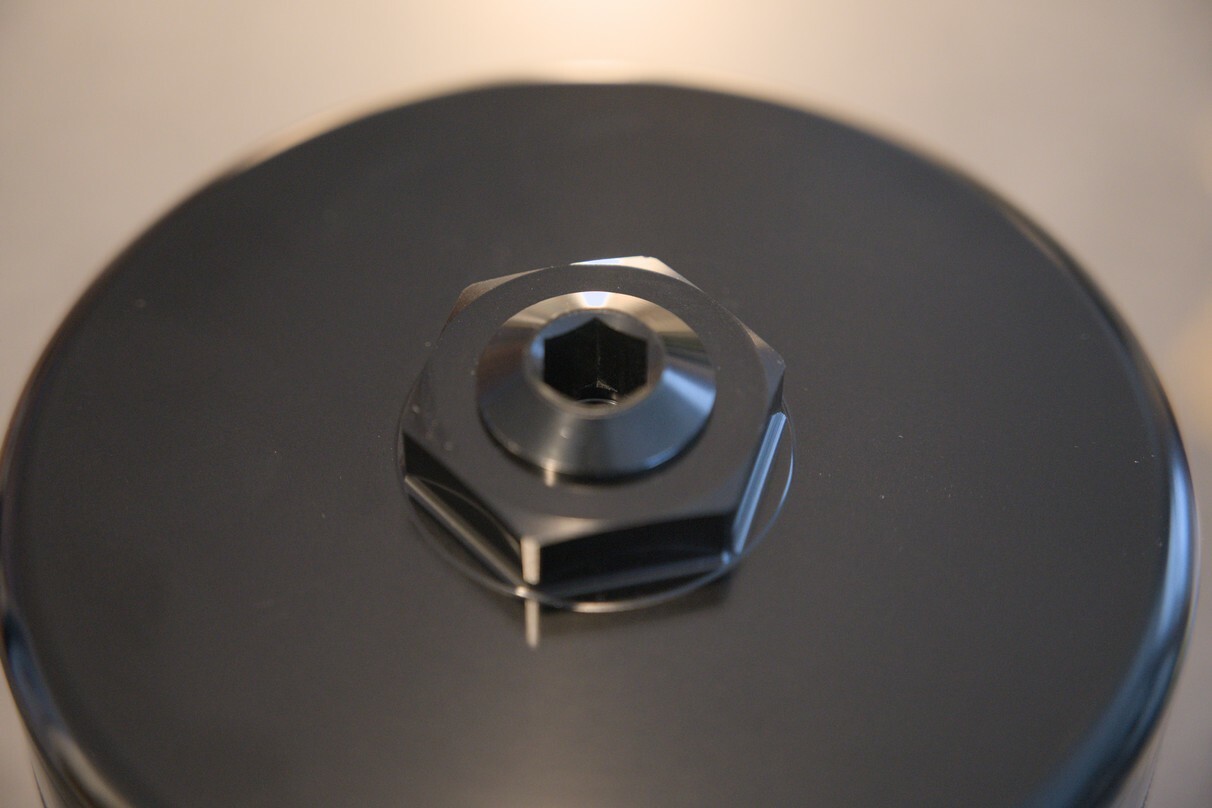
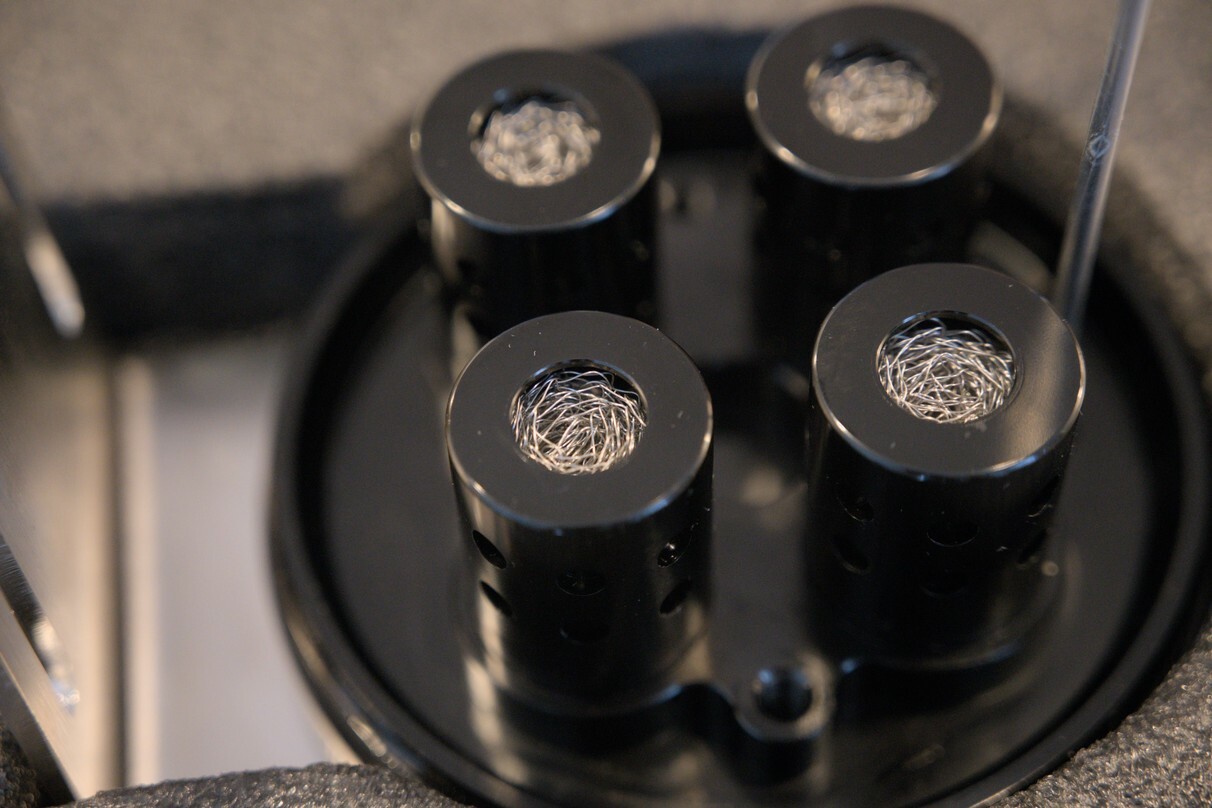
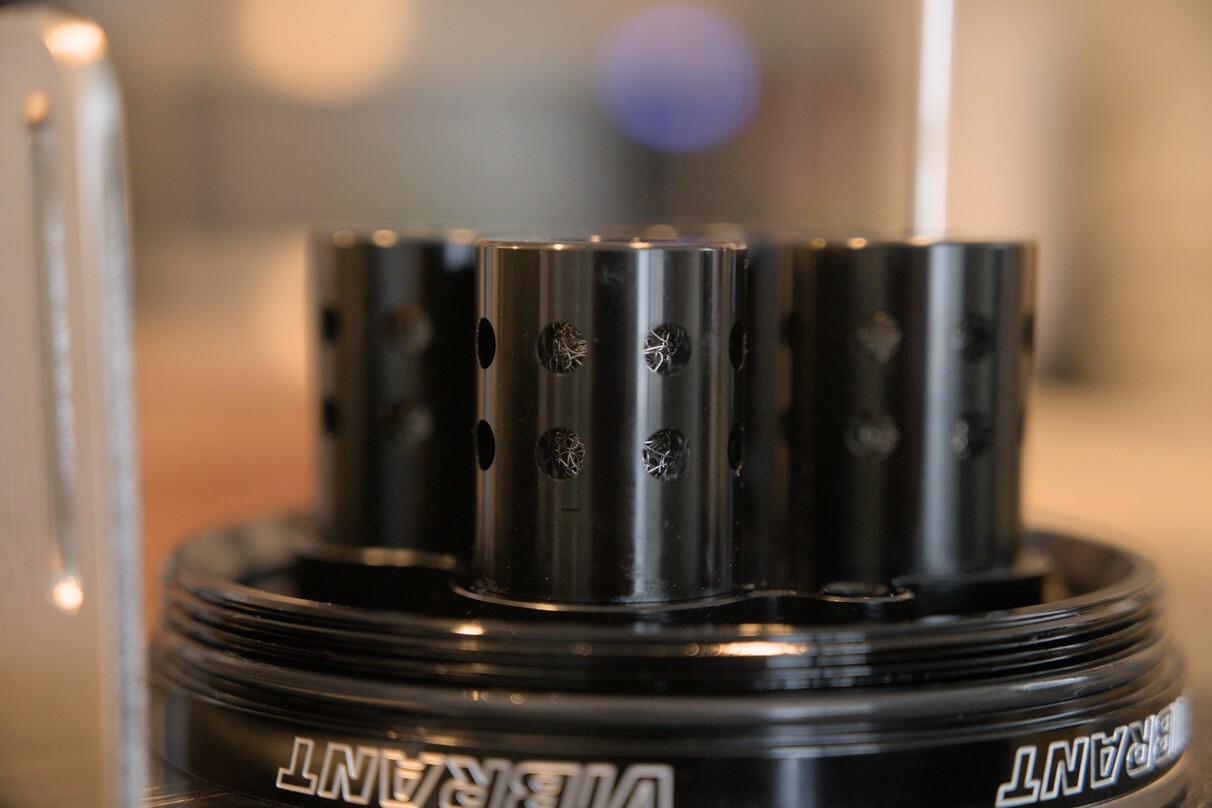
- Vibrant Performance Gen 3 Catch can (this thing is a work of art)
Speaking of the catch can, bask in its glory. I have to say this has to be one of the best catch cans ever designed.
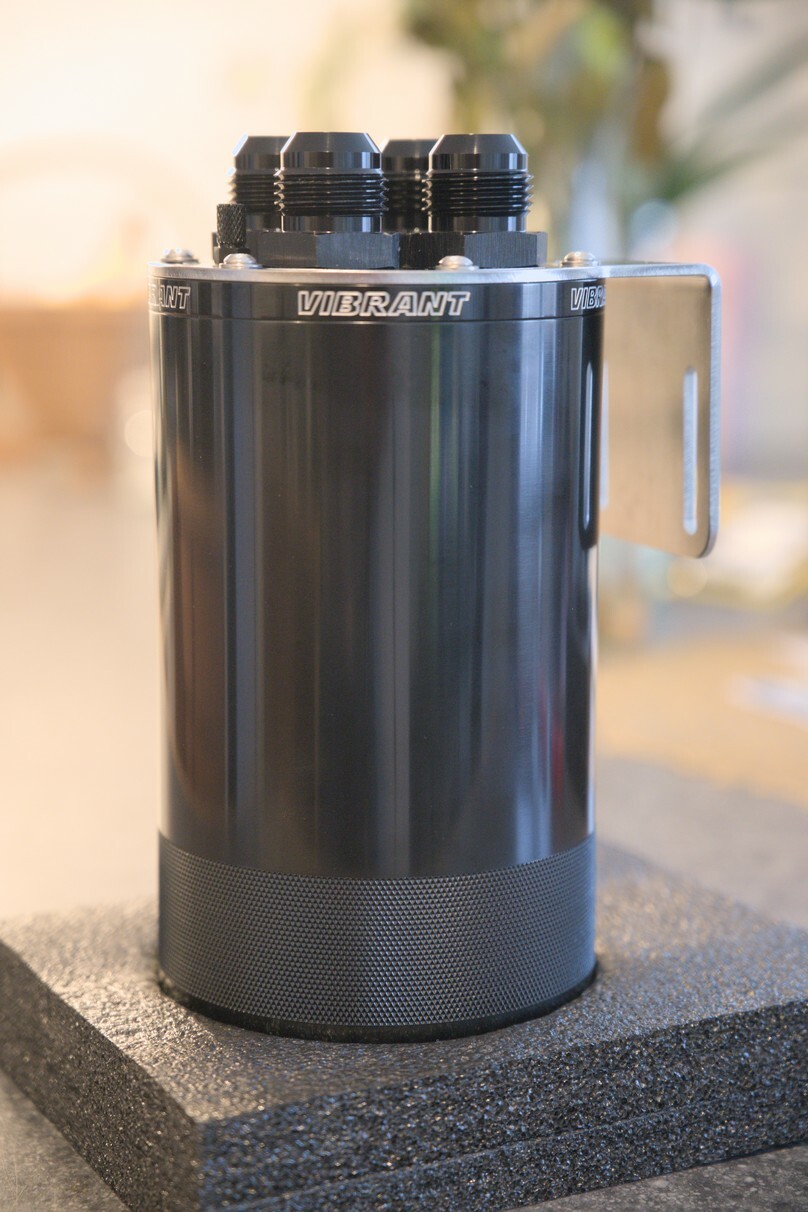
I went with the medium for some ridiculous reason and probably won't have to drain it for 50k miles
 If I did it again I would probably get the small size to make mounting it easier.
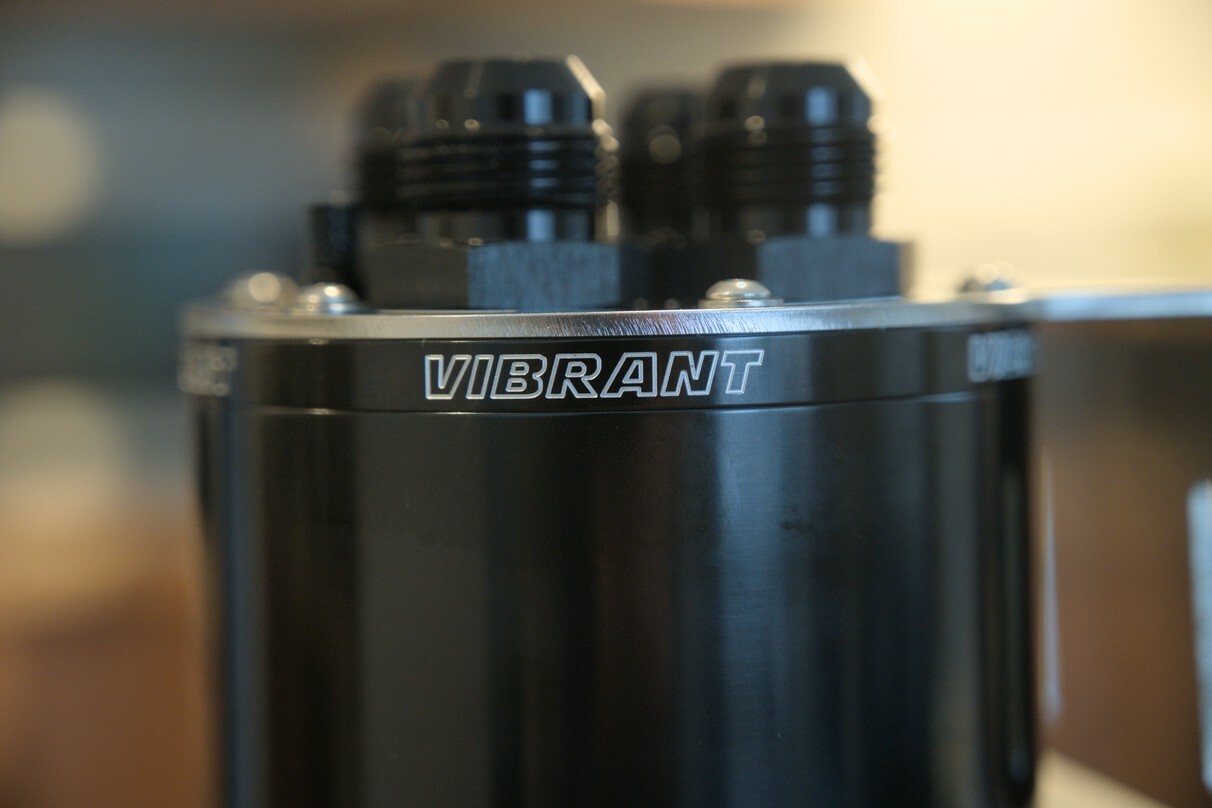
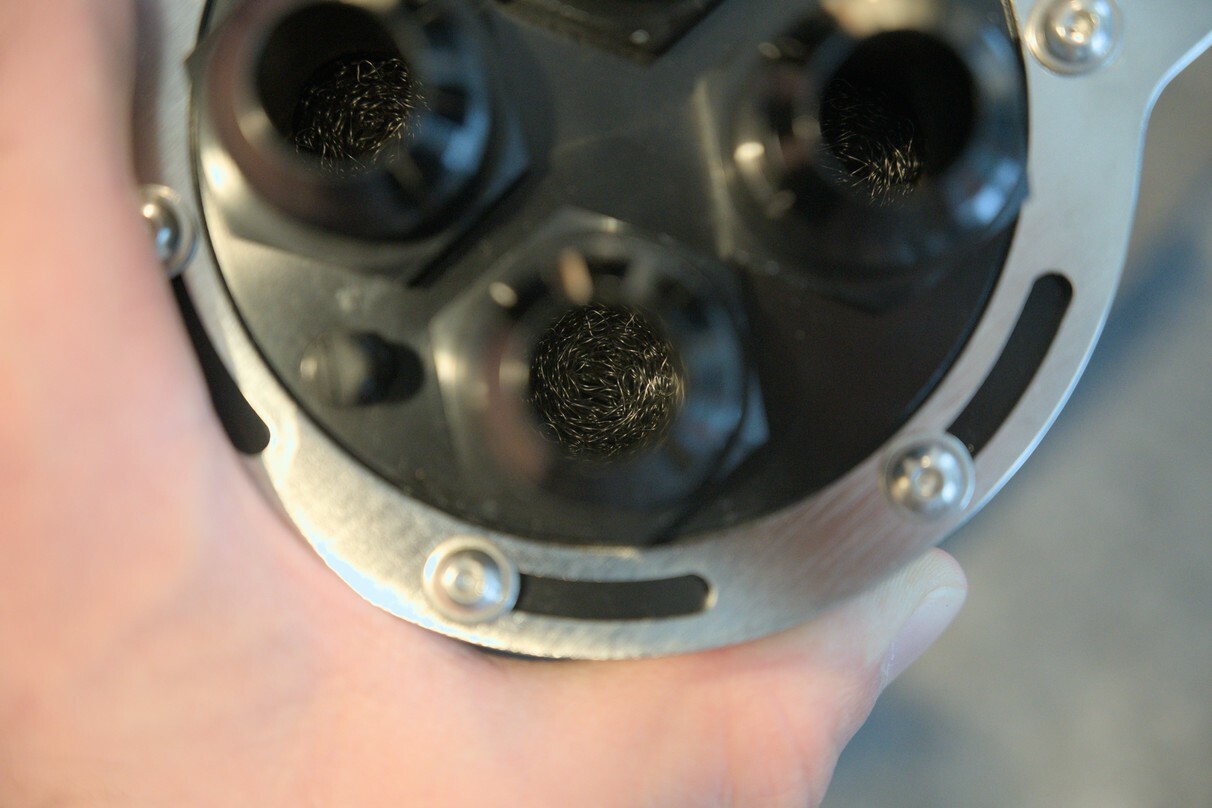
I also opted for the -12 version, there were also -10 available when I purchased it. There are also 2 port versions with a vent to atmosphere, has its place but not on our cars. I just capped off two of the ports.
I also forgot to take a picture of the slosh baffle. You can see it in the video in the link.
If you're wondering how I fit a 1.5L catch can in a 1.8L engine bay, its tucked quite nicely under the coolant reservoir. Just used two self tapping screws.
It does have a drain kit for $50 that I didn't realize until after I installed it. I'll install that when I empty it for the first time.
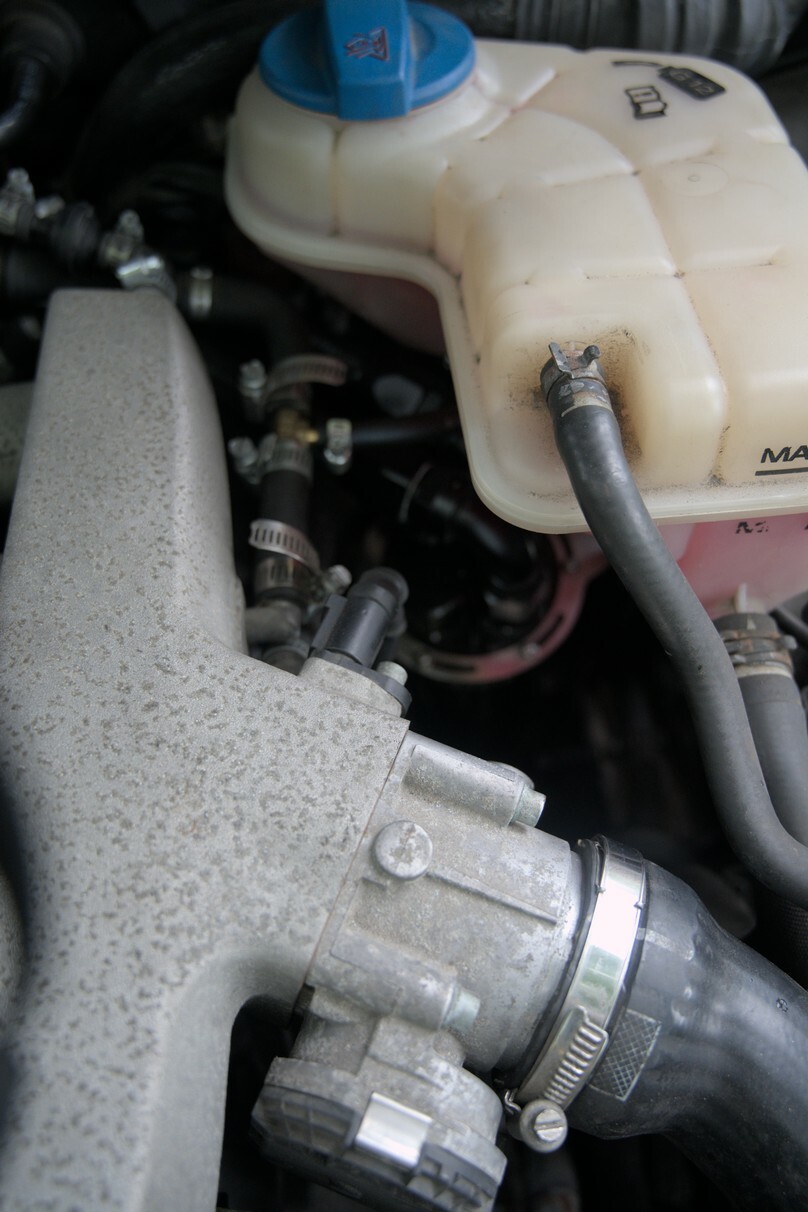
I cut the hard pipe and changed the orientation of the PRV and used two 1" to .75" couplers to connect the -12 to the stock parts.
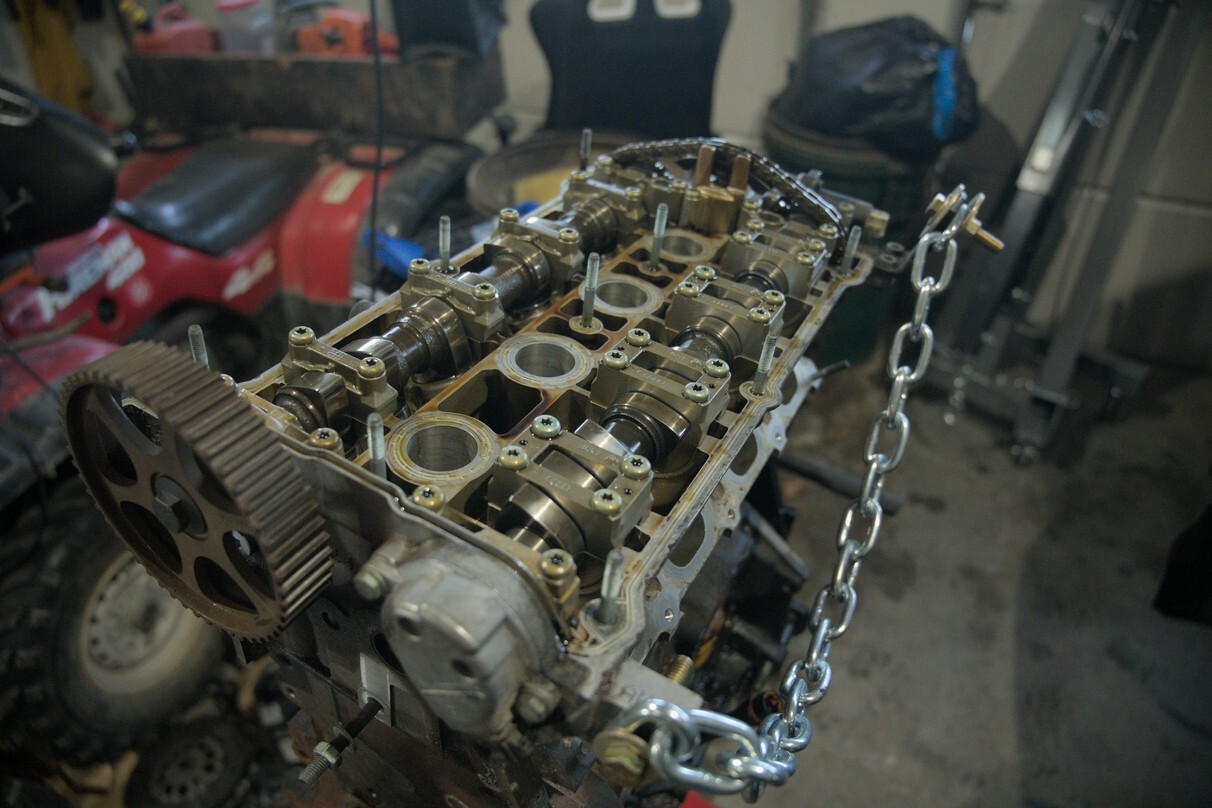
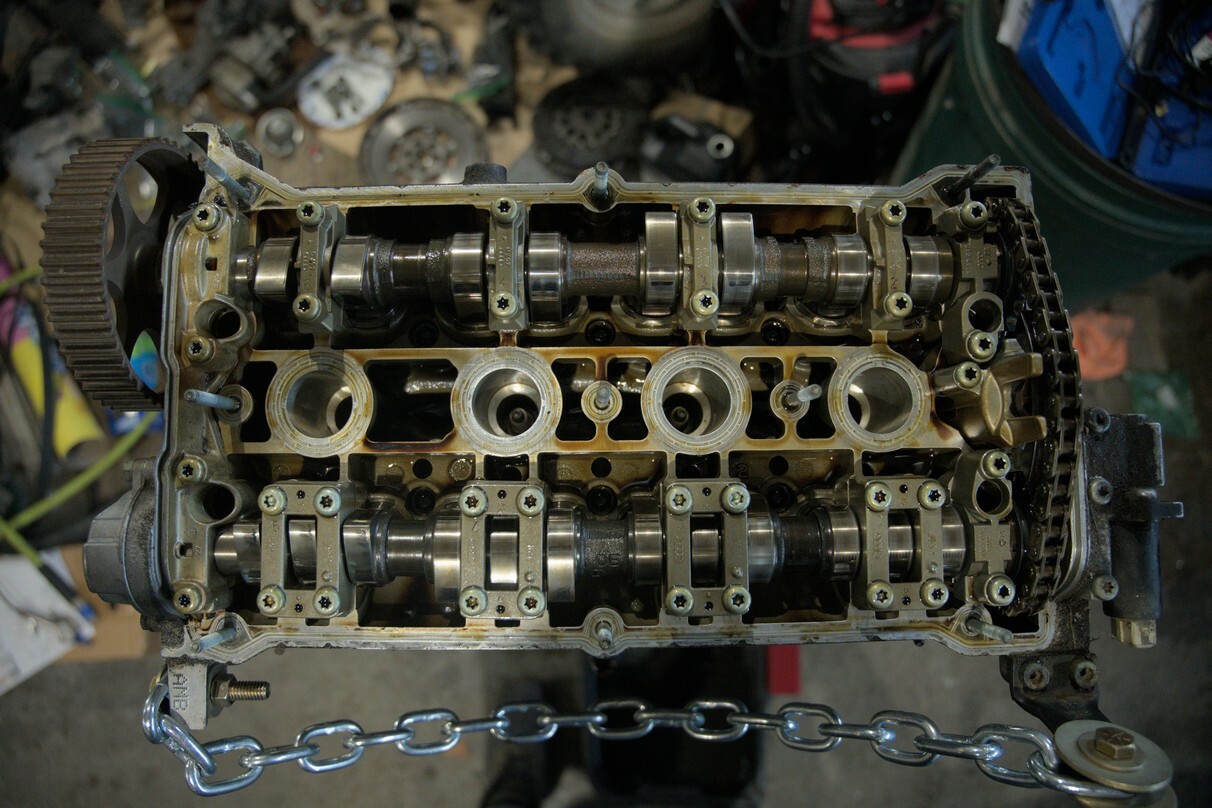
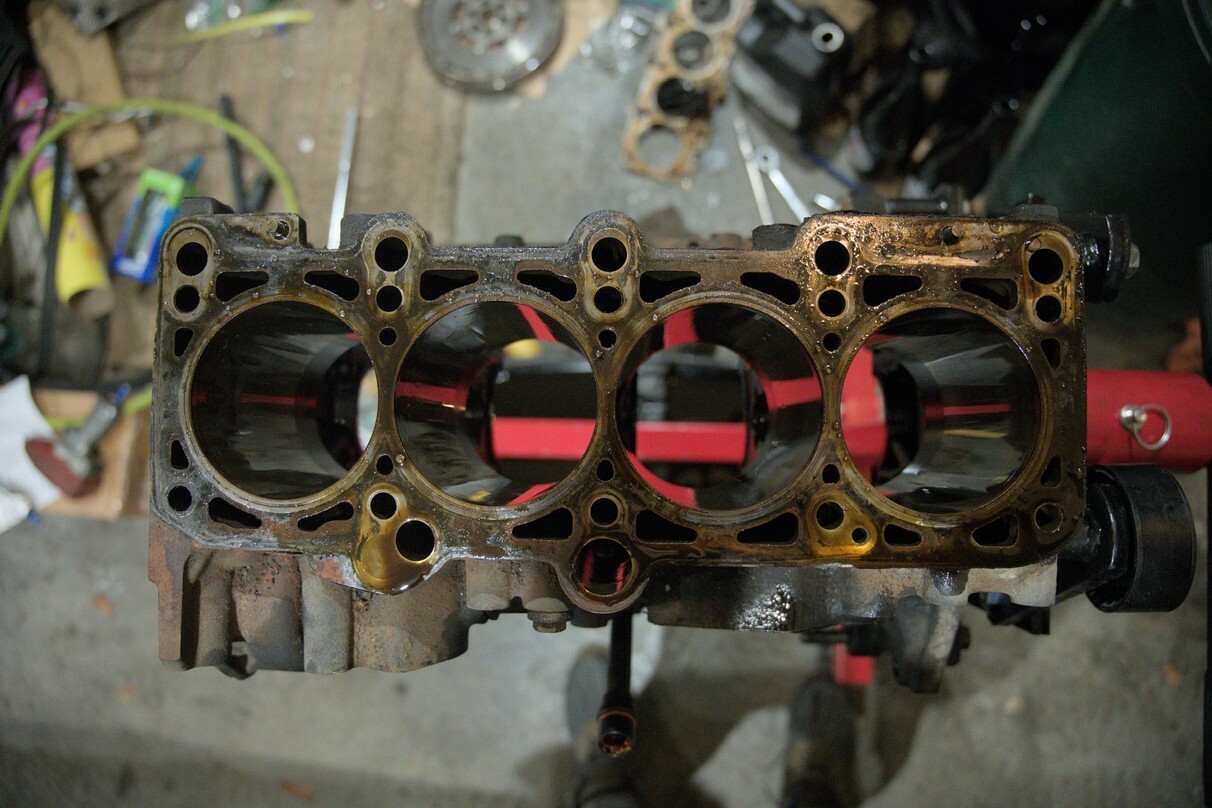
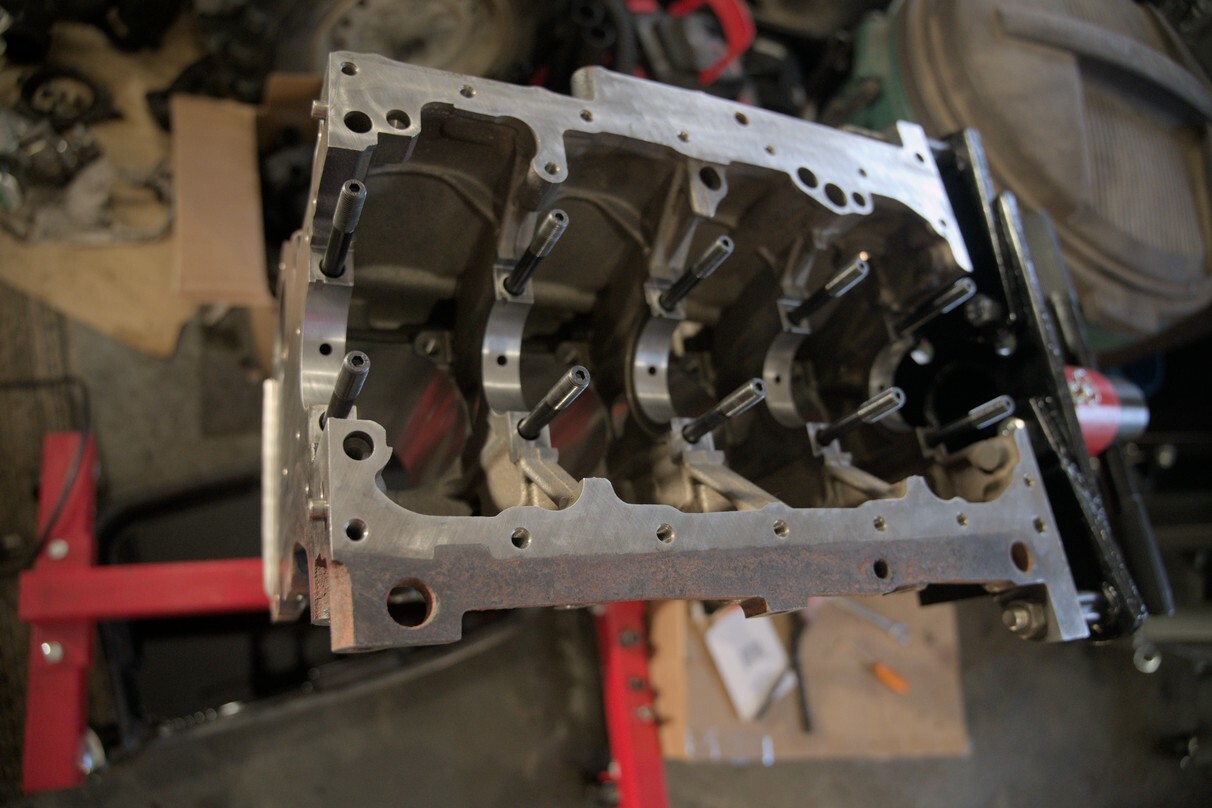
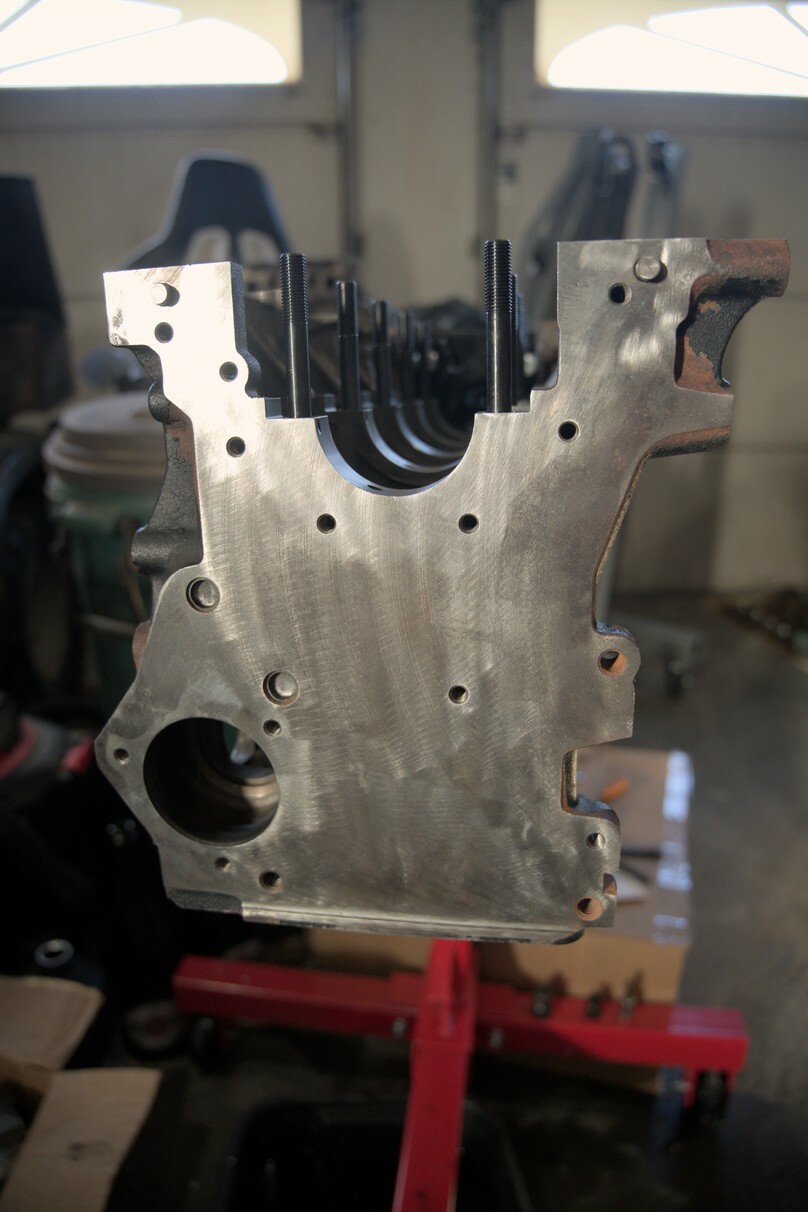
Engine Porn
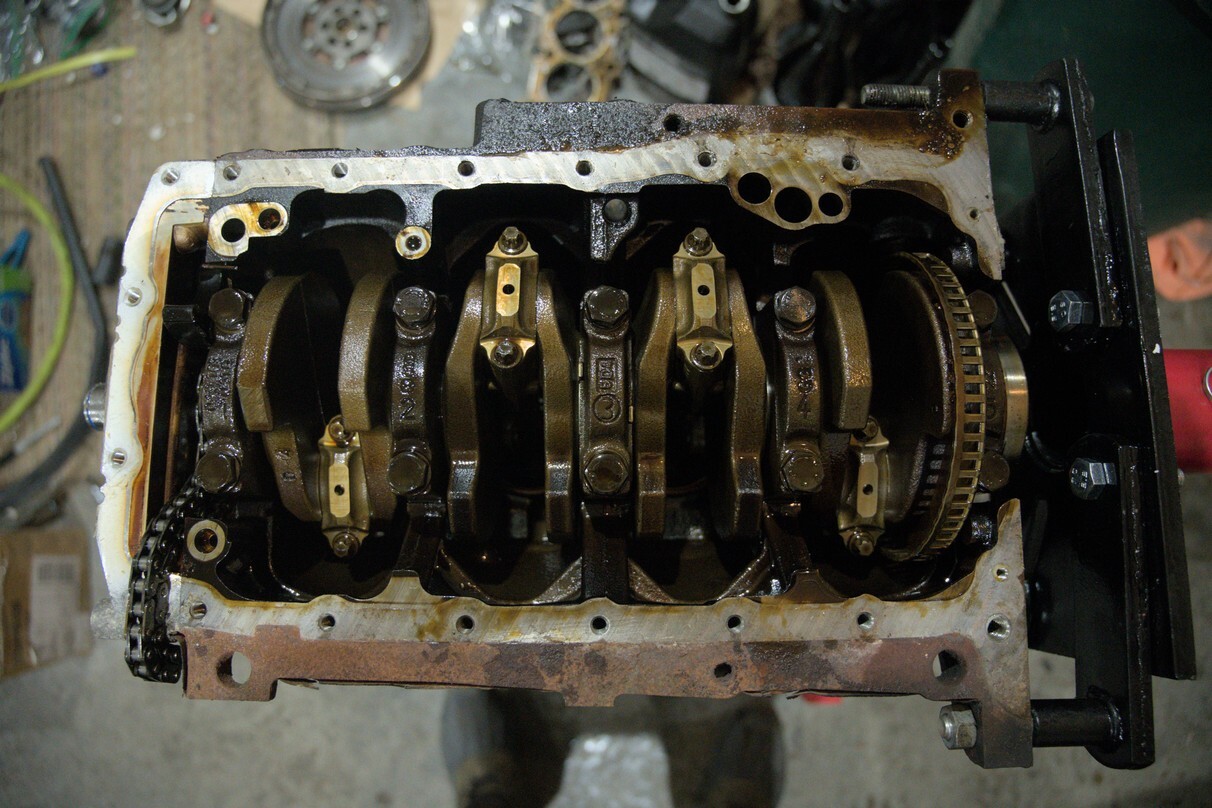
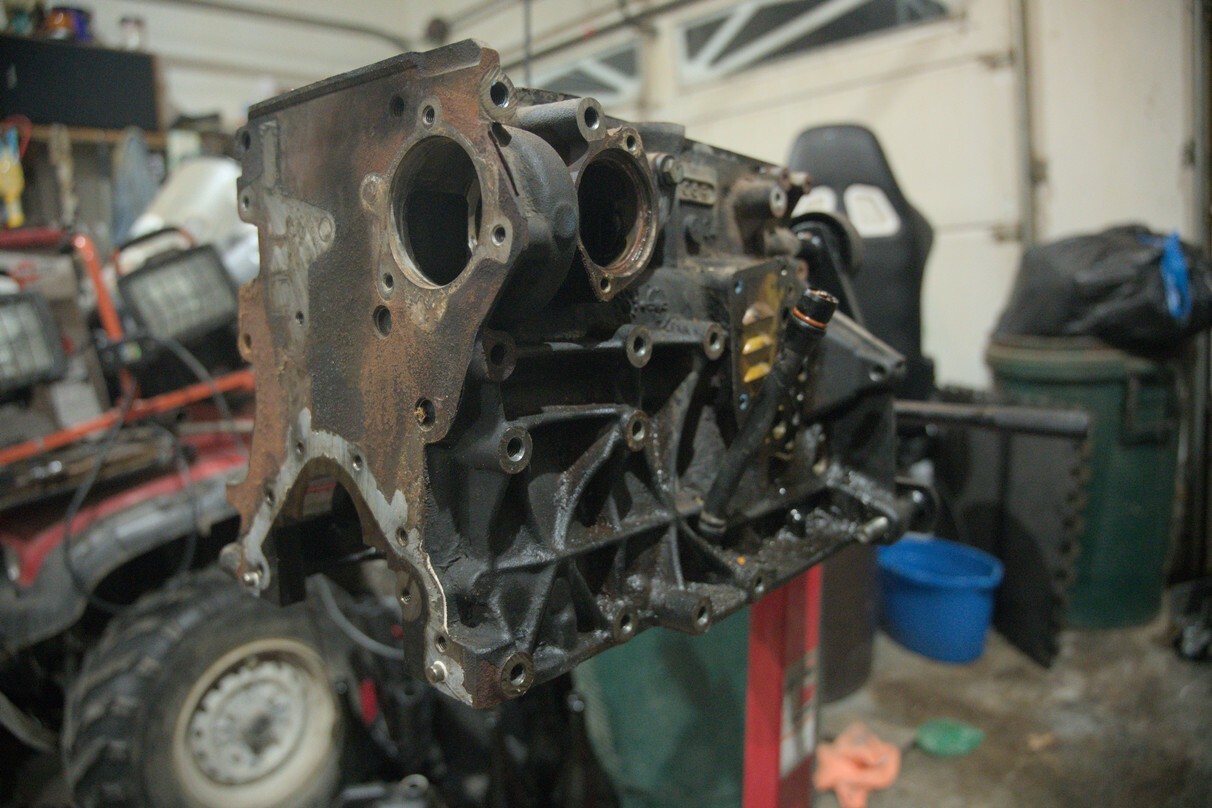
I ended up bringing the block to a machine shop in Ontario Canada. West Carleton Automotive. Highly recommend, super friendly and do an amazing job and above all, they care. Will be bringing the head up there too.
2 months later.
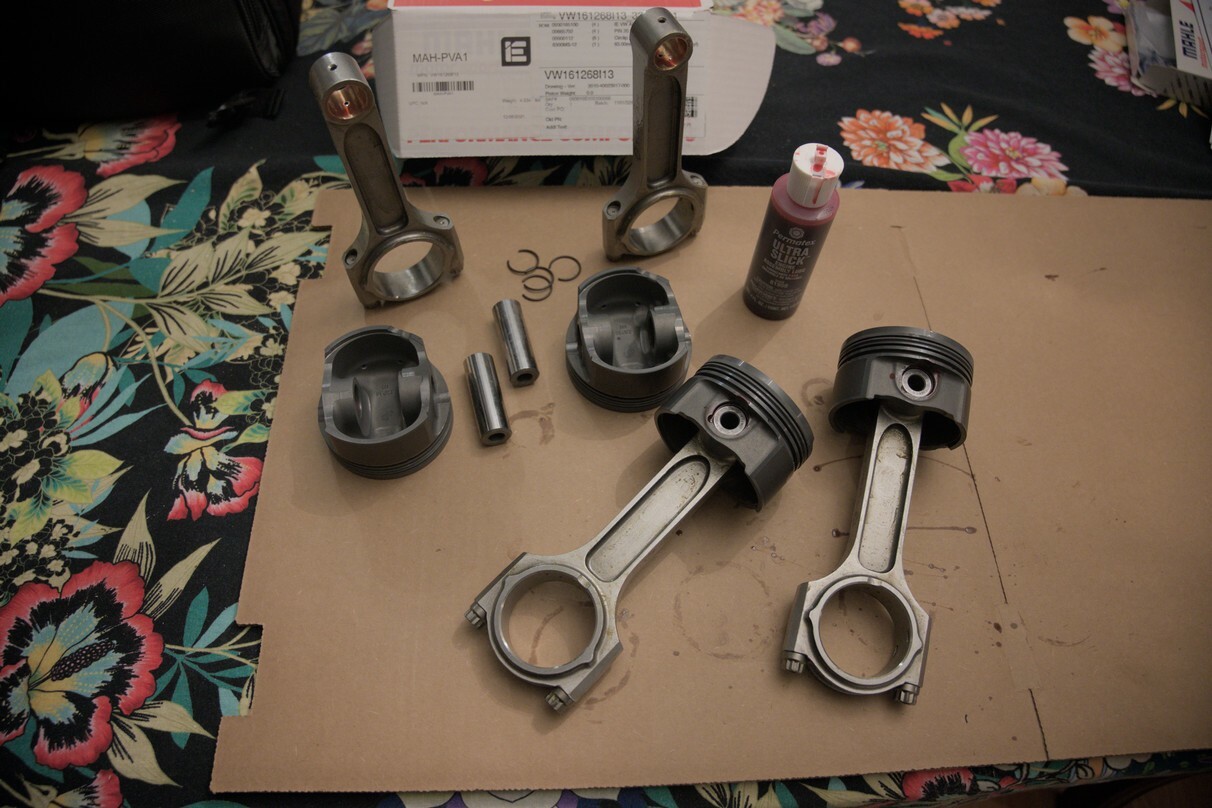
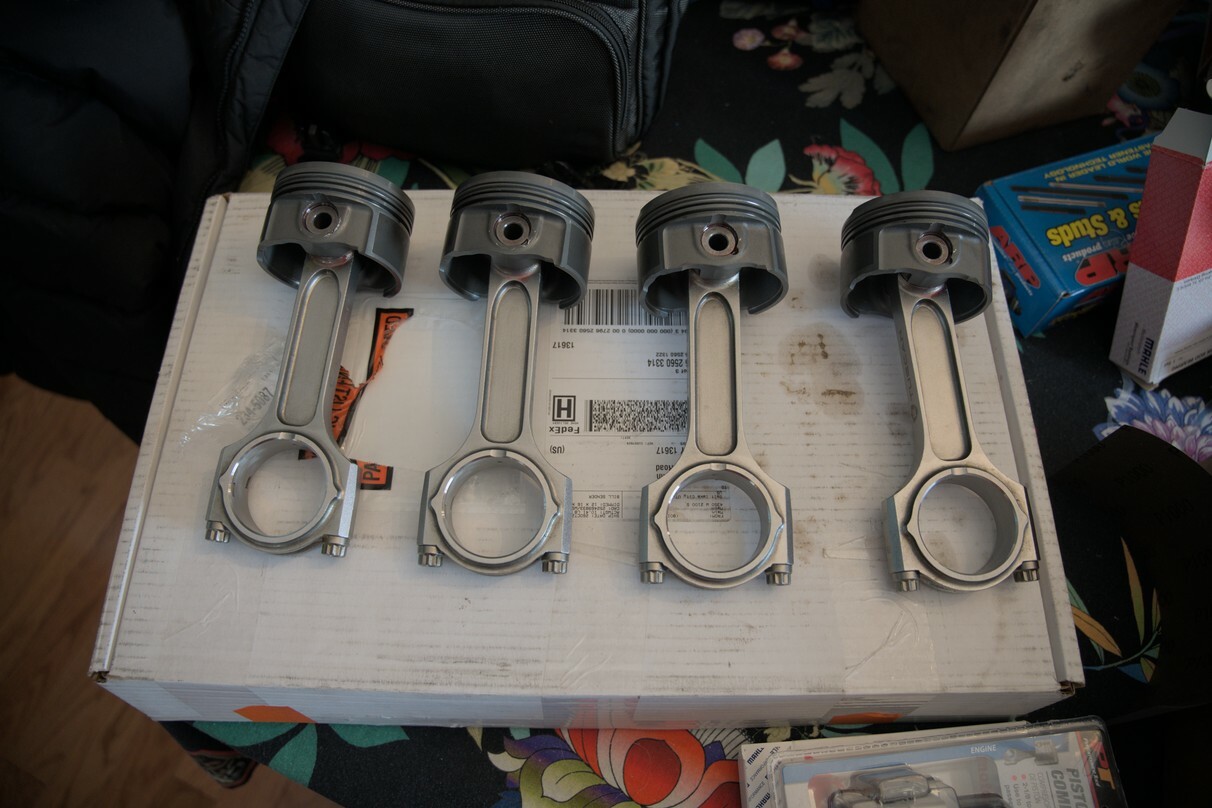
Assembling pistons and rods.
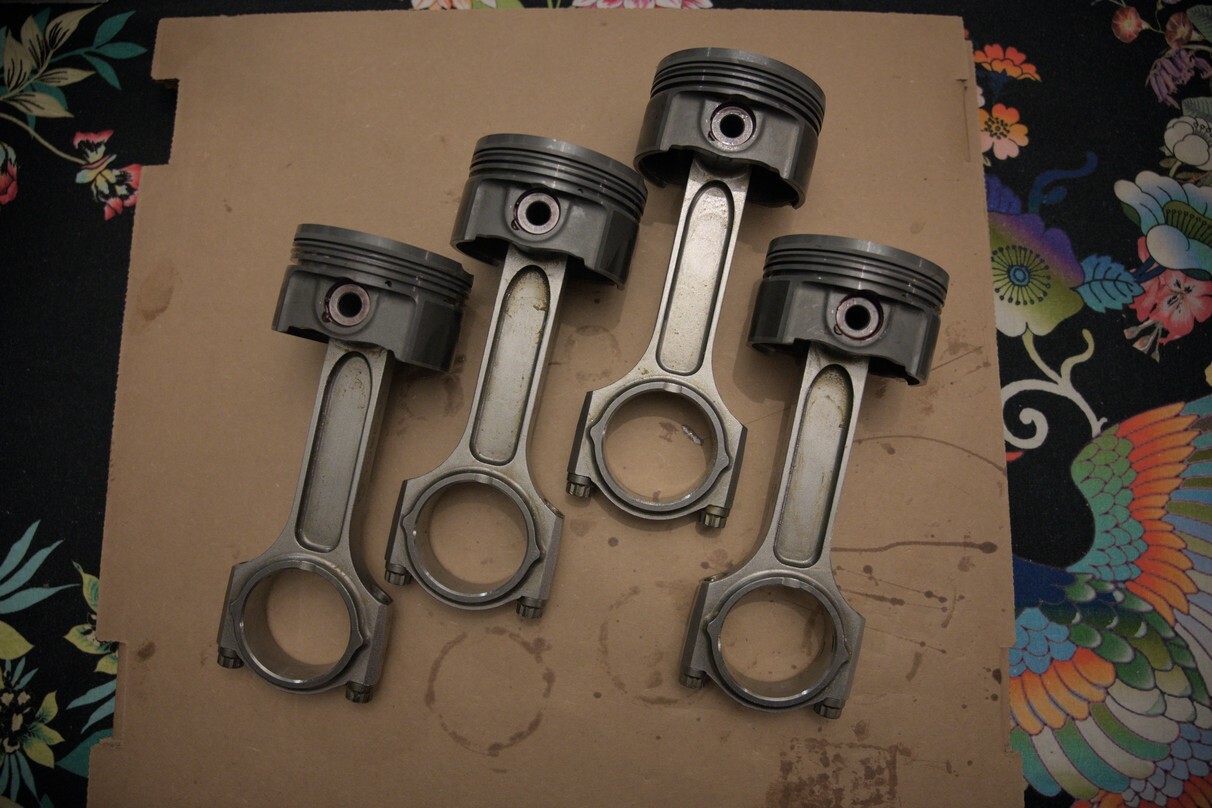
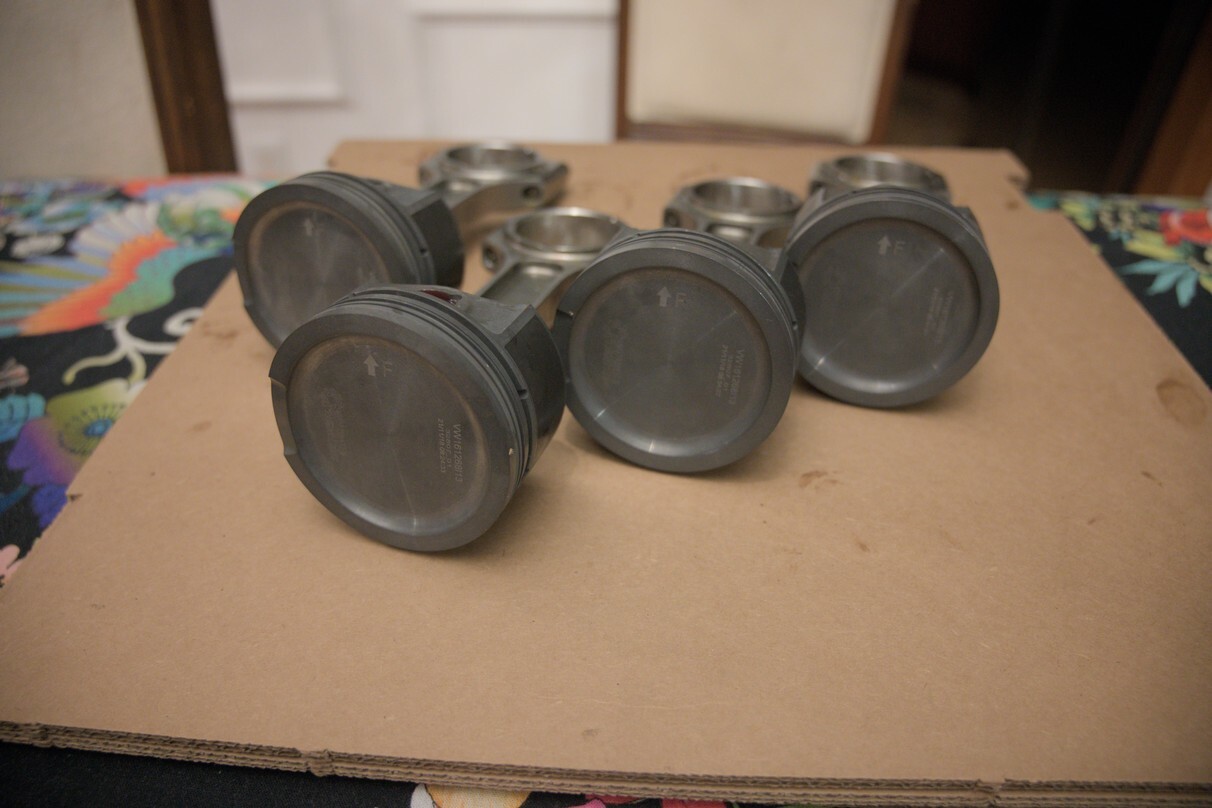
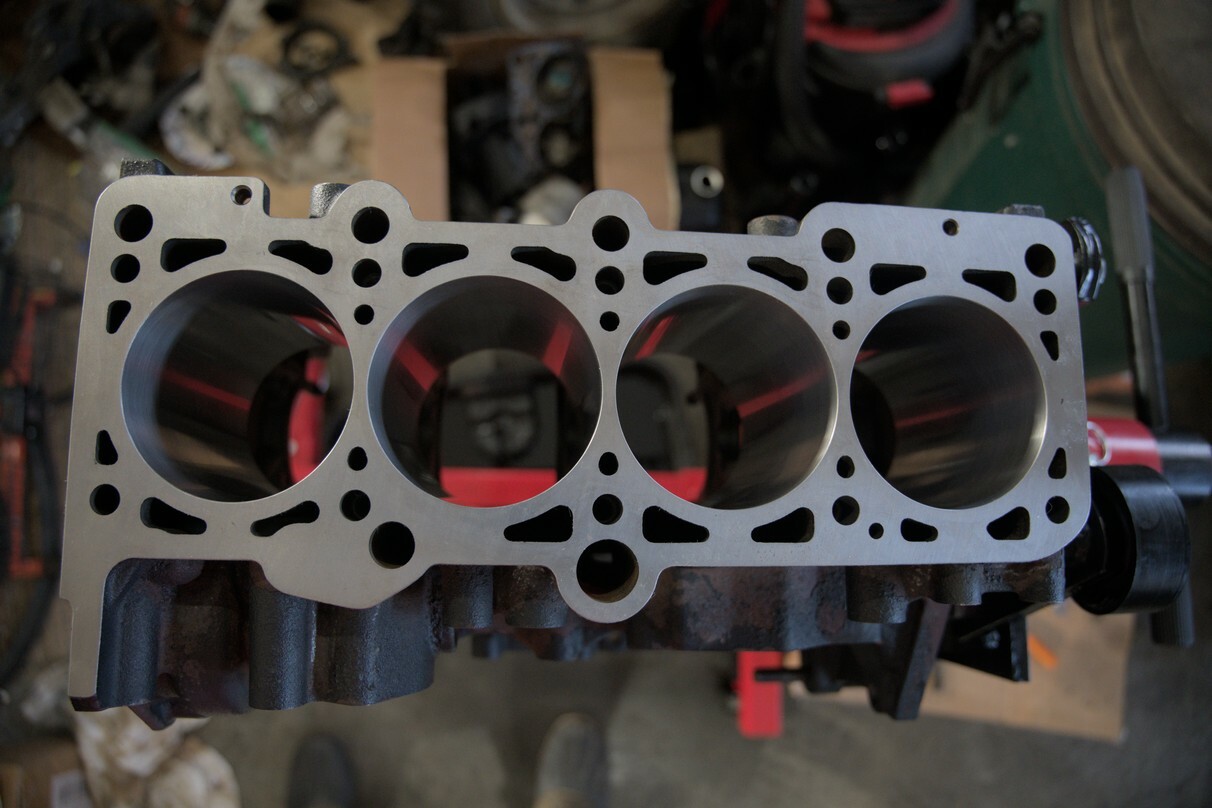
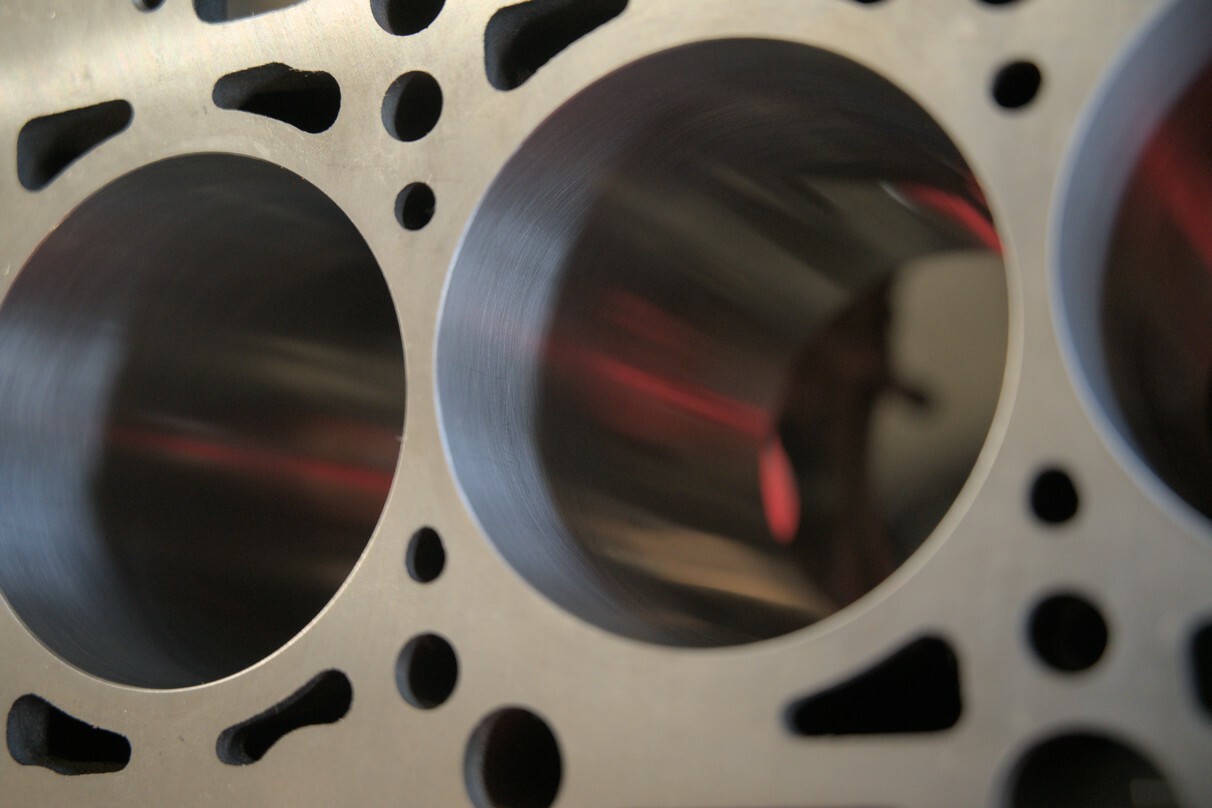
Cleaned up.
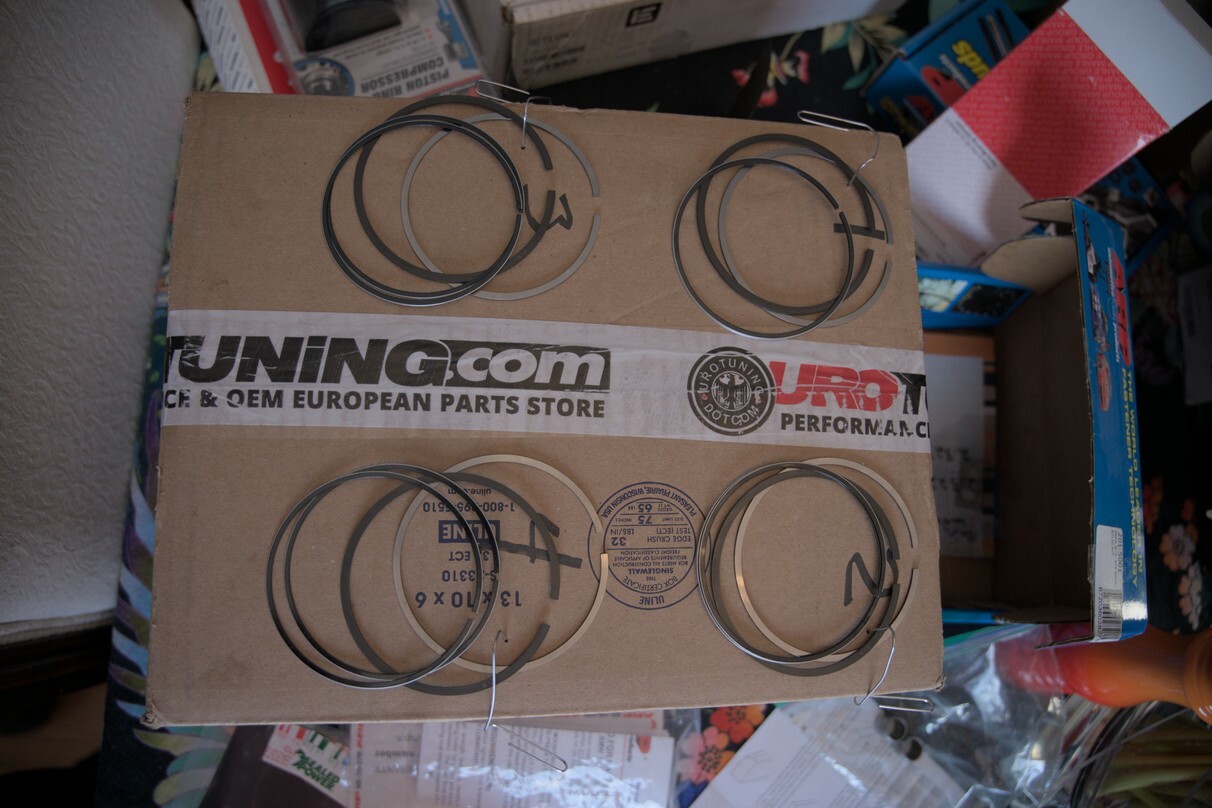
Rings, top gapped to .025 and bottom .027
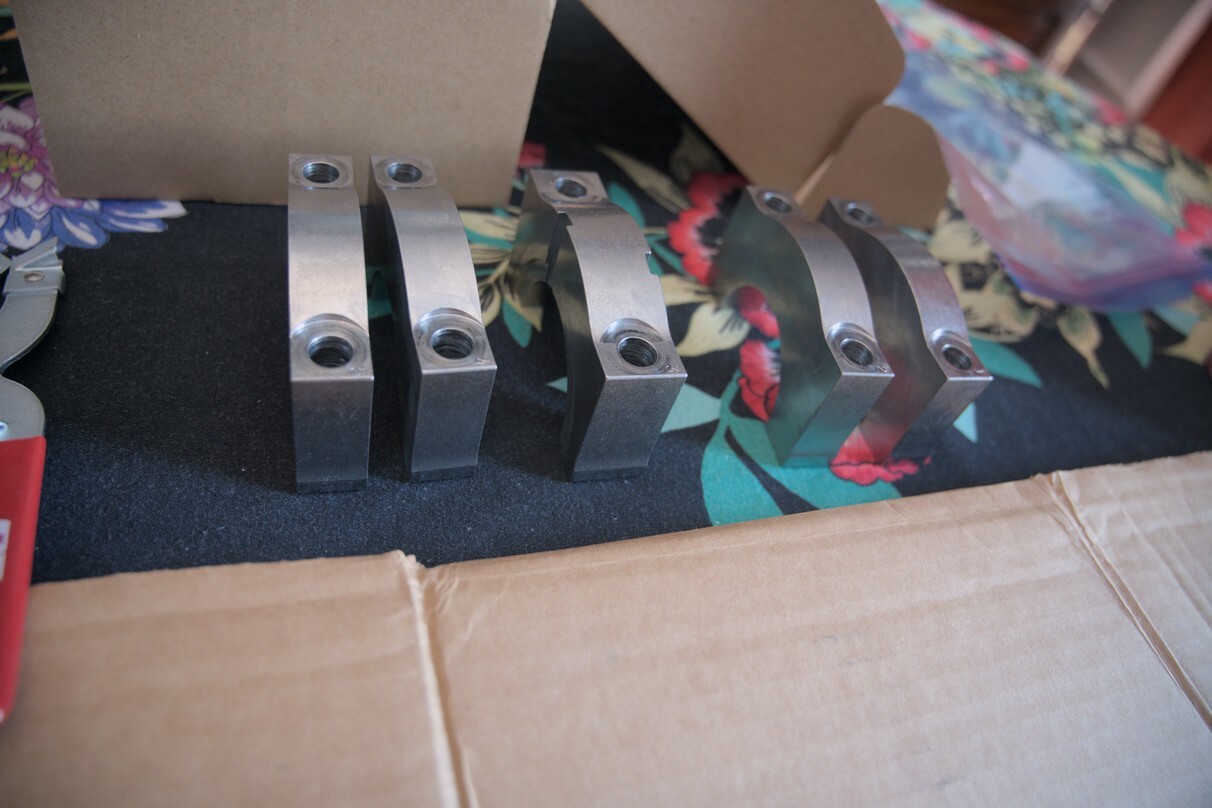
Main caps they even number stamped for me.
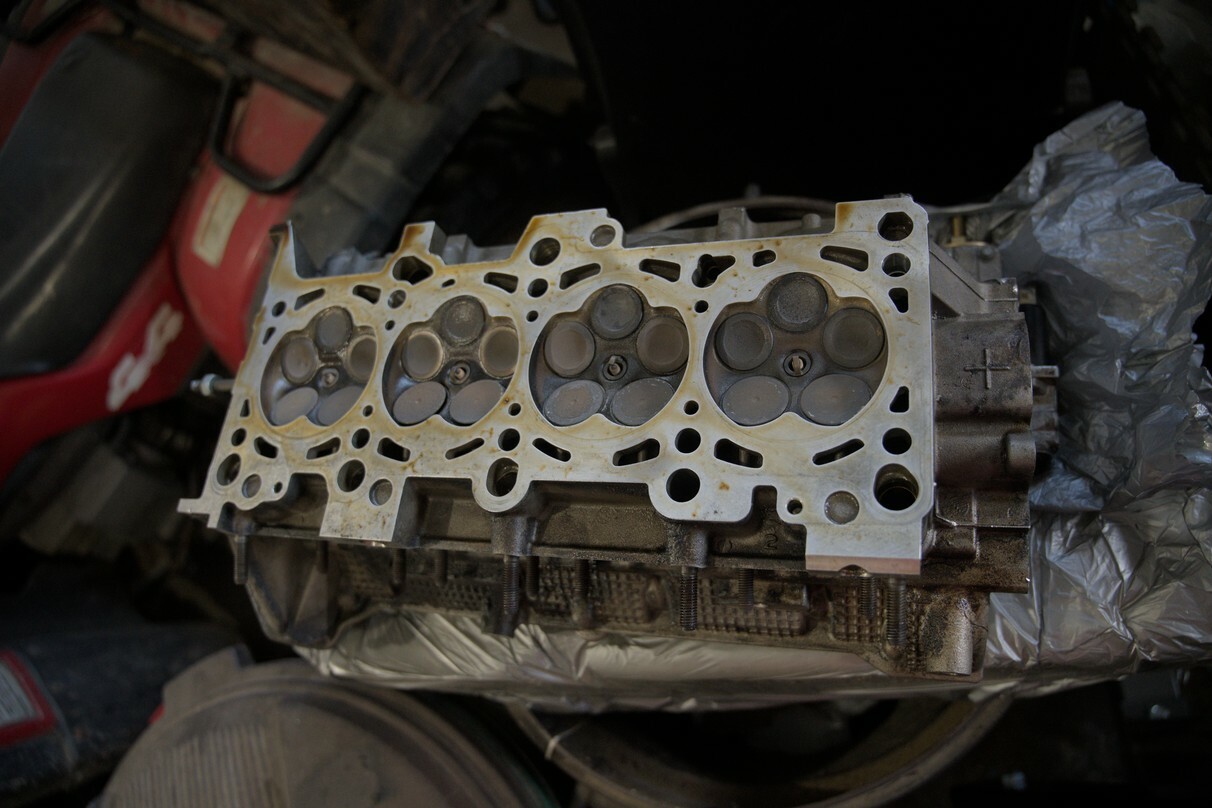
Head, left the valves like that. This is the non German AMB head so its trash. I have access to an '02 Passat that's been sitting with the perfect head for the job.
Block complete.
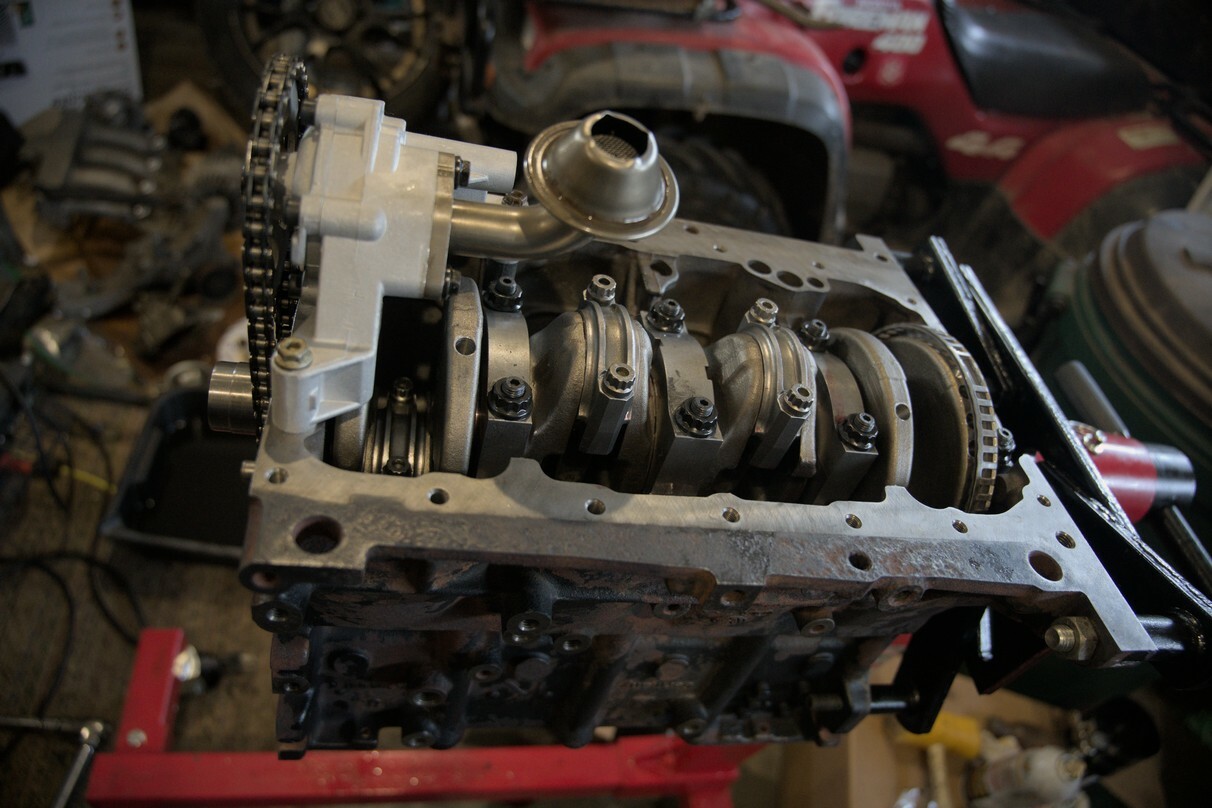
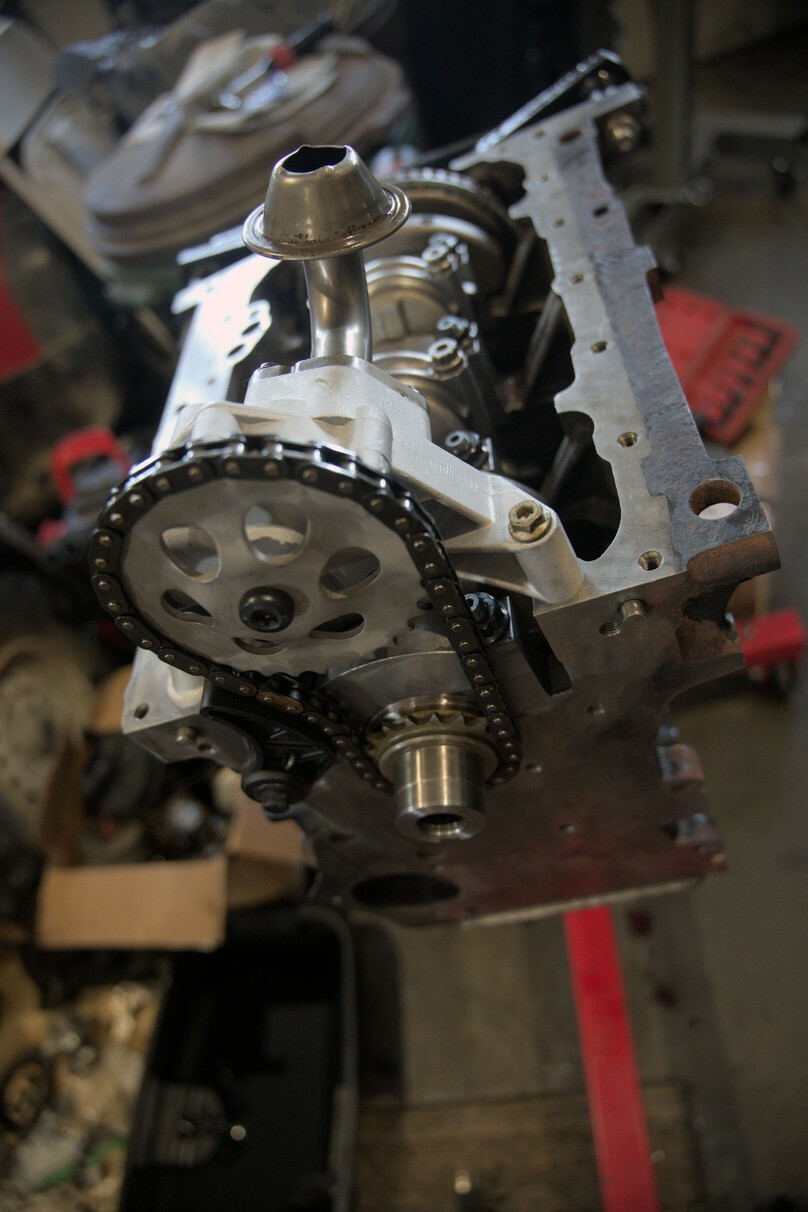
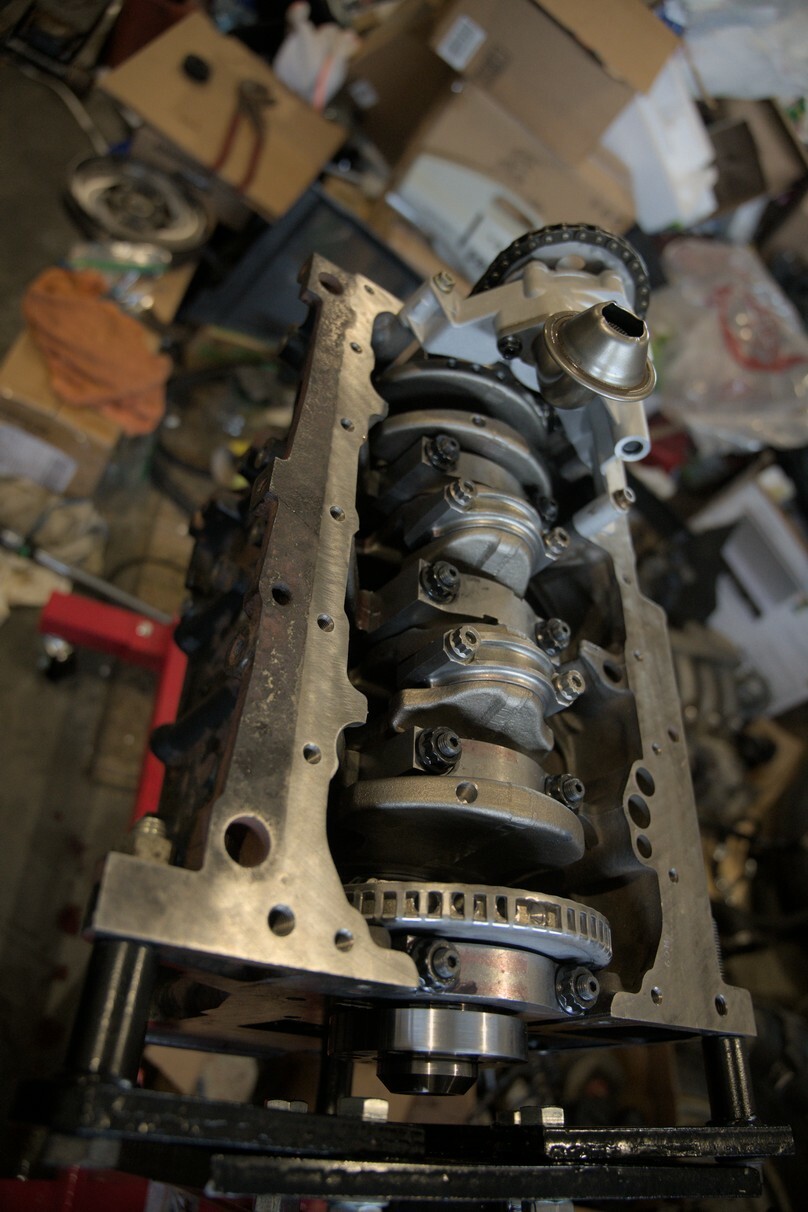
All back together.
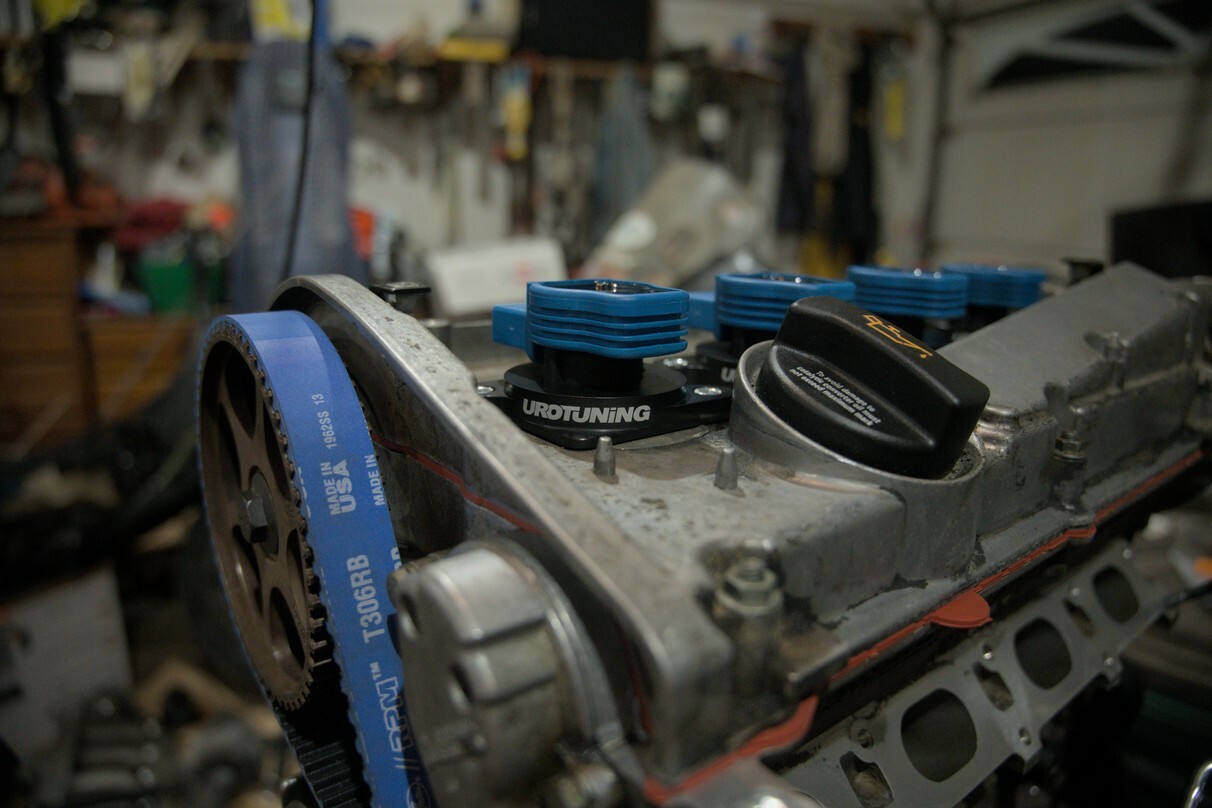
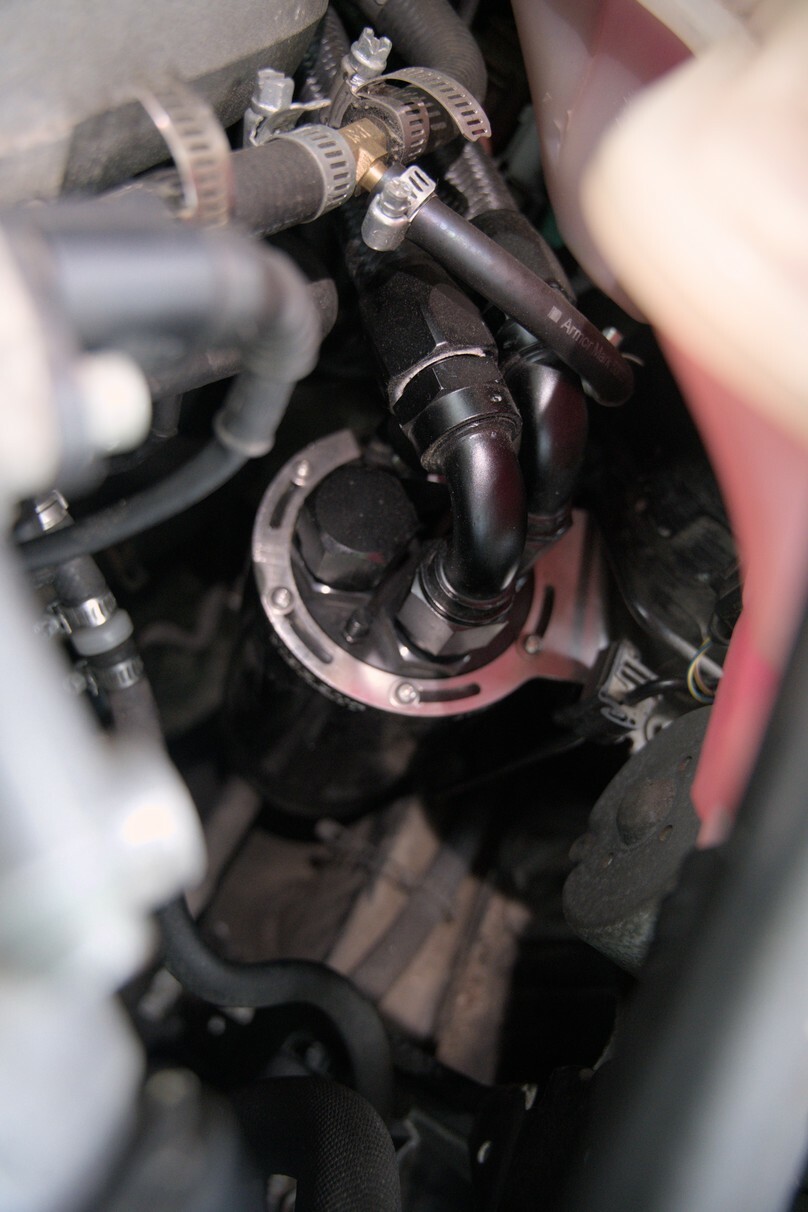
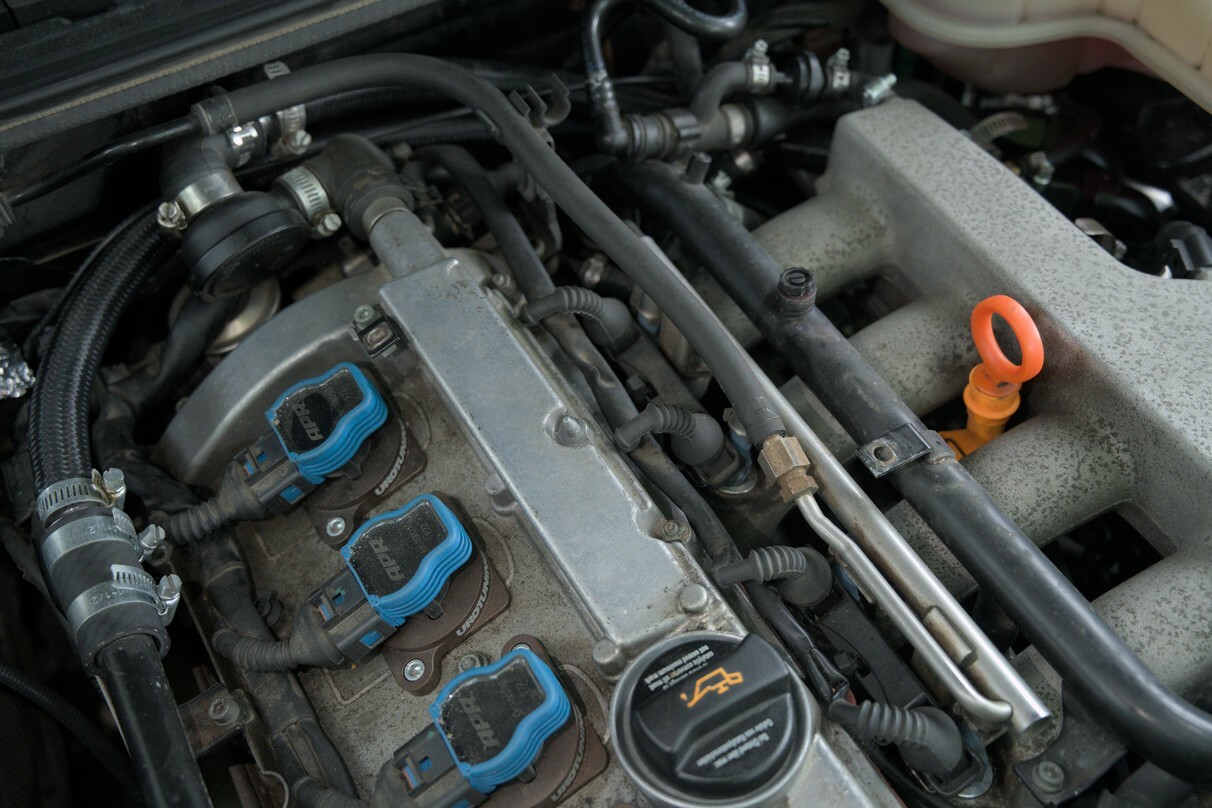
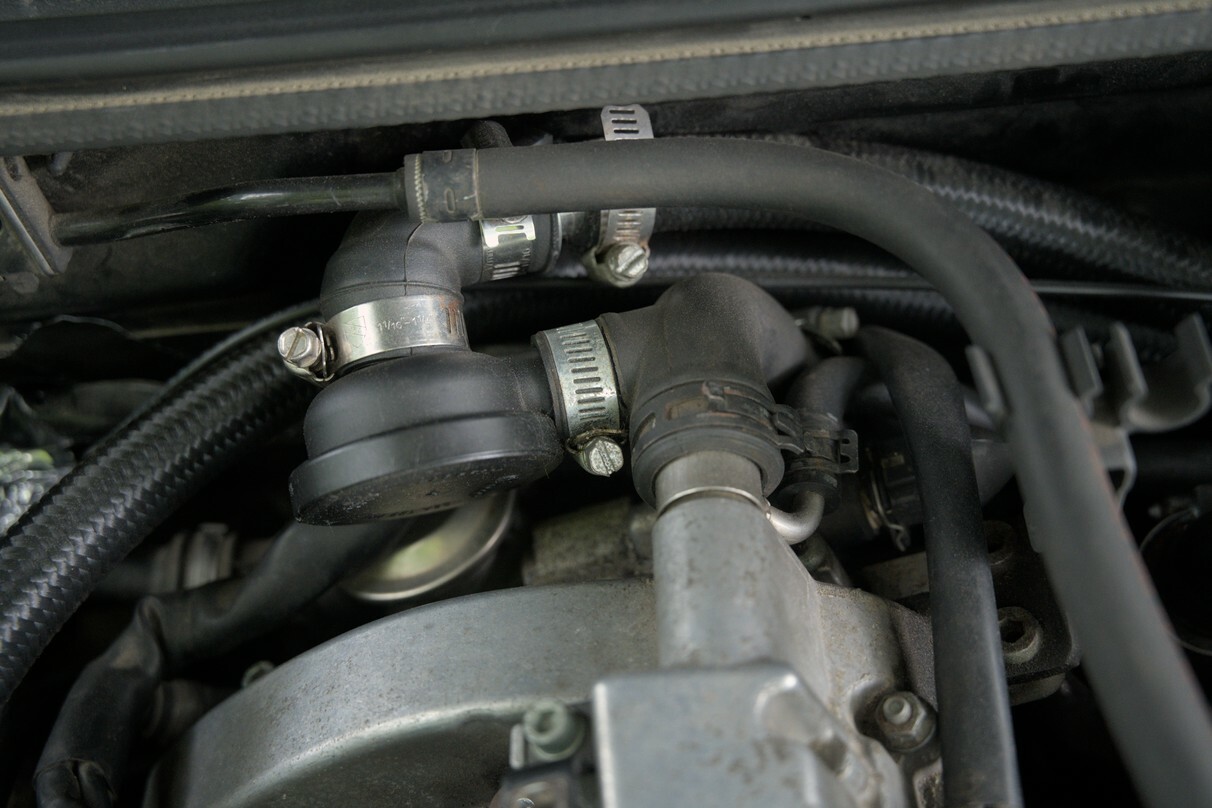
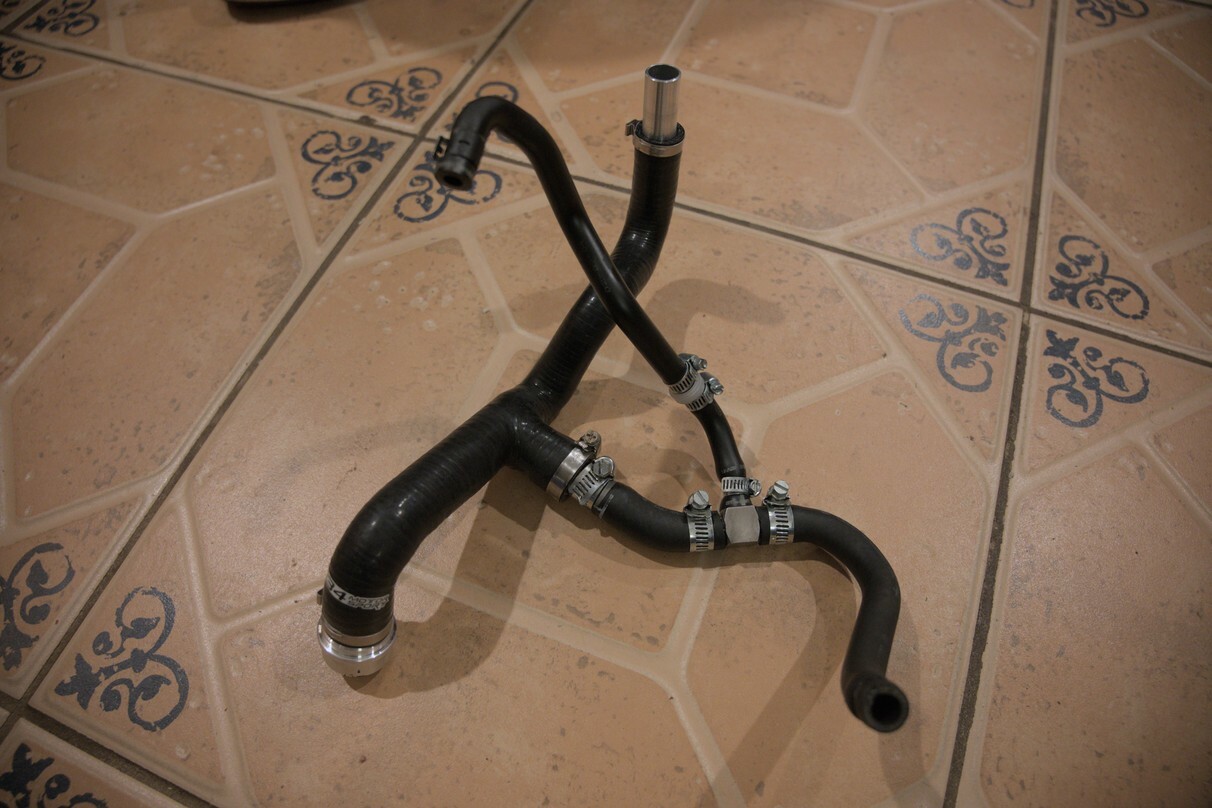
Wanted to throw in this pic of how I did the PCV without the OE 1 piece plastic junk. I will say the middle part of the T started leaking because the OE tube changes sizes and I tried to just clamp it down. Quick fix. I also replaced most check valves with the U.S. Plastics kynar check valves as you can see. I also used the 034 motorsports billet PCV check valve that you can't see.
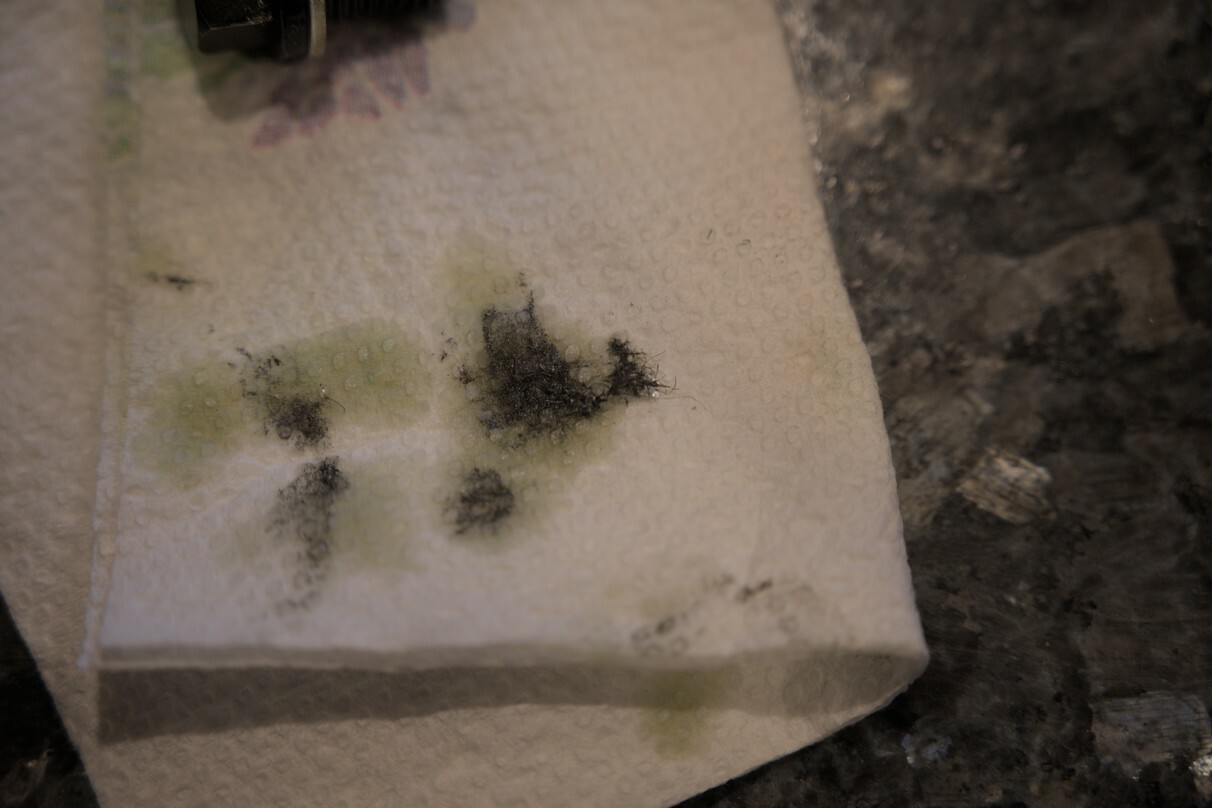
Broke it in according to Motoman and changed the oil after 25 miles and then 500 miles due to some restrictions. Pics are of the first oil change.

Just did my 5000 mile oil change 250 miles ago (at original post date). She's been running good and sounds amazing IMO, better than I expected. Still working out small things with the tune and just recently installed a wideband and the P3 gauge. Its crazy how fast the K03 can spool and then also how fast it runs out of breathe.
Eurodyne
In short, its everything one would need to tune your car and its 6/10user friendly. Its also kinda good for a beginner learning to tune IMO because there is no official documentation so it forces you to do your research and learn, but that takes a while and a lot of trial and error.
Then you learn the things you can do, but not with Eurodyne. If you're a perfectionist like me, it will leave you wanting more.
To be continued...
Update 9/21/2023
Everything about Eurodyne I stated above I would disregard and say: If you know how to tune and your displacement is stock, it is perfect.
I have switched to the Ignitron ECU
It is anything and everything you need.
Head Rebuild
Finally got all the parts for the head (will post pics soon with donor head). I'm going to keep stock intake valve size and small port runners with minor runner porting and do oversize exhaust valves with major runner porting.
Update 6/4/2024
Pretty Big Update Here. I should change the name to Operation Zephyr now
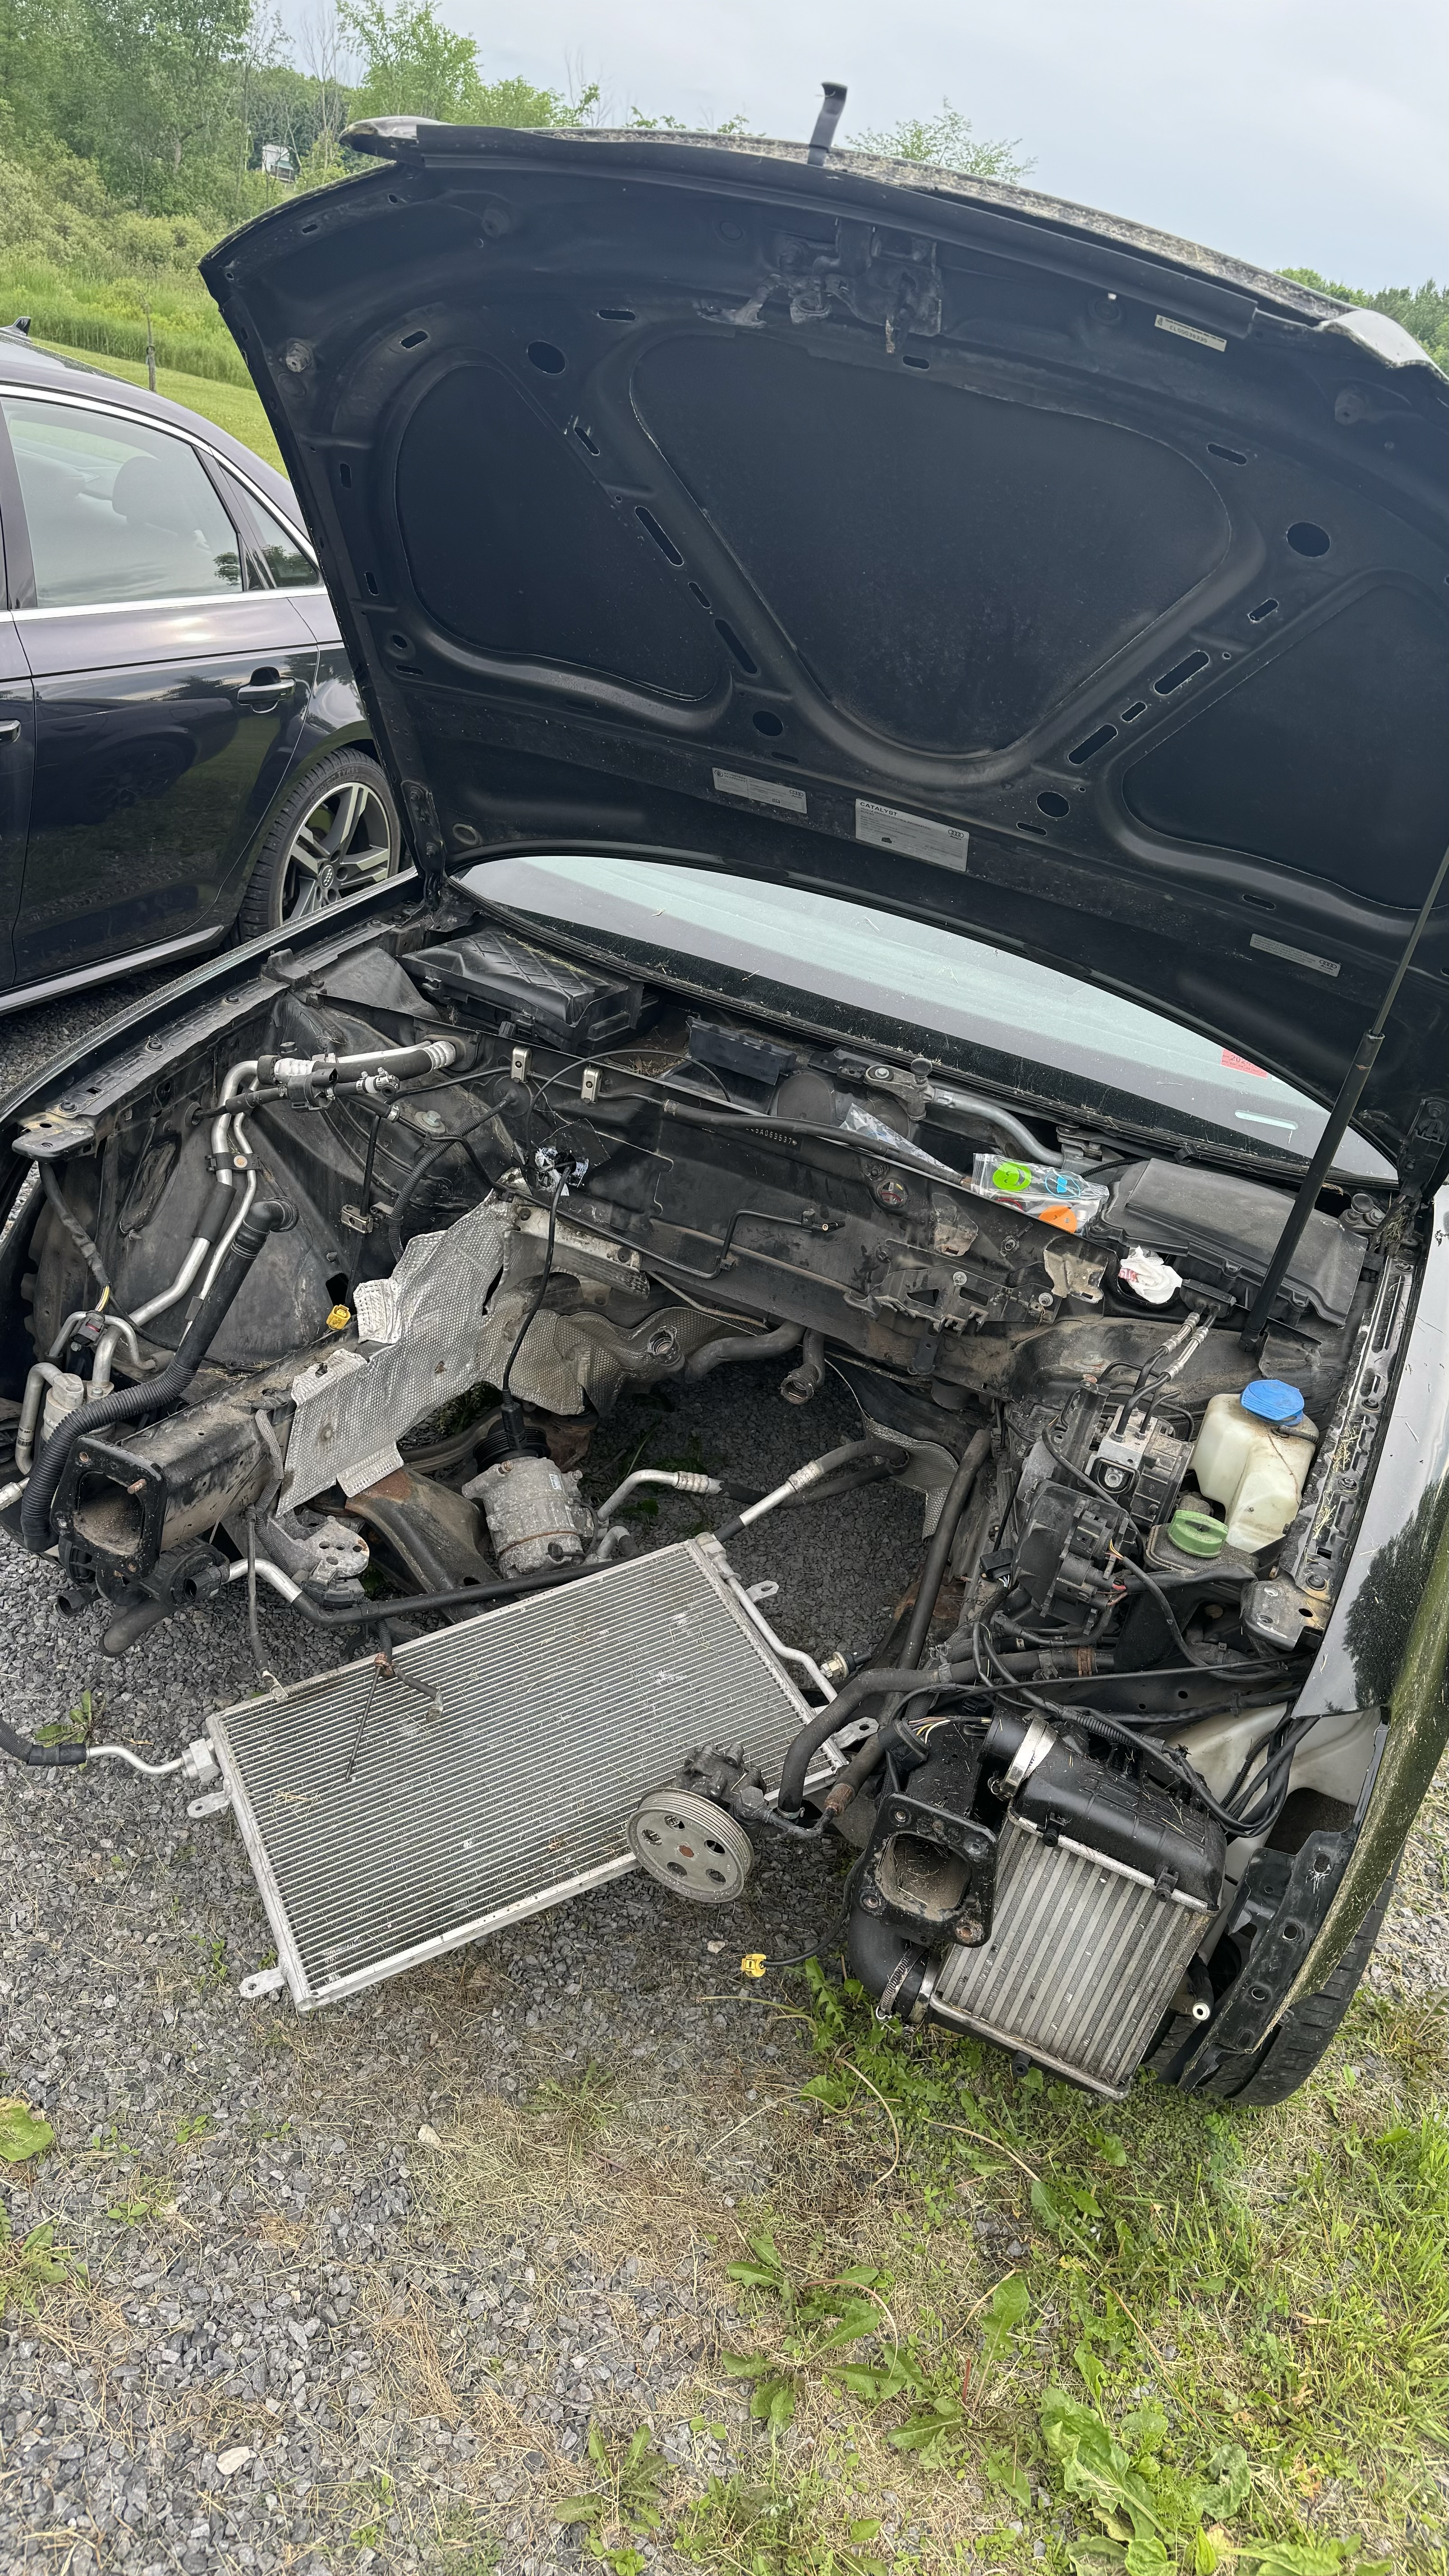
Picked up a 2002 auto A4 Avant with about 212k miles to swap the engine and 6 speed over to
Only paid $1,800. The whole thing was in great shape for the age and milage.Got the head back. I ended up going for +1mm exhaust valves and did no porting at all.
Thanks to Issam I was able to get a 75mm throttle body and an incredible intake manifold from P-Motorsports over in Germany.
The swap itself is technically done. Since I had a donor car the swap was honestly pretty easy and seemless having literally everything one would need. I Just took out the complete wiring harnesses and was able to plug the harness and relays right into the 2002. Hopefully avoiding jumping that one relay and wiring the reverese switch. I think the only thing left is wiring up the cluth switch because the auto didn't have a plug for that.
That being said: I have a whole black b6 sedan parts car minus all manual stuff and a whole 1.8t (AMB) connected to a TIP with the ecu and tcm.


1.8t with TIP

2.0 Stroker and 02X

I took the head off while prepping the new head and to inspect the pistons. The shop Installed the guides, seats, locators, springs and valves. While installing the lifters I discovered that there were some dings in a few different spots. I believe with a vacuum and a dremel with the smallet attatchment and slowest speed I was able to smooth the spots. I am currently waiting for an adjustable cam gear, friction disk and arp cam bolt. Once I get those I want to install them and cycle the head to make sure everything is proper before installing it.
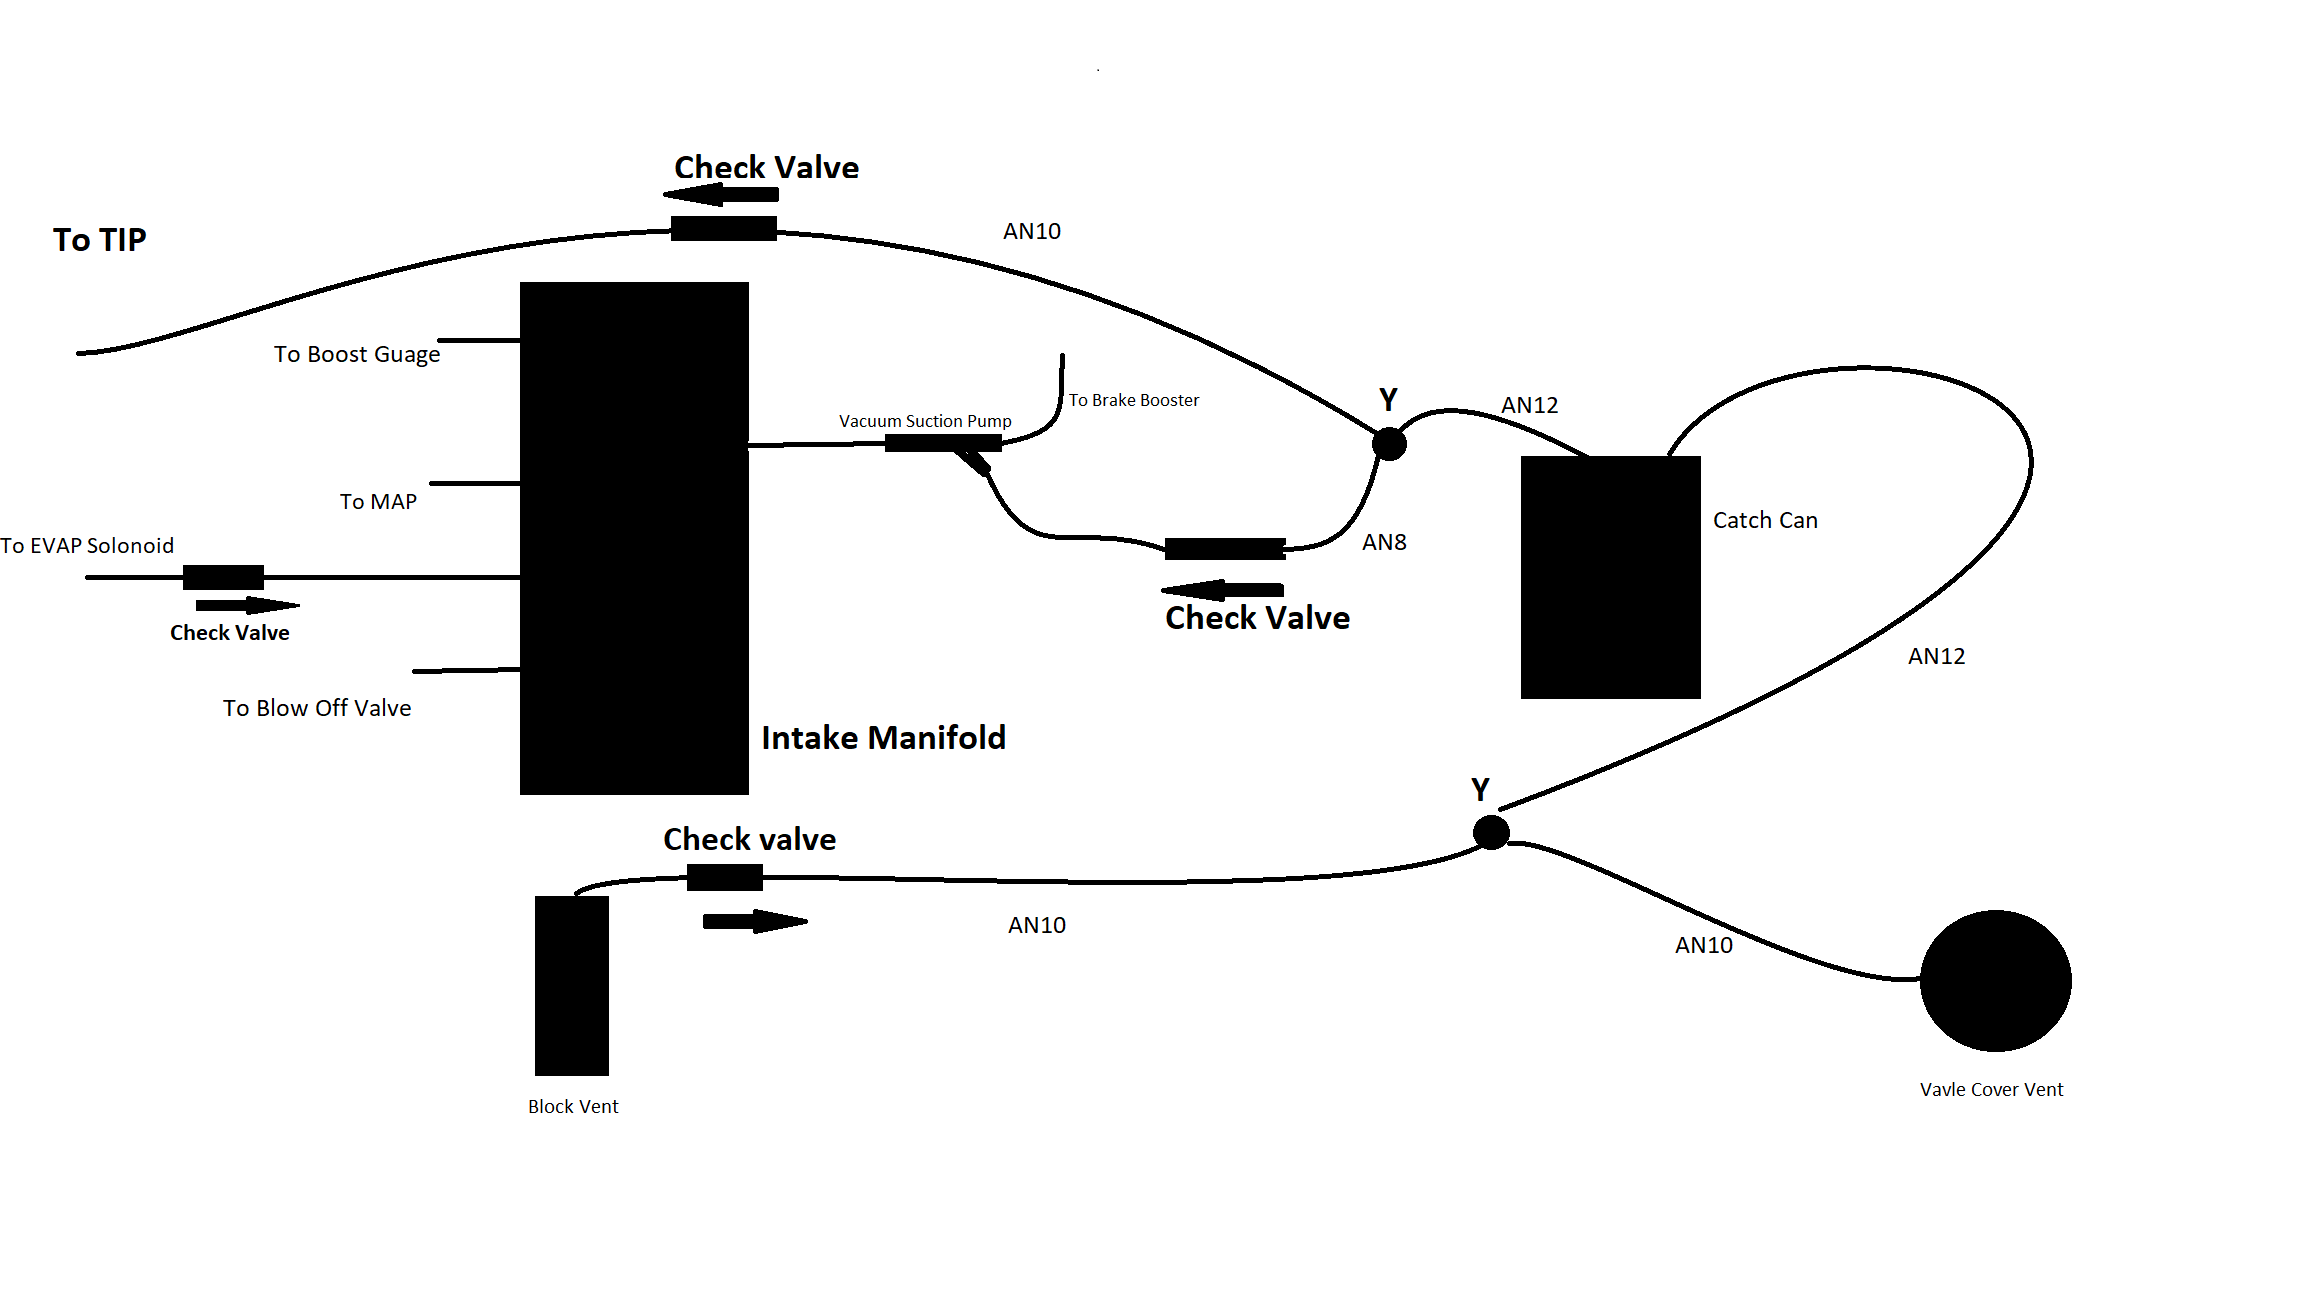
Once that is done I need to construct the PCV and vacuum system that I came up with while allowing it to pass NY emissions (hopefully) and be a DD. I planned on putting a resistor in place of the SAI pump and getting rid of the CEL for incorrect flow. Ignitron actually allows you connect to the OBDII and emulate the diagnostics system. You can turn on or off all readiness checks and tests. There are however warnings at every step telling you to not do it because the ecu is for off-road use. You also need to input the VIN #, calibration ID, and ECU name from the original ECU. Unfortunately, one of the recent updates apparently got rid of SAI support and changed the name of the readiness tests to "configuration bits" and the names of the tests/checks to Bit 0 - Bit 10. They are definitely making it hard to do but not impossible.
Good thing I only updated my desktop and not my tuning laptop so I should be fine.
This is a diagram I made that should be easy to follow. Let me know if I could/should change anything.
Last few vital parts to bring the build together are the turbo, wastegate, intercooler, exhaust manifold, and fueling.
I've been thinking of picking up some ID1050-XDS right now as well.
Sorry for lack of pics but more to come!

 Reply With Quote
 By then I figured it had had like 20-30 mins of idle time. Once I figured it out, I let it warm all the way then turning out of my driveway I gave it like 70% and went to like 5600 rpm then let it coast down to 1700. Kinda ballsy but hey. Pretty much did that all 25 miles, just going around the rural back roads.


Bookmarks