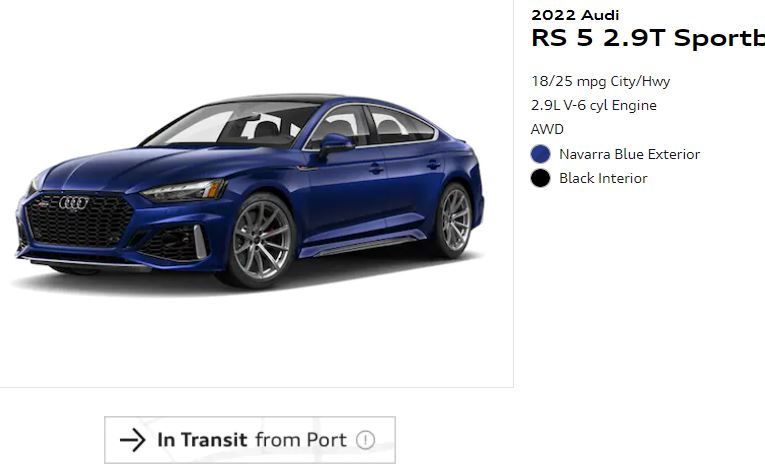
4/28/2022
Audio system is now complete.
Last things installed:
Basser-box from Maxxcount.de (secured via riv-nuts and 1/4"-20 hex head bolts/washers)
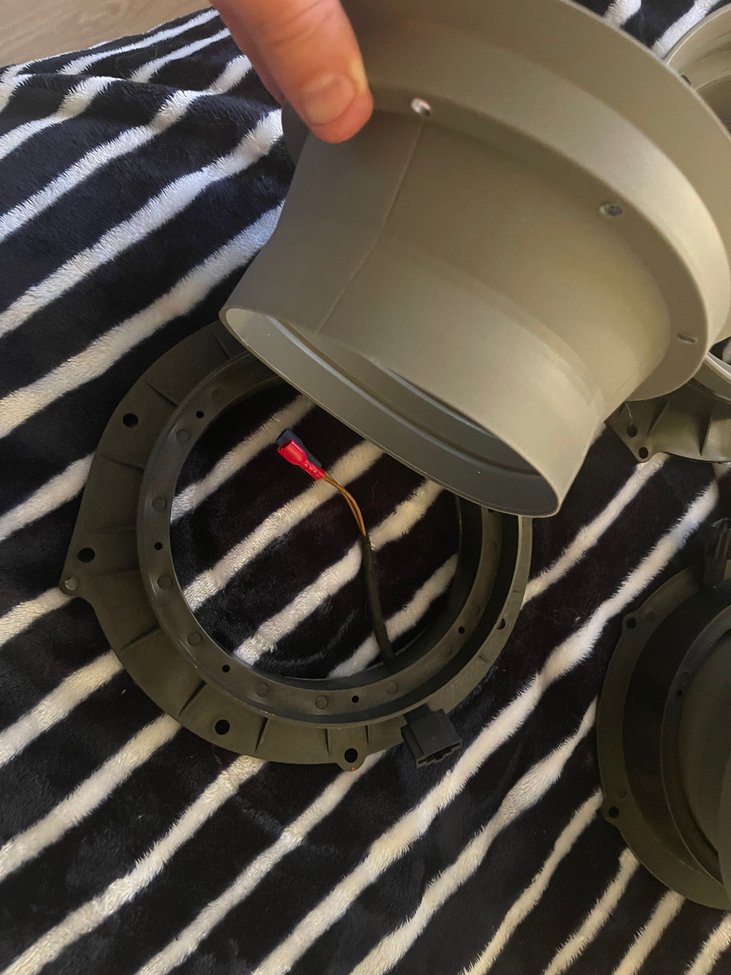
JL 10W1V3-2 (10" sub)
JL SGRU-10 (protector screen and grommet for sub)
Kicker Key 500.1
Kicker CK8 wiring kit
Custom 3D printed amp-rack and retainers - printed at Hubs.com through some job shop here in the valley - They used FLM ABS to handle the heat - STL file-link came from Jeremy (It's pronounced Vaguh) on YT - Turns out it's actually another AZ member here :)
Bruce Miranda/Mironics subwoofer splitter cable
I ordered the Basser box through Maxxcount.de because Basser kinda sucks at inventory management, and won't allow you to place an order when they're out of stock (they're almost always out of stock). I would imagine this box is more of a low volume SKU and it's something that's MTO (make to order) and not stocked. They're (Basser) also kinda finnicky about international shipments. I was going to work with Bruce to procure the box as it's relatively cheap and works great for several folks, but wound up finding this German distributor instead. Bruce thought we would get killed on freight if he shipped it from the UK after shipping it to the UK from Poland (he was probably right). I still paid a bit more than I would have directly through Basser, but it was an inconsequential amount (less than $50 incremental) and I circumvented the headache of dealing with Basser's poor inventory management and ordering philosophy.
Also, I didn't take pictures of where I mounted the riv-nuts - But, you get the idea of where they are once the enclosure is in position.
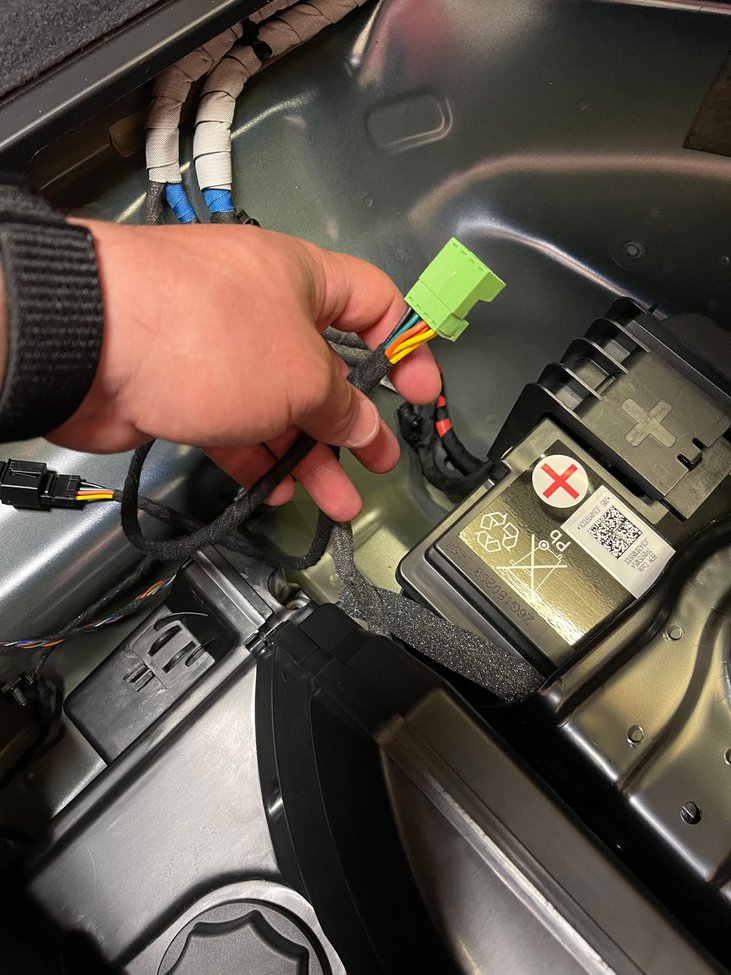
First things first - Picking up a remote/acc wire - Pretty much everyone steals this wire from the 12V outlet port within the factory passenger-side cubby. I've seen folks jam the remote wire in there - I figured I'd do something a bit more professional.
I de-pinned the connector, first

Connector de-pinned

I then soldered the kicker remote wire to the back of the + pin, reinstalled the pin back into the connector body, and added a bit of Tesa "high heat harness tape" to finish it up

For signal wire to the box, I used the standard wire included in the Kicker CK8 kit, but added right angle banana clips to the end to aid in any vibration/clearance issues

Banana plugs installed, and sub/enclosure in place (but not secured, yet)

Lots of heat shrink, ferrules, and tons of braided cable sleeve - Cable sleeve was for two things; 1) extra protection for the wires and 2) minimizes any rattles.

Everything buttoning back up - This was before I put the stock subwoofer enclosure (loaded with the Kicker CompRT) back into place

And finally, with the factory woofer enclosure back in place. Everything zipped down secure and through the channel into the drivers-side cubby

Picture of the amp bracket - I hot-glued nuts in place (M4/M5, maybe?) within the printed recesses so that they wouldn't come free prior to mounting the amp on top (bottom?)

Running through the key algorithms - Generally speaking, with the high-pass input - gain and bass-boost are both adjusted down as low as they will possibly go (and still probably too high) - I adjusted it down on the MMI. You can also tweak this via an EQ if you use a music streaming service like Spotify (which I use).

Didn't get a whole lot of mileage out of the Key gain match algorithm. Although, I did notice a pretty sizeable difference after running the sweep tones. I left the Key inputs "on," and set the physical knobs for hi-pass/low-pass as pictured below

Going into the pocket

Installed in it's new home!

Sub-enclosure bolted down to the body-mounted riv-nuts nice and secure - Good to roll!. Also pictured are my OEM VW grocery hooks mounted to the factory parcel tray using low profile hardware (M5 or M6, I believe).
Amazon link to hooks -
https://redirect.viglink.com/?format...ums&txt=Amazon

Overall, the whole system sounds pretty good now, and doesn't run out of horsepower up top (at least not to the extent of the factory drivers). Stay tuned, more upgrades coming!
-DL


 Reply With Quote


Bookmarks