


The whole job was done without having to jack up the car or remove the wheels.
Step 1.
Remove the hood latch and rad cover. The hood latch comes off by pressing a small button on the back side of it. The Rad cover comes off by just pulling up on it.


Step 2.
Remove the wheel arch trim. This was the most nerve wracking part for me because I had never done it, and wasn't sure exactly how they came off. All you have to do is simply pull straight out starting from the bottom. Once the first clip pops out just work your way up to about the 12 o'clock position. Take this slow as there is a possibility of breaking the clips.


Step 3.
Remove 4 T25 Torx screws in each wheel well.

Step 4.
Pull the fender liner back slightly and remove 1 T25 Torx screw and one push rivet. To remove the push rivet start with a small flat head screwdriver or a panel popper and work the rivet down until you can fit needle nose pliers in. Once you can just pull down and it'll pop out.

Step 5.
Remove 7 T25 Torx screws from under the car in the belly pan. Two are on the corner of the bumper and 5 in a line on the belly pan. You will also need to remove two T25 Torx screws on the top of the grill. I didn't get a picture of these but they are fairly obvious and connect the grill to the rad support.


Step 6.
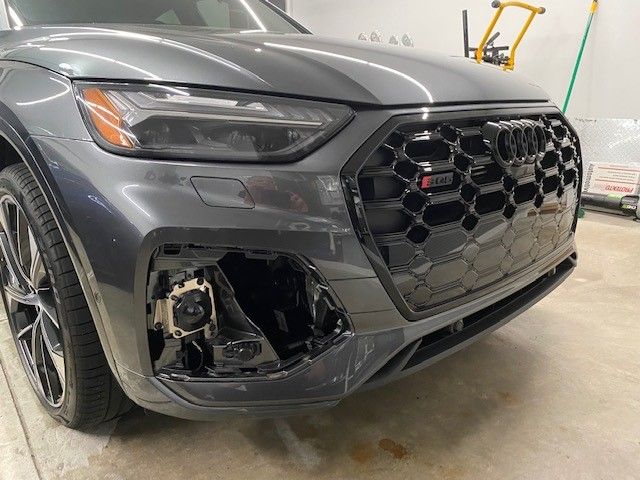
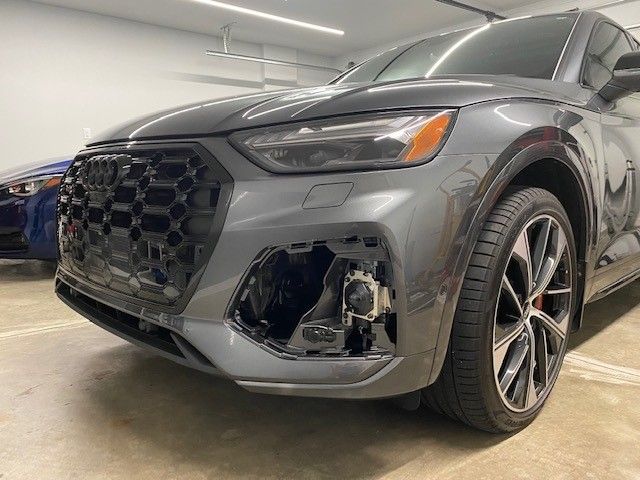
I would suggest getting an old blanket and laying it out under the bumper at this time if you are doing this alone. If you have someone to help it would be easier. Pull out on the side on the bumper at the corner to release the tabs and then pull towards the front of the car. When I did this on the second side the bumper popped right off and dropped on the floor. Thats why I suggest having a blanket down or someone to hold the other side.
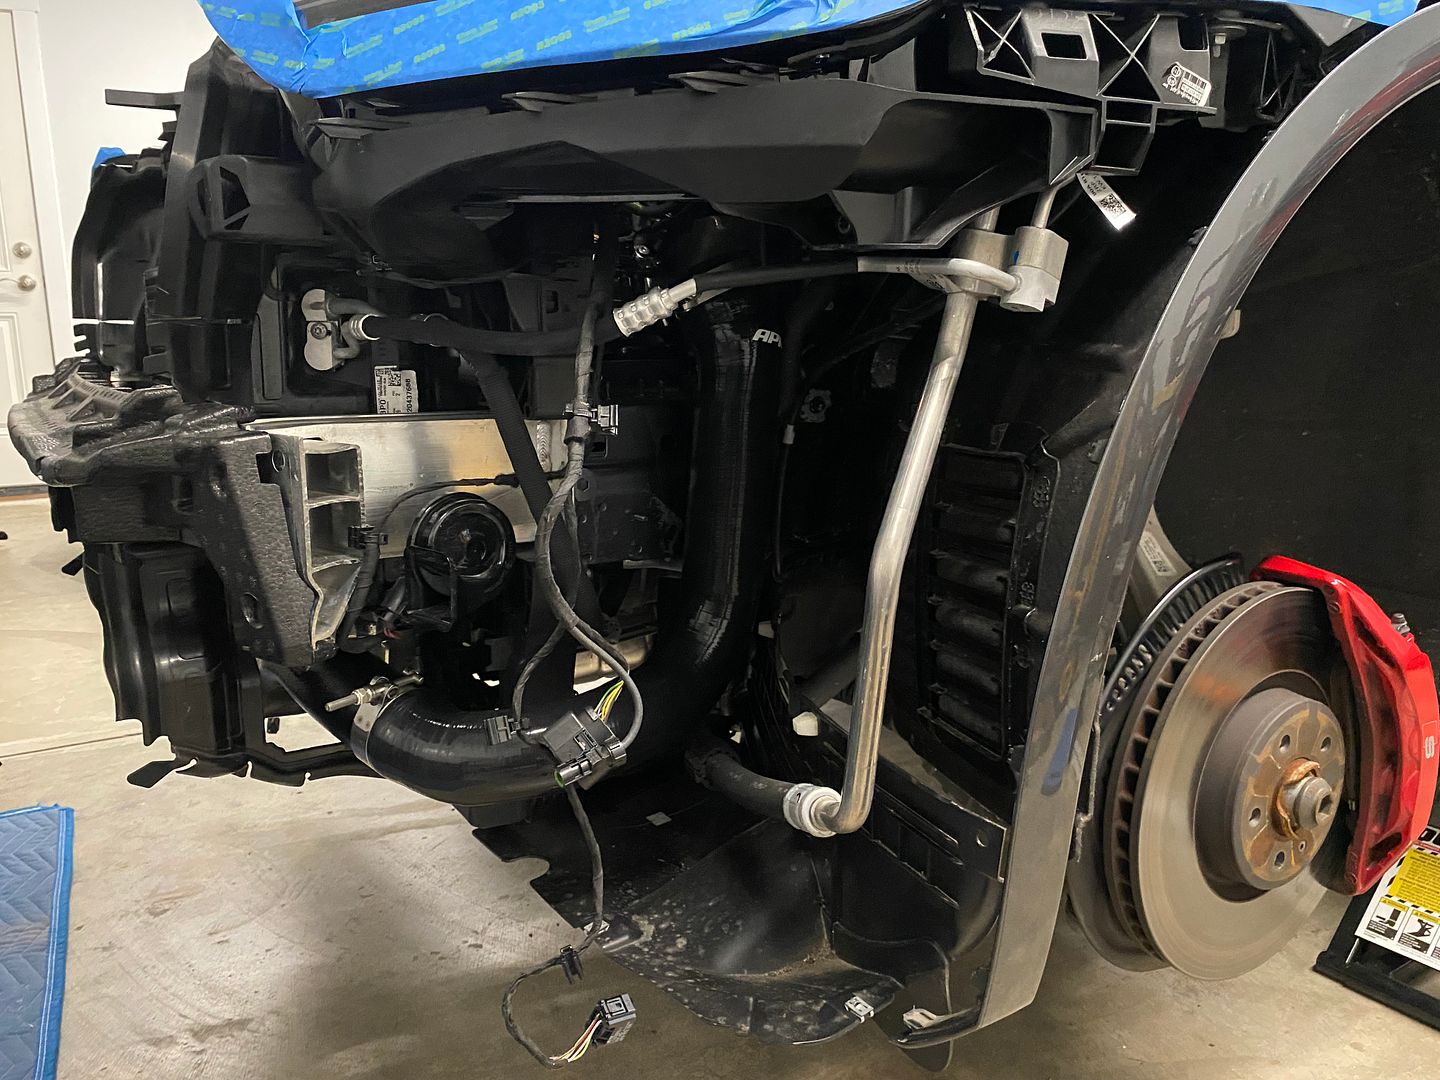
Once the bumper is off disconnect two plugs on the drivers side.


At this point the bumper is off!

Step 7.
Remove the plastic shields on either side on the radiator. I had to snip mine behind the AC connection because I couldn't see any other way of getting it out. They connect to the rad support with two clips.

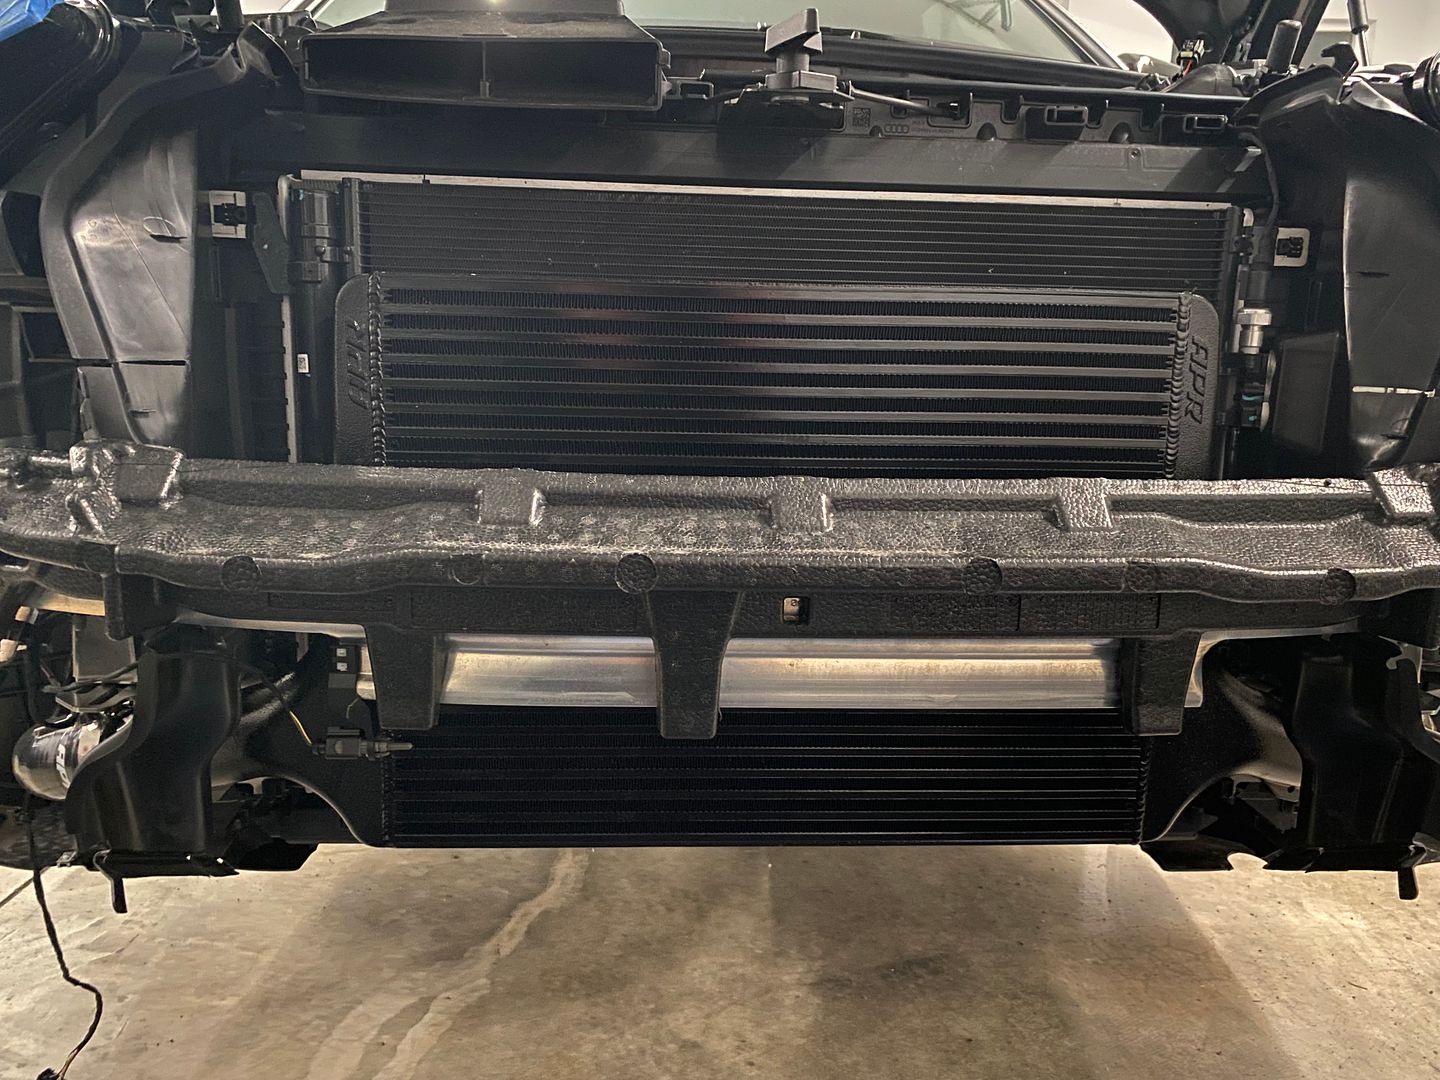
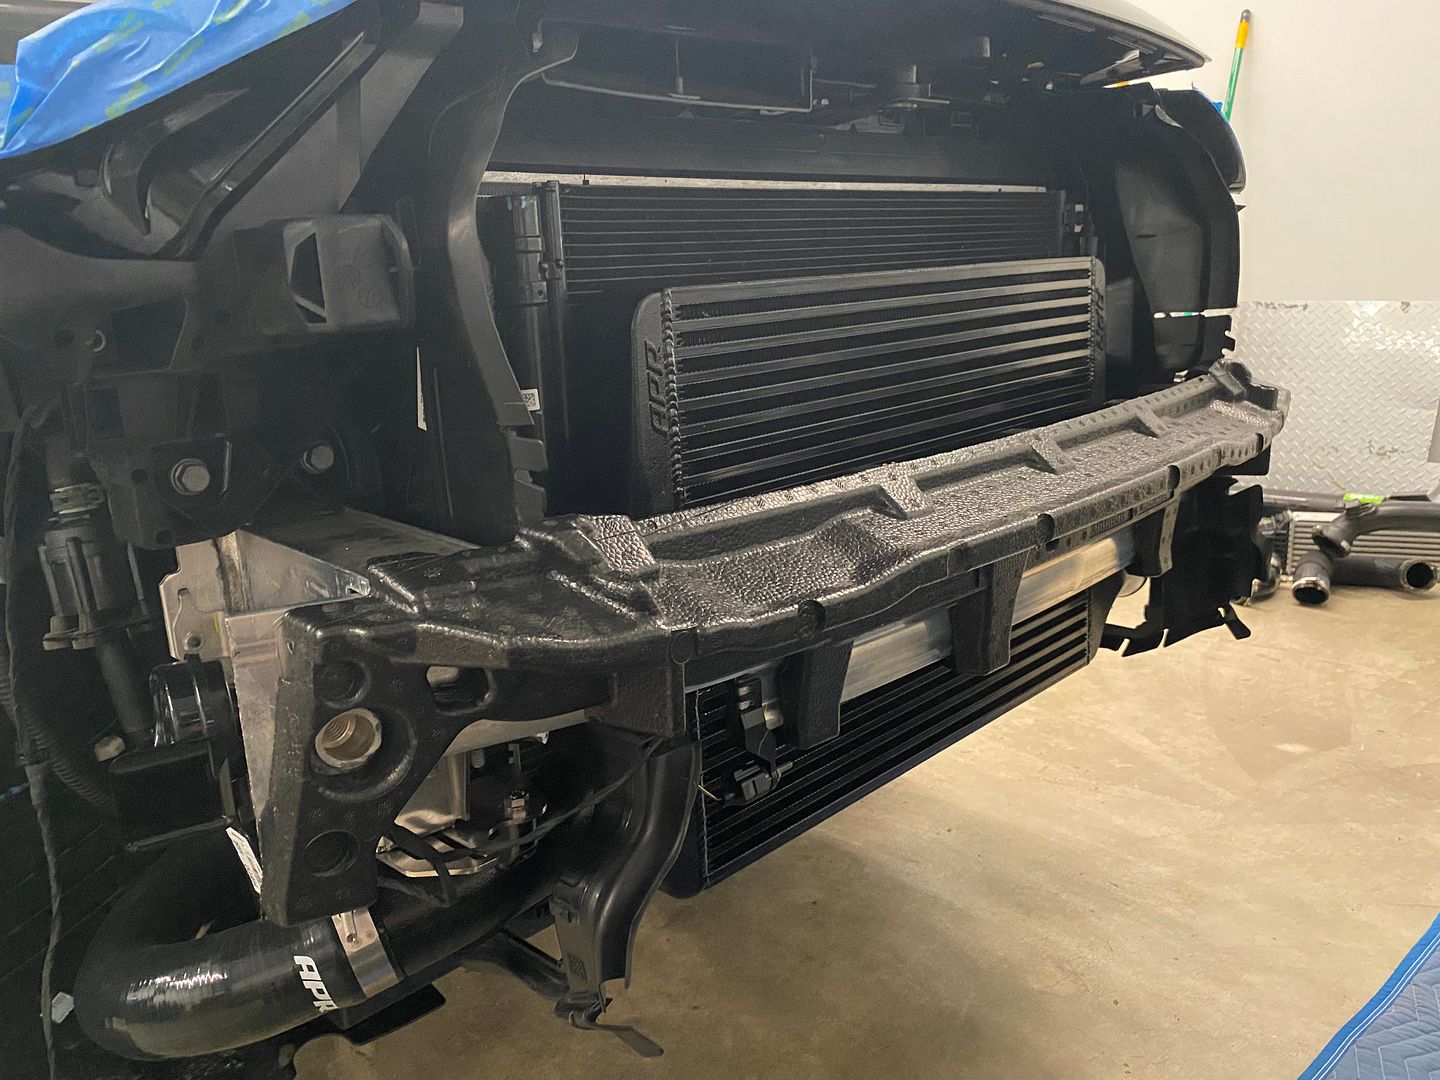
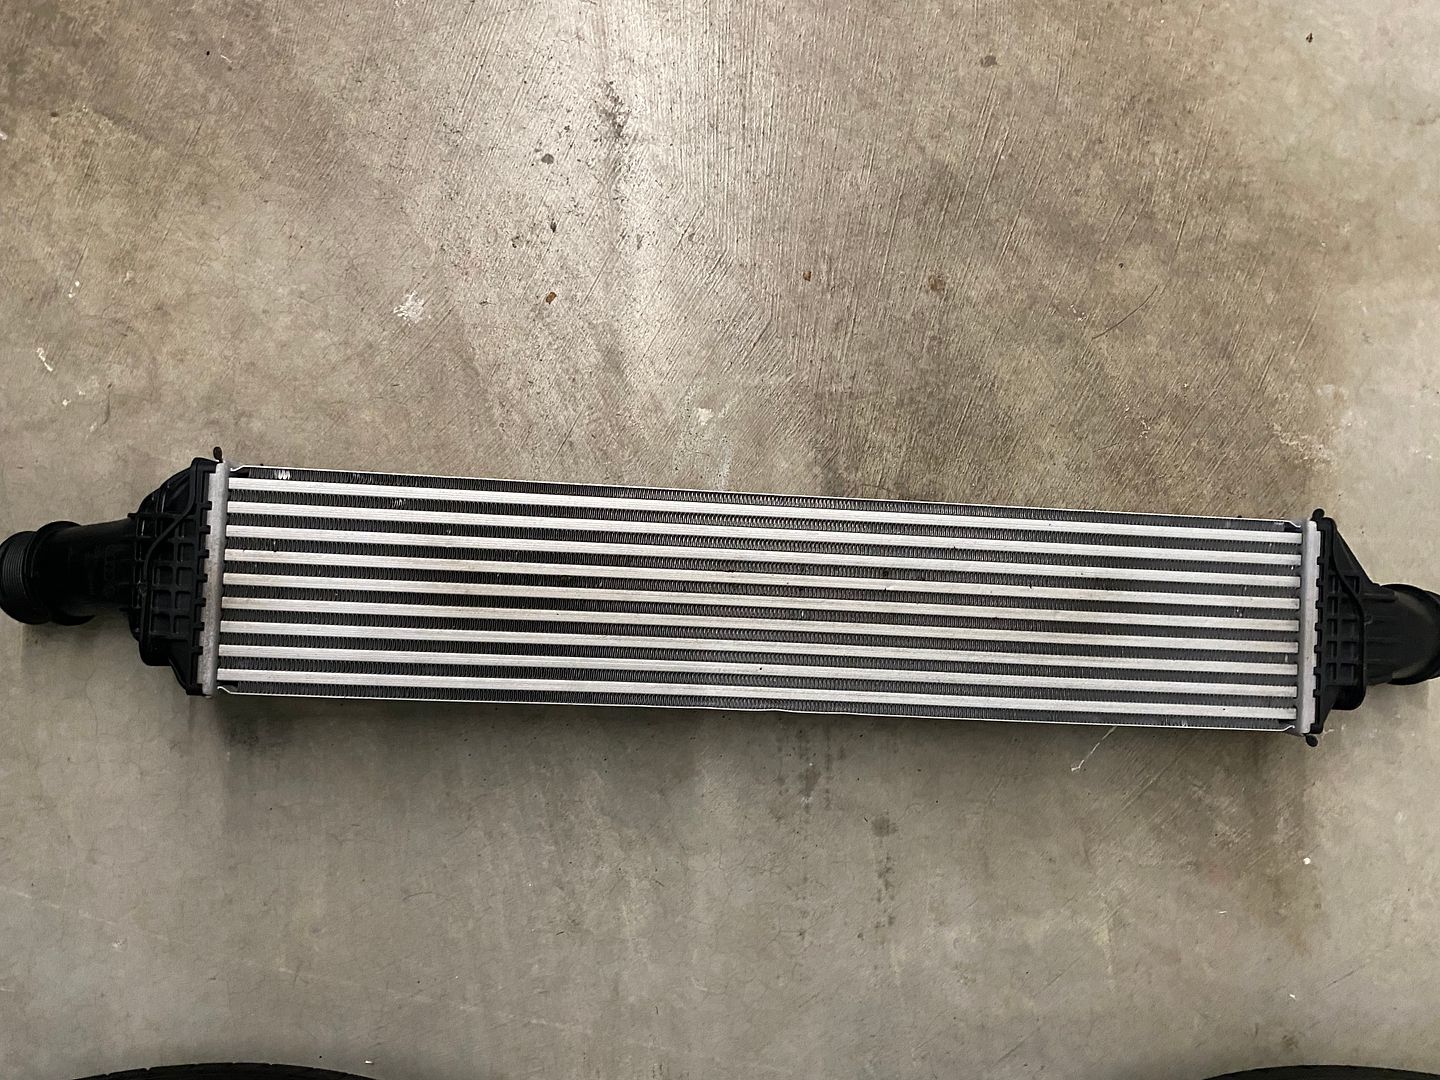
Step 8.
Disconnect both charge pipes from either side of the intercooler. You then need to compress a clip on either side of the intercooler and pull the top forward to release it. Once it's released pull up and it will come out of its lower mounting tabs.

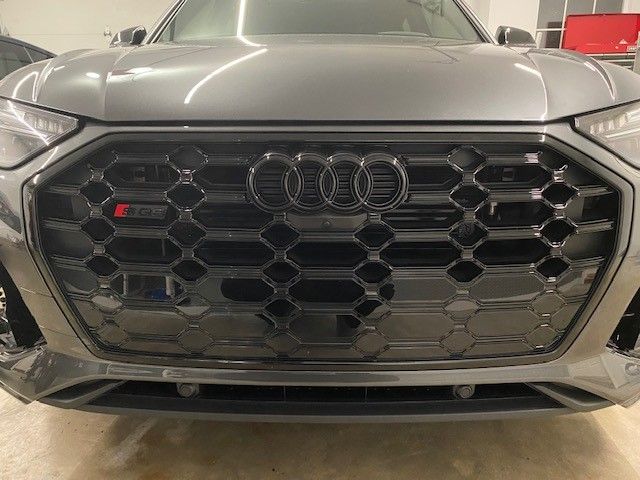
From here the install of your new intercooler will vary from brand to brand. Once you have it installed put everything back together and enjoy.

As a side note - if you are considering this as well as painted side markers do yourself a favour and do them at the same time. I have to give props to anyone that has done them without removing the bumper. Removing them was hard enough, but picking away all the tape would have been a nightmare if I didn't have a flat head screwdriver to help.
Hope this post helps anyone thinking of doing this!

 Reply With Quote


Bookmarks