


[IMG]
 20190804_143024 by jay will, on Flickr[/IMG]
[IMG]
 20190804_143016 by jay will, on Flickr[/IMG]

 20190804_143024 by jay will, on Flickr[/IMG]20190804_143016 by jay will, on Flickr[/IMG]

2003 02X Six speed swapped, RS4 RSB, H&R FSB, B7 brakes, 2.0T stroker, DSMIC's, B7 CTS K04 turbo.
'03 A4 5-MT Motoza tuned Frankenturbo F21L With full supporting mods. Sold (and missed dearly).
'13 A5 6-MT Needs more Fun Stuff: Neuspeed PM / 3.0 TDI Intercooler / H&R OE Sport Springs / Bilstein B8 Shocks / TyrolSport Brake Stiffeners / ECS Short Shifter / S5 Side Skirts / RS Grille
VW/Audi Immobilizer removal and immobilizer adapting solutions for any and all VAG Vehicles, Odometer matching, SKC/Pin retrieval services/ Component Protection/Module Coding/Diagnosis Services and repairs.RB4/RB8 Specialist cloning and repairs. Located in Northern NJ. For inquries pm for details or contact me via Whatsapp
Ziddy Autowerks

'03 A4 5-MT Motoza tuned Frankenturbo F21L With full supporting mods. Sold (and missed dearly).
'13 A5 6-MT Needs more Fun Stuff: Neuspeed PM / 3.0 TDI Intercooler / H&R OE Sport Springs / Bilstein B8 Shocks / TyrolSport Brake Stiffeners / ECS Short Shifter / S5 Side Skirts / RS Grille
2003 02X Six speed swapped, RS4 RSB, H&R FSB, B7 brakes, 2.0T stroker, DSMIC's, B7 CTS K04 turbo.
'03 A4 5-MT Motoza tuned Frankenturbo F21L With full supporting mods. Sold (and missed dearly).
'13 A5 6-MT Needs more Fun Stuff: Neuspeed PM / 3.0 TDI Intercooler / H&R OE Sport Springs / Bilstein B8 Shocks / TyrolSport Brake Stiffeners / ECS Short Shifter / S5 Side Skirts / RS Grille
 20190814_193838 by jay will, on Flickr[/IMG]

 Posting Permissions
|
© 2001-2025 Audizine, Audizine.com, and Driverzines.com
Audizine is an independently owned and operated automotive enthusiast community and news website. Audi and the Audi logo(s) are copyright/trademark Audi AG. Audizine is not endorsed by or affiliated with Audi AG. |

 |

 Reply With Quote
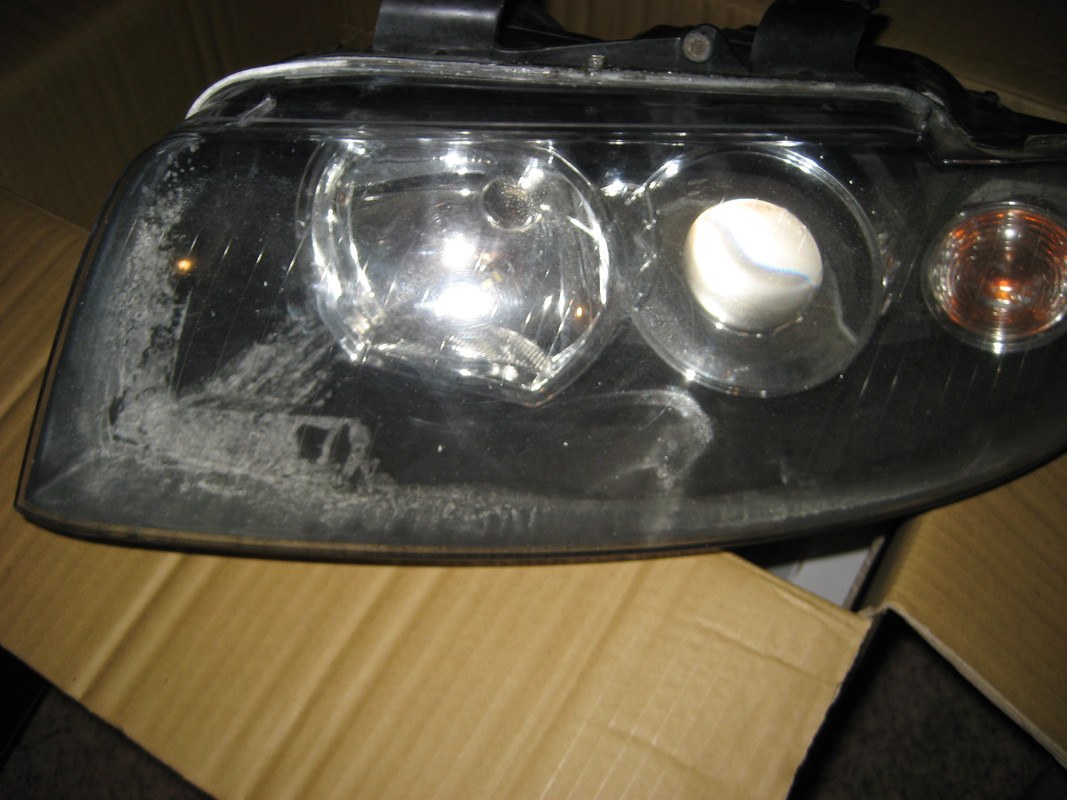
Bookmarks