
Originally Posted by
JaaTee

Does anybody have any DIY tips and or advise on how to replace the Crankcase Vent , aka PVC valve, on my 05 B6 A4 1.8t?
Mine is the 06A-103-245-F variety. The one that looks like a " T " with an extra nippel on the side.
Thanks in advance.
JaaTee
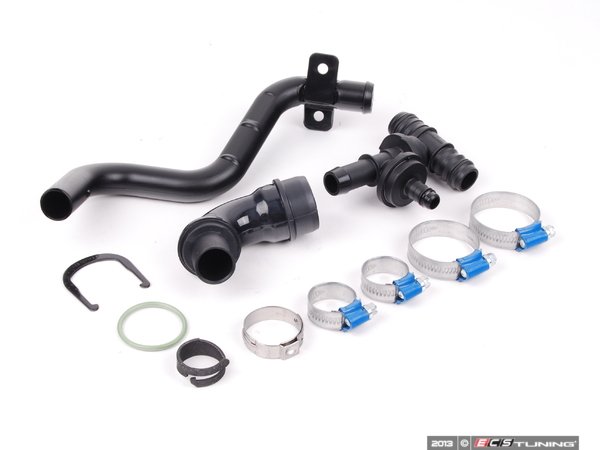
Purchase the 034 breather kit, which will eliminate the plastic (prone to cracking) and rubber (prone to softening).
As for how, it's up to you. One school of thought is to remove the intake manifold, which does make it easier to clean out the block breather connection if it disintegrates upon removal. I was replacing the thermostat on my car, which had the throttle body and alternator removed, allowing me to go in under the intake without removing it from the front of the engine.


 Reply With Quote
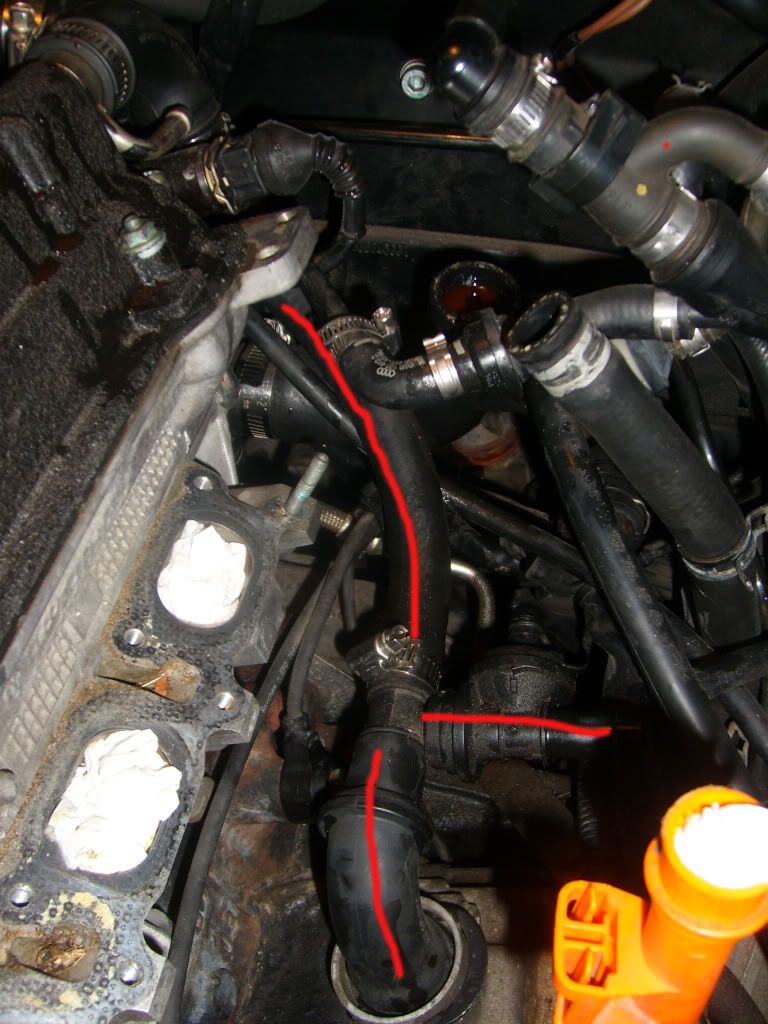


Bookmarks