Here's some details about how I added the Audi OEM Rear View Camera to my 2010 A6. The car did not come with it, but it was an available option with the Prestige trim level. Mine was the Premium Plus trim, so it didn't have the camera, nor wiring for it. After much research, I determined that it was technically possible as long as you added some parts. The European spec cars seem to require that your car have the Audi Parking System (APS) installed in order to work, but the US cars don't - mine didn't so I wasn't worried.
Here's what I bought:
Kufatec Wiring harness - it's possible to make your own, but this is a lot easier, everything is the right length with the correct connectors. Also comes with some basic instructions (not terribly detailed, but enough to go on and figure out the rest).
https://www.kufatec.de/shop/en/audi/...i-a6-4f-mmi-3g - $97 shipped from Germany
Used Audi Camera Control Module (also called Parking Control Module) PARKING AID CONTROL MODULE 2011 AUDI A6 AVANT 4F0910441D - $89 from Ebay
Used Rear Trunk Grip Handle - 8E0827574C3FZ - (or Pull pocket as it's called) - $110 with shipping from Shokan.com
Used Audi OEM Camera - 4L0980551D - $250 with shipping.
I went with used parts because (a) the car (that I just bought) is 5 years old already, didn't see the need for new parts and (b) The price of new OEM parts is pretty high for these items. The camera alone is $550. So, I saved quite a bit with the used parts. They all worked - the only issue is that I bought the wrong grip handle, so I wasted about $70 bucks there.
The other thing I bought was an Audi A6 maintenance manual, from
https://www.emanualonline.com . It was essential for figuring out how to get the trim pieces off, where the parts went, etc. $15 well spent.
The actual installing parts was about 8 hours of actual work, spread over three days.
Day 1 - removed the liner on the rear trunk lid, don't be afraid to pull hard to remove the trim latches, they are strong. Removed the license plate then I removed the old pull handle by unscrewing the nuts that look like they hold the license plate lights on (look at the replacement one for clue on how to remove the old one). I installed the camera in the pull handle (easy) and installed the pull handle in the trunk lid. Ran the wires down next to the existing wiring - couldn't get them inside the existing writing cover, too tight. Ran them into the right rear trunk area where the Camera Control box will go.
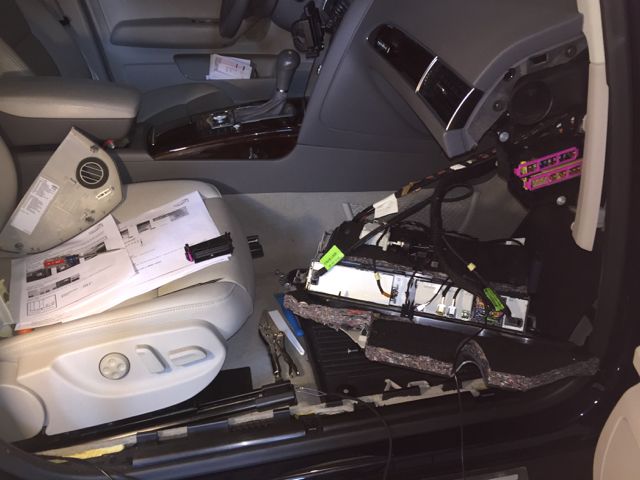
Next up was running the wires to the glovebox, to attach to the MMI and the CAN BUS. It was easy getting the wires out of the rear trunk, in the back seat I just folded down the back seat then moved some trim out of the way and slid the wires behind it.
After that, I removed the B-pillar trim - the manual came in very handy as it's not obvious how some parts have to come out first in order to get something else out. Nothing got broken and it came out easily. I then dropped the glovebox (5 screws) and twisted it around to get to the MMI module that's in the glovebox. It was easy to access the back of it to add the camera wires (2) to the plug.
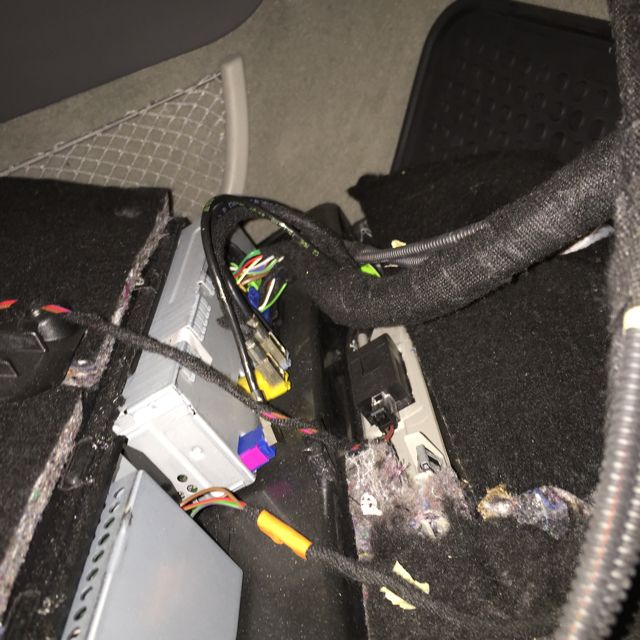
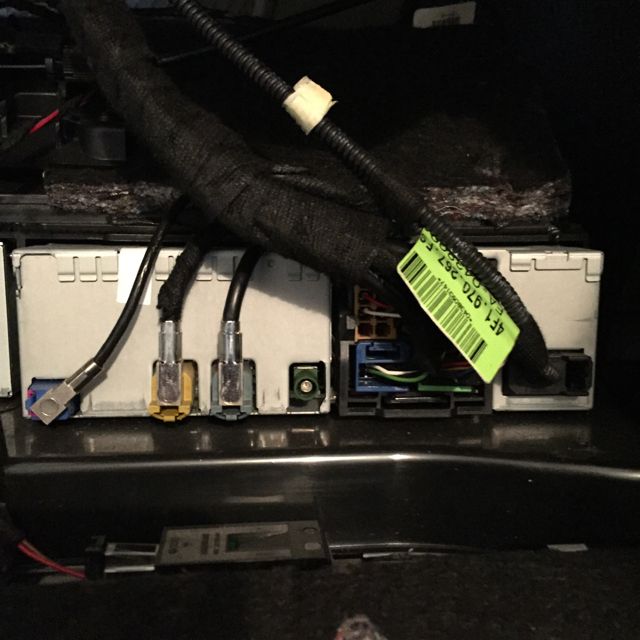
Back of the MMI

I removed the blue cover in order to add the camera wires.
Behind the glovebox.
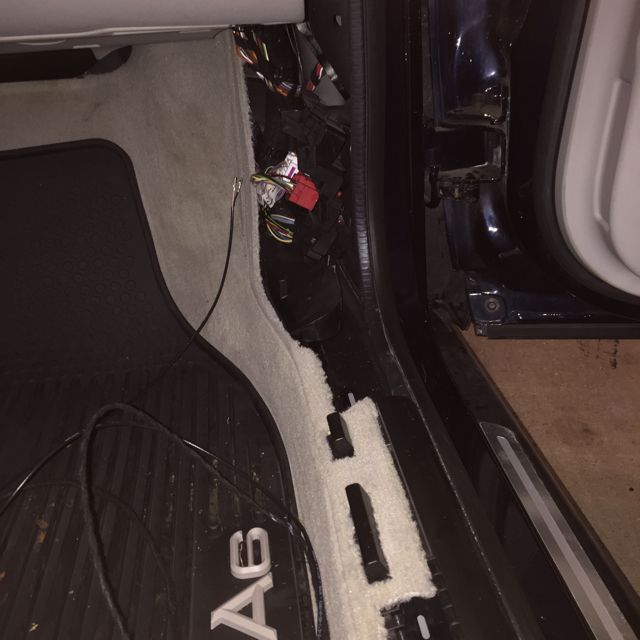
After that, I had to add two wires to the CAN BUS plug next to the glovebox. I could see where it was, but for the life of me I couldn't get to the back of it. After internet research and youtube, I found the little black clip on the left that released the CAN plug. Then all was easy - the place I had to add the wires, plug 14 was occupied. Hmm. What to do - I did more research and the word was the exact pins don't matter, but you need to make sure that the wires are on the same CAN BUS as 14 (not all the wires in that bundle are in the Convincece Can Bus apparently. I picked the closest ones, maybe it was 17? Anyway - it worked.
I replaced the glovebox (a helper would of been nice to hold it up as I bolted it back on) and ran the wires along the door sill. Replaced the trim and all was good.
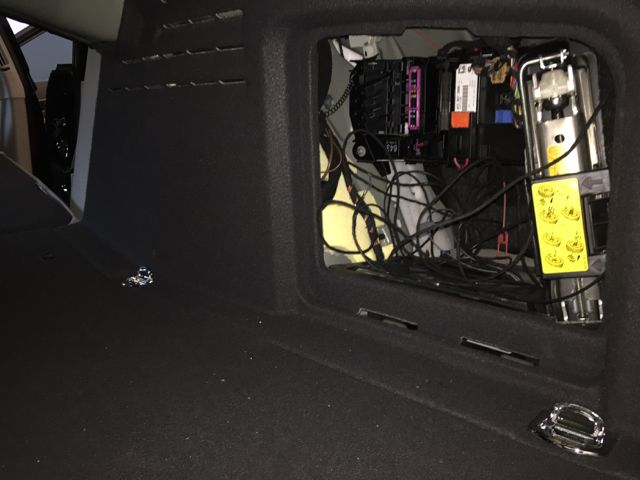
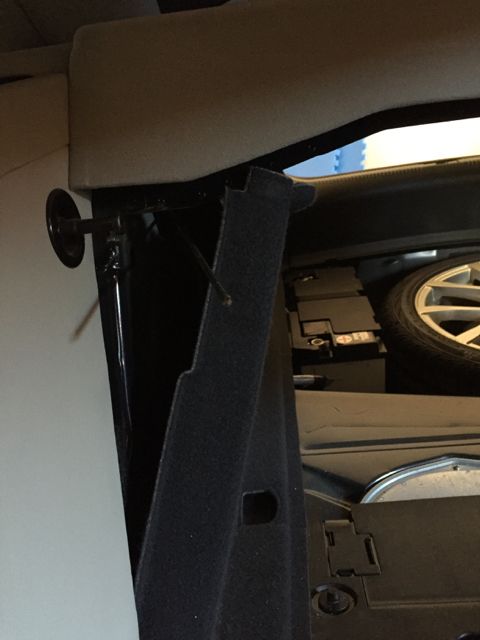
The next day I finished it all. I mounted the camera control box in the right rear trunk area - there is a place for it, and I had the mounting bracket (came with it, very nice). But I had to get self-tapping screws to mount it to the floor of the area. Also, you have to remove the jack, the jack holder, and the tool holder in order to mount this, and to tap power off the fuses in the trunk. Mounting this was probably the hardest part, as it is very tight fit, and you can't see what you're doing very well. Managed to get it mounted with only a bit of cursing.
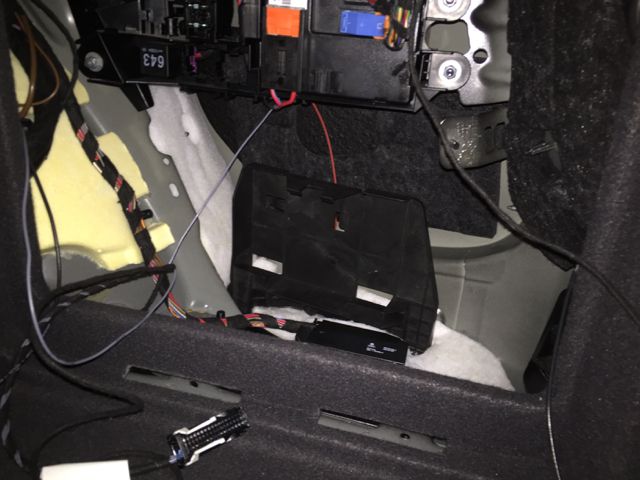
The black bracket is in the middle, with the fuse panel above.
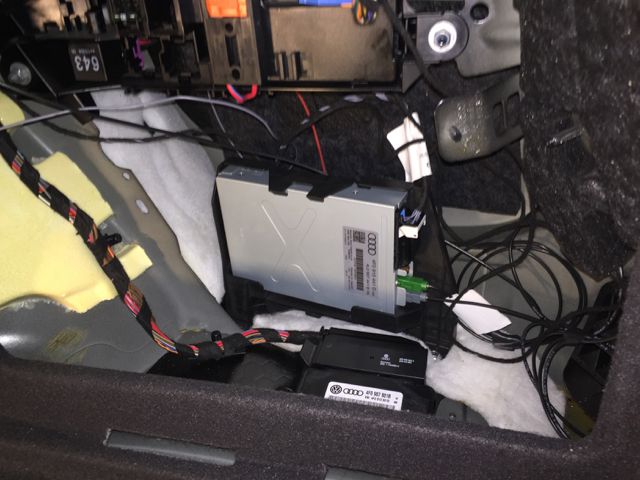
Silver box is the camera control.
Tapping into the power block above was easy. I removed the fuse panel in order to access the back. I spend 30 minutes figuring out which empty fuse area to use, but it doesn't matter, they all seem to be powered the same. I slid the positive power lead into the fuse block then replaced it all back as it came out. I attached the negative lead to a ground screw that was right there in the trunk, that was being used by other grounds. I plugged in all together and no smoke!
I knew it had to be coded with a VCDS to get it to work. I have a Carista scan tool, which can see faults and make minor modifications. I scanned the system and had a lot of faults! I was worried at first, but then saw it was things like "Passenger Door" that I knew I hadn't messed with. I guess play with the fuse box confused it - so I reset them all and they never came back.
I found a guy (drob32 - Thanks!) who lived nearby who offered to meet me to code it up. We met a few days later and started in. The Kufatec directions talk about coding, but they are using something other than VCDS so we really couldn't follow their directions much. In the end, this was the coding:
My gateway (19) was not support by VCDS, so there were just some bits to change. I still have an error there, but we ended up not changing anything there. Most other guides say to tell the gateway that you have a rear camera. Maybe mine you do, but we couldn't read it. The error was:
CAN network gateway
Part #: 4F0907468M
Component: GW-BEM 4CAN-M
Coding: 000303 (hex)
Fault codes:
01044 Control Module Incorrectly Coded
We went into the Information Electr. (5F) module to turn on the camera in the MMI. VCDS didn't support this module either, but the Kufatec directions said, on BYTE 7 to turn on bit 1. We did that, reset the MMI and poof, the rear camera module appeared in the VCDS, along with a code that the rear camera wasn't calibrated - perfect, just what I wanted to see.
We couldn't see anything on the MMI in reverse - screen didn't change. We went into the Rear Camera Module (6C) and turned on Optical Parking System. This was wrong and would bite us later. I had the Calibration Mat all printed up (from Staples) and had the directions on how to calibrate it. This thread was a great help:
http://forum.a8parts.co.uk/showthread.php?t=7596&page=7 and this thread too
http://forum.a8parts.co.uk/showthread.php?t=7596
We followed the directions and it appeared to calibrate. But we still didn't see anything in reverse. We ran out of time and I went home to do more research.
Finally I figured that Optical Parking System is NOT the Rear View Camera, but the acoustical Audi Parking System (the button looking things on the bumpers that beep in the car when you're too close to something). I don't have that, so a few days later I borrowed the VCDS cable and went into the module and turned that off. I reset the MMI, and boom, it worked:
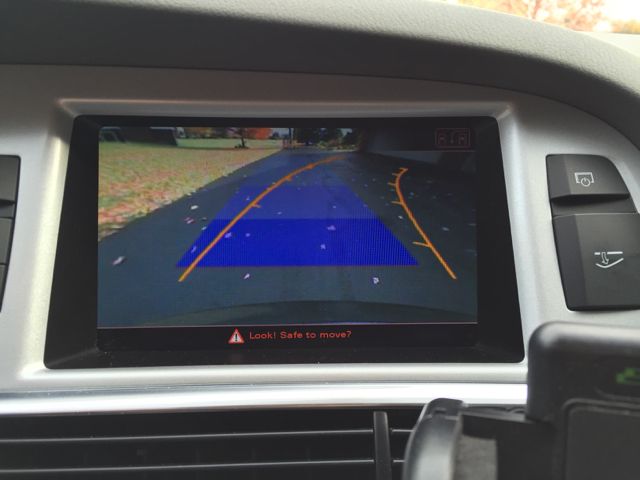
I was pretty happy. Took about 8 hours of working in the car, and about a week or two of research and buying parts.


 Posting Permissions


 Reply With Quote
Bookmarks