


I know a tutorial to build a Full Mesh grill for the B7 A4 already exists, but I thought it would be good to have another version for those who want to build one on a budget. The original tutorial uses OEM parts which can run you up a couple hundred bucks more than just exclusively using only Ebay parts.
You'll end up spending anywhere from $200-250 for all the materials including both grills, plastic welding rods, body filler and paint (Depending on what you have available already).
Materials & Tools
First you'll need these:
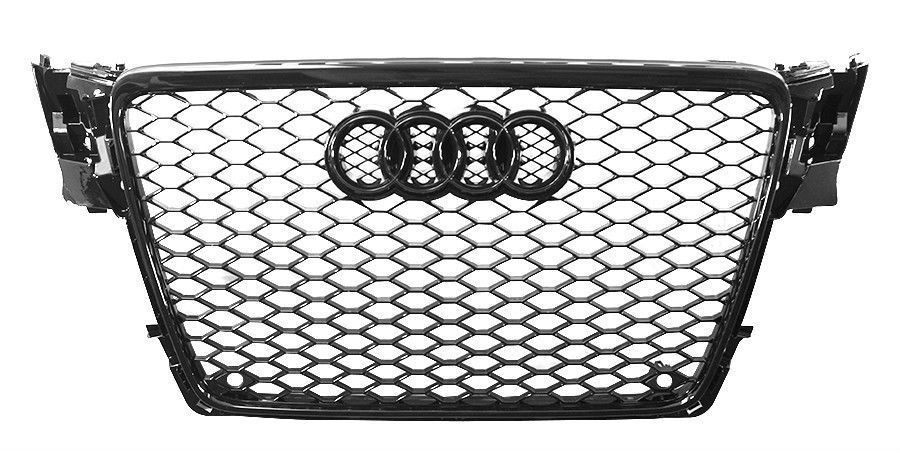
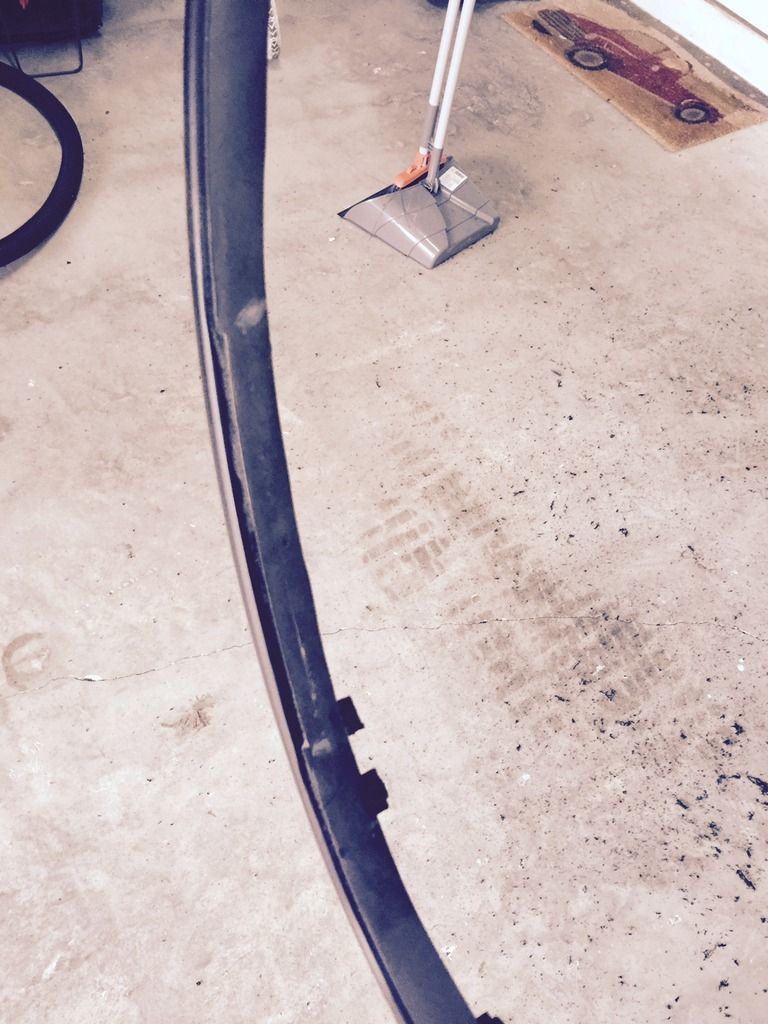
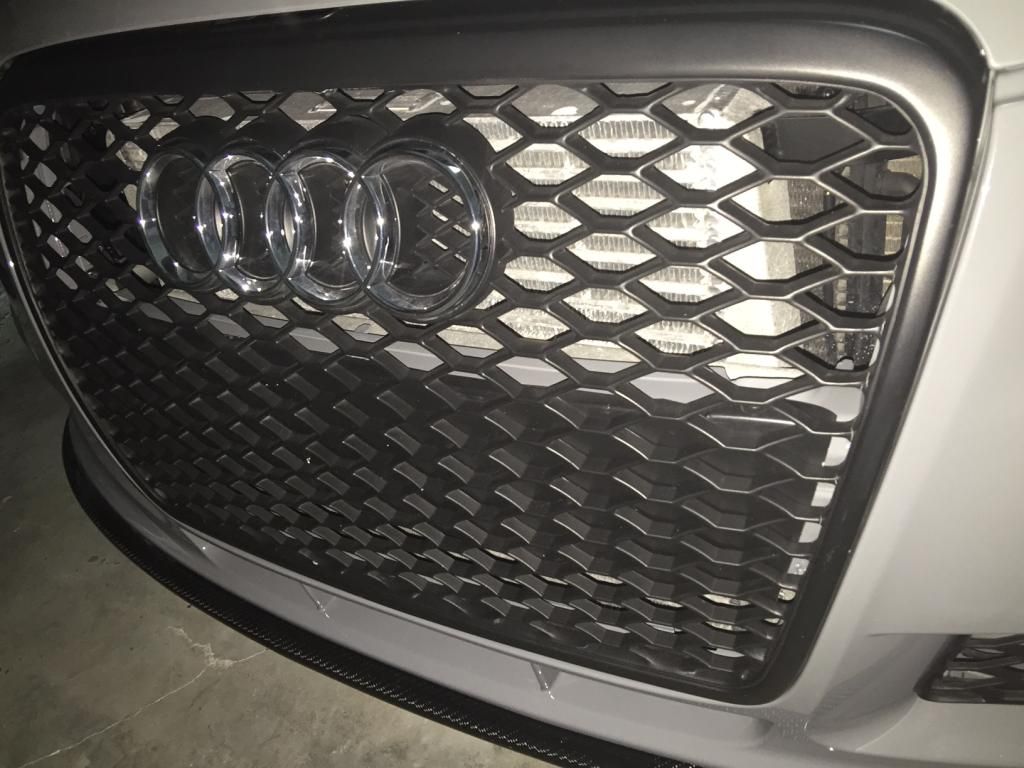
1) A spare B7 A4 Grill (Non-Sline). I used the all black version. There's a silver trimmed version and an all black version. They are both the same grill except the silver framed one is painted silver. For a chrome trim you'll have to go OEM for donor grill.
http://www.ebay.com/itm/05-08-AUDI-A...776a89&vxp=mtr
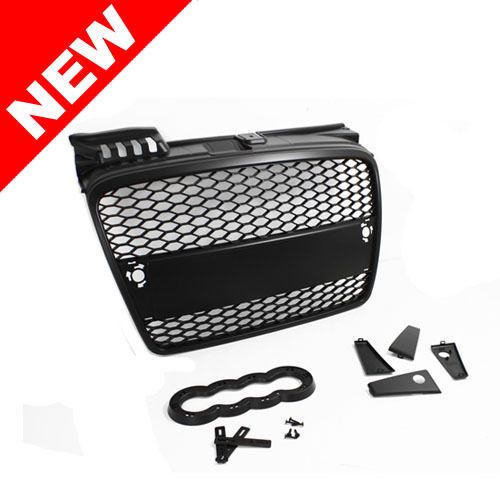
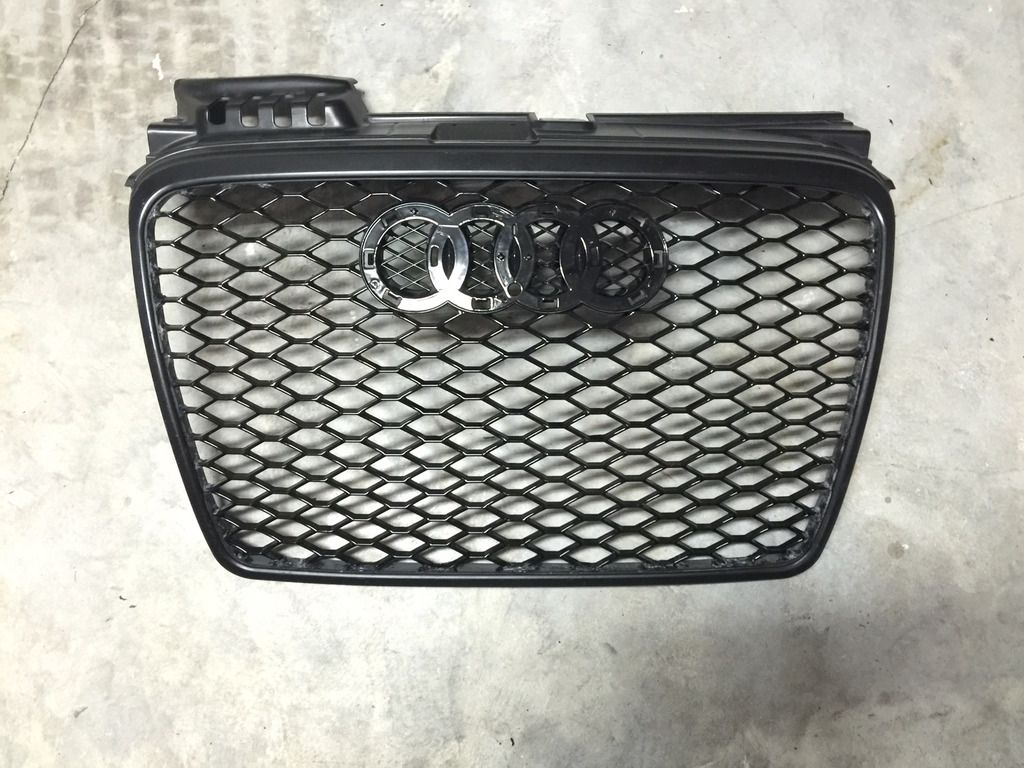
2) A full mesh grill:
You don't necessarily need an RS6 grill. The merchant who sold me the Rs6 grill sent me an B8 RS4 grill instead by mistake and I used that instead. They will both work. Go with the cheapest version you can find. There are also different full mesh grills. One is the larger honeycomb grill with a ring base that attaches on to it as a separate piece. The other version has the ring base molded on to it with 2 different mesh styles on it (honey comb, and small diamond mesh in-between rings). I went with the molded version.
http://www.ebay.com/itm/2009-2010-20...981e89&vxp=mtr
http://www.ebay.com/itm/like/1818651...466&rmvSB=true
3) ABS Plastic welding rods and plastic welder/Soldering Iron ( I used this as it will have the strongest bond as I merge the grills)
4) Dremel with cut off wheel or carbide cutting tip, sanding bits
5) Body filler or JB plastic weld (to help shape the edges where both grills meet)
6) Orbital sander
7) Satin/Matte black paint, and primer
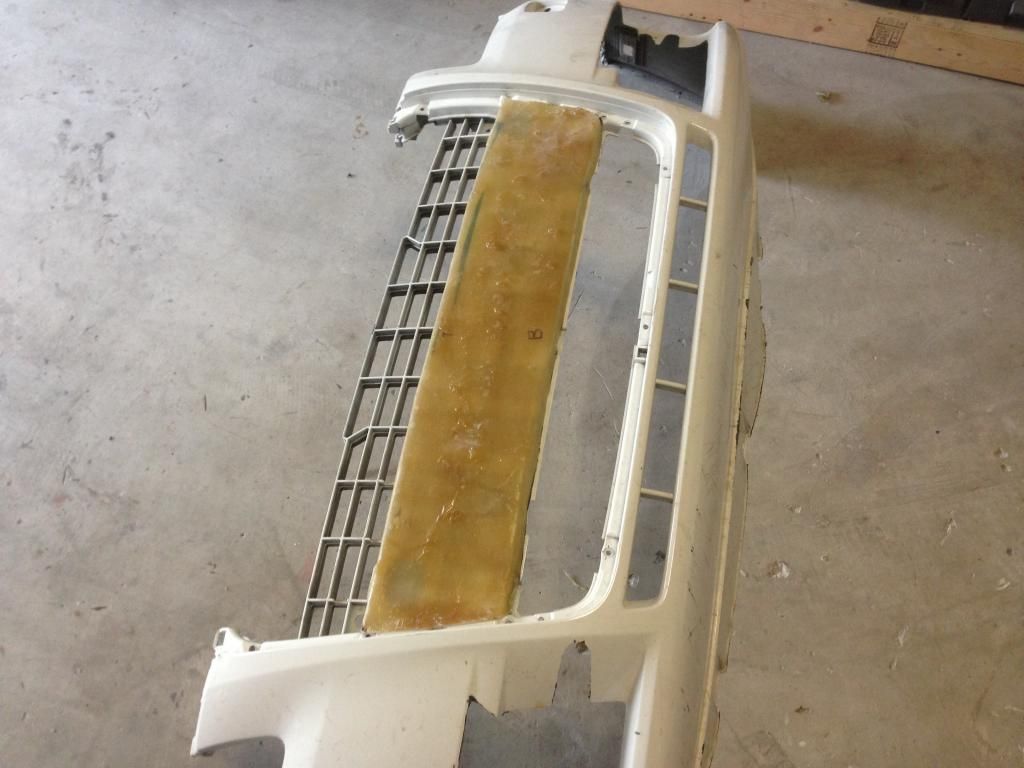
Step 1: Prepping base grill
I started by gutting the Ebay B7 RS4 grill. Carefully remove the center and once you've done that sand all the high spots in the inner lip, making it smooth. Once your done it should look like this:
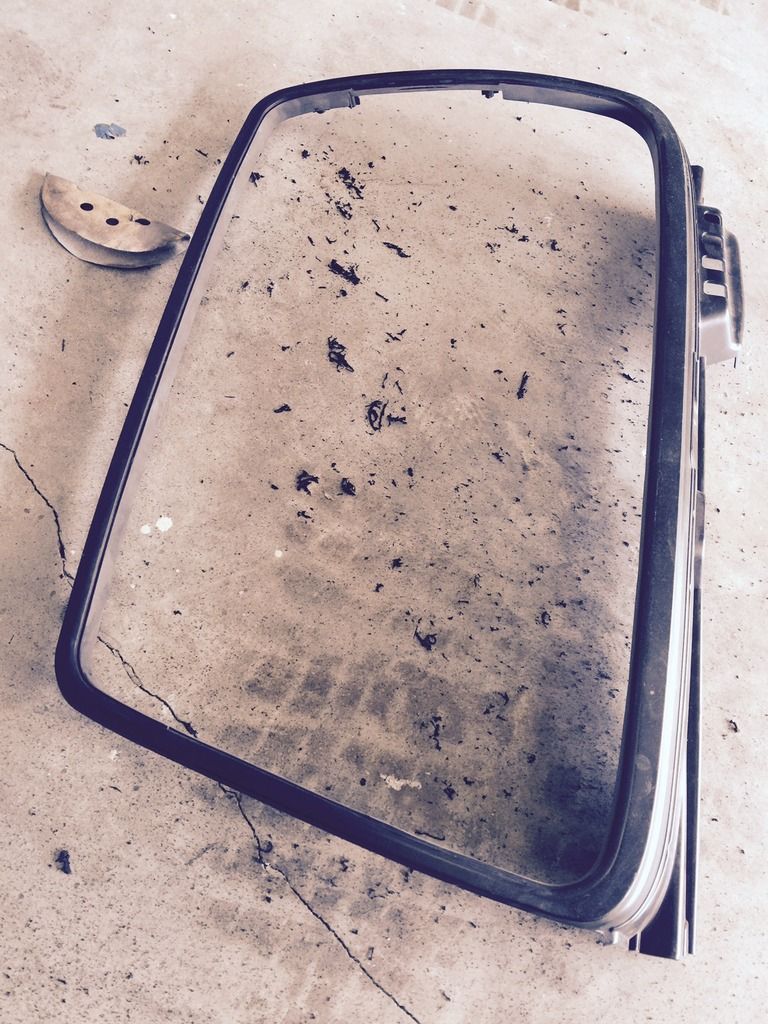
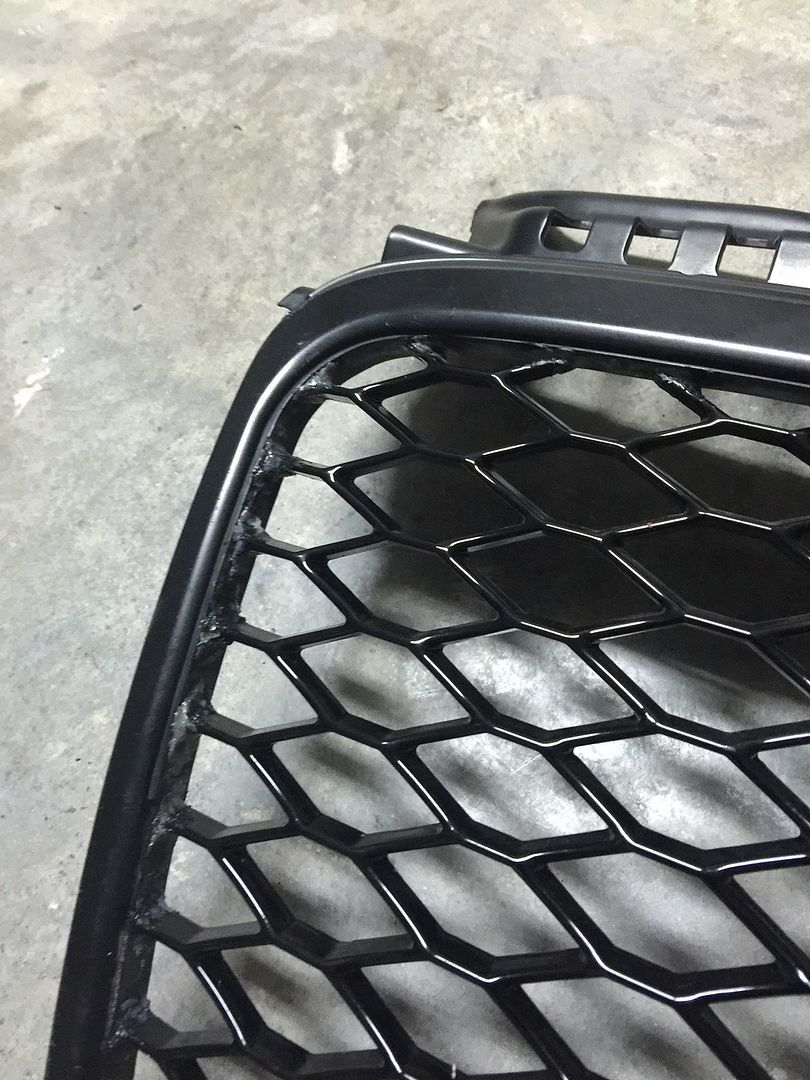
You'll see that the grill frame will have some notches left over. That is where the filler plate / license plate holder once was. We're going to patch them up.
I personally cut out and used a chunk of the discarded filler plate to weld onto the gap. Carefully trim the edges back so it fits flush up against the edges. It's ok if there are holes as you can fill them later.

You'll want to clean this up by carefully trimming off the excess plastic and lining it up with the edge of the rest of the grill. Be careful to not cut off a screw post. Next sand everything smooth and fill any holes with melted plastic weld rod and sand it smooth. I should look like this when done.
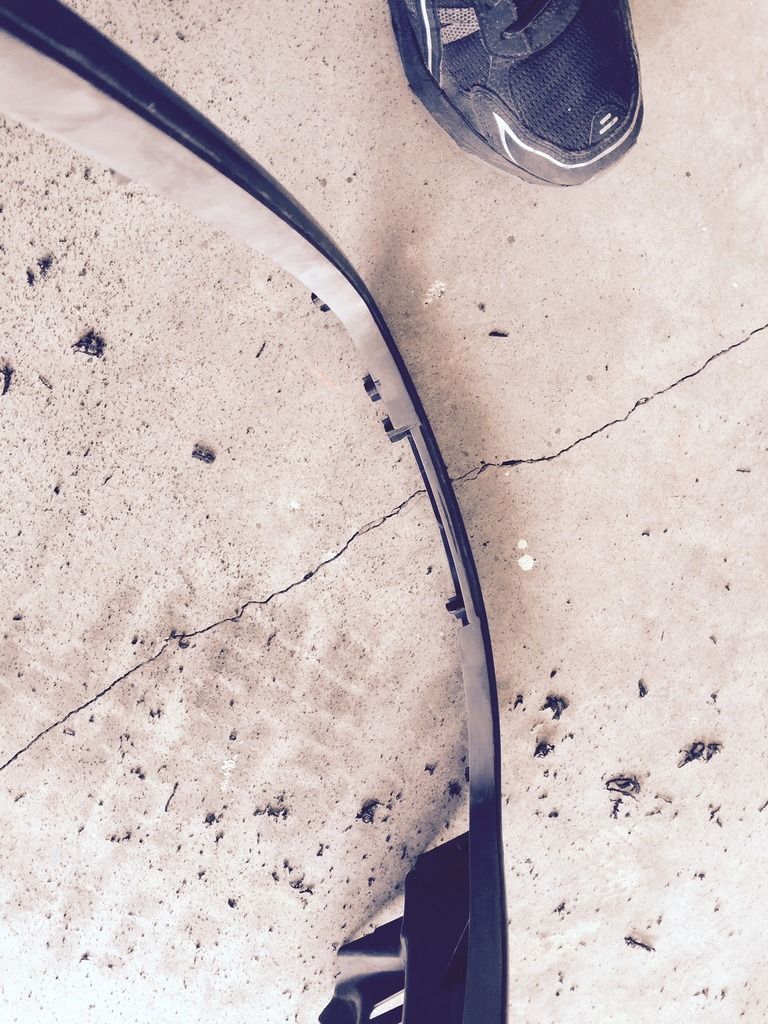
Step 2: Cutting out mesh grill
I did not get any pics of this,
 but it's pretty straight forward. Just make sure you leave enough of the grill along the edges, especially up to and on the bottom. I used the carbide tip to quickly cut out the grill. If you cut off to much it's also ok as you can just melt welding rod up, and fill the gap. Think like 3d printer.
Step 3: Merging them together
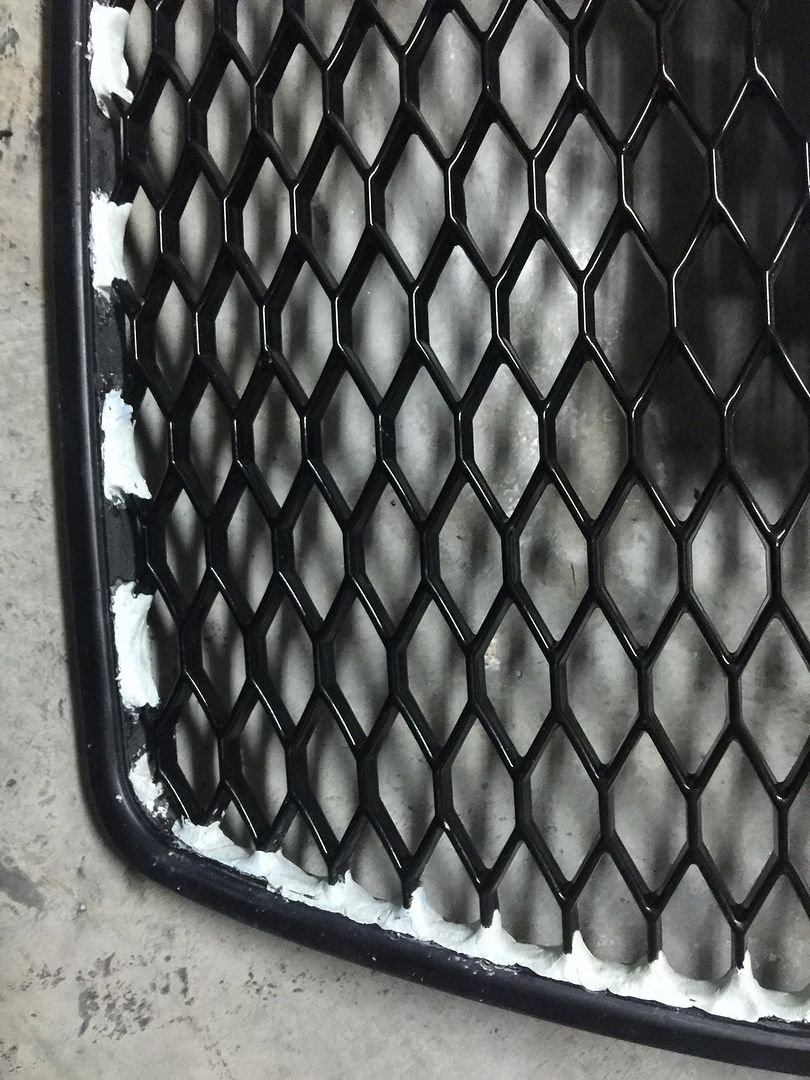
Once both pieces have been cutout it's time to rough fit. You'll want to cut as close to the edge as possible. I like to leave to leave a little more material and cut it down little by little, spoke by spoke to make sure it's a snug fit.
Once you've trimmed the center down hold it in place with Zip ties to begin plastic welding. It took me about 3 hours to weld it together. I welded both behind and in front of all the spokes. This will make it a super strong bond. For me it's better than glue/fuser. Plus you can sand everything down to a smoother edge later better with plastic than with glues. Just make sure you blend your plastics well together. If your ABS rods are white make sure they end up black after to ensure a good weld.
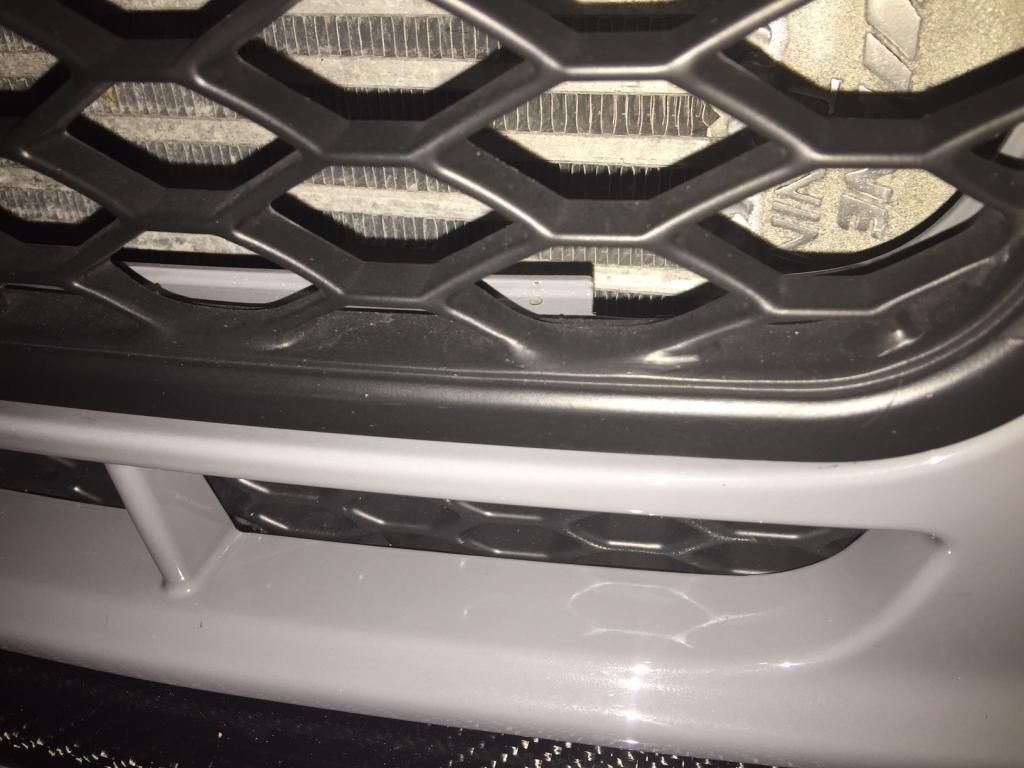
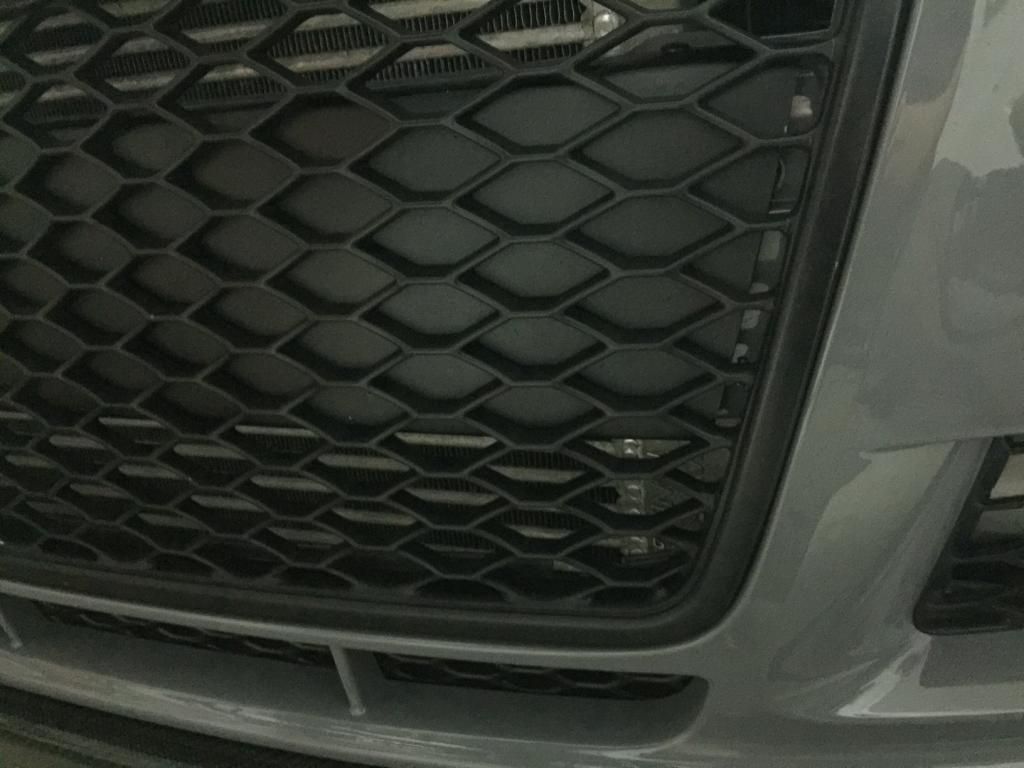
Step 4: Finishing touches
After everything is welded up it's time to clean and smooth everything up. Depending on how anal you are, a this point you can just sand your welds down smooth and paint the grill. It will look good from far away but really rough up close. That my friends will drive me nuts so I'm going the extra step.
For this step you'll need either the body filler or the JB weld to build up some bulk to sand and shape. I personally used the JB plastic weld as it has a stronger bond than body filler and sands just as well.
To be continued...
Got to finishing sanding everything down and I'll post the remaining steps.
Hope this helps some of you.

 Reply With Quote


Bookmarks