


Disclaimer: I am not a certified Mechanic and any information given here is use at your own risk. also I am horrible at spelling.
Hey everyone, I have only found a few walkthroughs for the Timing belt on the D3 A8 4.2l so I am Going to do this write up to hopefully guide anyone who plans to take on this project themselves.
Approximate Job Time for a Competent Mechanic ~7-10hrs
Tools Used
-24mm Wrench
-8mm allen socket
-5mm allen socket
-8mm allen wrench
-5mm allen wrench
-T30 Torx socket
-T25 Torx socket
-T20 Torx socket
-3/4" Socket
-18mm Socket
-16mm Socket
-13mm Socket
-12mm Socket
-10mm Deep well Socket
(3)-3"extensions
- 10"extension
1/4",3/8",1/2" drive ratchets
-Audi Trunk Screwdriver
-Leatherman
-Long (10") flat head screwdriver
-Razor blade
-Vise Grips
-Floor Jack
(2)-Car Stands
-Lots of Gloves

Specialty Tool that ARE NEEDED
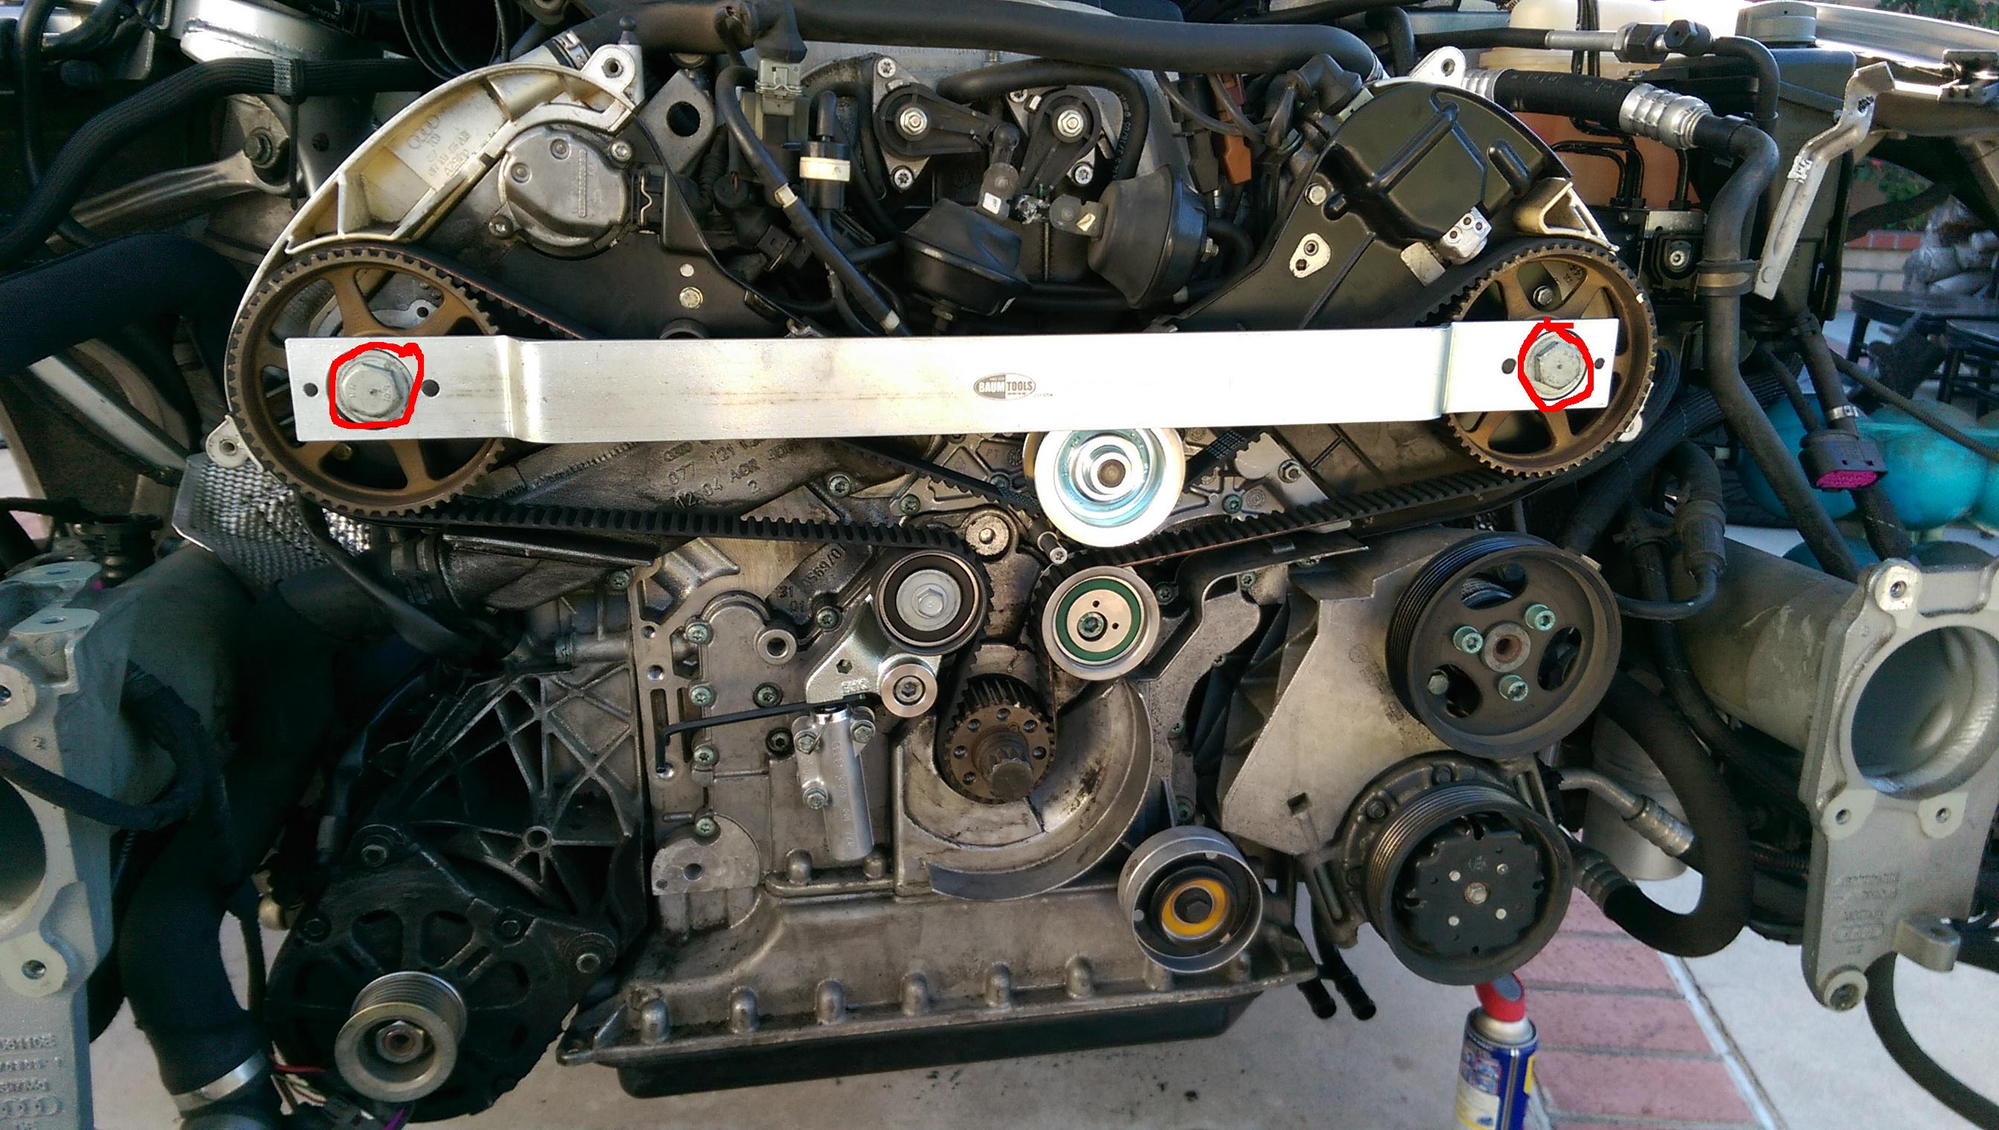
Cam Lock bar (T40005)
Tensioner adjustment key (T40009)
Crankshaft holder (3242)
Dampener Pin (T40011) you can use a small allen wrench in place of this.
Cam gear puller (T40001)

Parts Needed
You can use whatever parts you want but this is what I used and so far have not had any problems
From ECS Tuning;
-Serpentine Belt (continental) $28.67
-Serpentine belt Idler pulley (larger one) $62.91
-ECS Timing Belt Kit (standard continental) $191.98
(2)-Gallon G13 genuine Audi coolant $47.56 ($23.78 each)
Total $331.12 free shipping
From Audiusaparts.com
-Refurb Water Pump $181.43
-Thermostat $37.01
-Thermostat Gasket $2.41
-Dampener $131.59
Total $352.44 +shipping
Total Parts cost-$683.56
+ 2gal of distilled water~$2

Ok so Time to Start.

First thing you will want to do is set the park brake, Lift the front of the car up, and Remove BOTH front wheels. Then you will want to remove the Fender Liners.


Then Remove The Bottom Liner


Next Remove the Front bumper cover


Now you can pull the whole cover forward. There is (2) plugs for your Lights and indicators and (1) washer fluid line for the headlight jets.

When you remove the washer fluid line it will leak out all over. I used one of the Upper bumper cover bolts to stop the fluid.

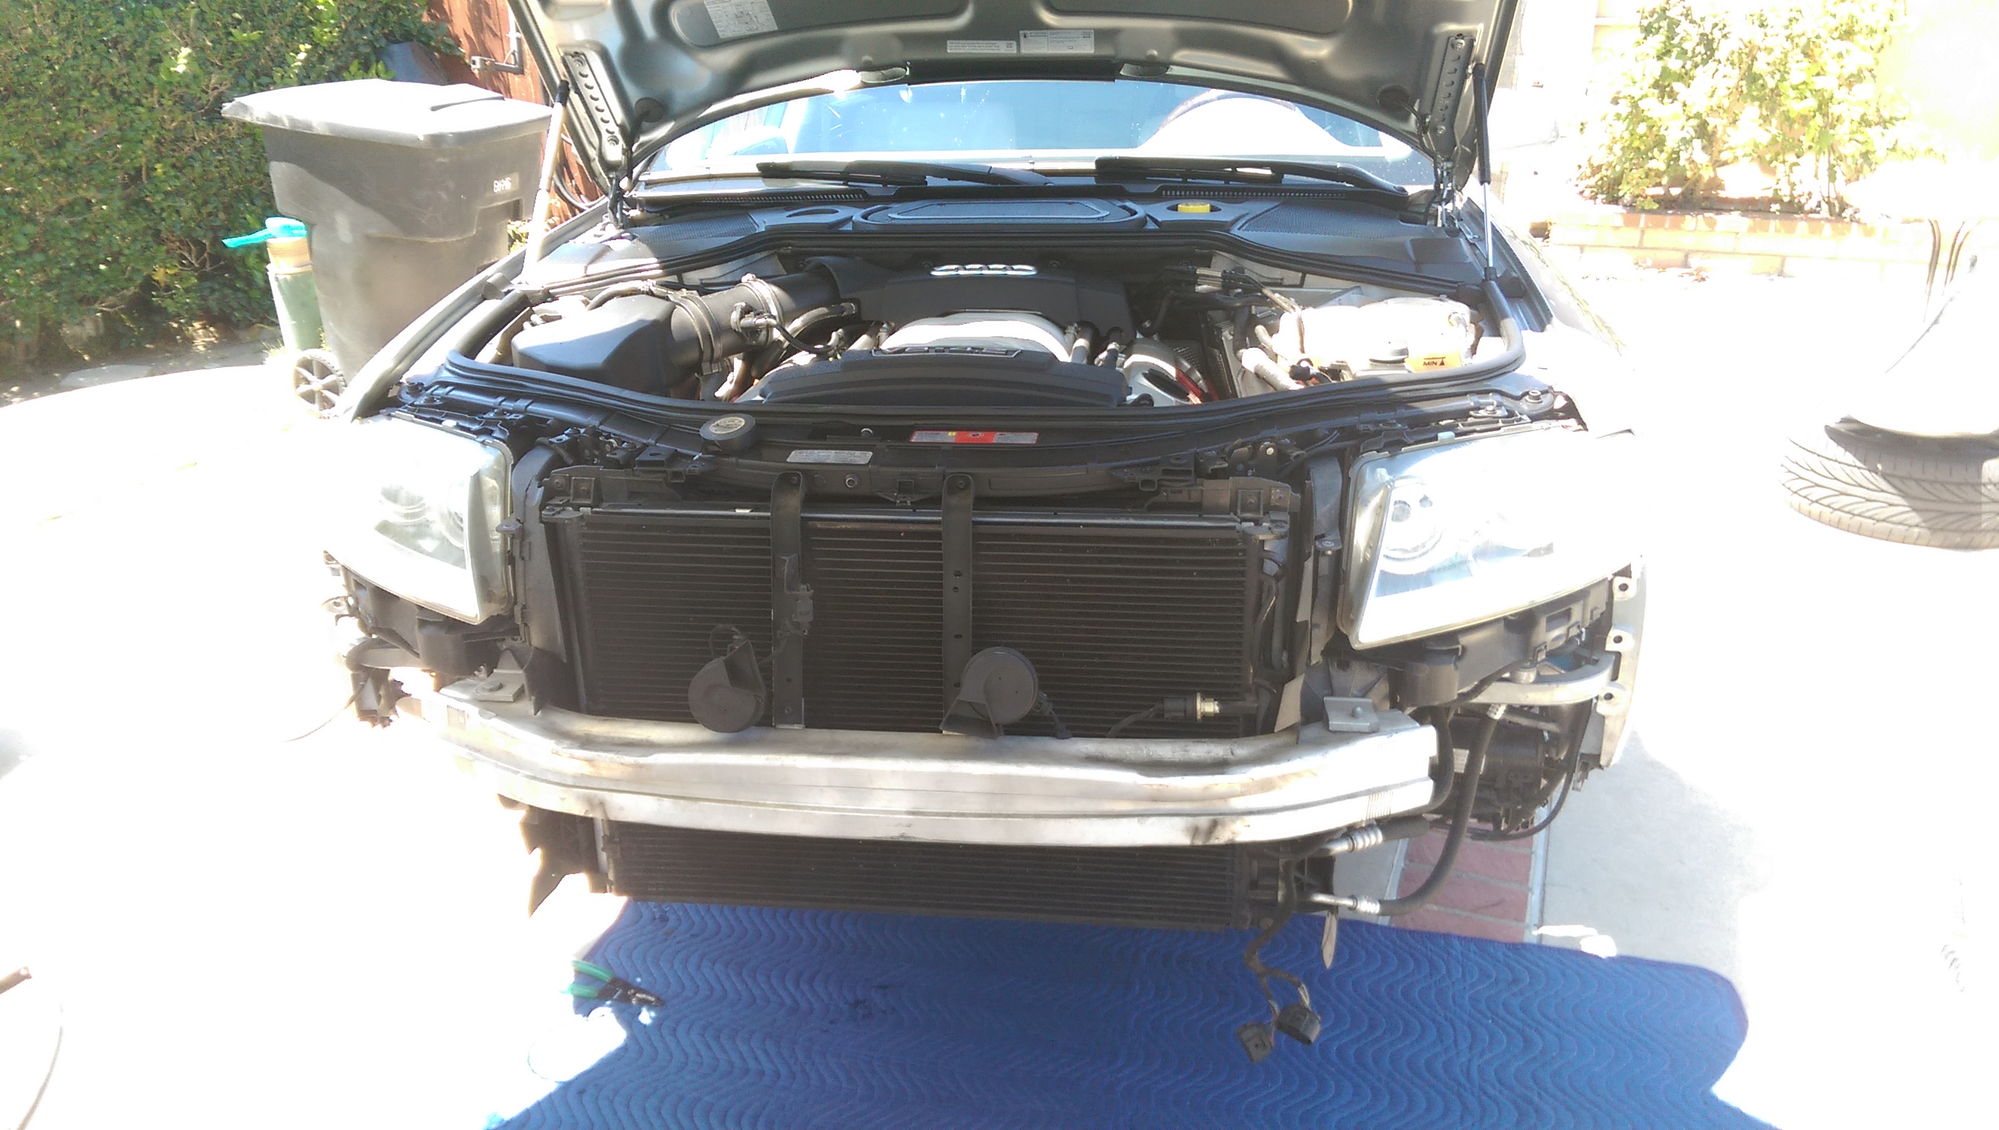
Now your car will look like this.
You do not need to remove the entire horn bracket. just the top two bolts.
remove the (yellow) (2) horn plugs,outside air temp sensor, condenser temp sensor, and unclip the wire harness from underneath the bumper.
Now remove (2) long bolts from both sides of the inner bumper support.


You will have to remove the Pass headlight to Get the bumper bolt out. (I took both lights off to sand and polish.)
Remove the Bumper Shocks.(4) Bolts on each side


I Now Started to drain the radiator. (the engine had cooled off by now.)
locate the pass side block drain plug. You do NOT need to remove it all the way, it is piloted to allow fluid to flow through.

Remove the Condenser coil (4) bolts and swing out on drivers side. DO NOT KINK LINES as doing this will damage them and you will have to get new lines and re-charge A/C System.


Next is to remove the Radiator and support. There are a few clips and hoses. First we will start with the hoses. Remove the rubber gasket and (2) bolts on the top of the support to give you some room.

some of the Clips for the hoses are HARD to get to so take your time. here are the locations of all the hoses you need to disconnect

To get the Top Left quick release you can access from the top


The lower hose is a P.I.T.A. you have to just guess where the clip is and use a short screwdriver. once you pop the clip up all you have to do is pull and it will disconnect.

 Reply With Quote


Bookmarks