


I never wanted RNS-E and after nearly 8 years of owning my B6, it's time to get some hands free calling and some streaming bluetooth music.
Step by step in full color!
Bottom line: Very easy install, $316 total cost, add $60 if you want SiriusXM (I didn't).
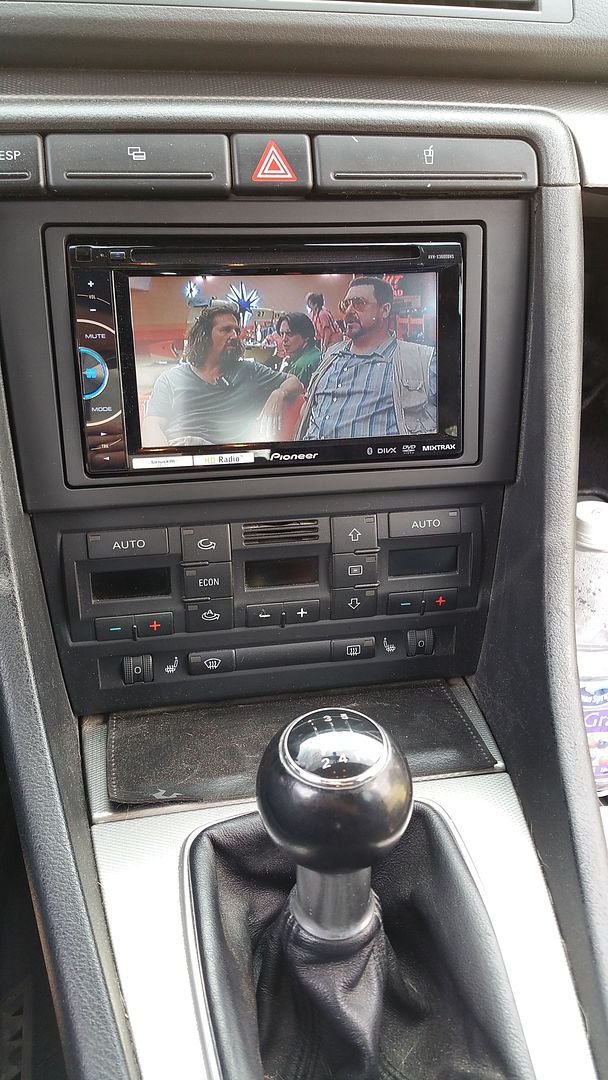
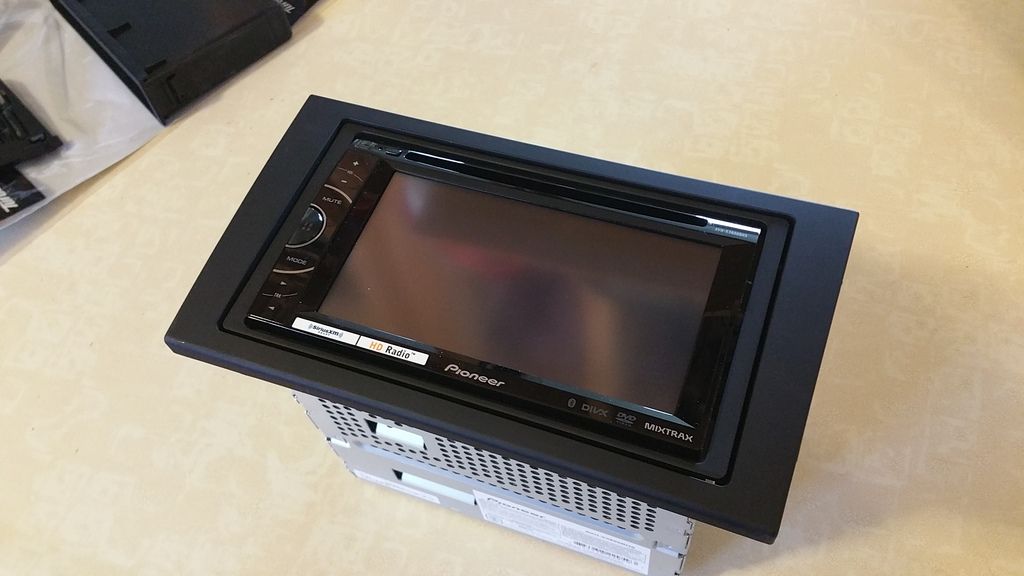
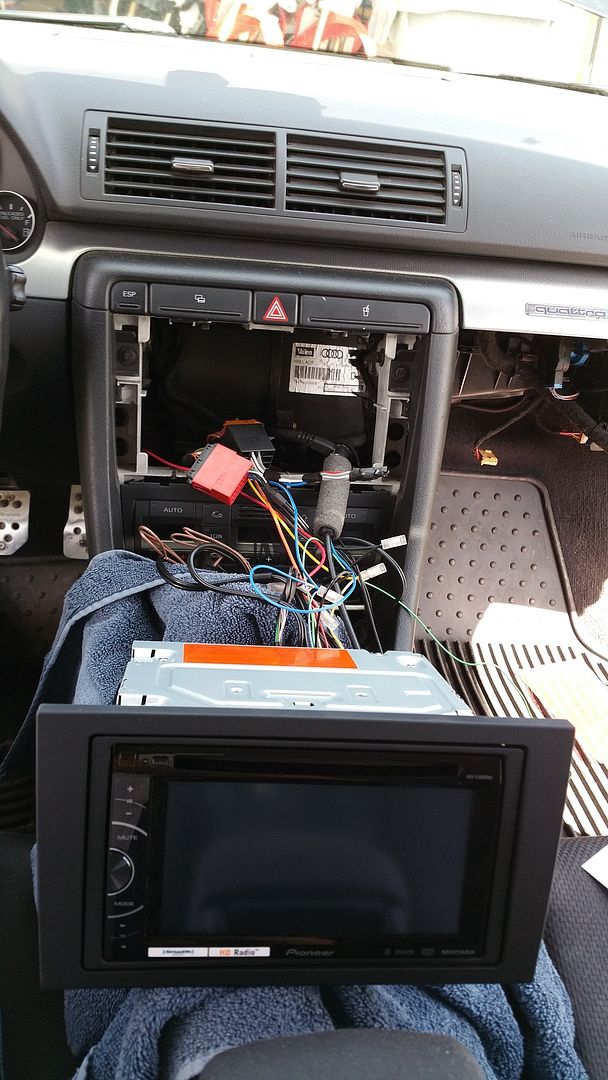
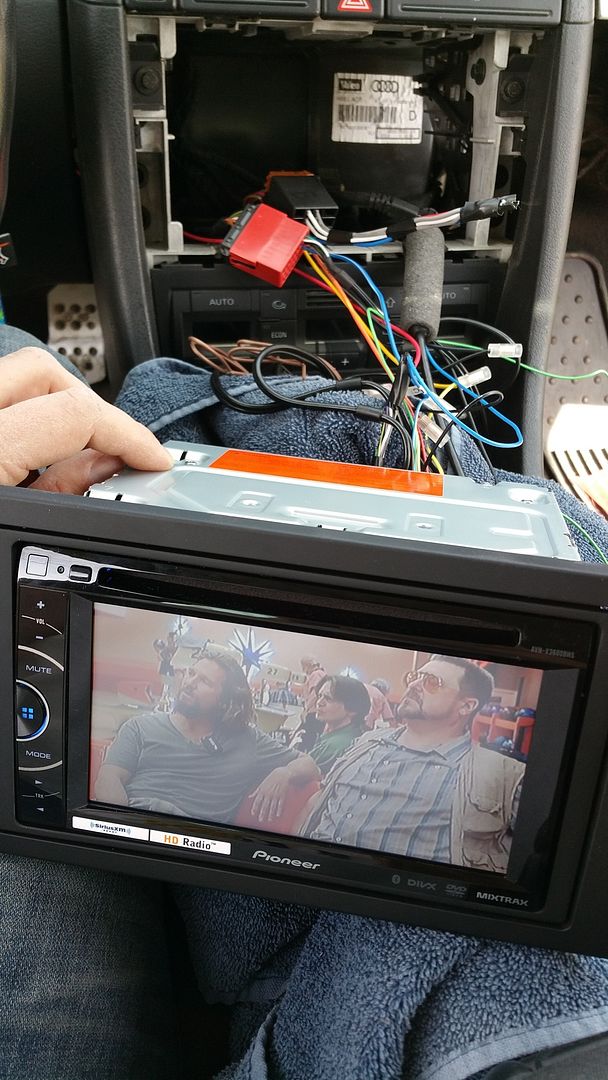
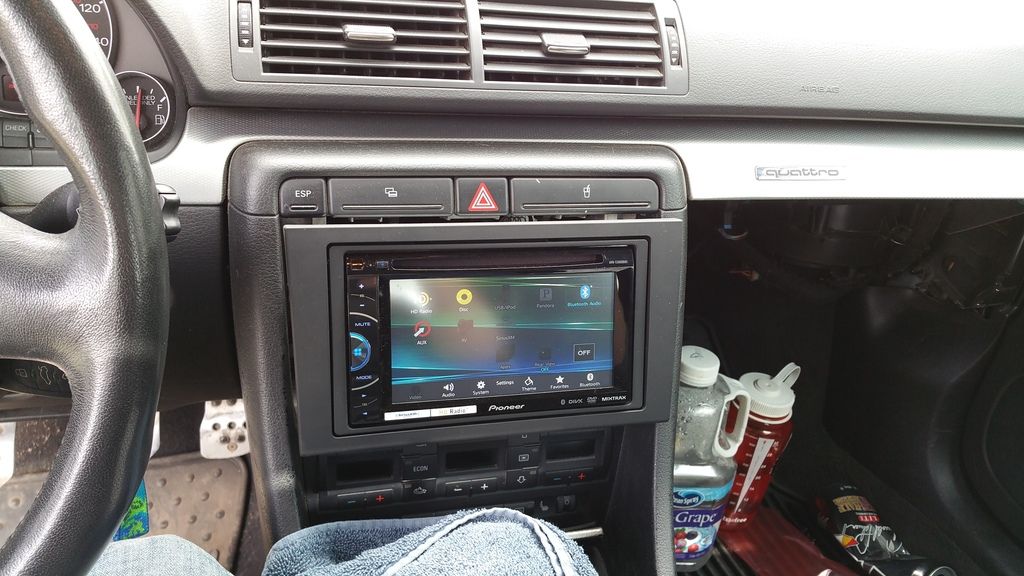
Teaser pics:

The DIY is split up into two posts: this post covers the prep done inside your house, the second is the actual installation in the car.
Required tools:
-Radio keys
-8mm socket with various extensions
-10mm box wrench for the battery
-pliers
-electricians pliers
-a plastic pry tool is helpful
-electrical tape
-patience.
I purchased my head unit from Crutchfield. The reason is simple: good prices, outstanding technical support, and they throw in for free all the odds and ends needed to install the unit, such as harness adapters, antenna adapter, faceplate, etc.
For a B6, you need:
-the head unit
-Metra 40-VW54 Antenna Adapter
-Metra 70-1787 Receiver Wiring Harness
-Metra 86-9001 Factory Radio Removal Tools
-Metra 99-9107B Dash Kit
-PAC SNI-1 interference filter (one if you have a normal stereo, two if your car has factory Bose)
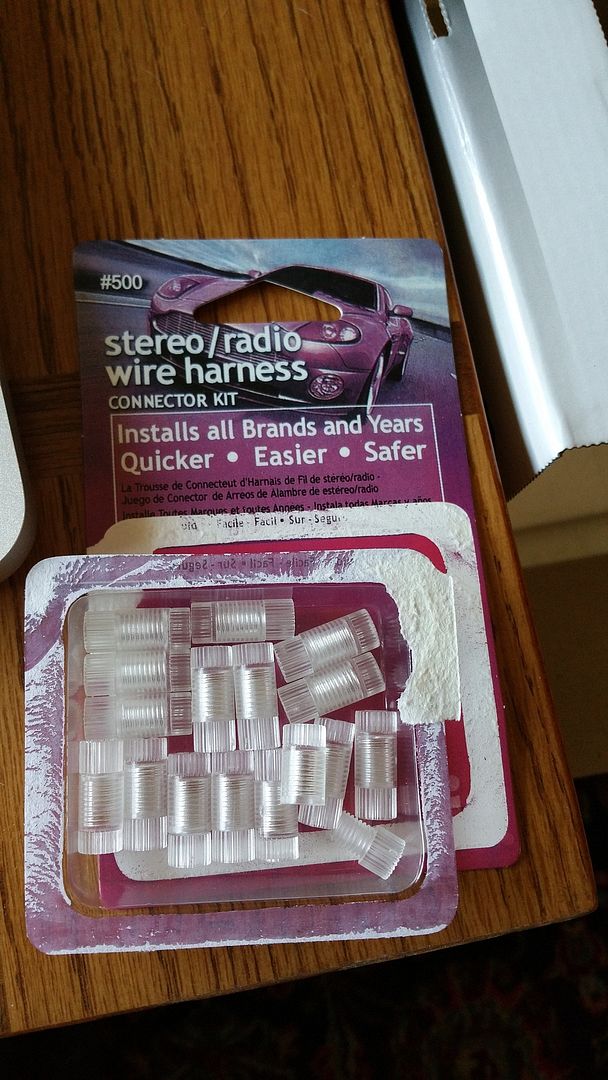
-one pack of Posi-Products Car Stereo Connectors (BUY THESE, don't solder or use crimp connectors)
-one fuse tap
-one 18-22 gauge wire tap.
Ok, time to get wiring:
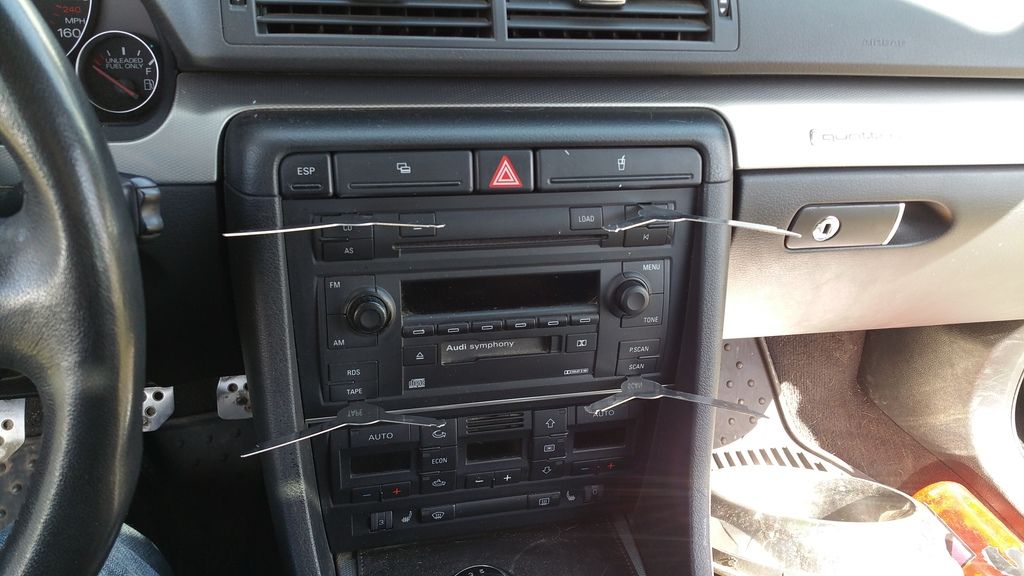
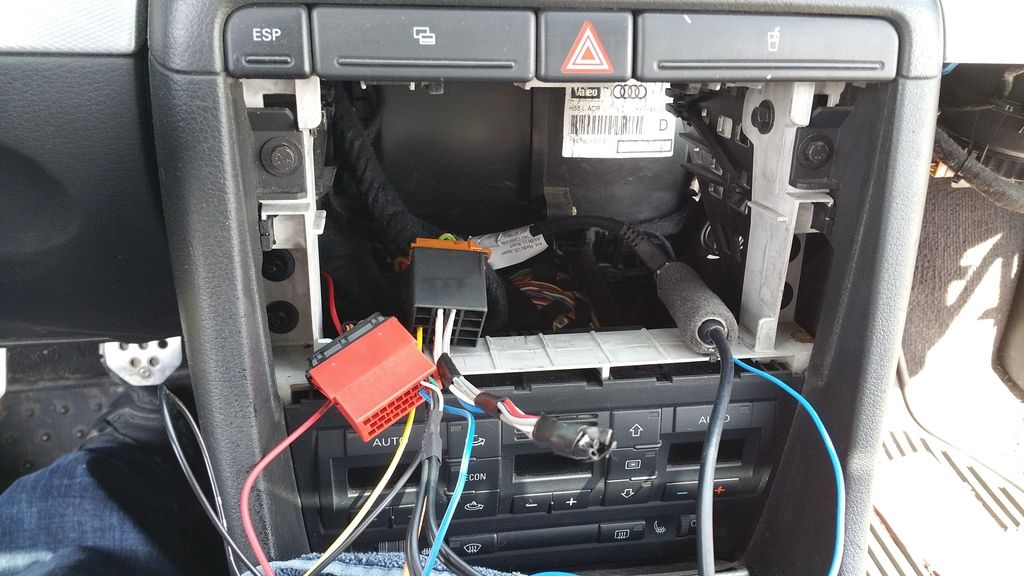
First, start by determining whether your car has factory Bose or not. I thought mine did, as it turns out, Symphony is not Bose, so this DIY shows how to wire both. Factory Bose says Bose on the radio. Simple stuff.
When you're in your car figuring this out, remove the CDs from the stock radio. If you don't, you'll be stuck like me jamming a wire from a battery into the radio on your workbench to power it to get them out.
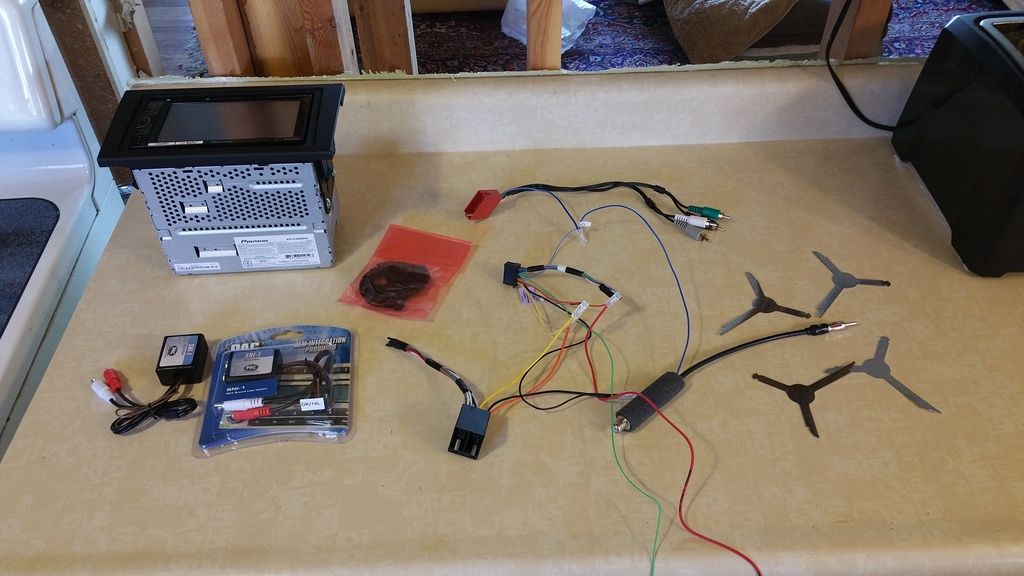
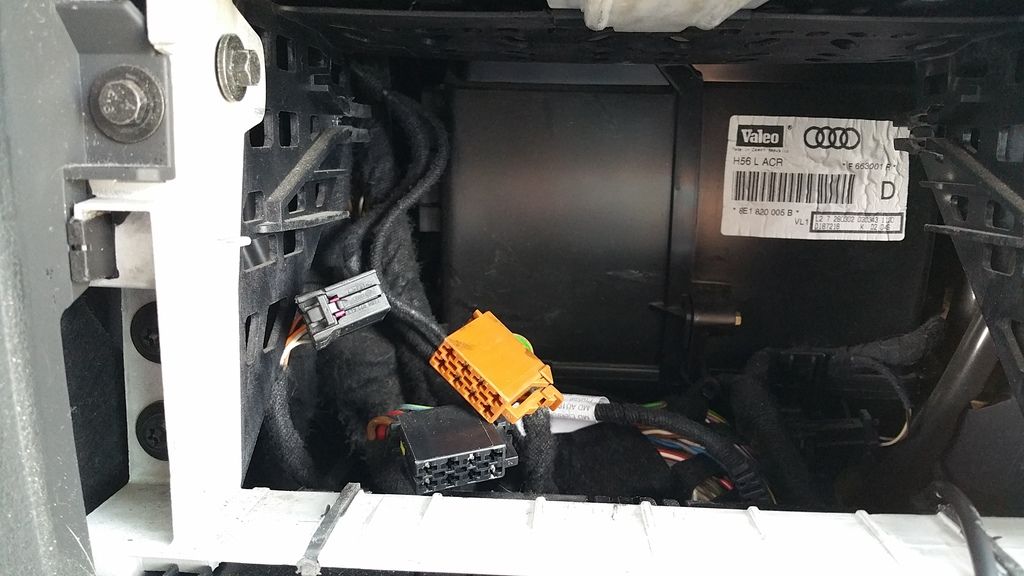
Ok, first, pull out all the harnesses and lay them out. You should have a harness for your head unit:
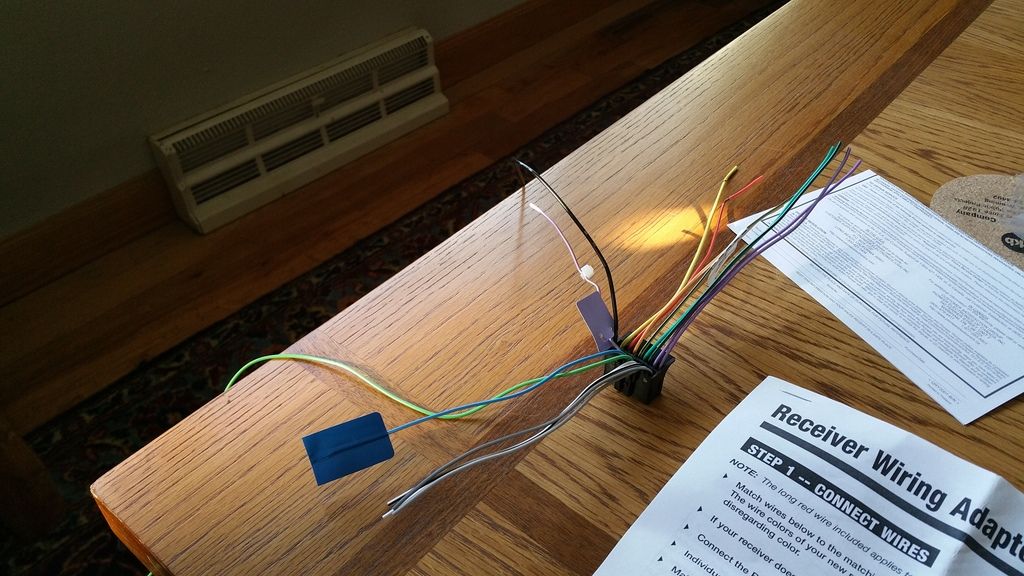
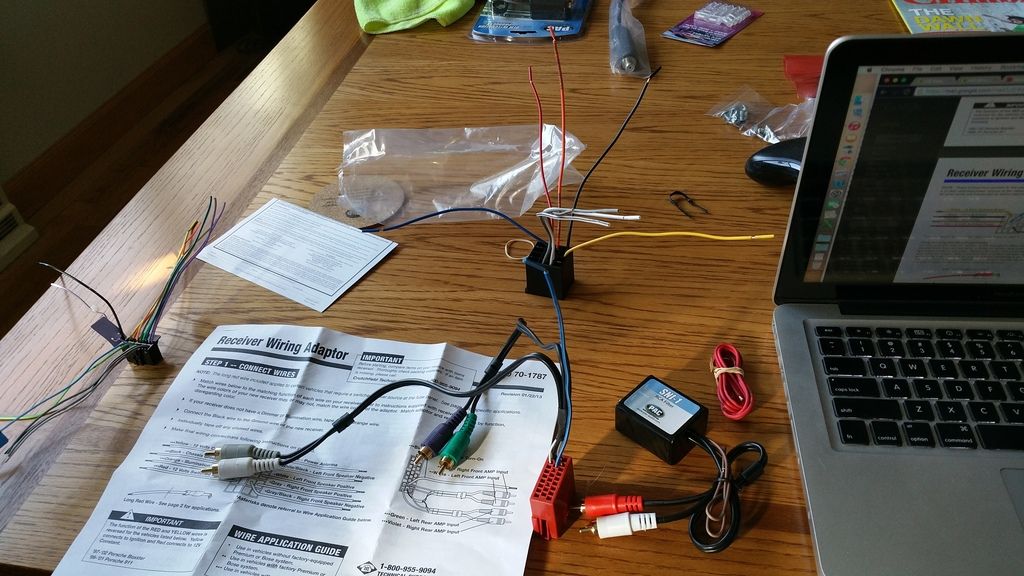
And you’ll also have two harnesses in the metra kit, plus the antenna adapter and the RCA filter(s).
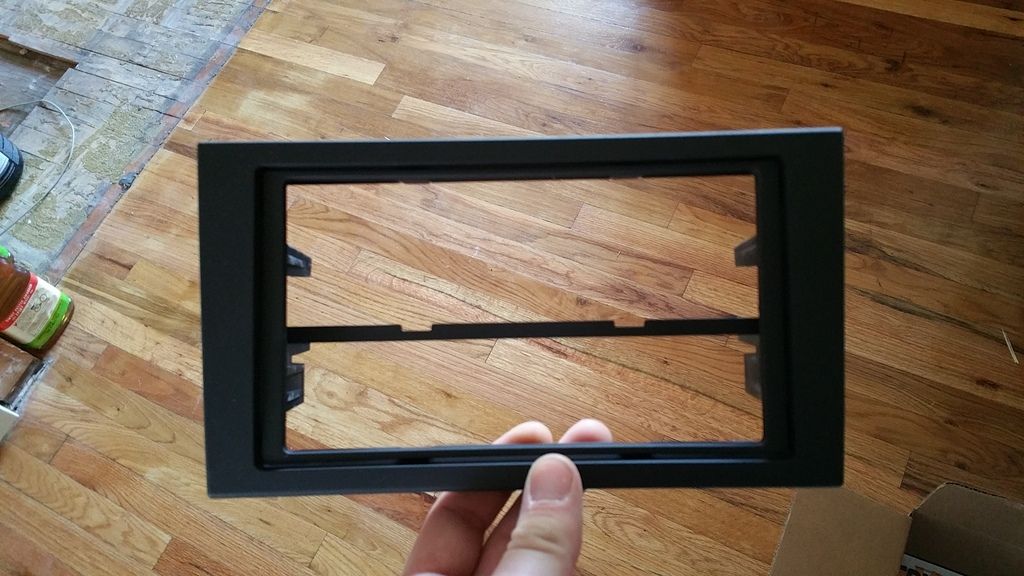
The faceplate with the single din support still attached:
And the posi connectors:
A wiring diagram for 2005 and up cars:
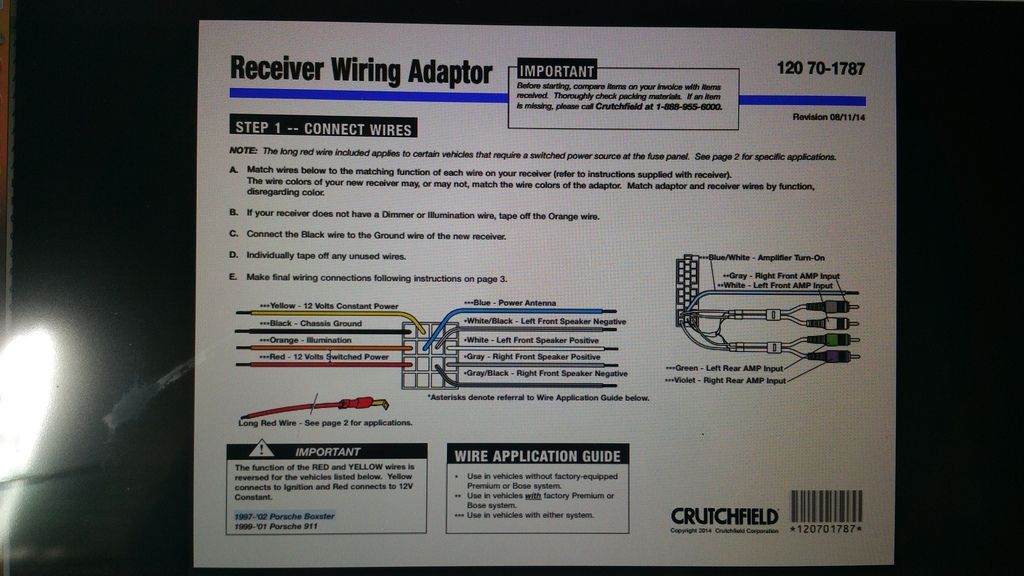
And for 2002-2004 cars, like mine:
Time to wire:
Take the harness from your head unit and look up what each wire is in the manual. Generally speaking, there will be:
-Constant power (yellow)
-switched power (red)
-antenna power (blue)
-illumination switch (orange)
-ground (black)
-speaker outputs for the front speakers (gray and white, the grounds have stripes)
The Metra harness has all of these as well. Refer to the diagrams for each wire, but the colors are all pretty standardized.
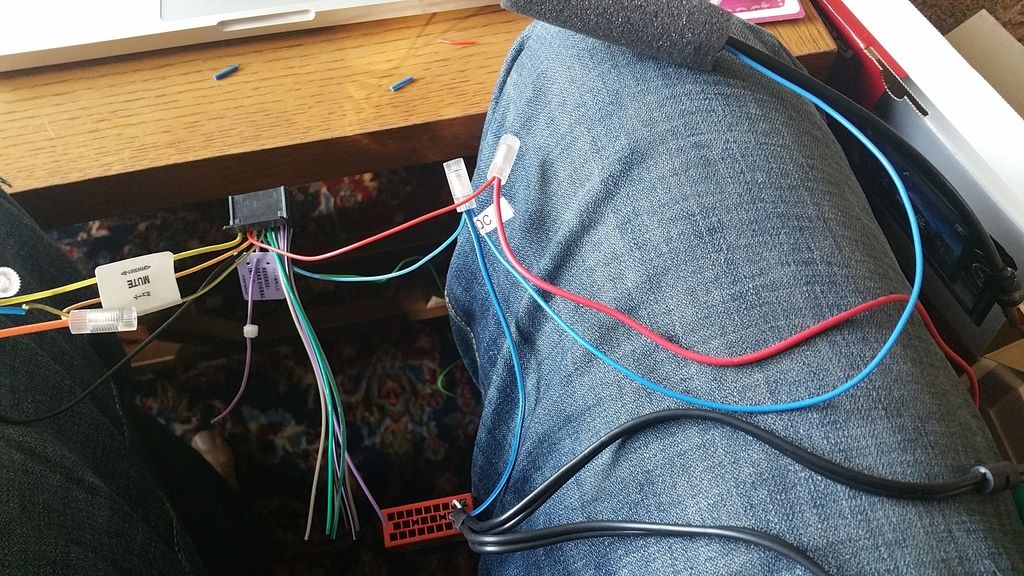
So, match them up and start connecting them with the posi connectors: yellow to yellow, orange to orange, black to black. The only odd ones are:
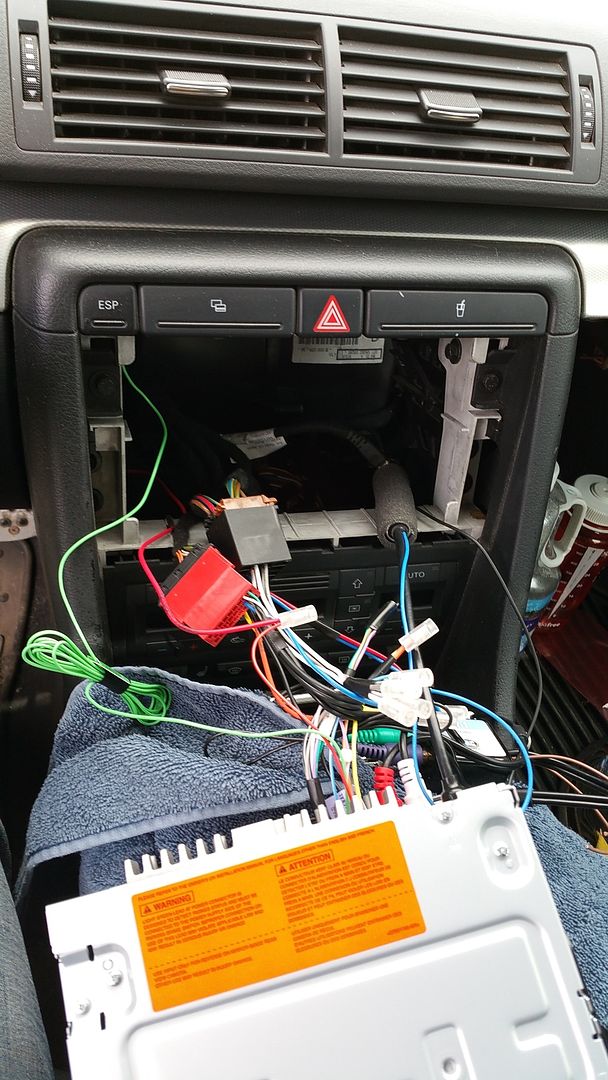
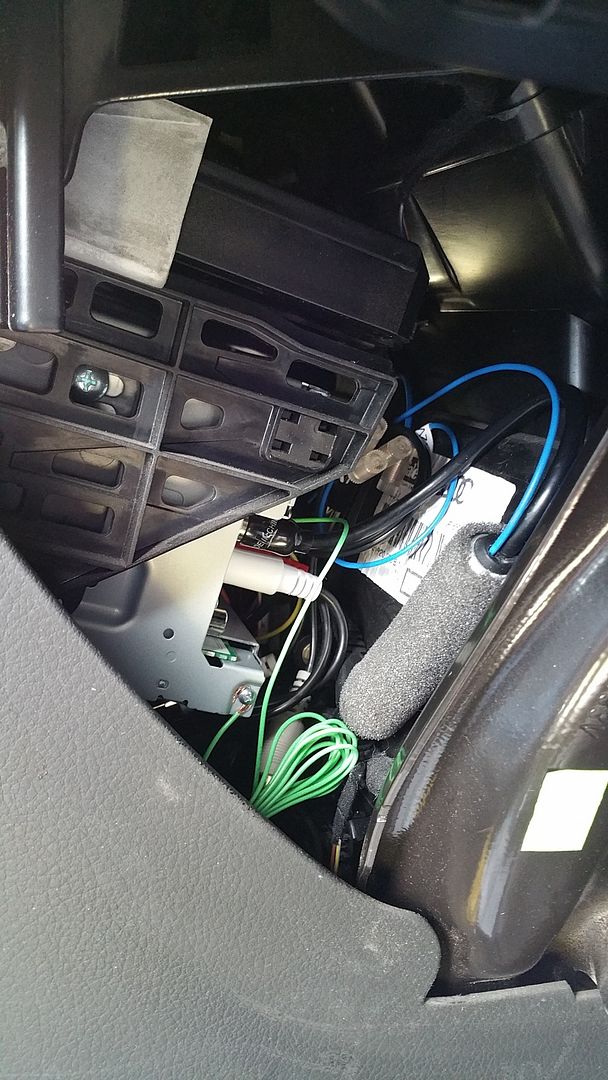
-The blue wire on the black plastic Metra harness is NOT connected to anything. Tape it off. Instead, three way wire the blue wire from the head unit harness to the red metra harness, and the antenna adapter. (see photo below)
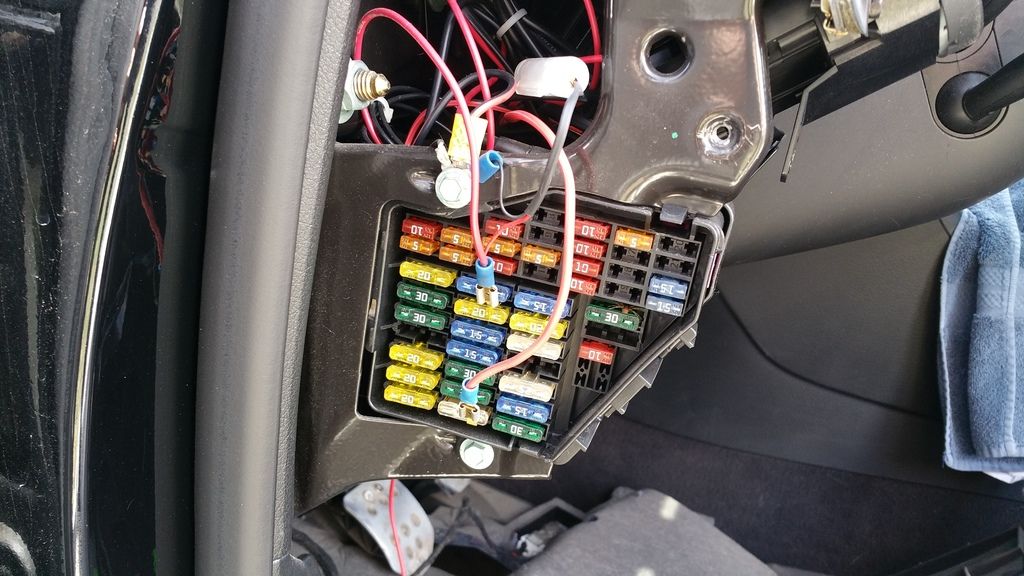
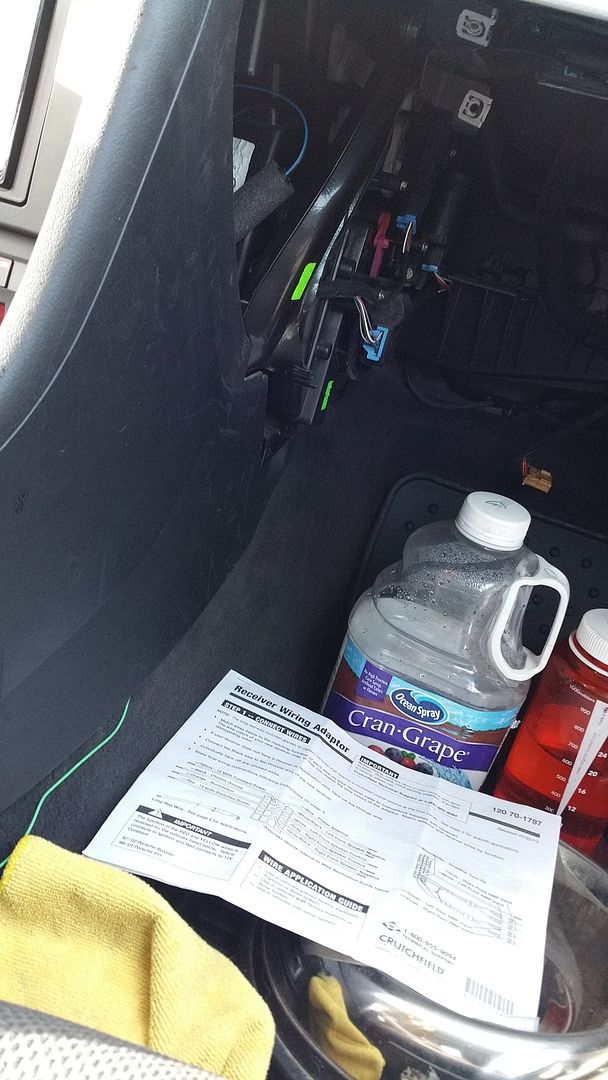
-for 2002-2004 cars, you must run a switched power to the fuse panel. This longer wire is included in the kit, but don’t bother connecting it to the head unit harness yet, as you must snake it under the steering column to the fuse panel first. (it is connected in the pic).
Bose vs non-Bose speaker wiring:
Non-bose cars power the front speakers through an internal amp in the stock head unit. You must connect the gray and white wires on the metra harness to the front speaker output wires on your head unit harness if you have a non-Bose car. The rear speakers use preamp outputs, so you will need to use the RCA filter and the rear speaker outputs on your head unit. In other words: directly wire the gray and white wires for the front speakers, then use RCA and one filter for the rears.
Bose cars use preamp outputs for ALL speakers, meaning that you do NOT wire any speakers directly to the head unit, instead, you use the RCA outputs on your head unit, with in line filters for BOTH front and back.
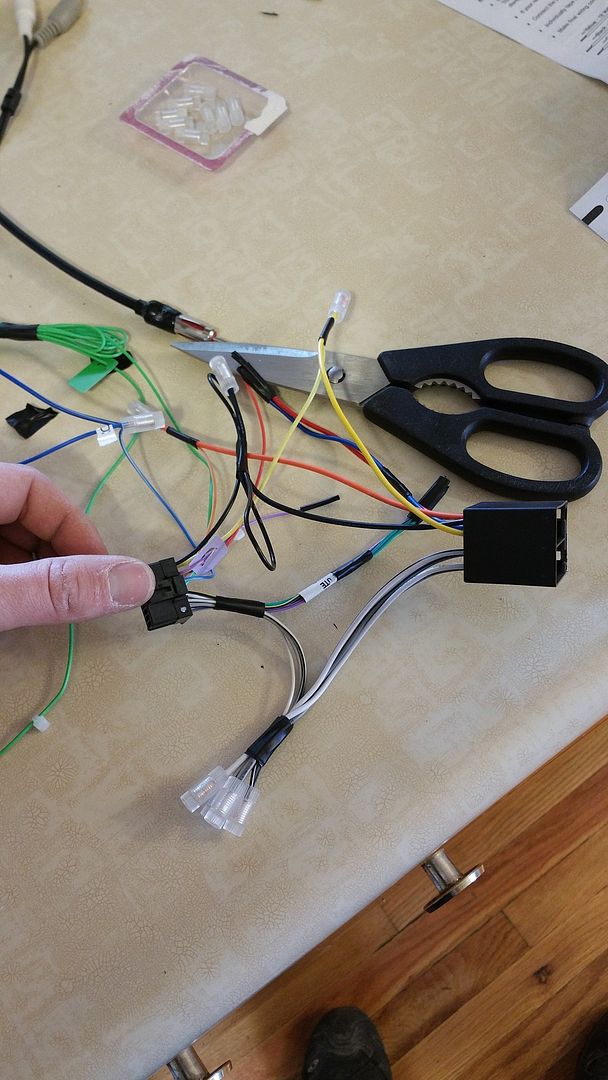
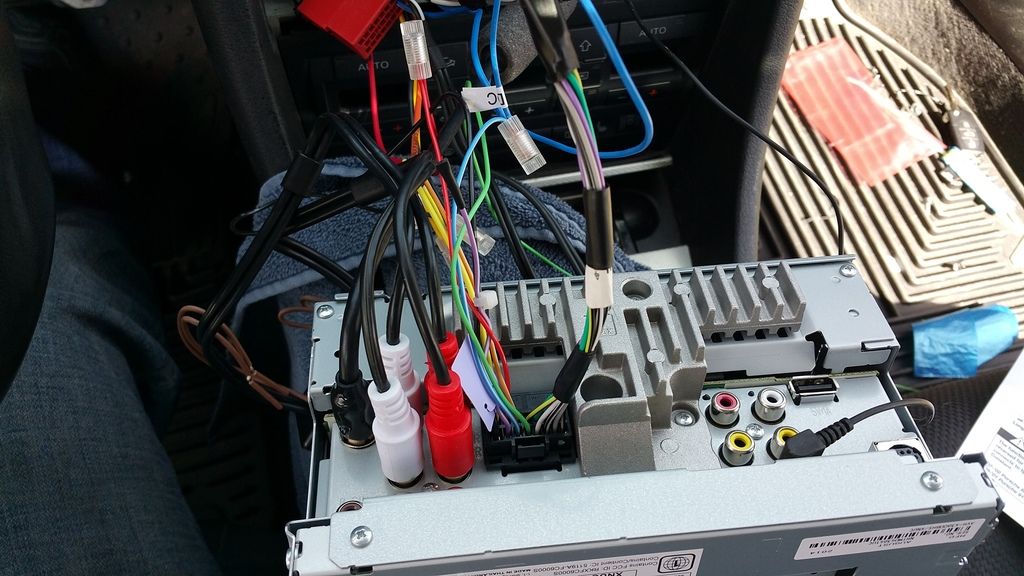
Close up of the metra harness with the non-Bose front speaker wires:
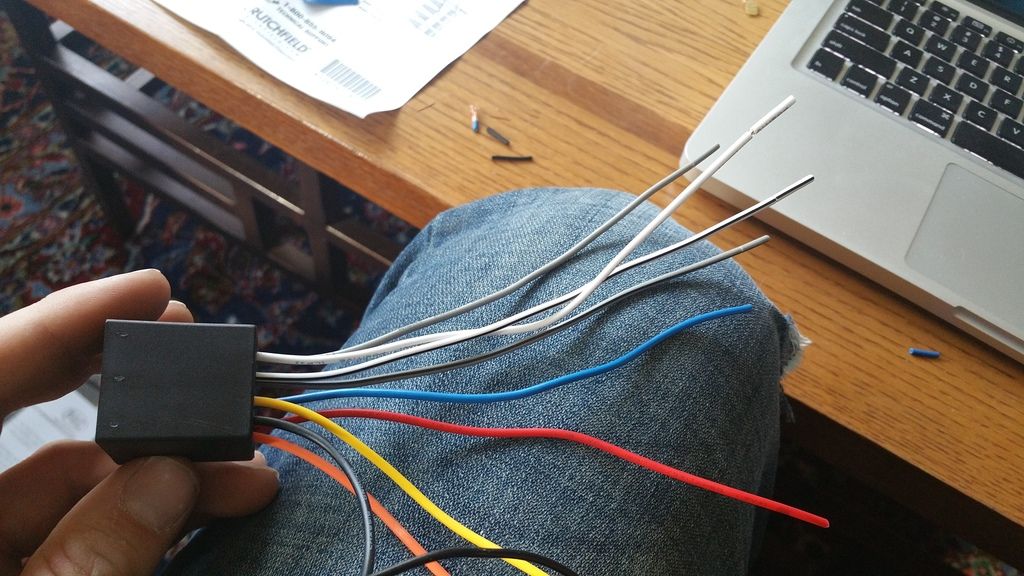
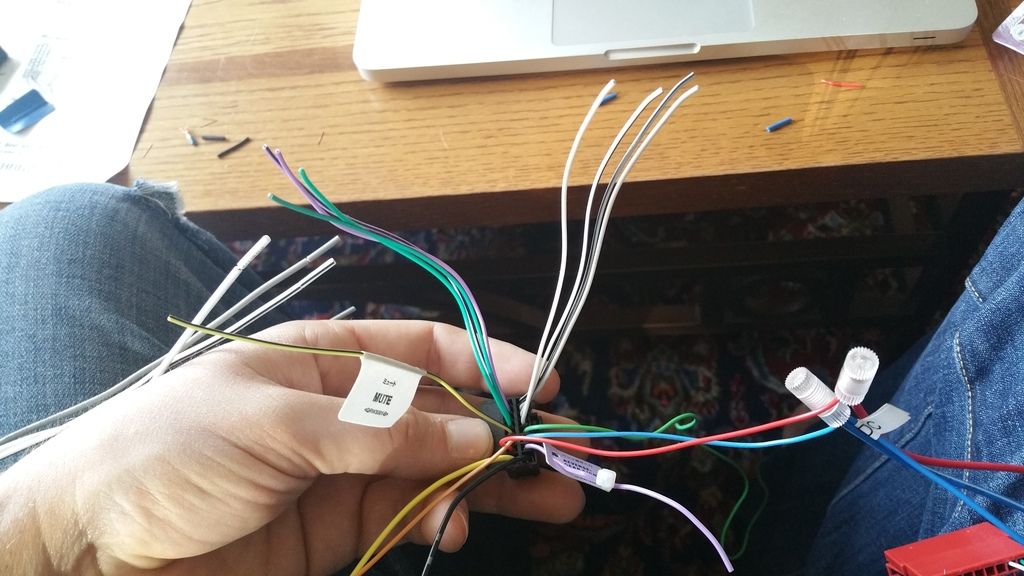
Close up on the Pioneer harness. Notice the gray and white wires, those are what you connect. The green and violet wires are for rear speakers, but in all B6 cars the rear speakers are powered by an external amp, so tape those off.
This is how it looks when wired for a non-Bose car:
This is how it should be taped off if you have Bose. Each wire capped off individually, then taped into a bundle:
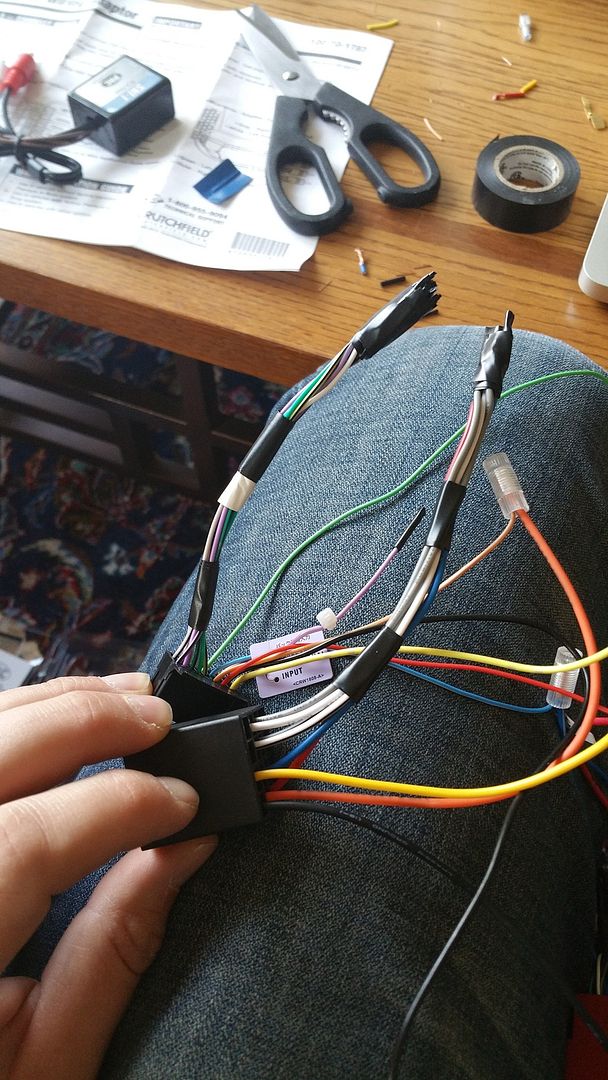
Bose harness, ready to go:
Notice that there are additional wires on your head unit harness. The green is the parking brake ground switch that must be wired later to allow you to play DVDs and to set up Bluetooth connections. The purple is a rear view camera switch, which is used if you wire a camera.
Head unit prep:
The Metra kit must be prepared for the head unit, first by removing the center bar that is used only for single din installs. I used a sawzall blade:
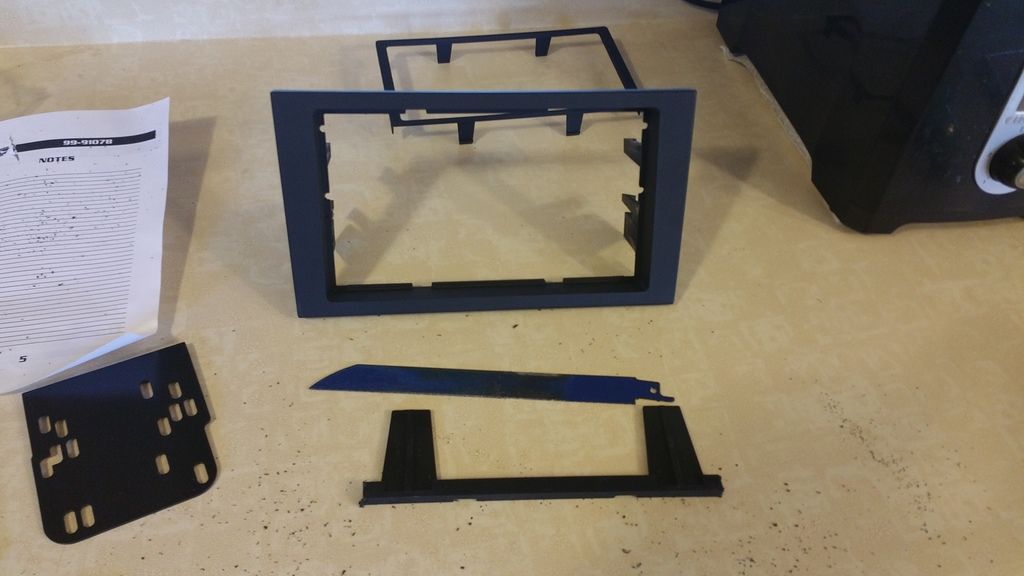
Use the larger plates for a double din, discard the smaller ones:
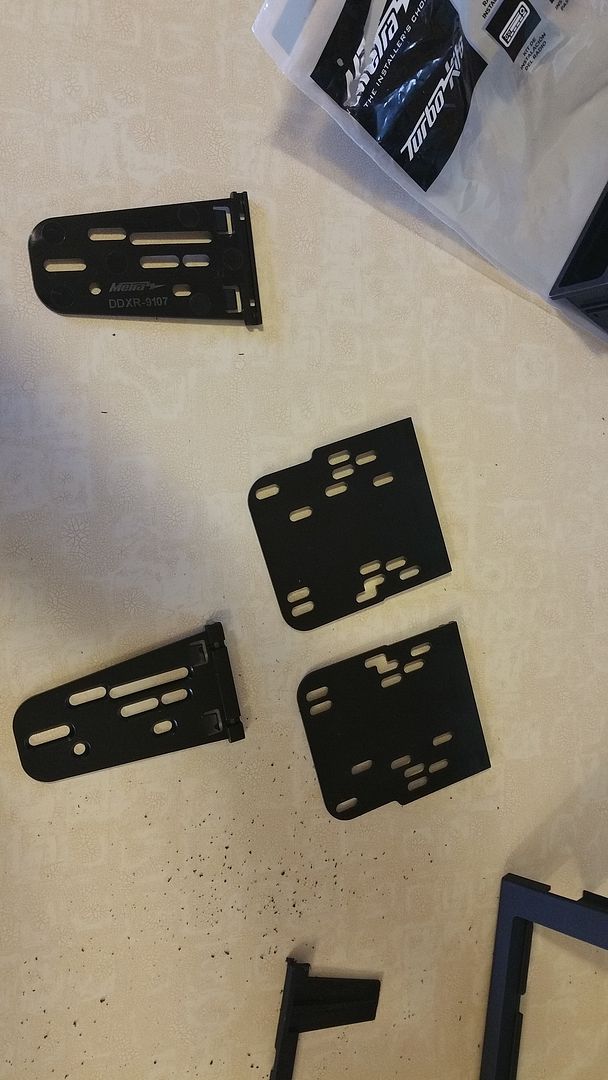
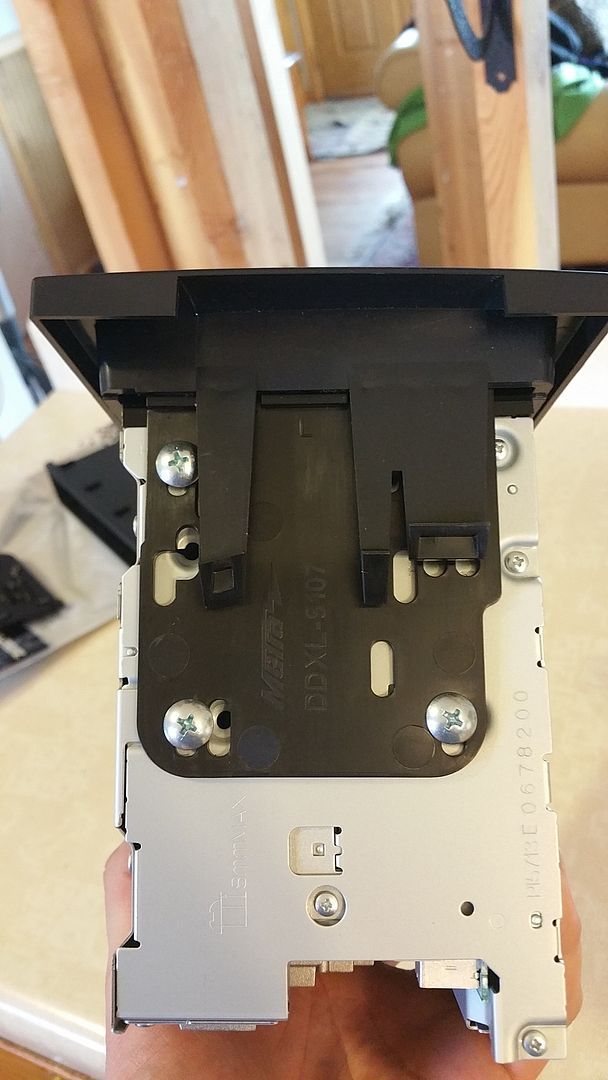
Snap the plates (I use “snap” loosely here, they really just sit in the groove along the faceplate once the center bar is removed. Then slide in the head unit, snap in the thin plastic surround on the front, and attach the head unit with three screws per side. Depending on your head unit the screws might be in different spots:
Now, out to the car!

 Reply With Quote
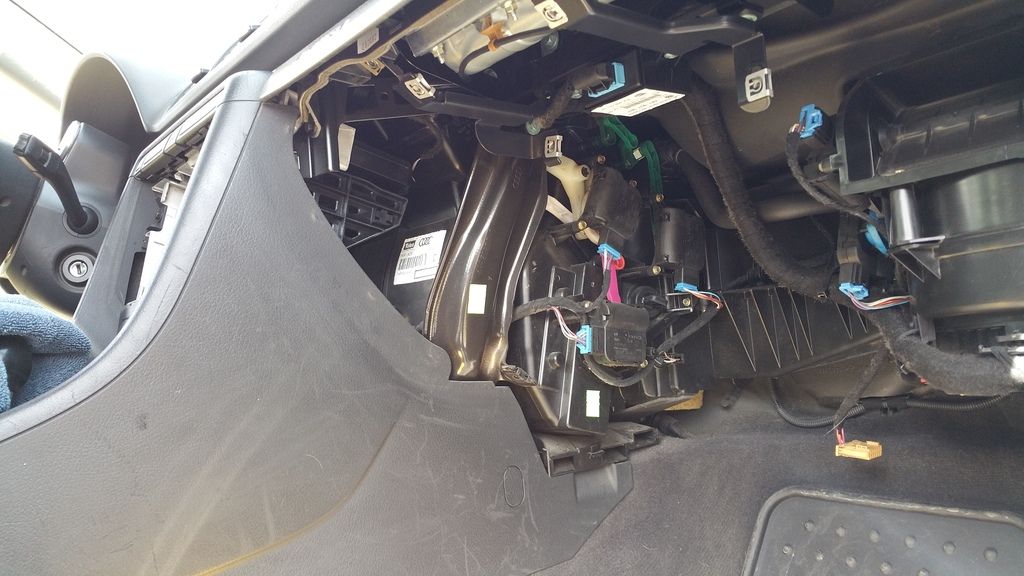


Bookmarks