


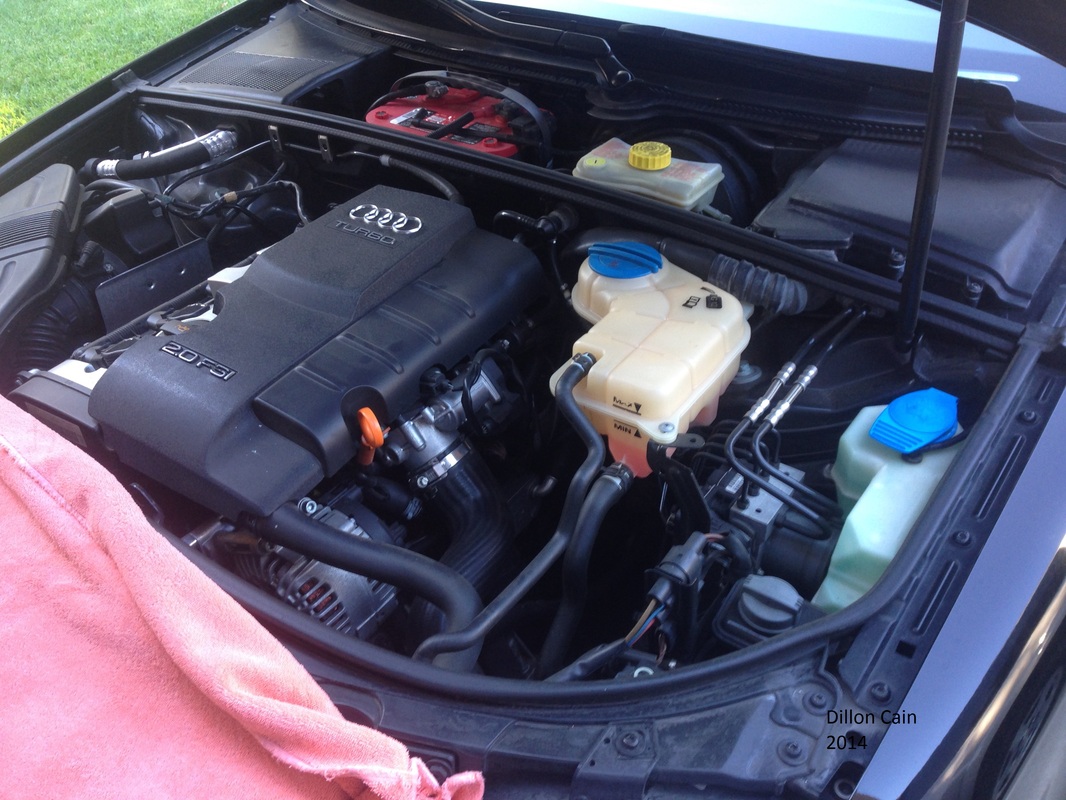
Also, the exact Audi I replaced this thermostat on is my 2006 Audi A4 B7 2.0T Quattro
Audi B7 A4 2.0T Thermostat Replacement
Tools Needed:
Socket Wrench
10mm Socket
17mm Wrench or 11/16 will fit (A good length as well)
Adjustable Pliers preferred or Channel Locks
30 Torx Bit Socket
6mm Hex Bit Socket
Flat Head Screw Driver
13mm Socket
Hose pick (Optional)
5mm Hex Bit Socket
Connector Tool (Optional)
Supplies Needed:
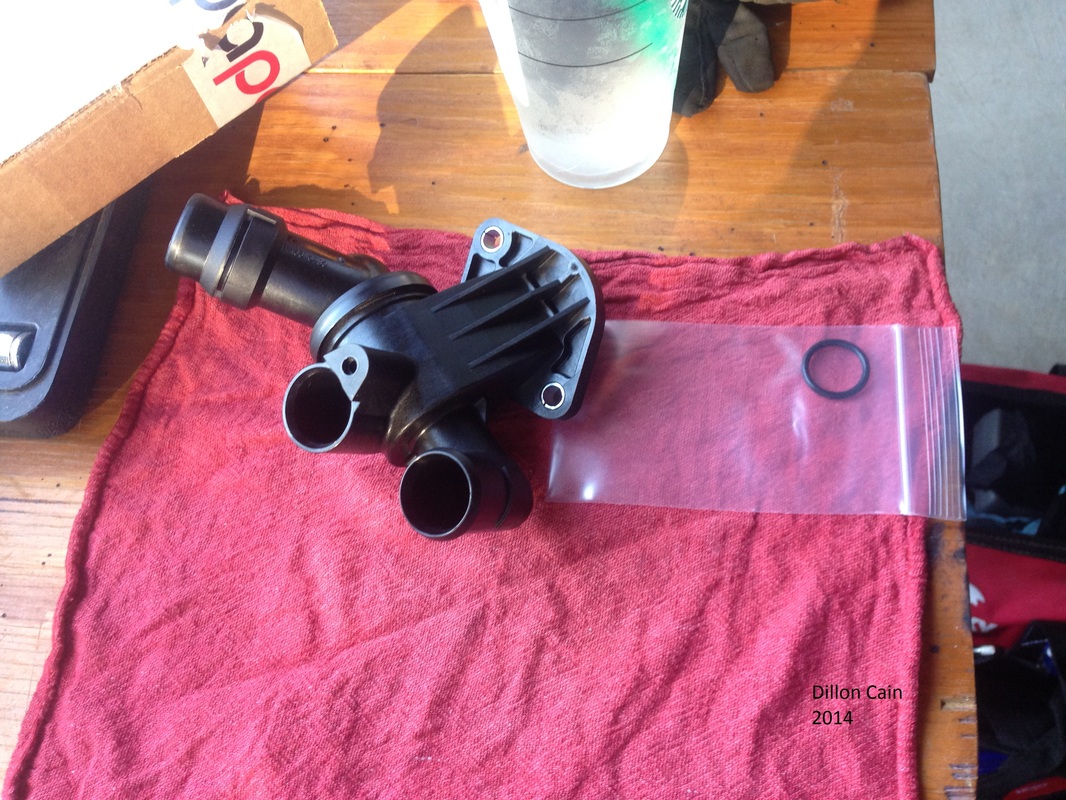
Thermostat (OEM: 06D121111G) (MPN: 06D121111G)
http://www.europaparts.com/thermosta...g-genuine.html
G12 Coolant (1.5 Gallons at least)
Distilled Water
O-Ring for center hose on thermostat (20x3MM) OEM: N90365302 MPN: N90365302
https://www.europaparts.com/o-ring-n90365302.html (This comes in certain kits as well)
Shop Towels
Brake Cleaner (Any cleaner really that youre fond of)
Funnel
Rubber Disposable Gloves
A Container to catch coolant
Bungee Cord (Optional)
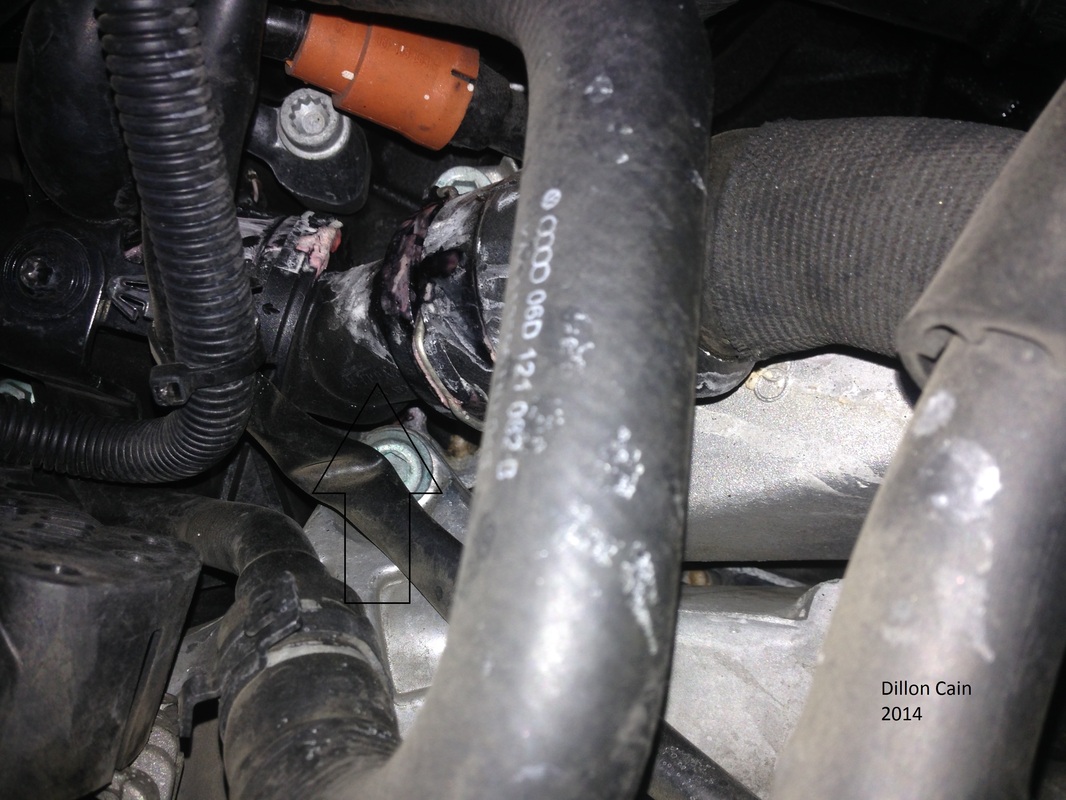
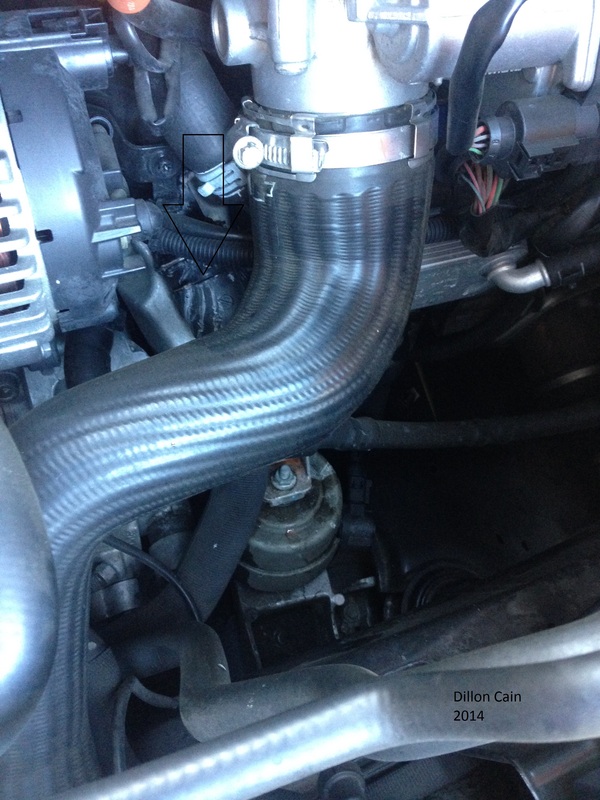
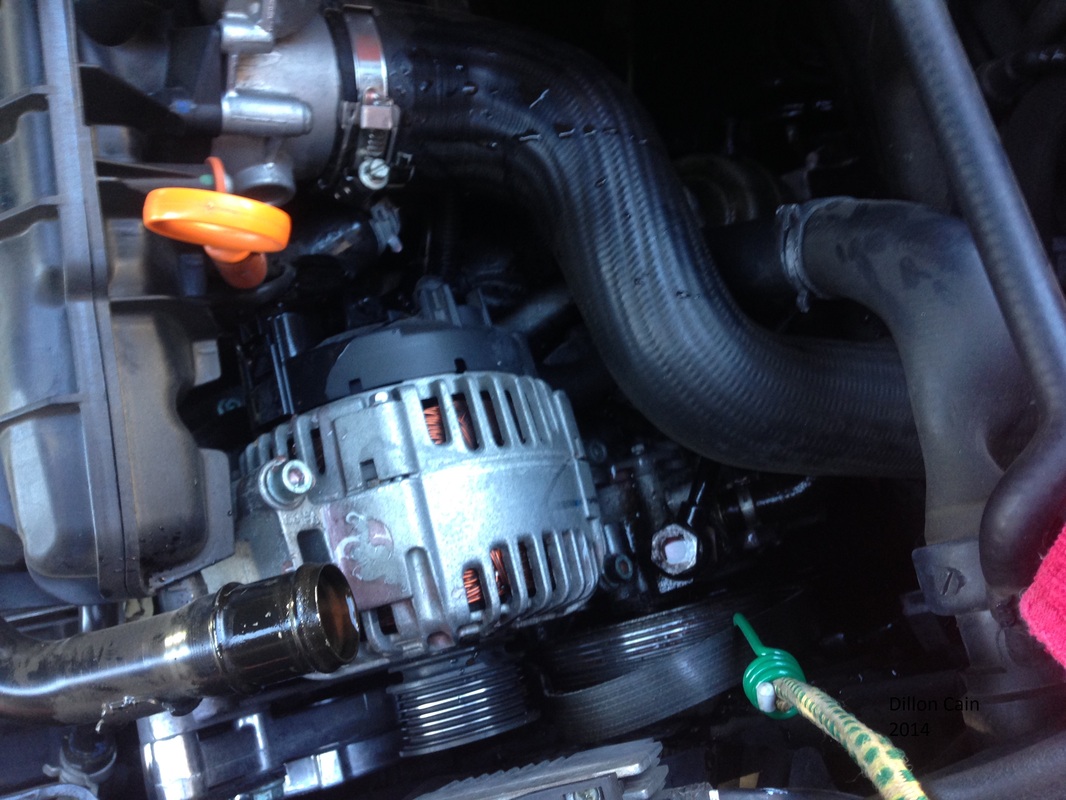
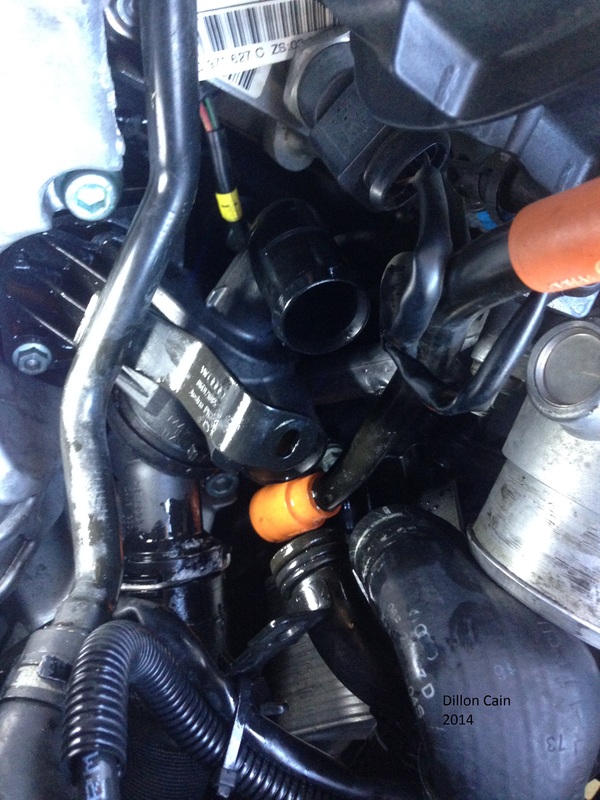
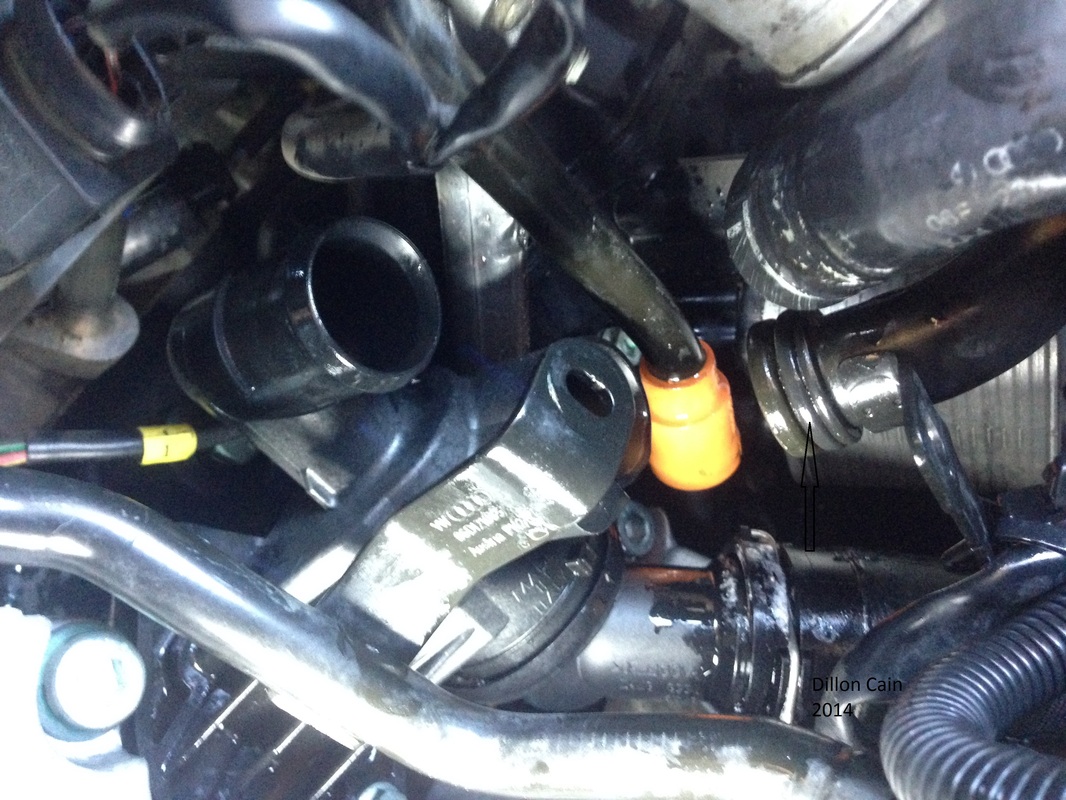
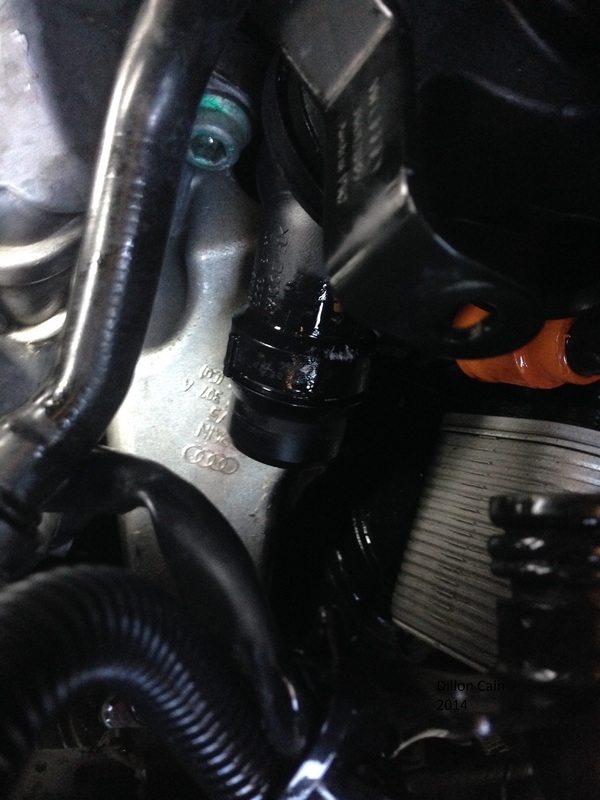
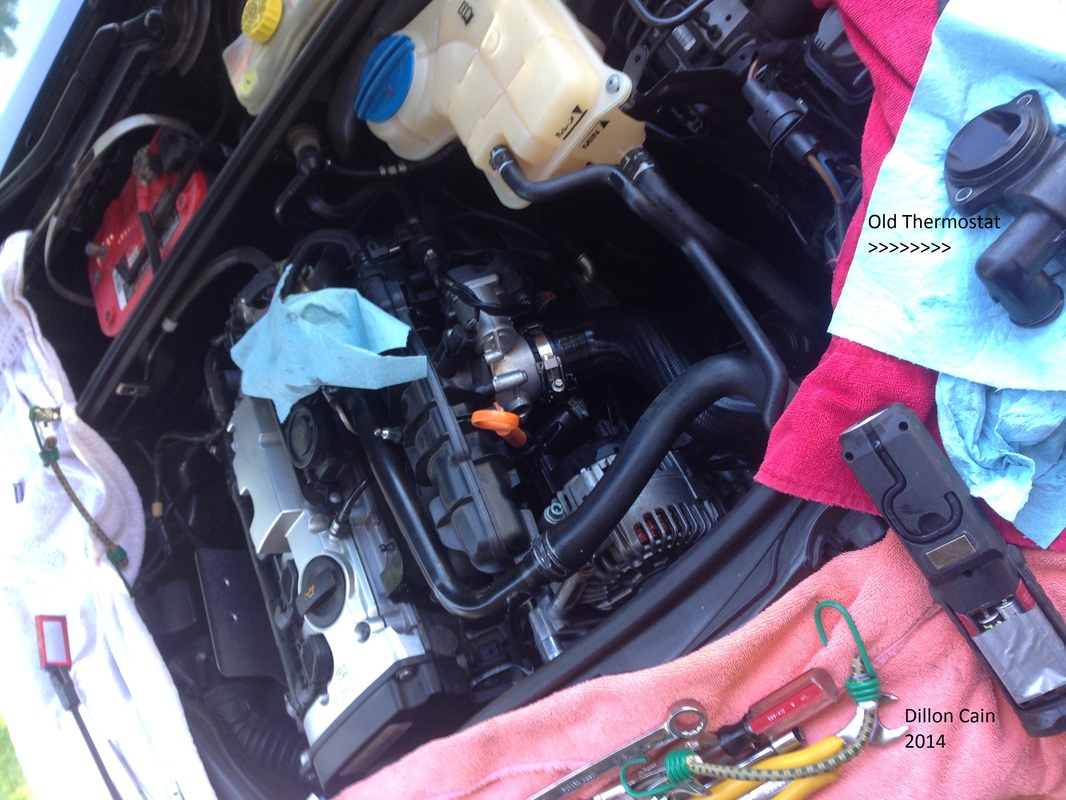
Here are a couple pictures of the leaking coolant
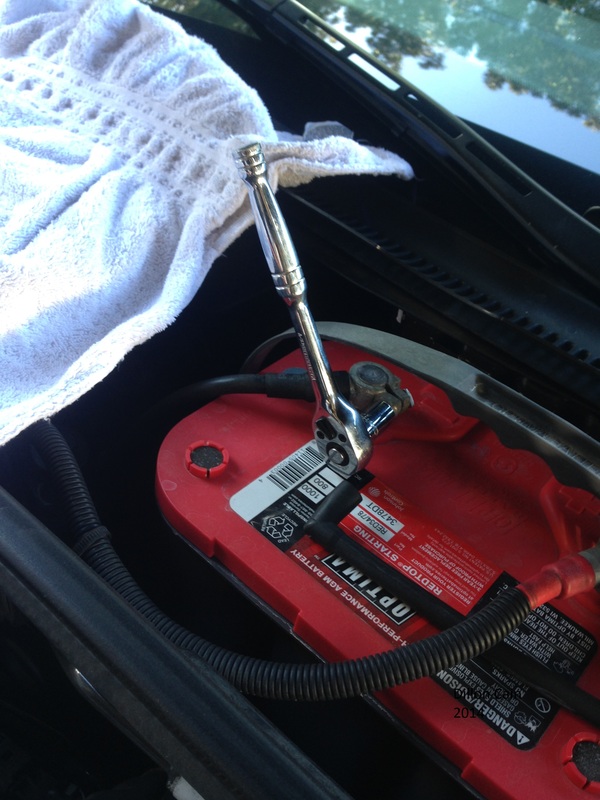
Step 1: Take off negative terminal on battery, I bungee corded it up. (10mm Socket) and Remove Engine Cover
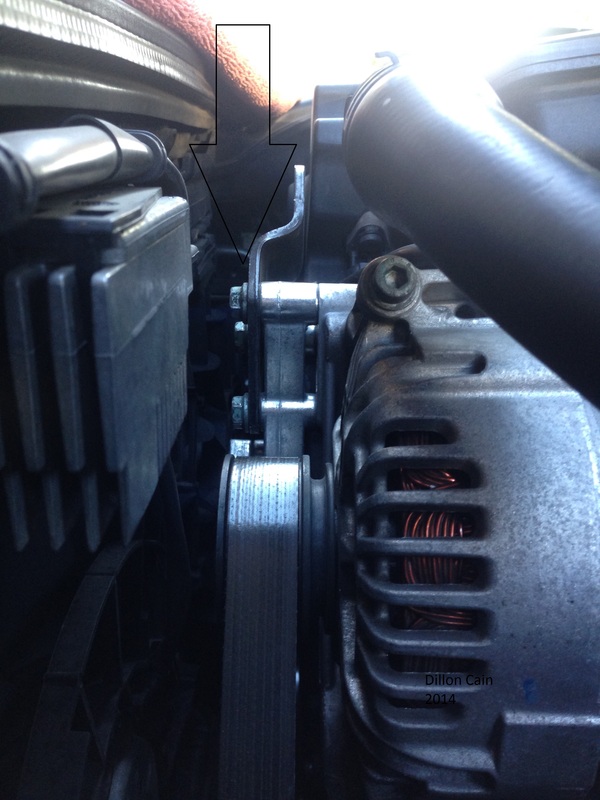
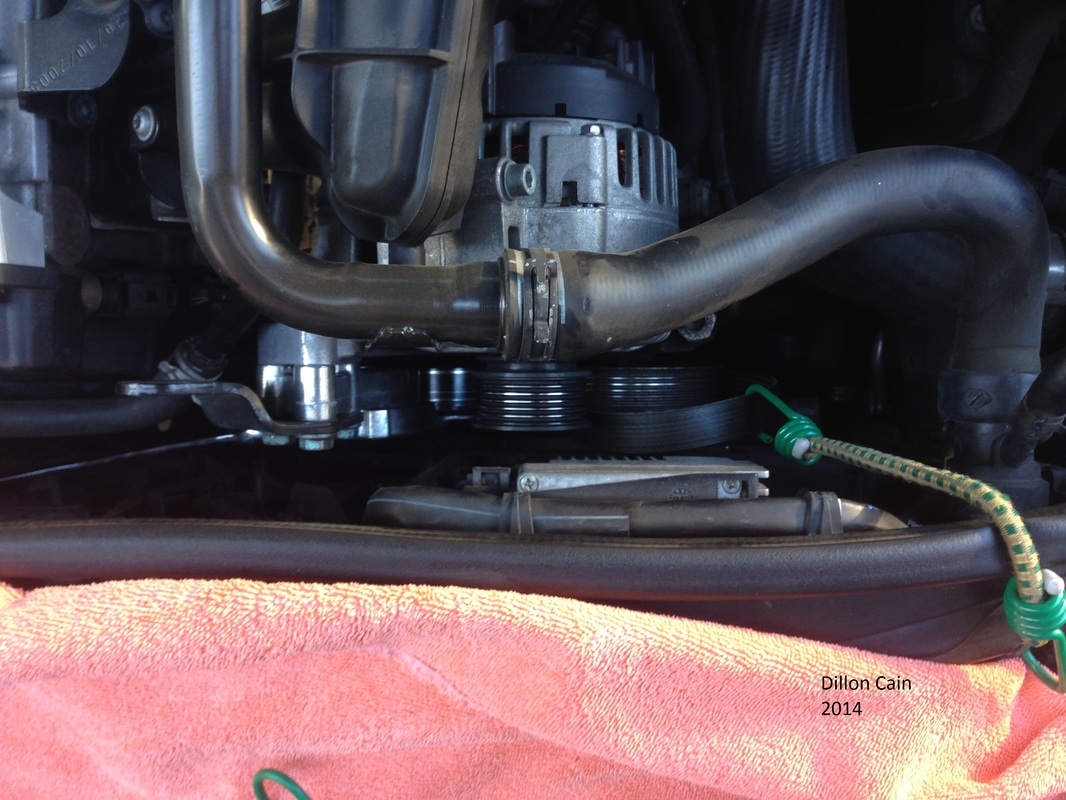
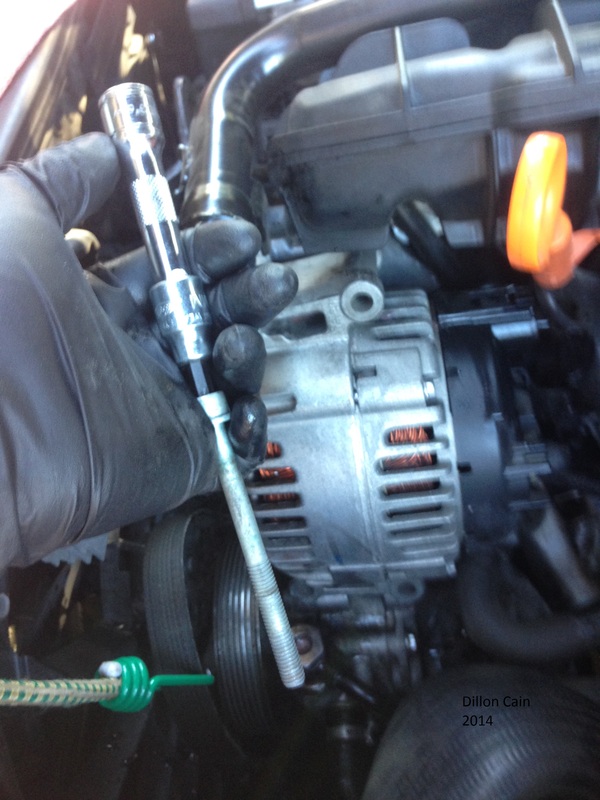
Step 2: Remove serpentine belt partially off of the alternator by using the metal tab on the tensioner itself to allow slack. (17mm Wrench or 11/16)
(I secured the belt with a bungee cord as well, so that it would not fall accidentally)
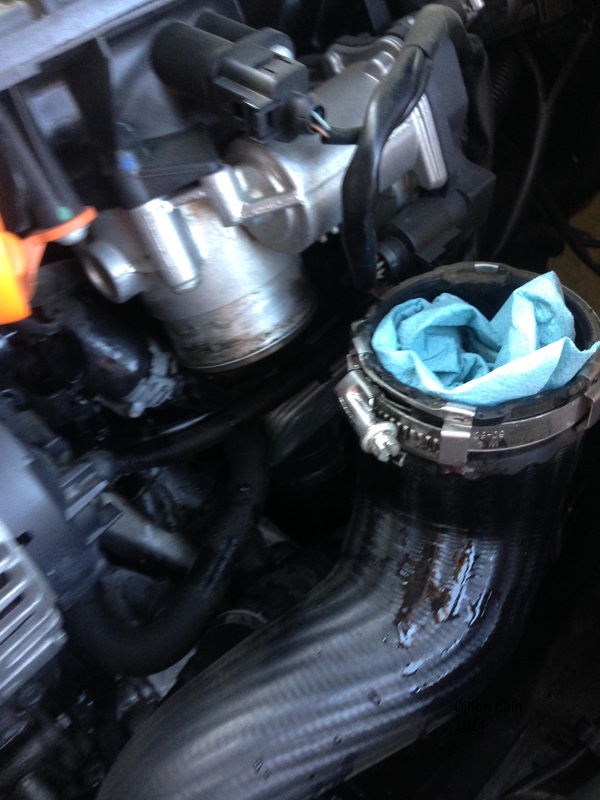
Step 3: Remove upper radiator hose. (This hose does get adhered somewhat, be careful removing it.
I used adjustable pliers to move clamp and a flat head or pick to move gently around the hose.

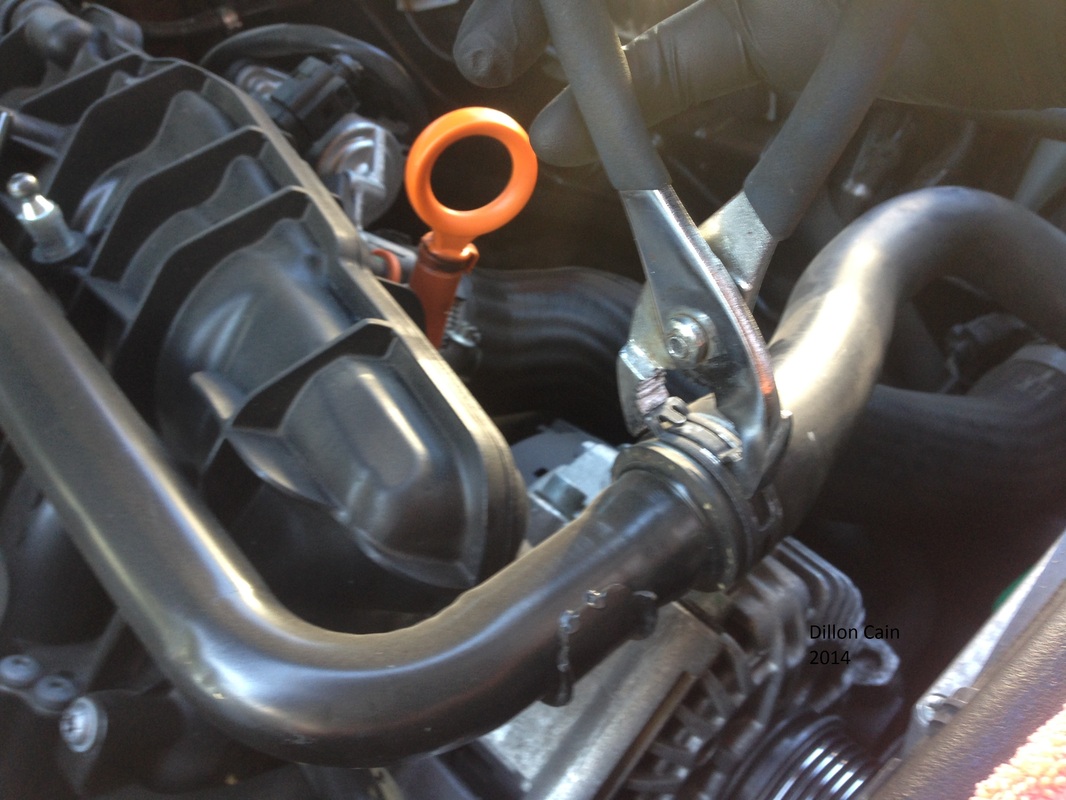
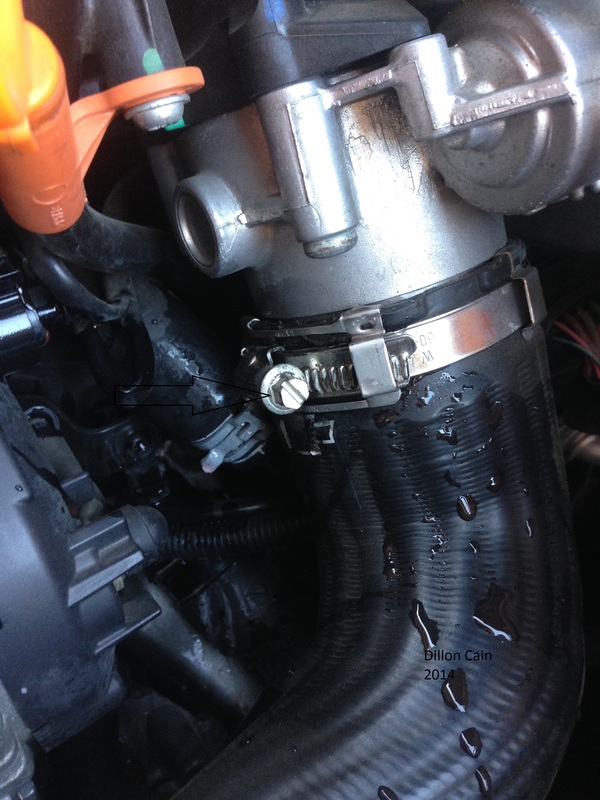
Step 4: Remove larger hose (Flat Head Screw Driver)
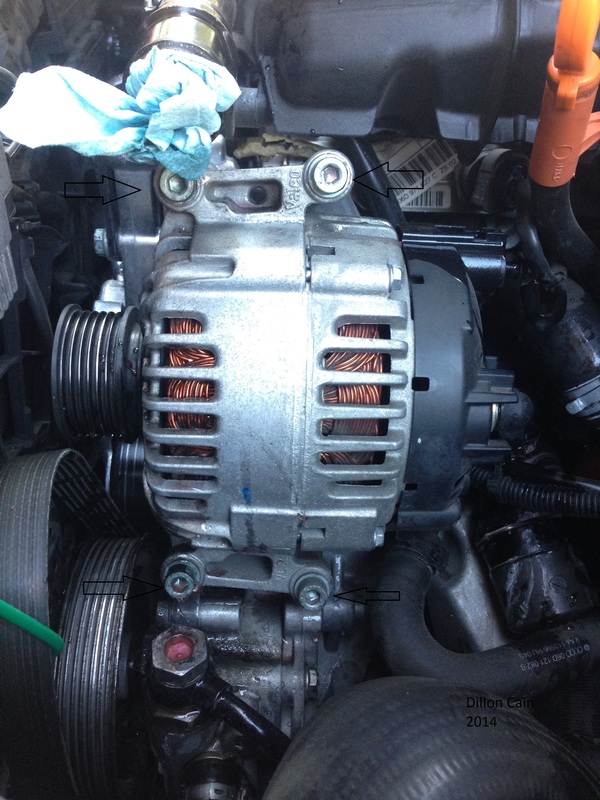
Step 5: Remove the Alternators 4 Hex Bolts (6mm)
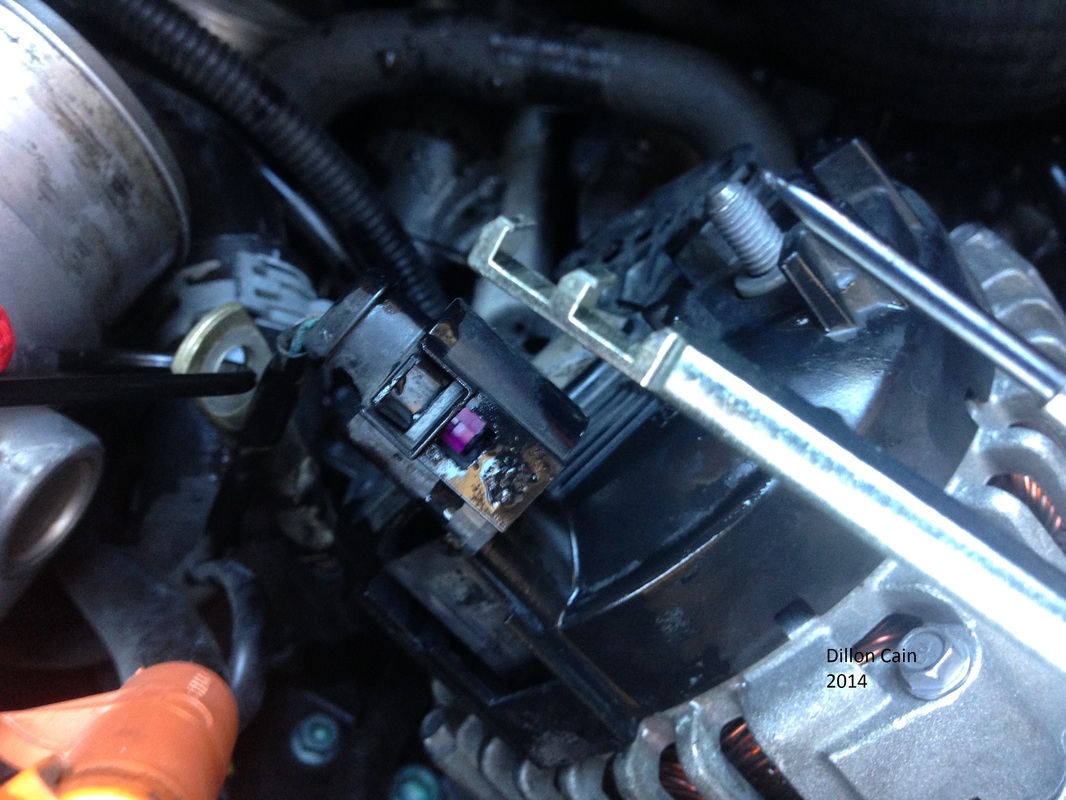
Step 6: Remove the 2 connections on the back of the alternator (One is a 13m Socket with a cap and the other is a connector plug) I used my connector tool to remove it but a flat head works as well.
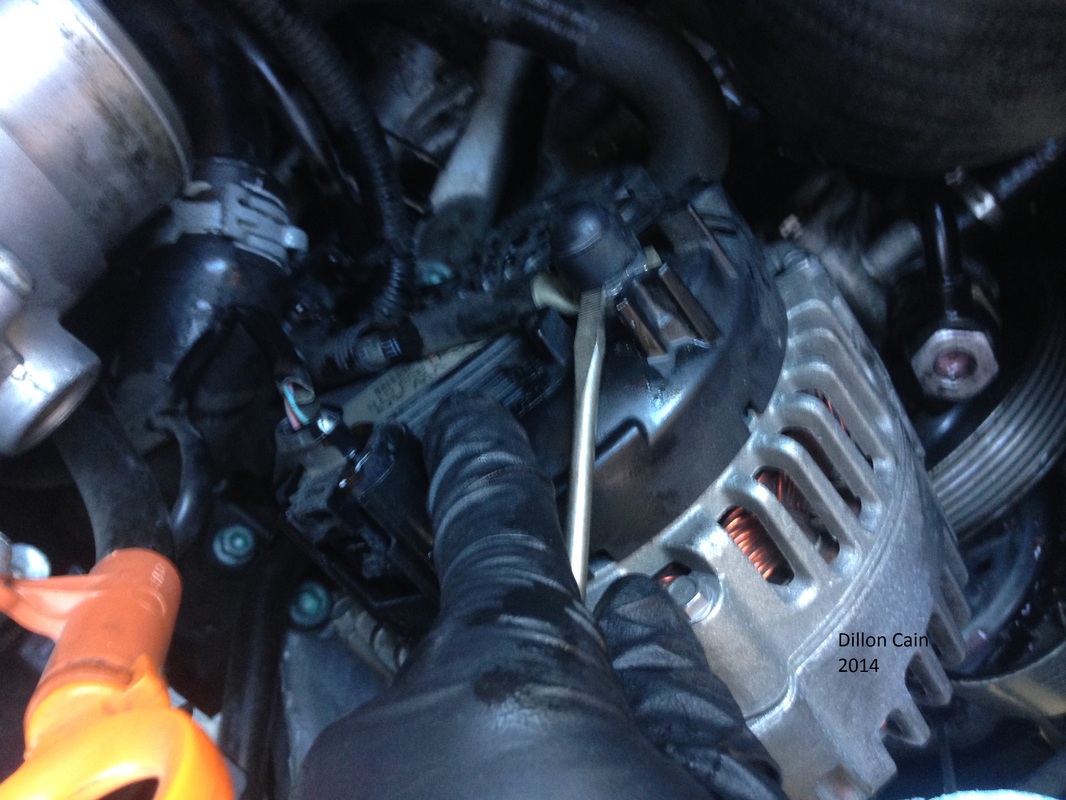
Step 7: Remove upper thermostat hose with pliers on clamp. (Then wiggle loose)A flat head helps or I found that my pulley tensioner pin helped me)
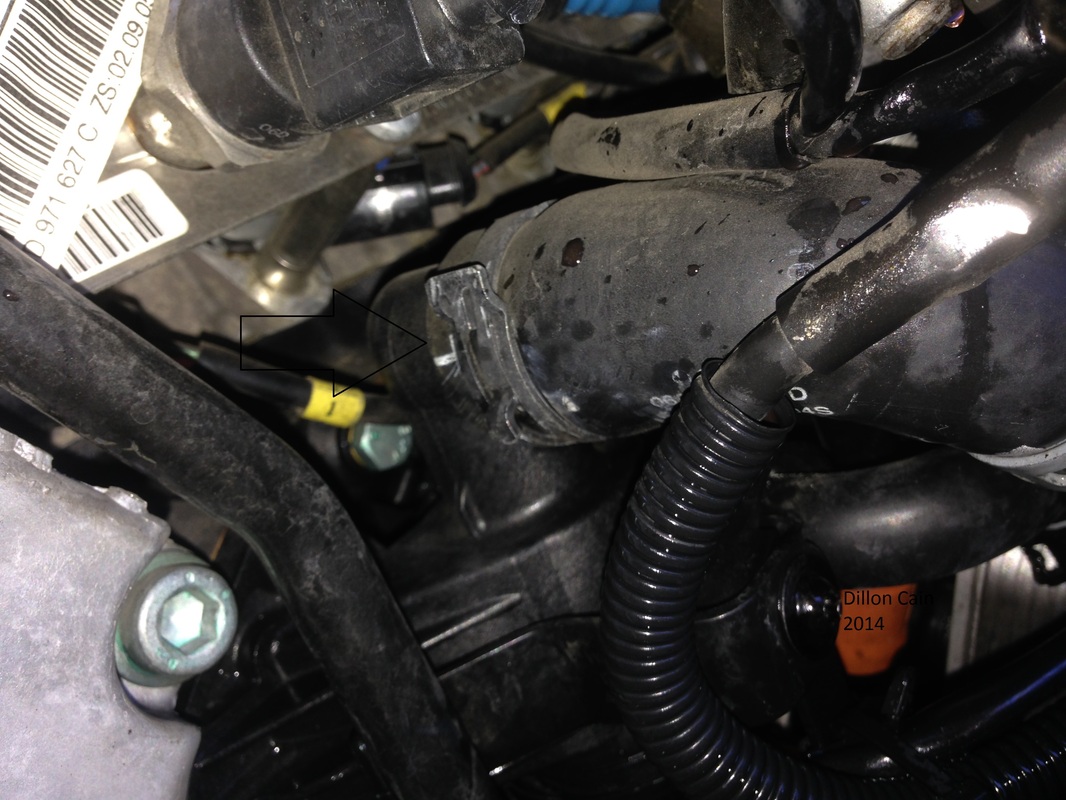
Step 8: Remove Torx 30 screw on metal hose up top (Silver in color)
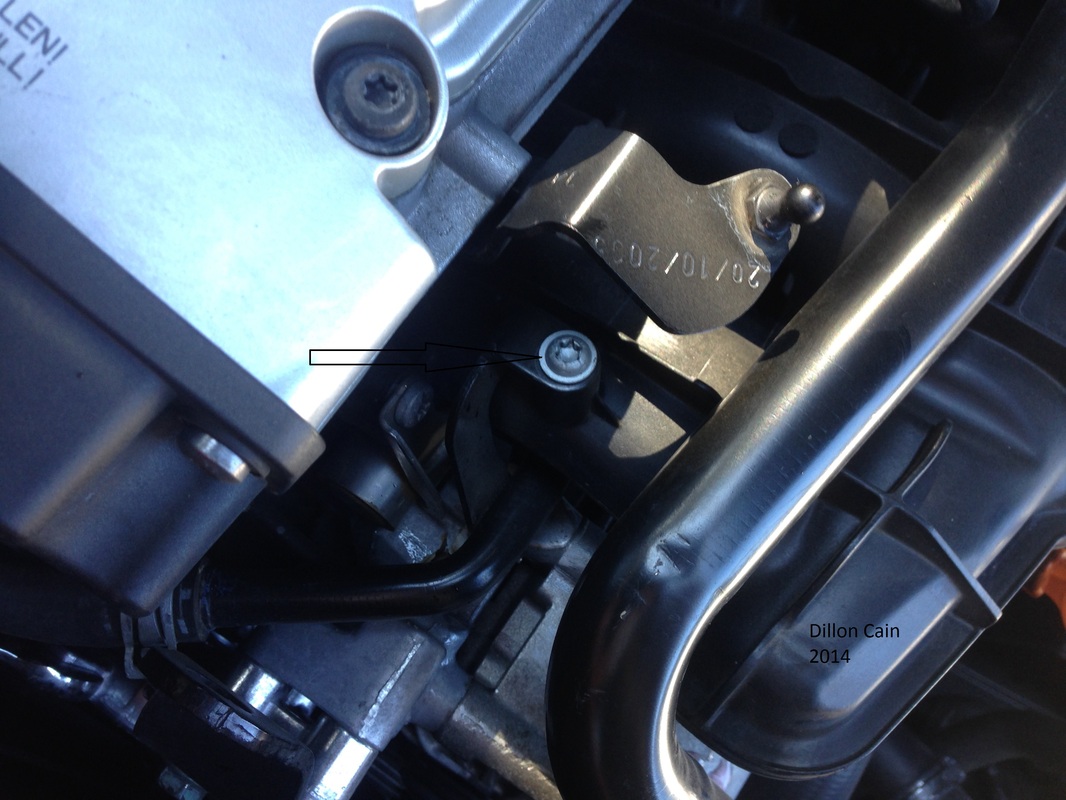

Step 9: Remove Torx 30 screw, center hose is metal (Black in color)
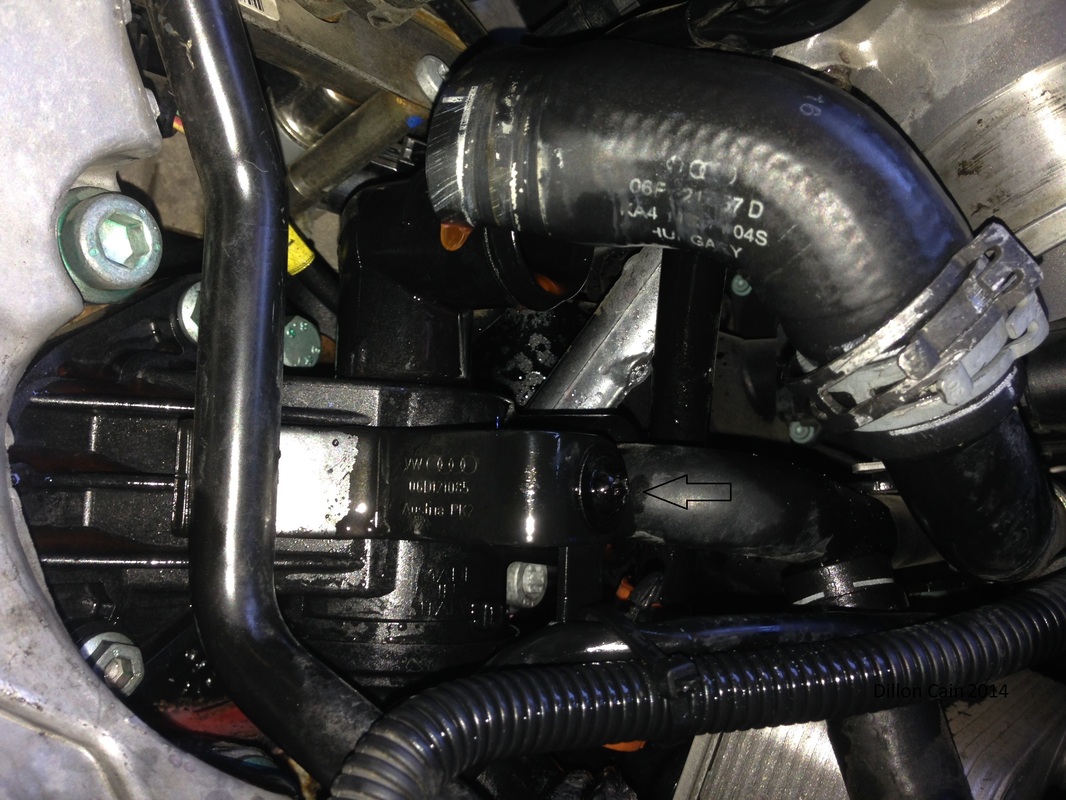
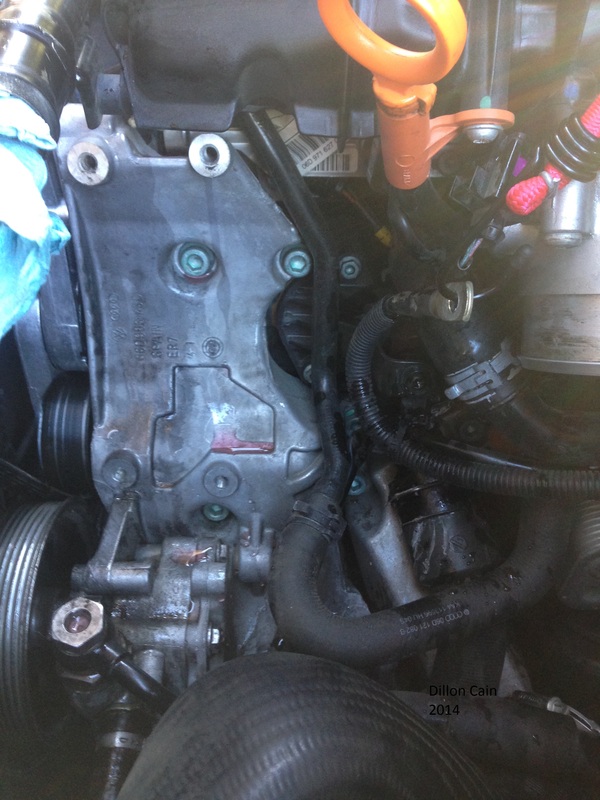
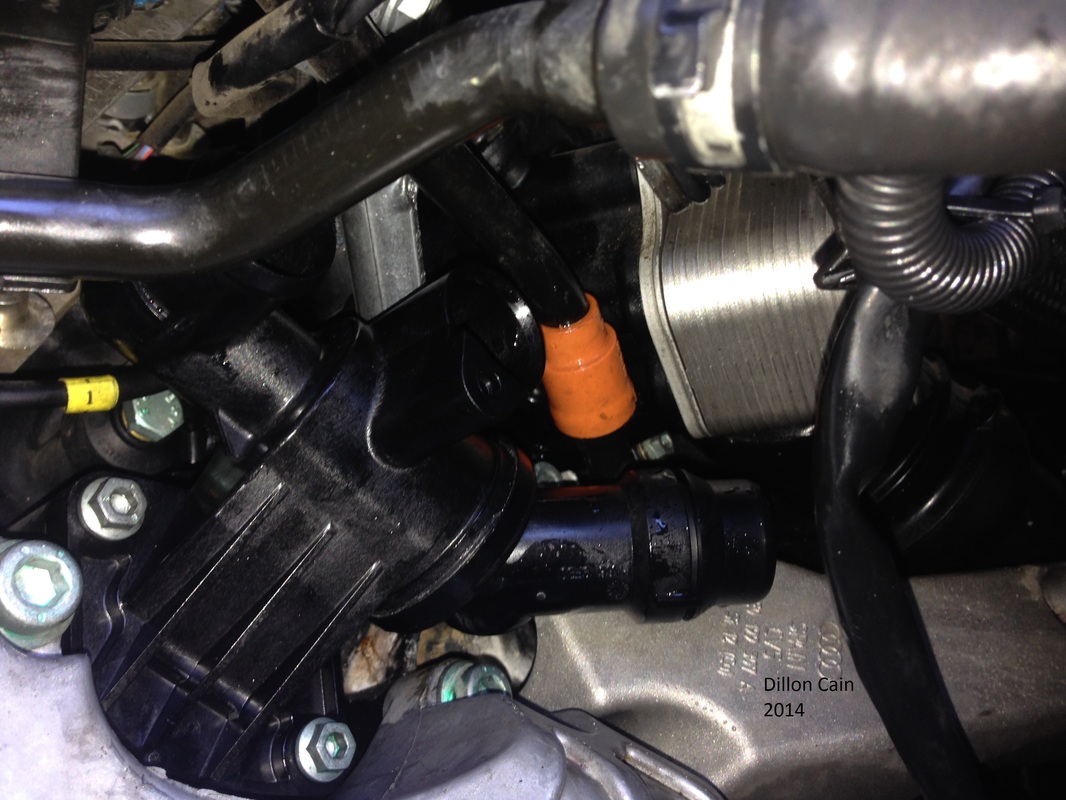
Step 10: Remove two hidden 6mm hex bolts above oil cooler, can be seen in picture or with an inspection mirror. (This holds the center hose in place)
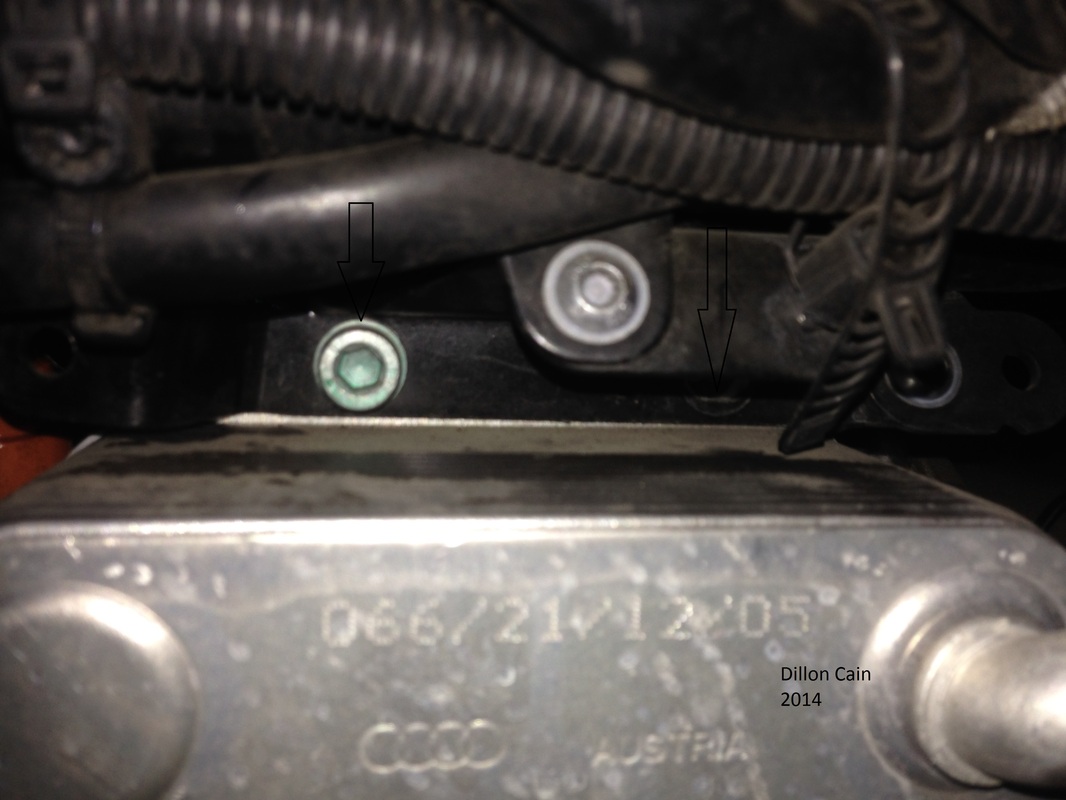
Step 11: Remove center hose and push to side
Step 12: Replace the O-Ring on the center thermostat hose, mine tore from what I could tell from last time = ( (20x3mm)
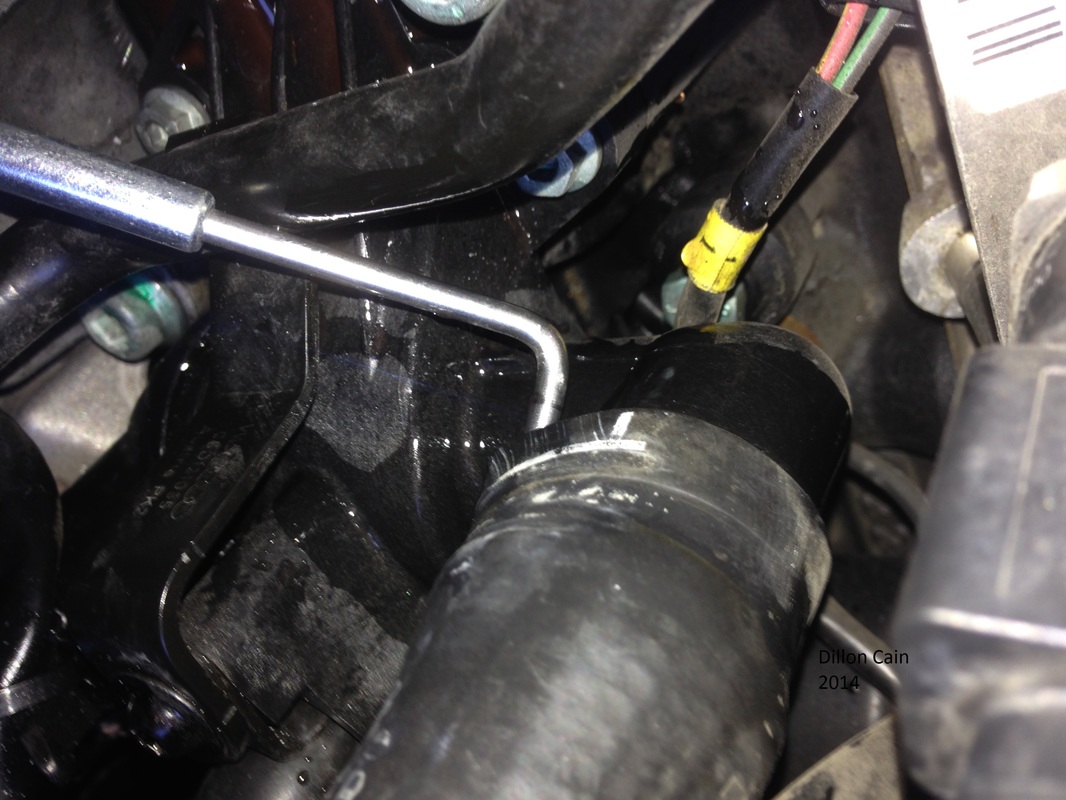
Step 13: Remove bottom thermostat hose, pull metal clip with needle nose pliers (Be gentle with it as well)
Step 14: Remove 2 (5mm) hex bolts that attach thermostat to the engine block (Remove thermostat)
Step 15: (Optional) Clean area while everything is out

Step 16: Do the previous steps in reverse
Step 17: Fill expansion tank with coolant and let car run. (I drove mine about less than one mile and the thermostat opens up) I then proceeded to add more coolant. Also check and make sure that your gauge eventually goes to the 12 O Clock position
I hope you enjoyed my guide!

 Reply With Quote


Bookmarks