


**Warning might be pic heavy.
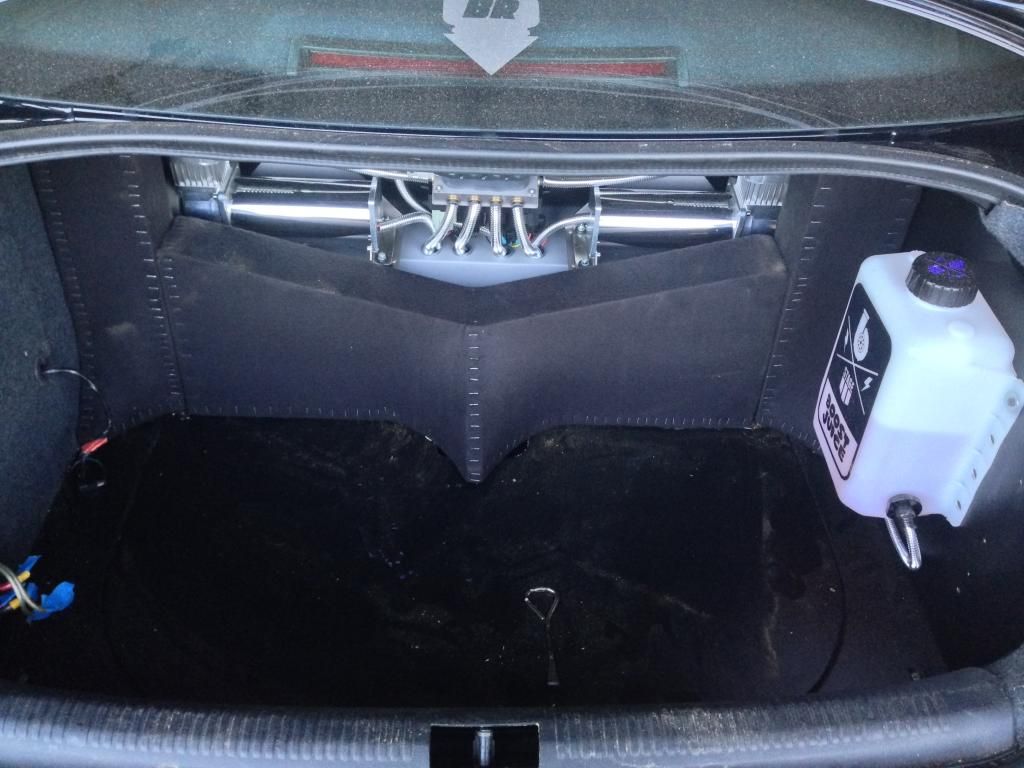
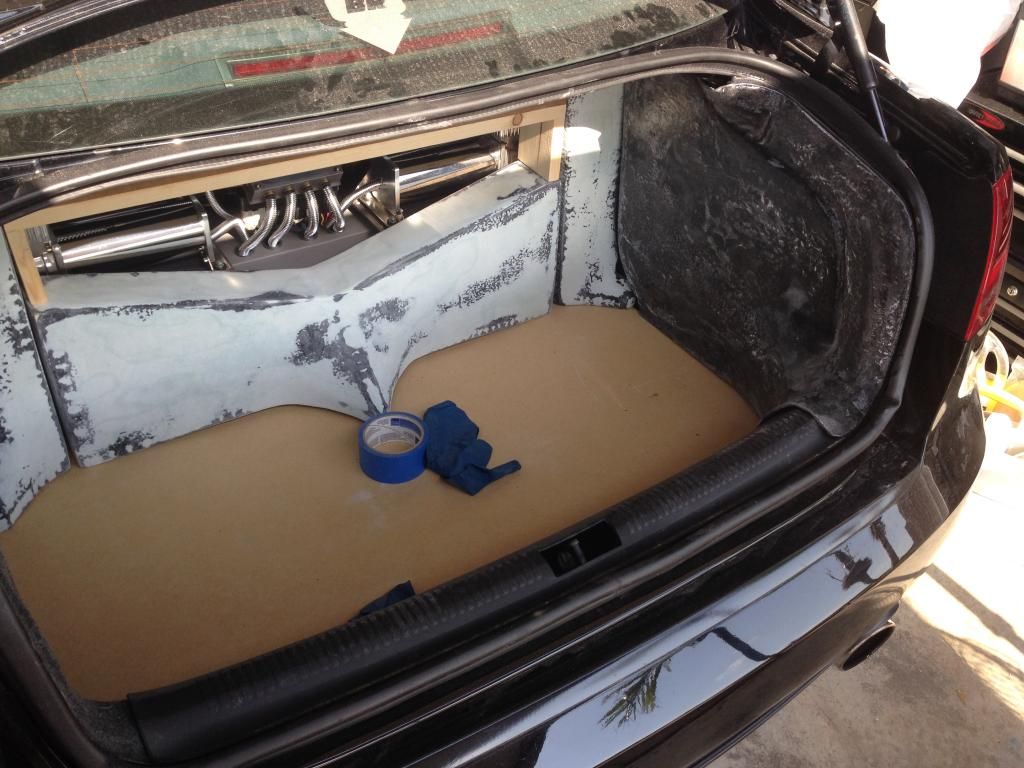
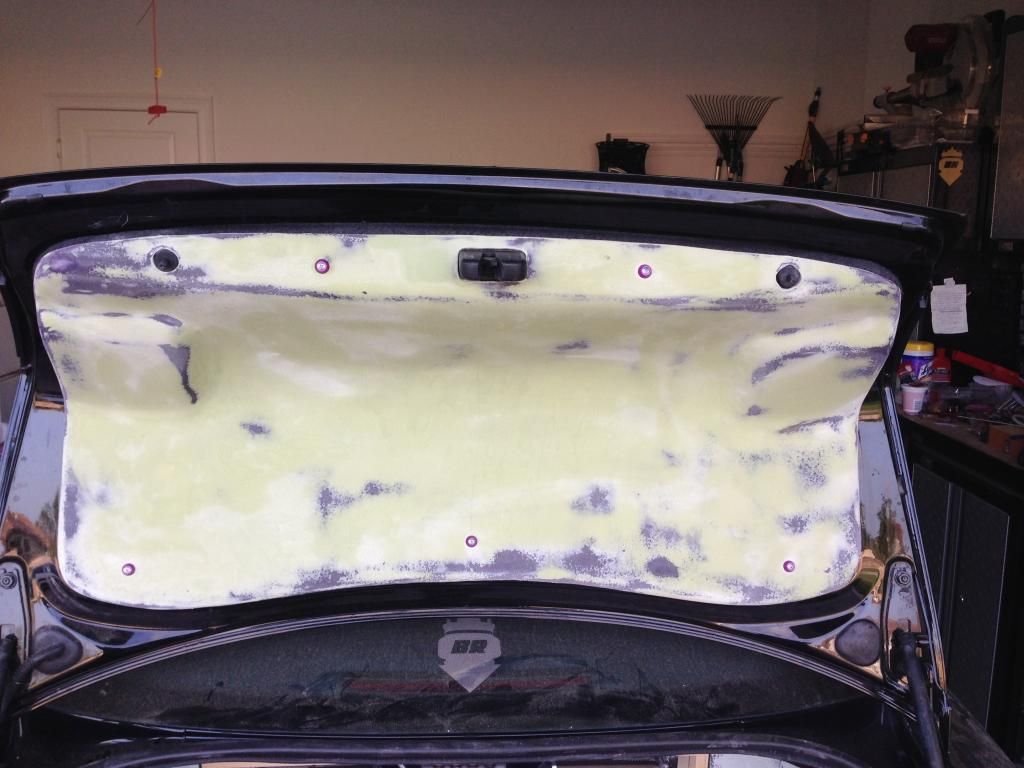
The Before:
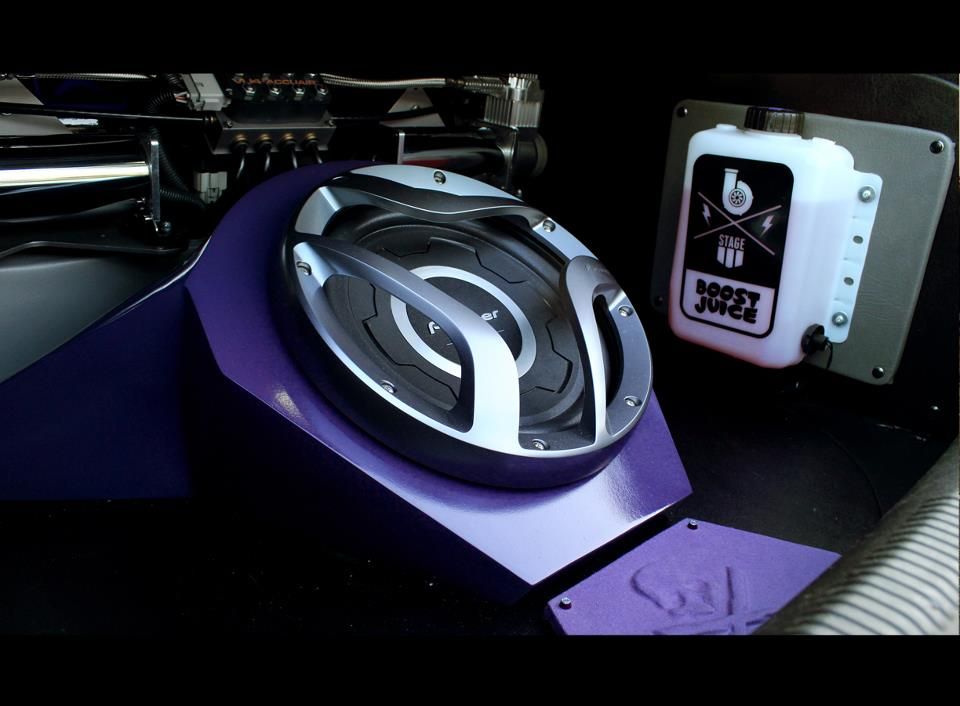
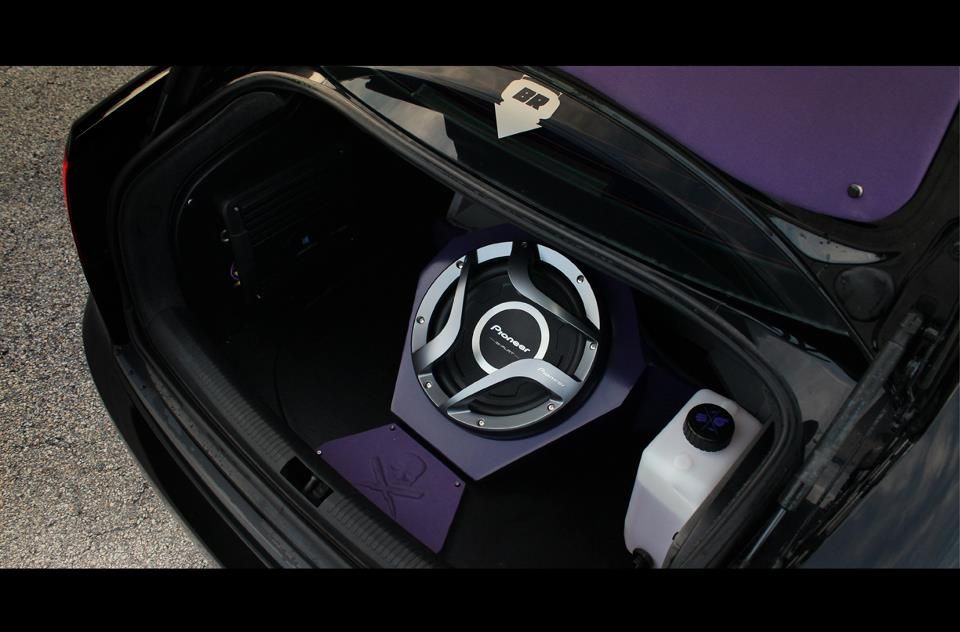
Not bad, IMO it's simple and clean but I wanted to build something a little more detailed and unique, so the journey begins.
The Build
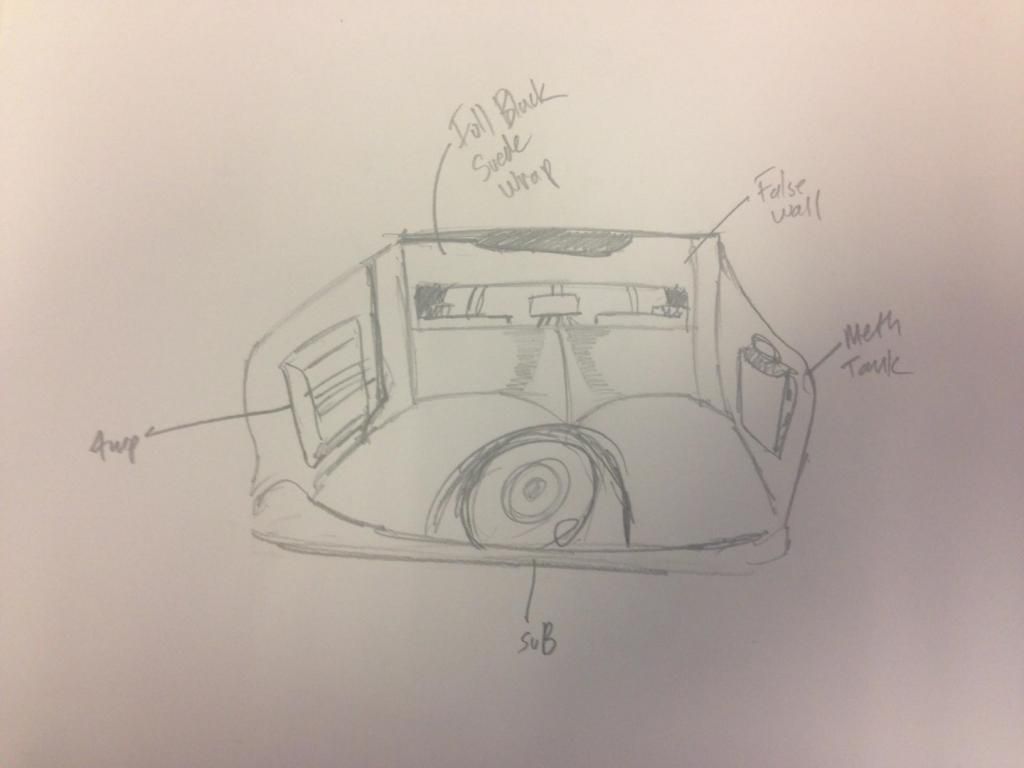
I started with some simple sketches till I got the one I liked and I started from there
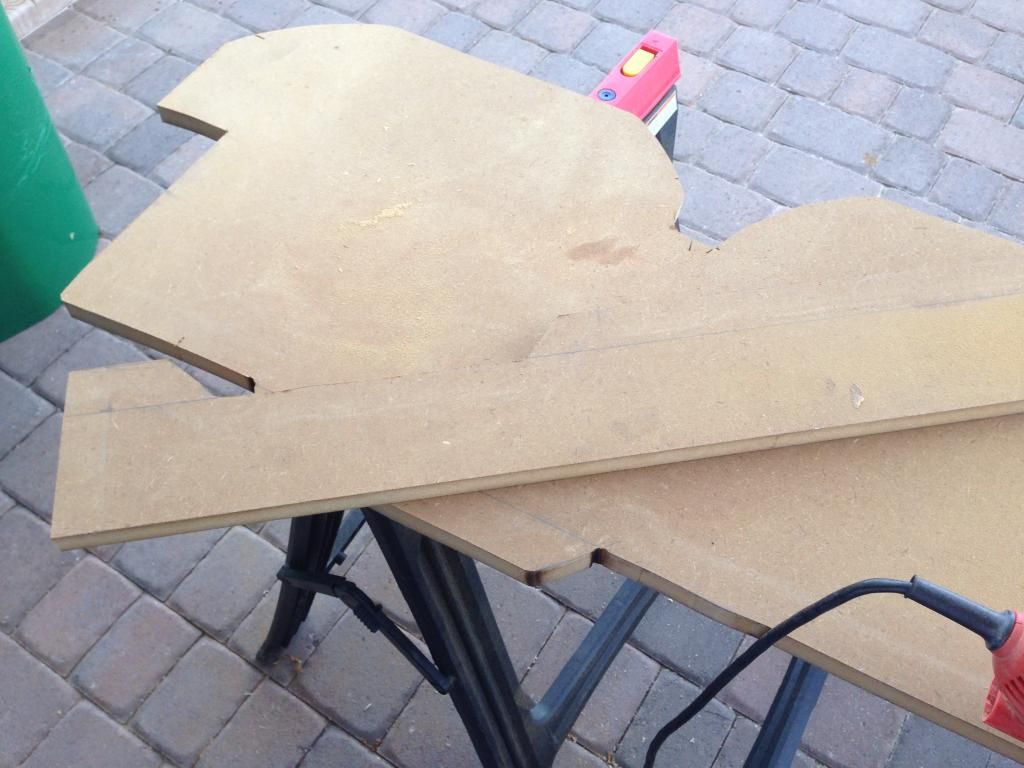
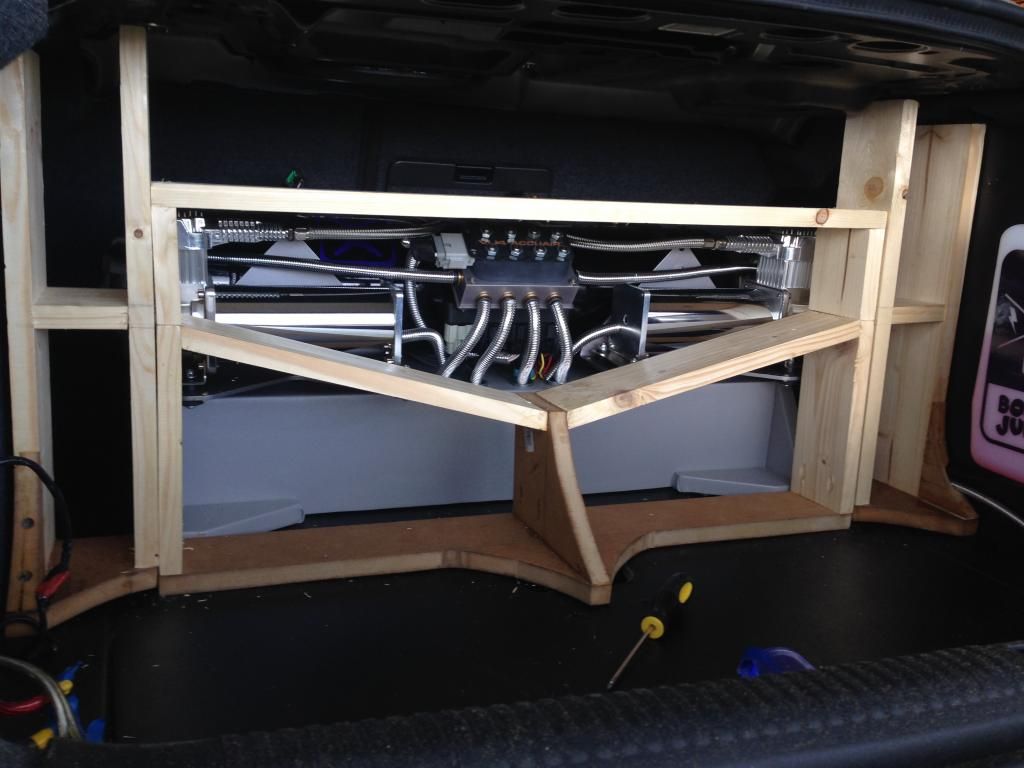
First step was to build the wooden skeleton for the false wall and side pillars. I used 1x3 and .5" MDF for my materials.
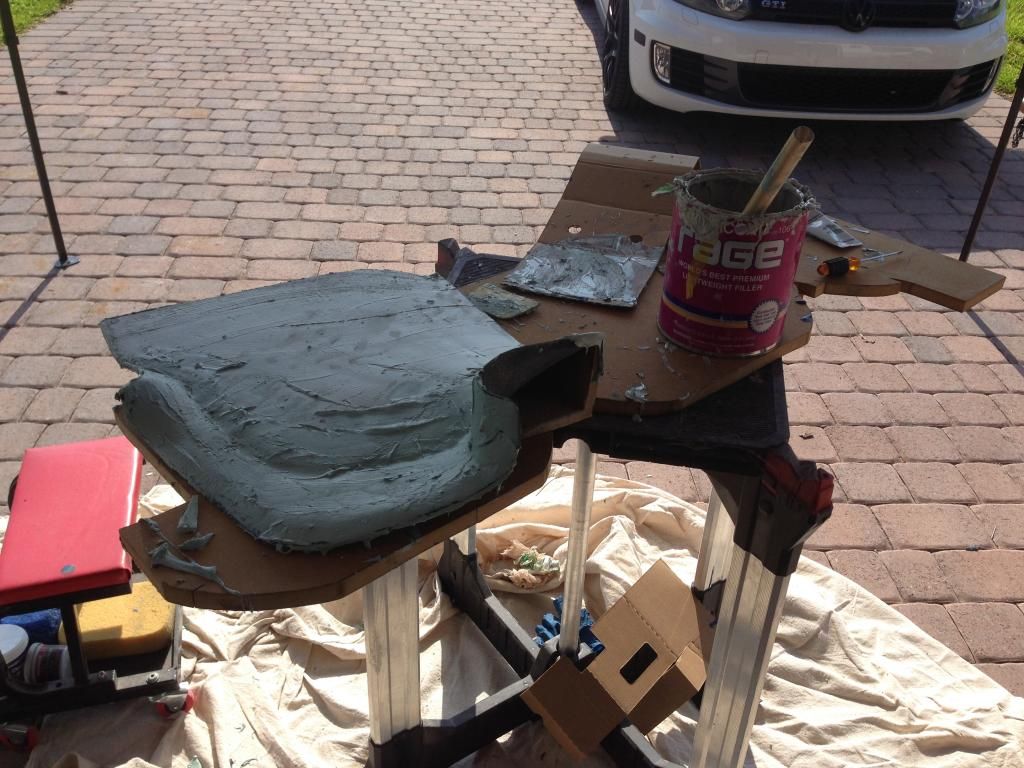
After getting them in a good place the next step was to fleece wrap the wood frames so I could add a few layers of fiberglass resin. I don't have any pics of the glassing and bondo process but it's pretty straight forward. I went with 3 heavy and hot (extra hardener) layers and 2 regular layers of resin over the fleece. One thing I learned was that instead off adding straight body filler to the glass panels it's much easier to make milkshake a mixture composed of 3/4 body filler and hardener to 1/4 fiberglass resin and hardener. It makes it much more runny to the point that you can brush it on avoiding massive clumps and pinholes. Also make sure you use quality body filler like Rage Gold to avoid hours of extra sanding.
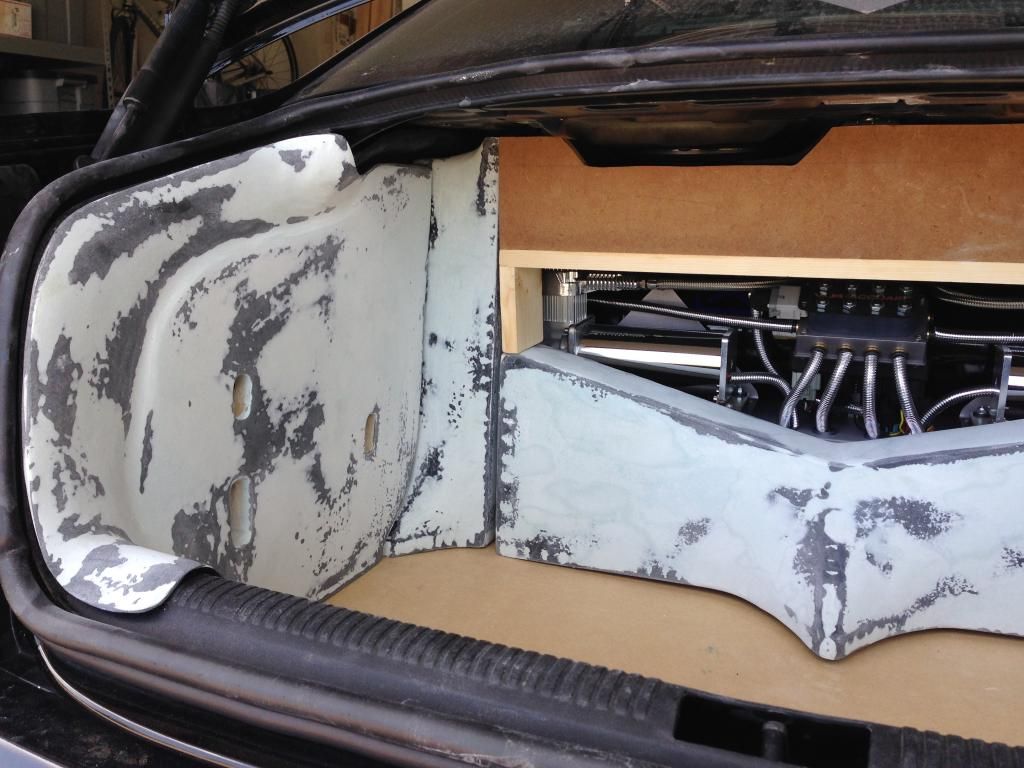
The next step was to start the side panels. The first thing I did was to make a wooden base shaped to fit in front of the pillar and snug against the carpet. I then stapled fleece to it and stretched it under the weather strip to form fit and over the trunk latch panel. I then taped everything up very well and added the same 5 layers of resin as above. I added a few layers of body filler, sanded, and I then trimmed the panels and test fit.
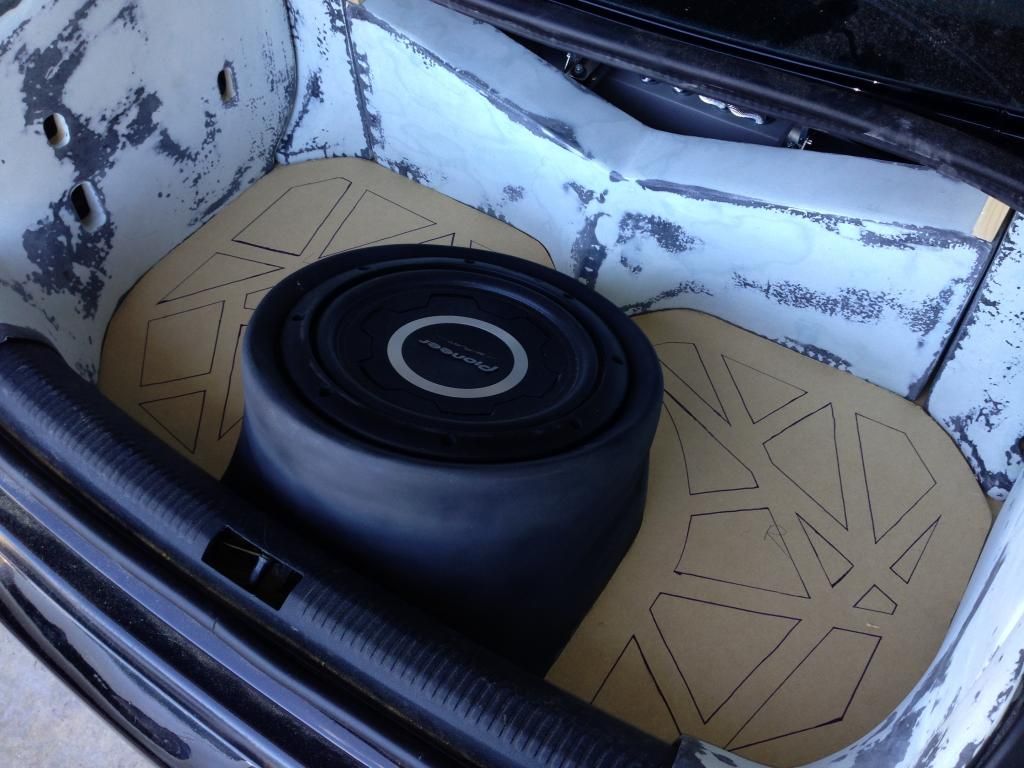
The following step was to build the sub enclosure and decorative floor panels. I made the bottom base, sub rings, and support pillars at the angle I wanted. Once I was happy with the look I fleeced wrapped it carefully making sure I had no creases and I added 5 layers of resin and the two final resin layers strengthened by fiberglass cloth. I milk shaked 4 layers of filler and sanded everything to a super fine finish, topping it off with primer. I then cut out the decorative floor panels.
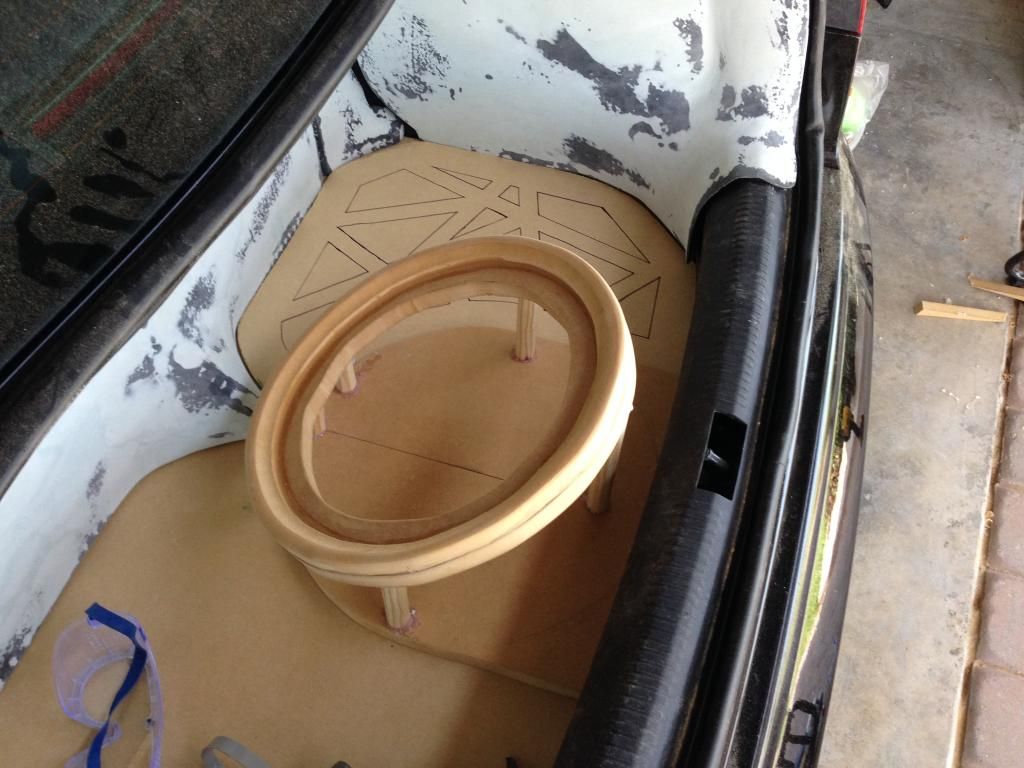

template masking for the decorative panels

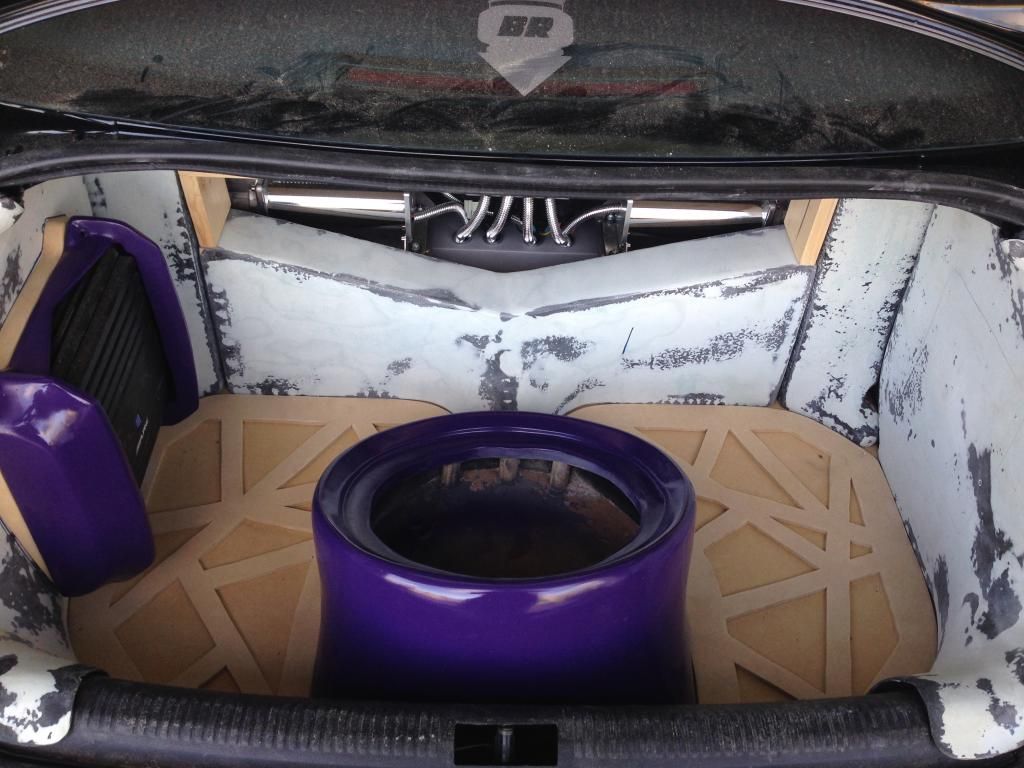
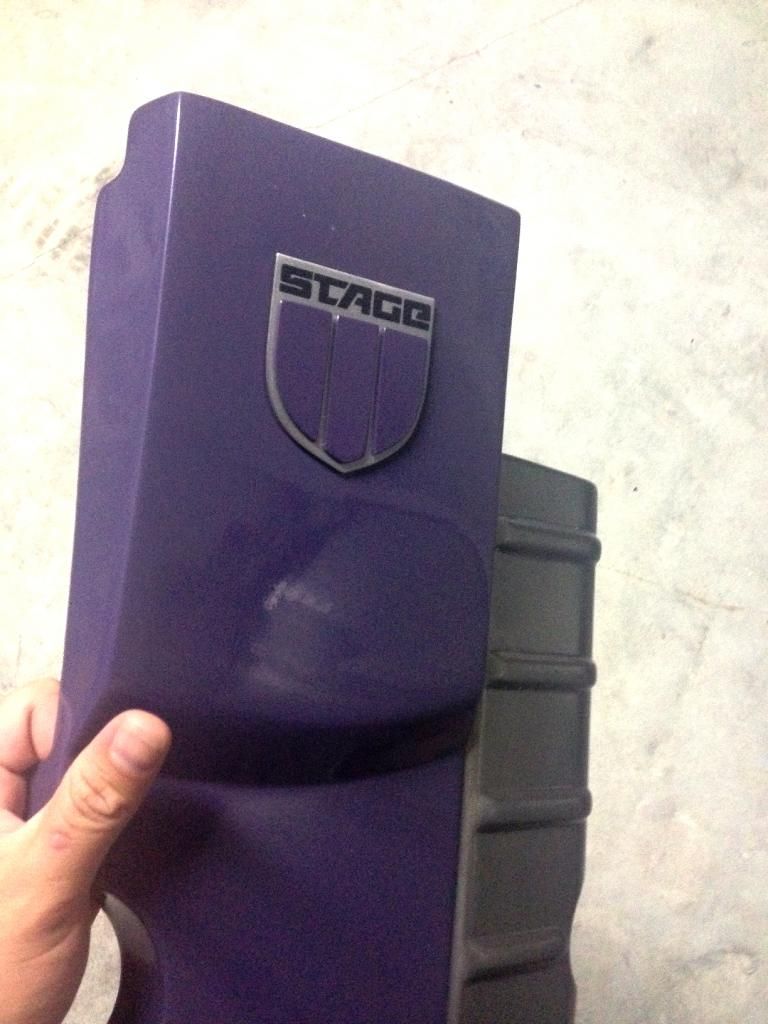
Next I painted the sub enclosure and amp cover.
I made a shaved trunk lid cover. My process was to tape everything up and straighten up the holes in cover by adding a thin layer of sheet metal to give it a new shape. I then added like 4 layers of resin and fiberglass cloth followed by 4 layers of just resin. I added 3 layers of milk shake and sanded that shit down smooth.
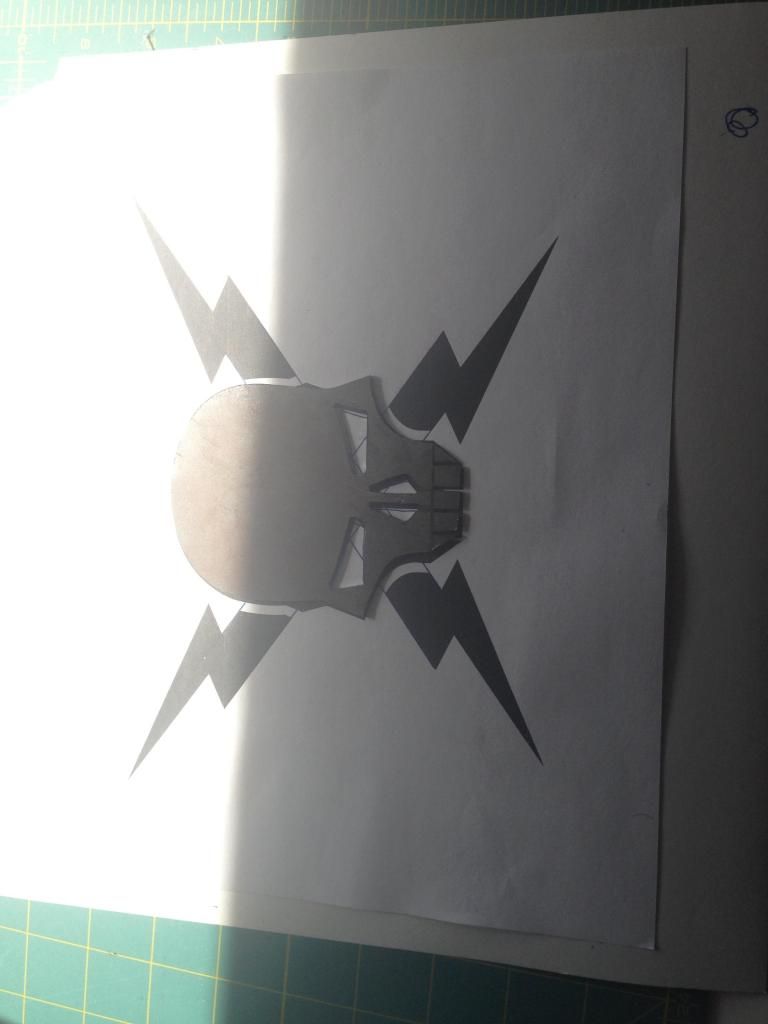
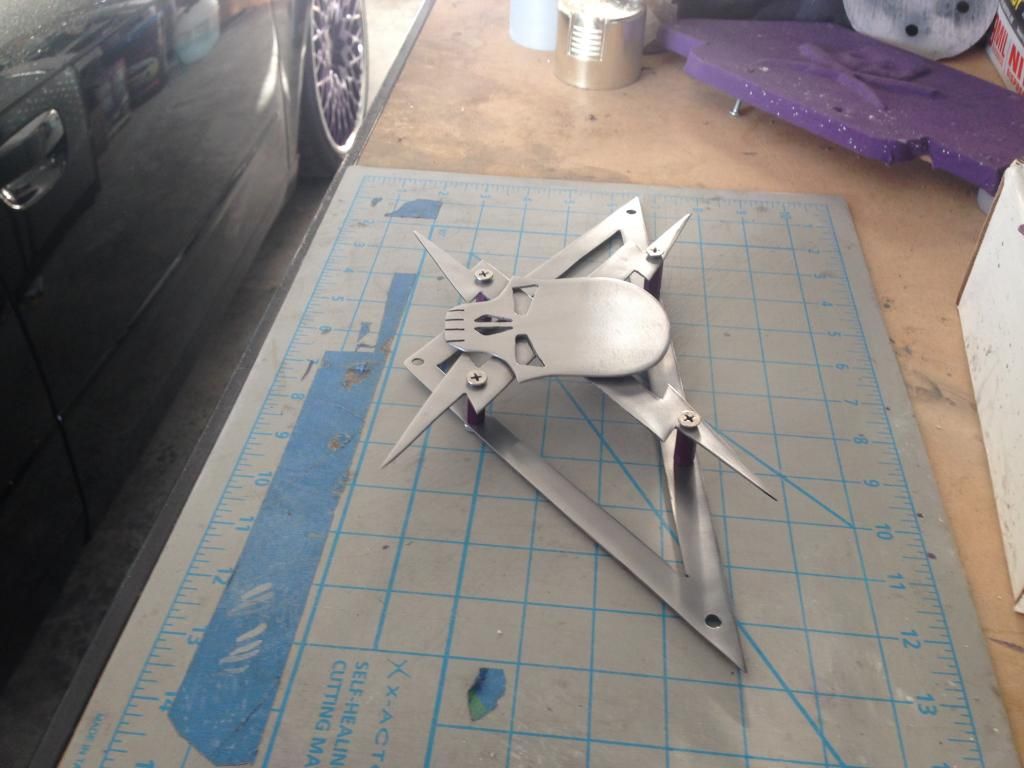
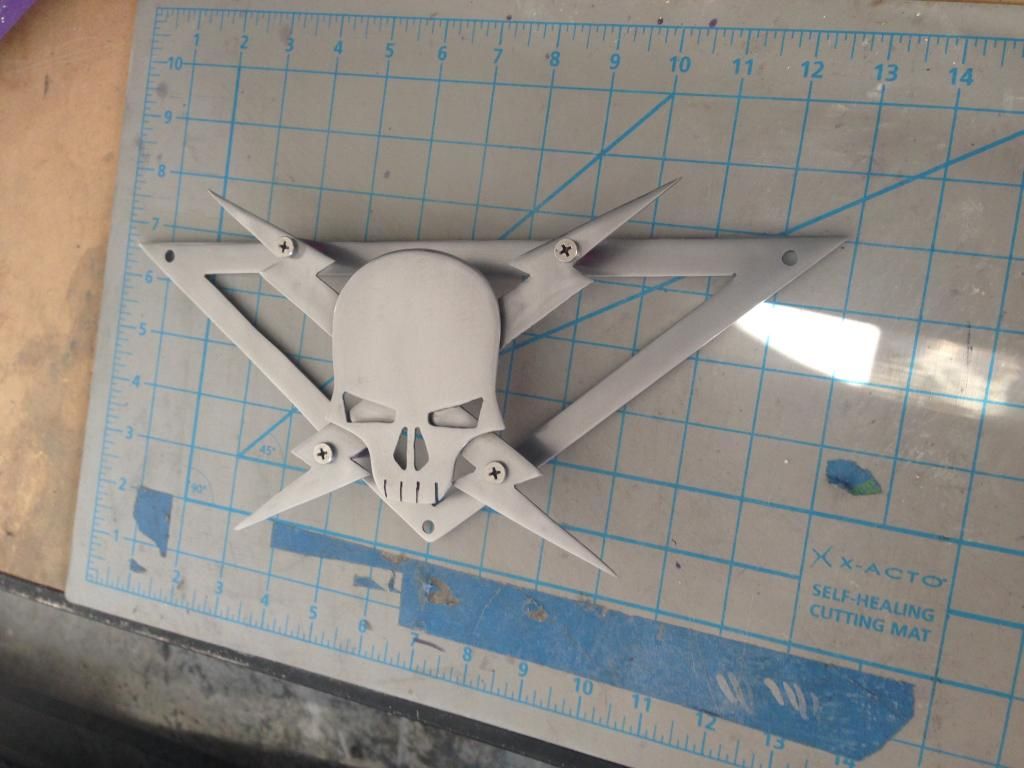
As I finished off the trunk I wanted to add some trunk jewelry to my setup to mount onto my lexan glass cover for the wall. So I hand cut my cars logo/emblem out of 1/8" steel. I started with a print out and made a few cut outs from thick paper to trace the design and I proceeded to cut out the shapes. I then put it all together and polished it. Damn this was a pain in the ass.
I finished up all the raw panels in black suede, mounted the lexan glass and emblem, connected the sub and here's where I'm at.
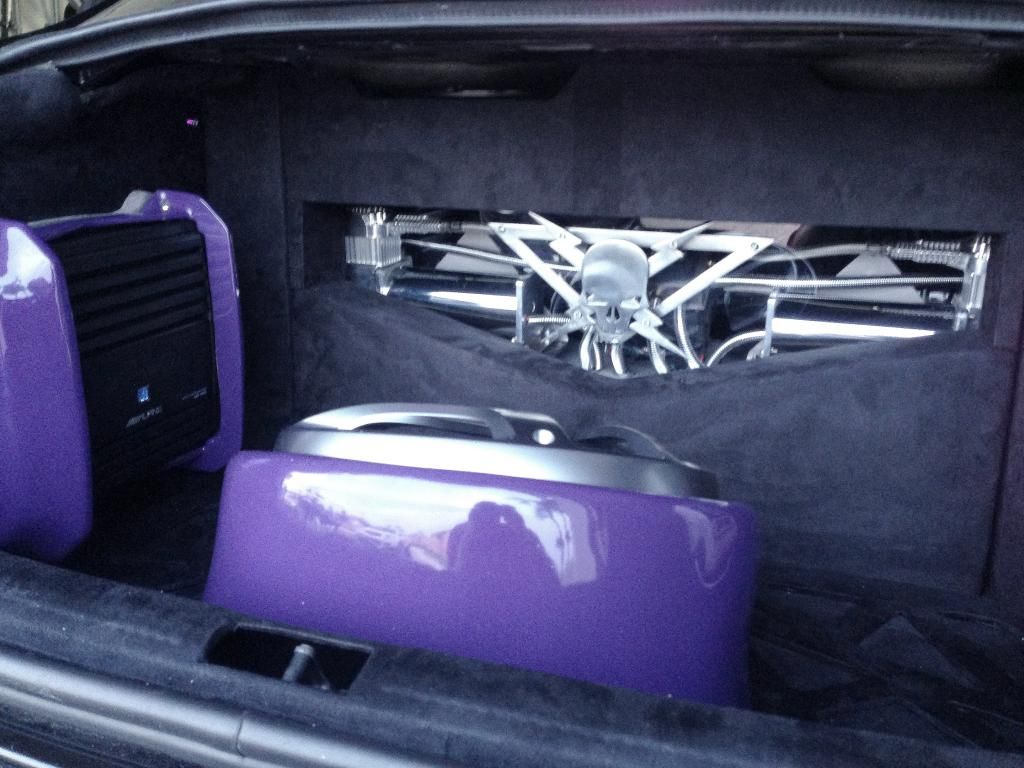
I still have a few things to wrap up like lighting and some finishing touches but it's almost there. My car is getting painted now but when it's done I post up some proper final pics.

 Reply With Quote

 ........


Bookmarks