


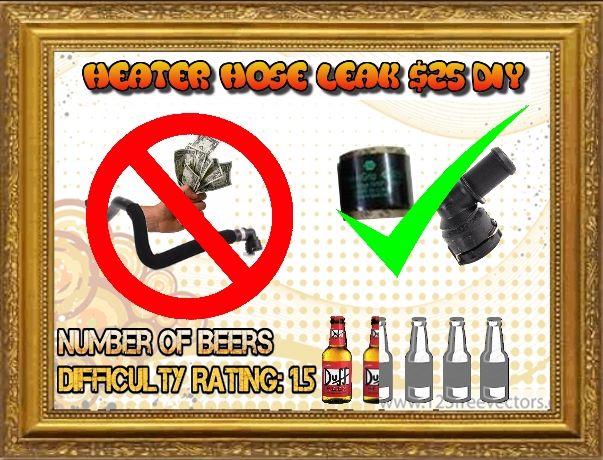
The cost of replacing the entire hose assembly is ~$100 for a new OEM hose... lame. Now you probably could get by with just replacing the clamp, but a whole new coupler, complete with new fresh o-ring is only about $20, so might as well swap it since all the o-rings in these things seem to go over time. I got the idea for this repair from this thread:
http://www.audizine.com/forum/showth...ater-core-hose
So without further ado:
Parts Needed:
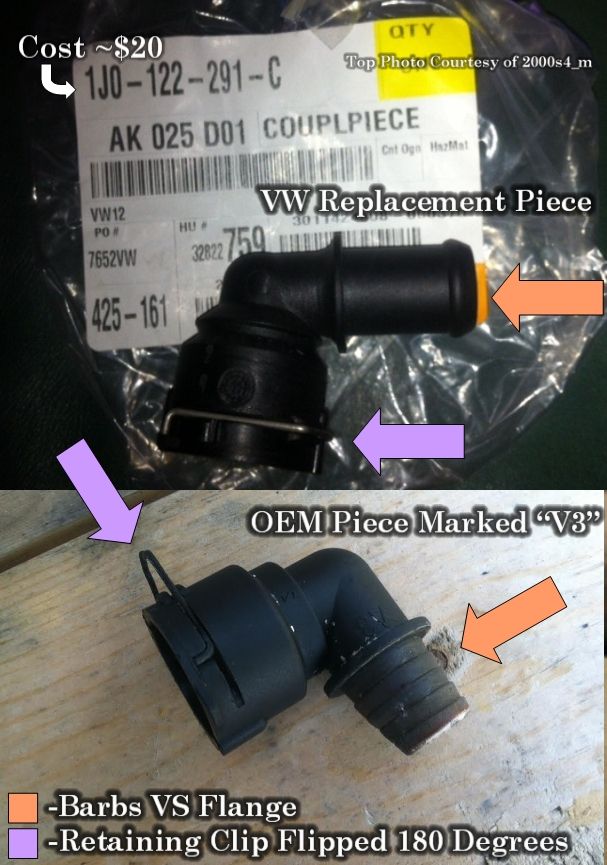
VW Coupler Piece:
1J0122291C
http://www.ecstuning.com/ES307292/
~$15-$20
A few small changes between the VW and OEM S4 coupler, the angle is ever so slightly different, but works fine and clears everything. The retaining clip is on the opposite side, but other than that works the same. And the VW uses a flange on the end, where the OEM uses barbs. As far as I know you cannot buy just the OEM S4 coupler, so thats why I am using the VW one as it is sold separately.
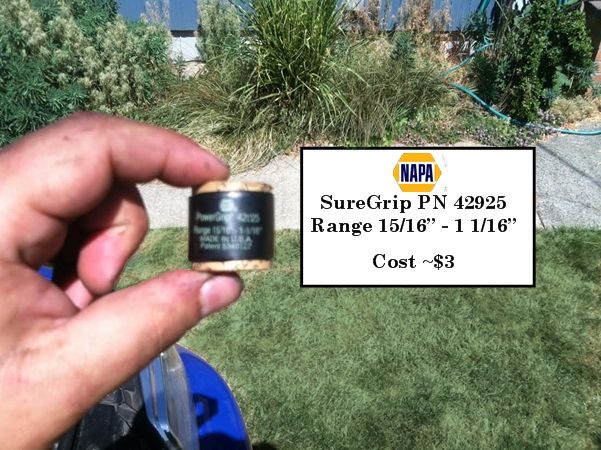
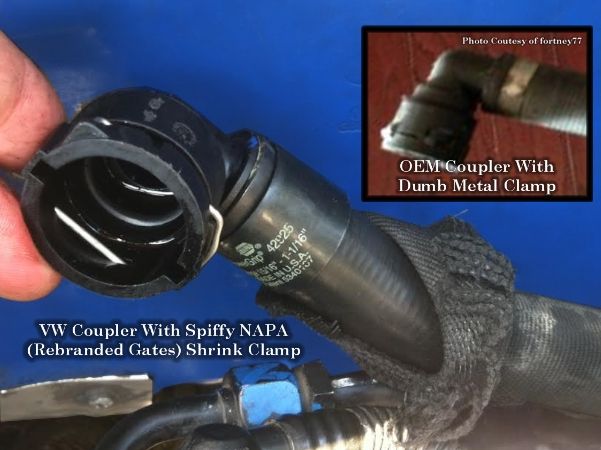
Napa SureGrip 15/16 - 1 1/16" Shrink Coolant Clamp
42925
Cant find it on their online site anymore for some reason, but they still have them if you go in the store.
~$2-$4
The SureGrip clamps are really just rebranded Gates Shrink Clamps. Just like electrical shrink tube when heat is applied they shrink. These are much more robust then their electrical cousins, and allow even clamping pressure. They are one time use, but they are very clean, and less clunky that a worm gear clamp. I have grown fond of these things as in theory they will never come loose or need to be re-tightened.
So pull off the MAF, Accordion Tube, and Y-Pipe (you might be able to get to the flange without removing all of these but this made it easy for me and only take a few minutes to do.)
Also with a 17mm remove the passenger side EGT probe and lay it out of the way safely, this will give you more room to fit your hand down onto the flange. You may not need to do this, but it helped my fat hands a lot.
For the open exposed inlet pipes and EGT hole cover them with a rag to prevent debris or coolant (in the case of the EGT hole) from getting in.
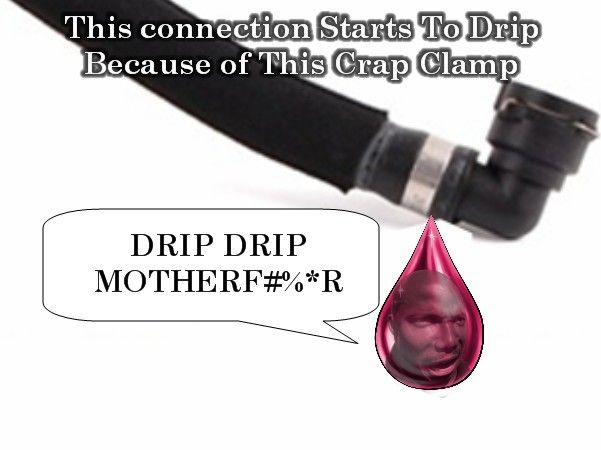
Pull back the U shaped retaining clip on the connector flange to unlock it and allow it to be removed. For me the Quick disconnect coolant connectors always seem to stick, and usually require a good deal of force to break free (heance the 1.5 vs just 1 beer difficulty rating). Once it breaks free you will start loosing coolant. If you shove a rag into the exposed hole you will limit the draining coolant to just a slow drip and not lose much at all, keeping you from having to replace much fluid.
Now feed the heater hose and flange up to the firewall so you can have better access to it.
The clamp is different from other hose clamps found on the B5, Its a perfectly round ring, so there is no "crimped section" to go after with a flathead. What I did was take a pair of old tin snips and get under the lip to cut the band. In the process i chipped a piece of the OEM coupler, as its plastic is now very brittle after 13 years of service. All the more reason to just replace it. However if you get your band off cleanly, in theory you could just pop on a hose clamp and reassemble, and make this a $2 DIY.
To ensure I got all the pieces of chipped plastic out of the hose, I disconnected the other end of the hose from the heater core, and put the garden hose on it, this flushed the hose clean and any pieces of debris that might have been hiding in it.
I thought about trimming back the original hose to get a fresh section, but after test fitting it was still sufficiently tight. I fed the hose with the coupler on it back down to the flange, and once I thought I had the angle of the coupler lined up I marked the hose and coupler with a paintpen then removed the coupler.
I then slid on the SureGrip clamp. This is a VERY snug fit, and getting the coupler on will take some muscle and twisting, BUT this means you are very unlikely to get a leak. I had loaned out my heat gun, so instead I used a creme brulee torch from the kitchen (Oui Oui) to evenly heat the clamp and allow it to conform and shrink. This sucker isn't going anywhere, and looks darn good if I do say so myself.
Then feed the hose back down behind the motor, and quickly remove the rag you were using as a cork and slip on the connector. You should hear the "click" of the retaining clip verifying it is on. Now just re topoff your coolant and bleed any air out of the system, reassemble the intake and enjoy the extra cash in your pocket. Now you are free to enjoy your drink of choice!

Anyway, thanks to those in the thread I linked above. Just thought I would share what has worked for me so far, as well as to let others know about these neat little shrink clamps if you haven't heard of them before. Zero spell checking or for that matter, effort, went into making this, so it is what it is lol

 Reply With Quote


Bookmarks