
Originally Posted by
snokarver

Anyone know of a DIY guide for the fuel filter change? I've done it on my C5 a couple times, and I'm trying to figure out what's different about the C6. The filter design seems different at least.
As taken from AW and the EXACT steps I followed, when I did my fuel filter about a year ago.
Fuel filter change: 20 mins minutes. Need jack, light, flathead, 10 mm wrench/socket, t-20 torx bit or screwdriver (the bit with a socket wrench is better),towel, plastic bowl/container, rubber gloves.
Ok, changing the fuel filter is a straightforward process that should have only taken me about 15/20 minutes. The filter is easily accessible. The hardest part was removing the fuel lines/clips that are attached to the fuel filter. It's a simple process as follows:
1) Remove the side cover on the passenger's side to access the fuse panel. Do this by inserting a small flathead in the slot at the bottom of the panel. Pry it out.
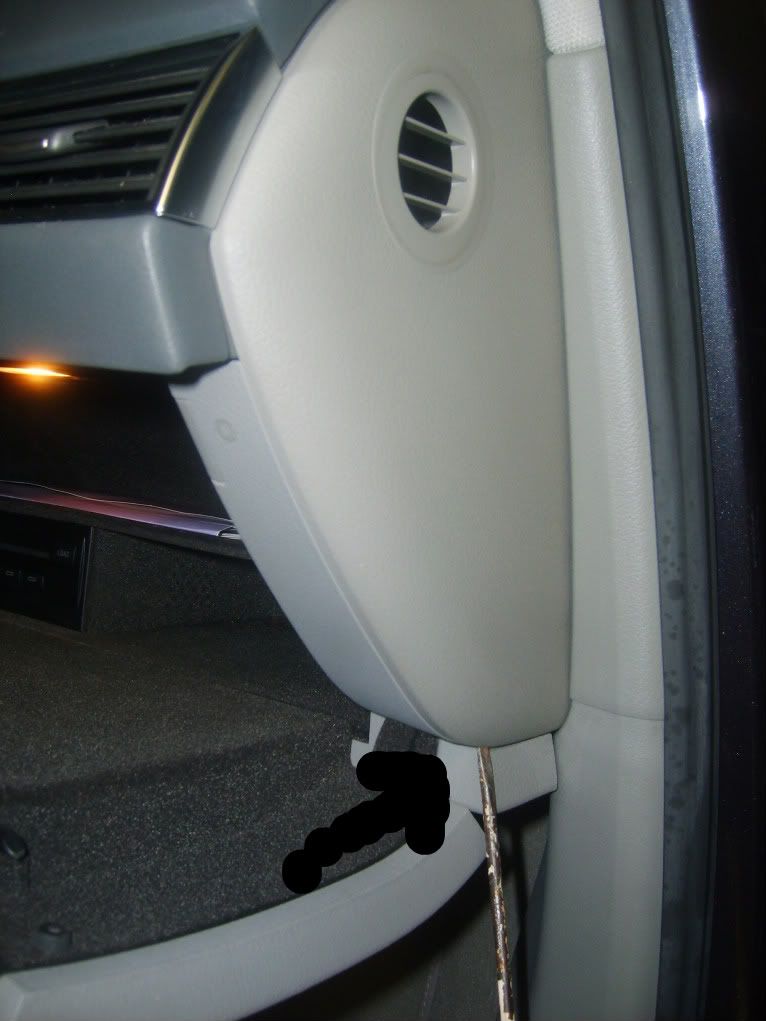
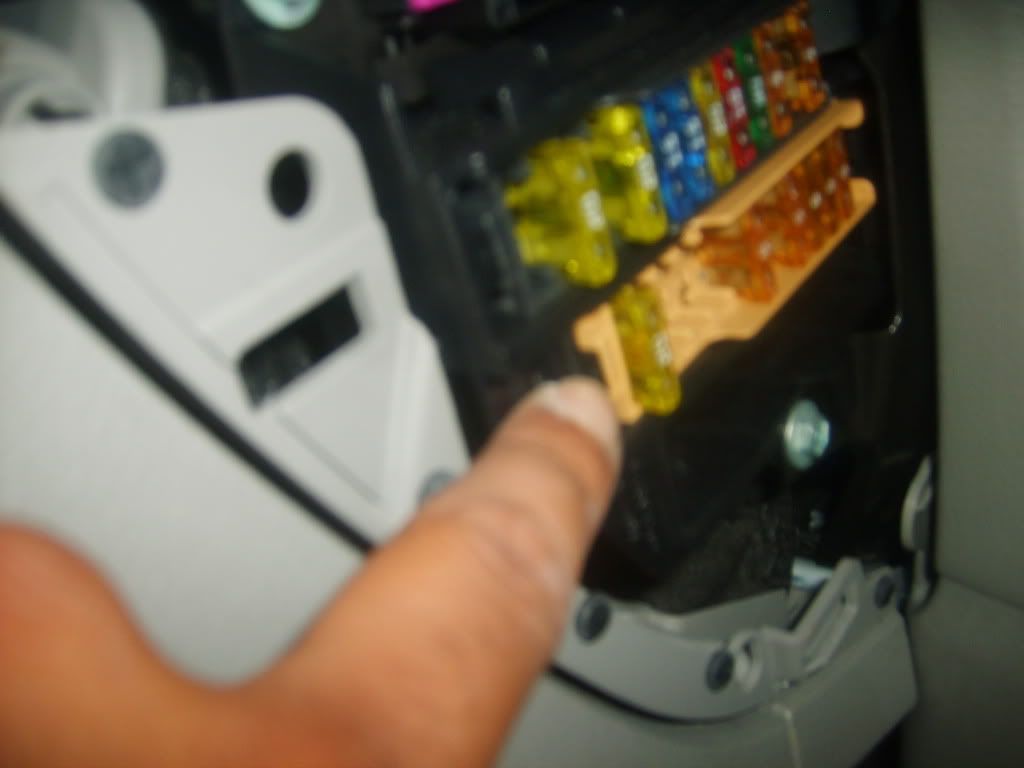
2) Remove the first and only 20 amp fuse in the BROWN section of the panel. This is the fuel pump fuse. Make sure the car is OFF before removing otherwise the car will continue to run as the siphon has already been created.
3) Turn the car on and it will run out of gas in 10 to 15 seconds. The fuel system is now depressurized.
4) Turn ignition off.
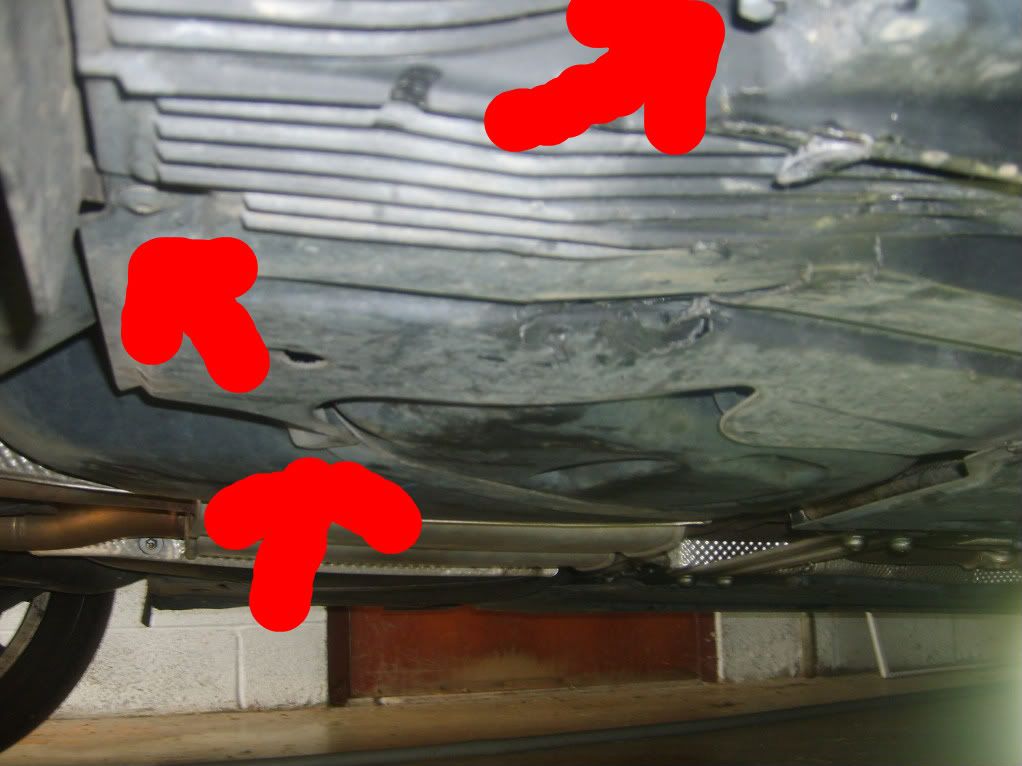
5) You will be working on the right side of the car, next to the rear tire. You will not be under the car (which is good). Jack the right rear of the car up and locate the small belly pan right in front of the rear tire. The fuel filter is right above it.

6) Remove the silver 10 mm bolt, black 10 mm bolt (part of the belly pan), and t-20 torx screw. Slide the pan off and you'll see the fuel filter in front you. At this point you can choose to remove the jack. I left mine jacked up.
7) Note the position of the filter so the new one goes on the same. Lay your towel down and place your container under the filter.
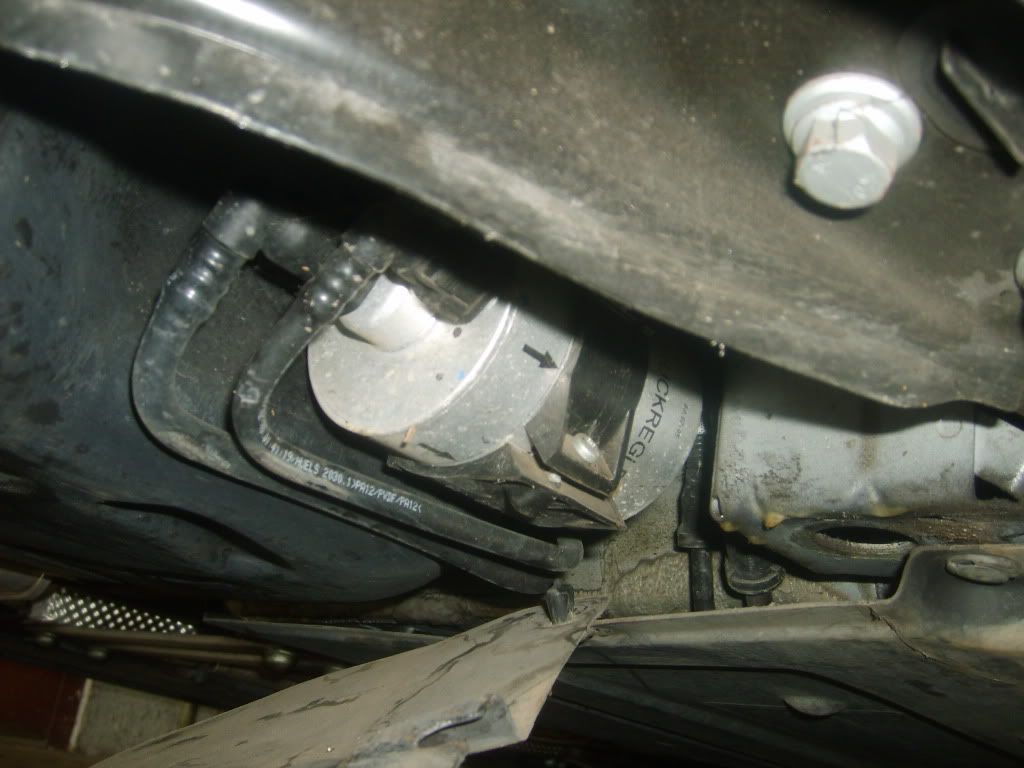
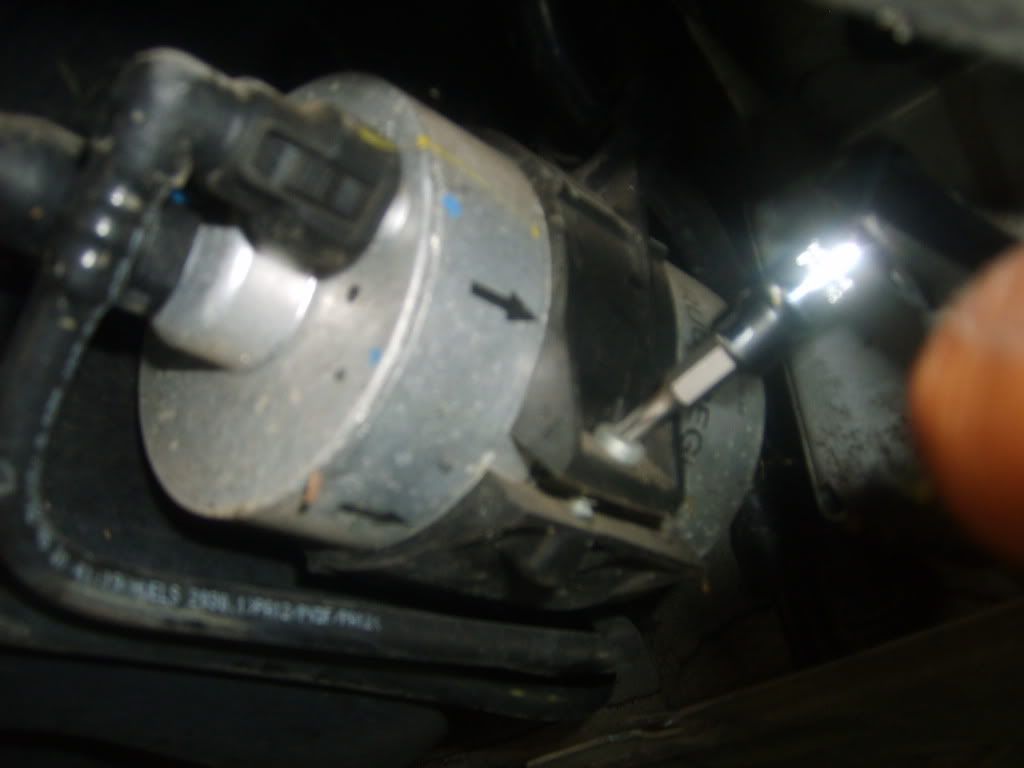
8) Remove either of the two clips facing you. The one with the blue tab on it is removed by pushing the fuel line towards the filter first. While still pushing the line towards the filter (as if you were putting the line on the filter instead of taking it off), squeeze the blue tab and then pull it off. If your fingers aren't strong enough, use a screwdriver to push the blue tab in and then pull it off while keeping it pushed in.
For the other line, you do the same thing. This line does not have a blue tab, however. It is just a black tab that you push in and pull off. Remember to push it toward the filter first (as if you were putting it on) while squeezing the tab, then pull it off.
9) Fuel will spill out. Don't panic just let your container/towel catch it until it is empty.
10) Remove the torx screw holding the filter on the bracket. Pull the filter CAREFULLY down and out of the bracket so you can remove the final line on the other side of the filter. I say carefully, because the bracket is plastic and you don't want to break it.
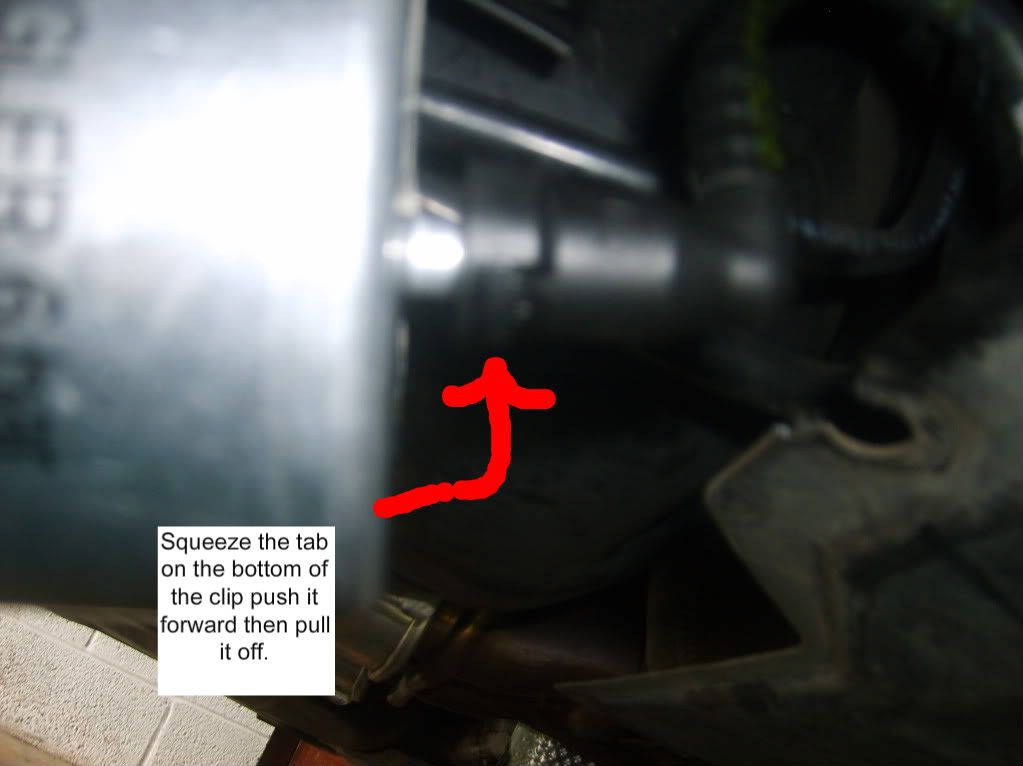
11) Remove the last line on the other side of the filter by squeezing the bottom of the clip and it comes right off.
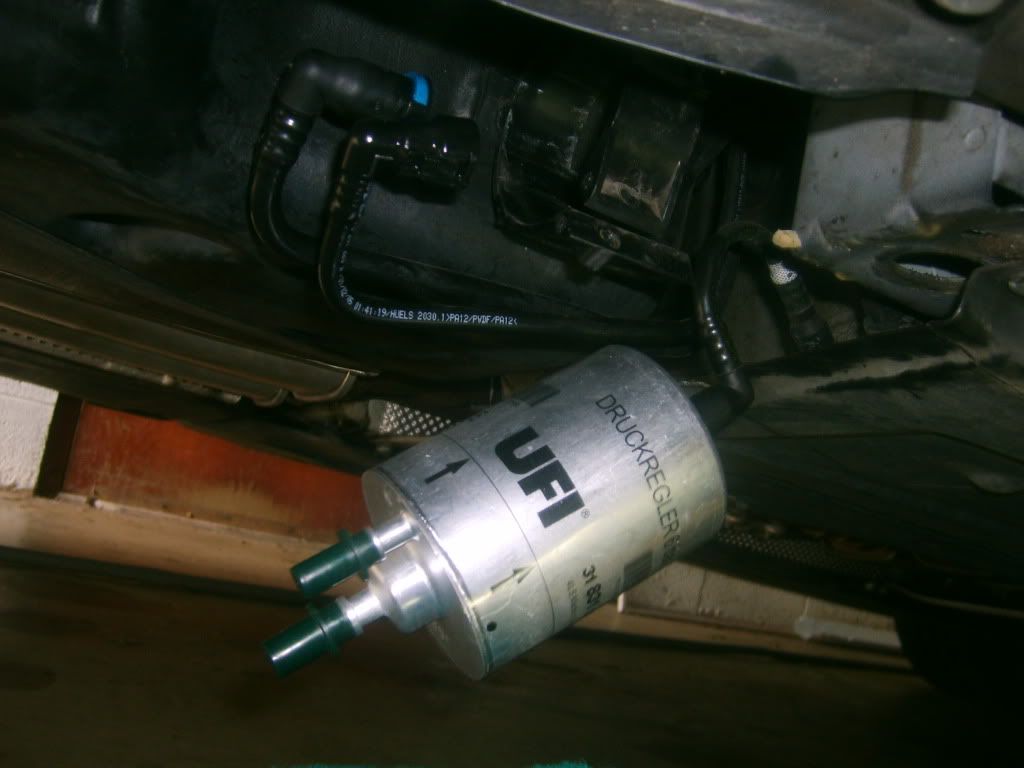
12) Hook the new filter up to the three lines and make sure they snap into place. Put it back in the bracket and position it as noted in line 7.
13) Put the torx screw back in and tighten.
14) Turn the car back on and then check for leaks. If all is good, put the pan back on and your done!!!
15) Pour the gas from the old filter into your container and dispose of properly.


 Reply With Quote


Bookmarks