


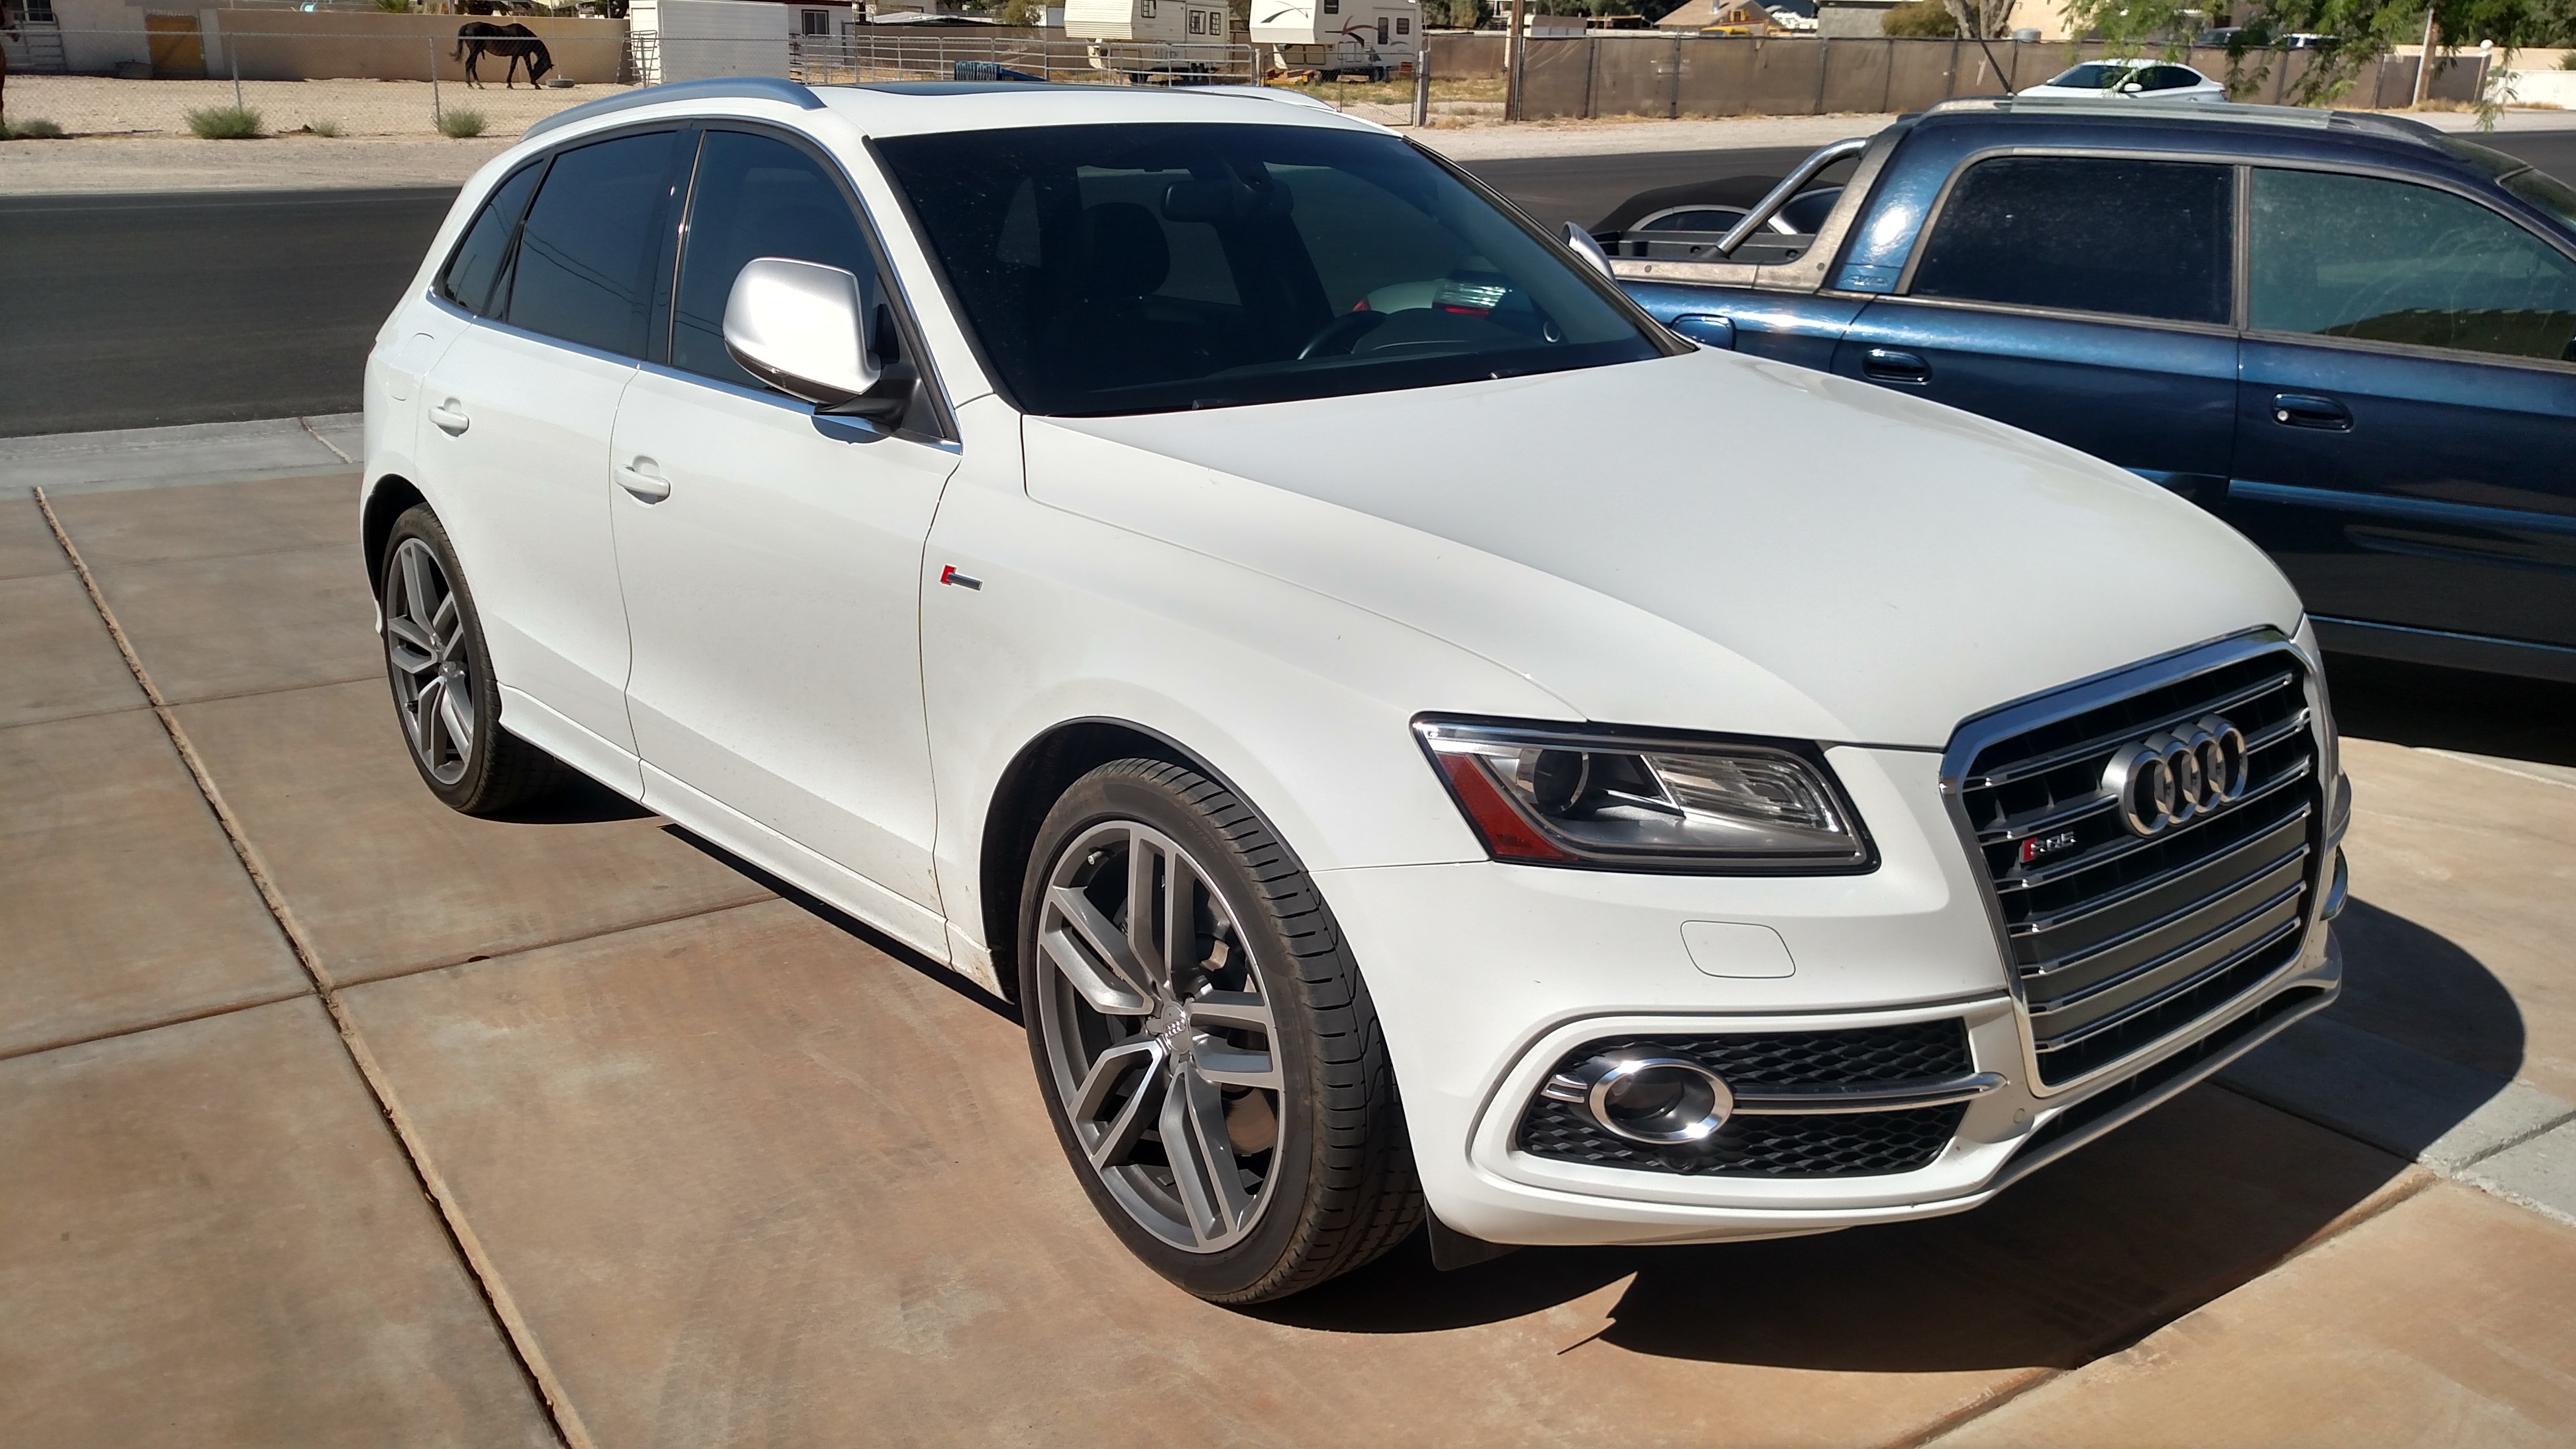
I took delivery of the car yesterday and instantly began the process of doing my own black optics conversion. After searching around I could not find a straight forward diy on how to take off the front bumper. Having had experience with removing both a b8 a4 and b8.5 s4 front bumper I figured this could not be that much different so I called up a few other members: BirdmanQ5, SilveR316, and $nooze and we began the process of taking it off.
**I am not responsible for anything you do to your car by following this guide. If you do not feel comfortable doing this yourself then I strongly recommend you have a shop perform this for you.**
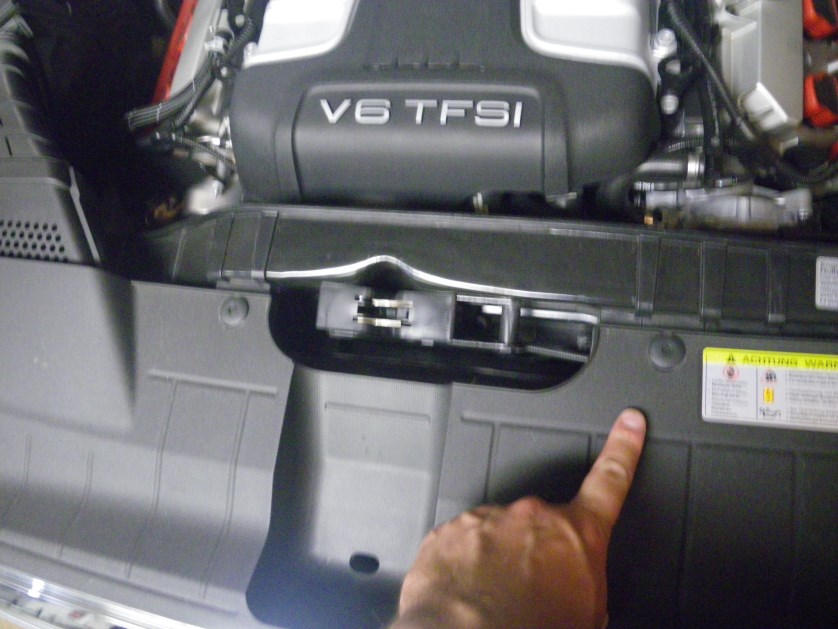
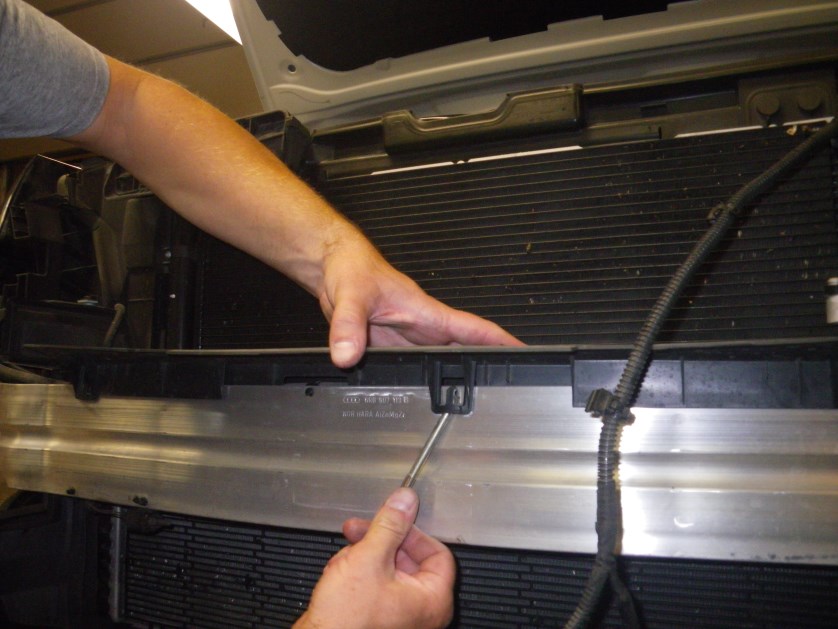
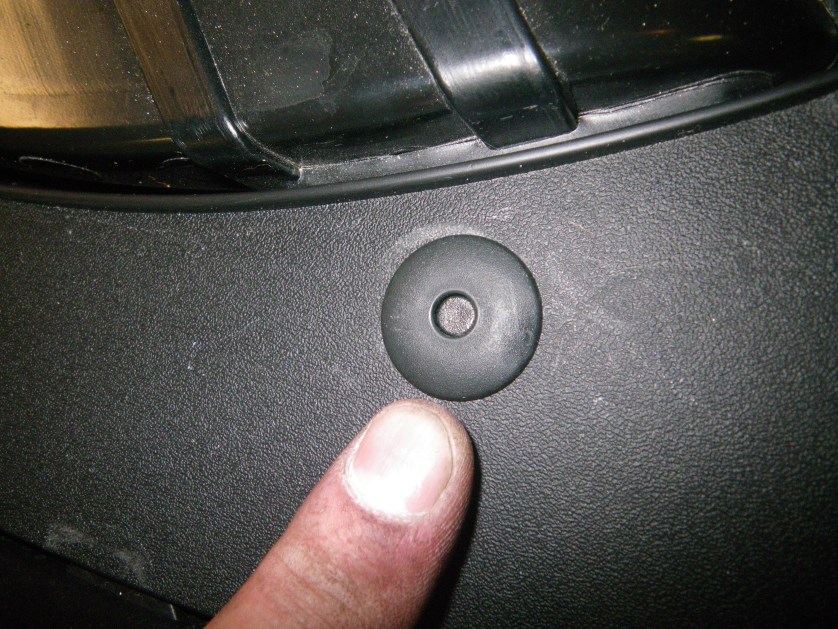
Step 1. Remove the radiator carrier cover by locating and gently pushing in the 6 plastic tabs in. Do not push too hard or the pins may fall through the holes into the engine bay. A philips screwdriver should do the trick.


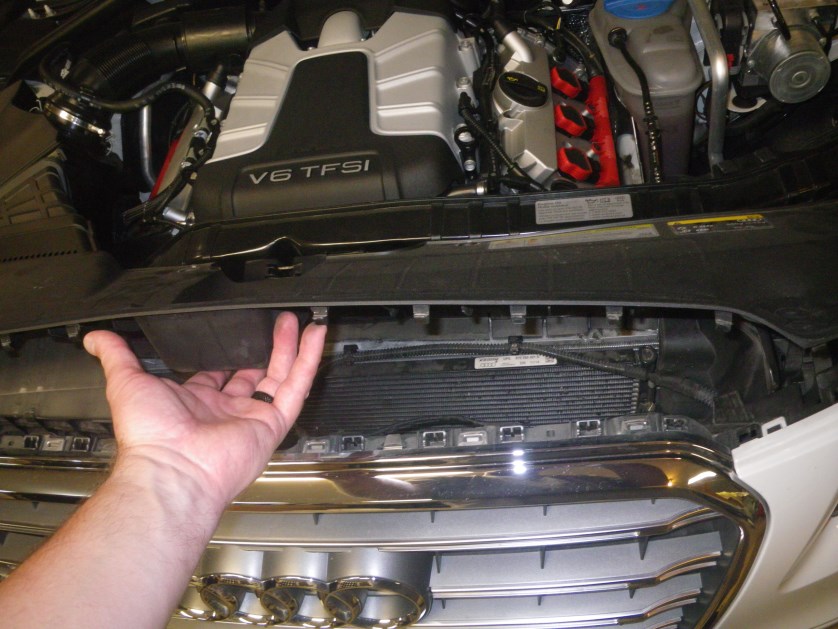
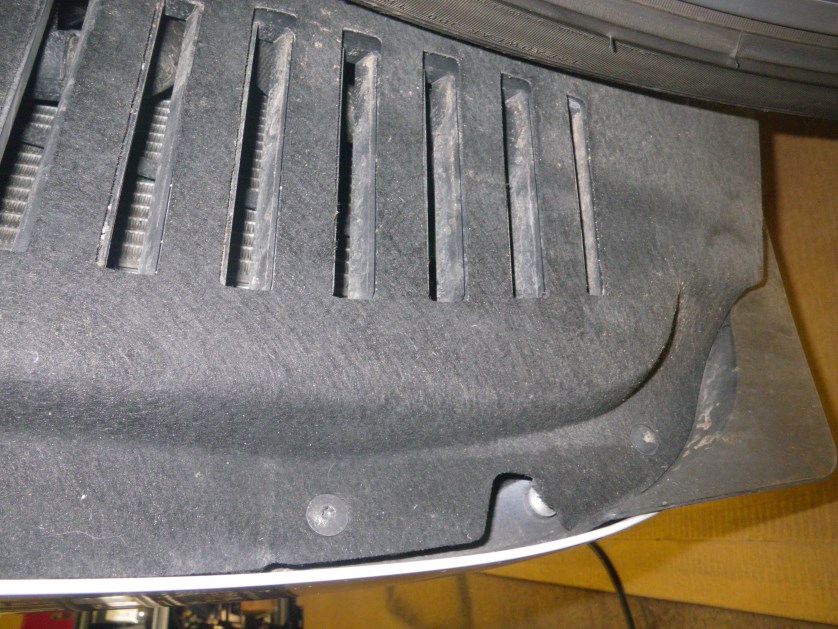
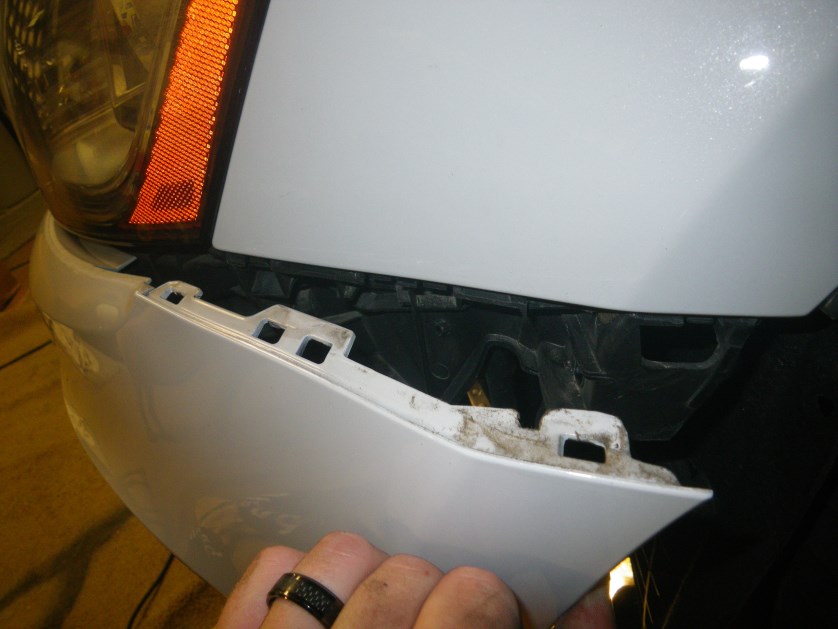
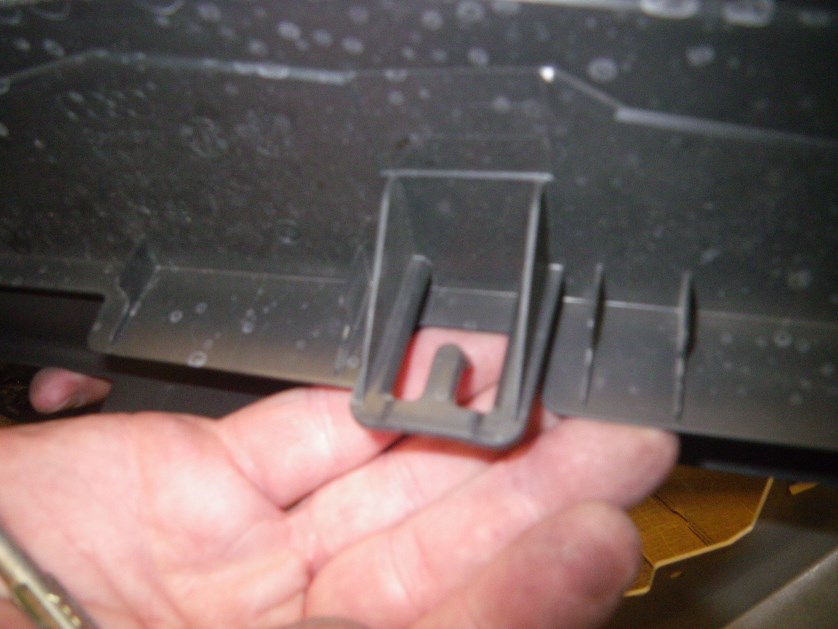
Step 2. Once all of the tabs are removed, the radiator cover can be taken off by lifting from the front of the car to unlatch the cover from the bumper. (pic below shows the clips)

Step 3. Turn the wheels to one side so that the inside of the wheel well is easily accessible in the front. Remove 4 torx screws (3 pictured, the 4th one is located above the two that are in line with one another, close to the top left corner of the picture) A T20 torx bit is needed. Repeat on other side.


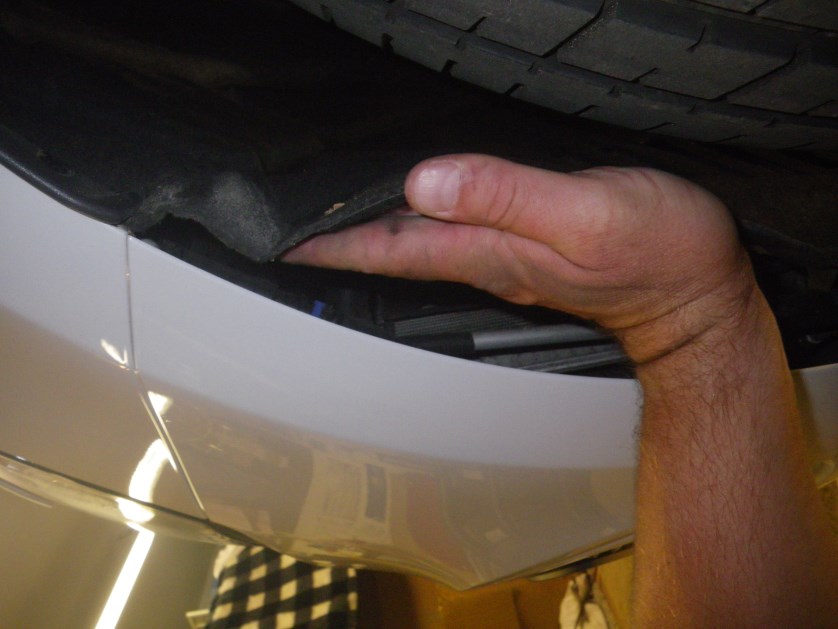
Step 4. Peel back the fender liner to gain access to the inside of the wheel well. Locate the fog lights and pull the bulbs from the housings by rotating the bulb counterclockwise. There is also a bolt where the fenders meet the bumper which needs to be loosened to release the clamp/pinch holding the bumper and fender together. Refer to step 5.


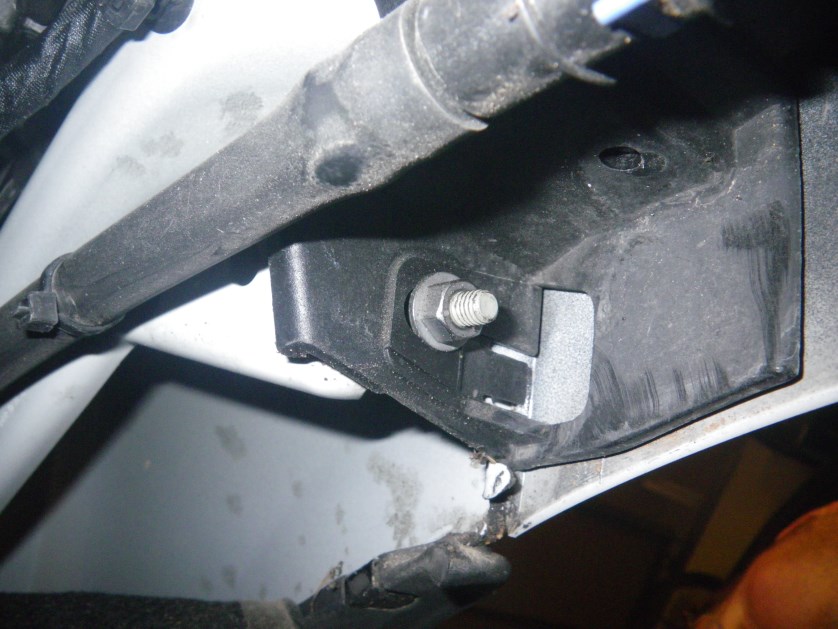
Step 5. Locate the bolt behind the fender liner and loosen it using a 10mm socket. It is not necessary to remove the bolt, but loosen it enough that you can easily turn it with your hand. Repeat on other side. (my camera refused to focus on the bolt)


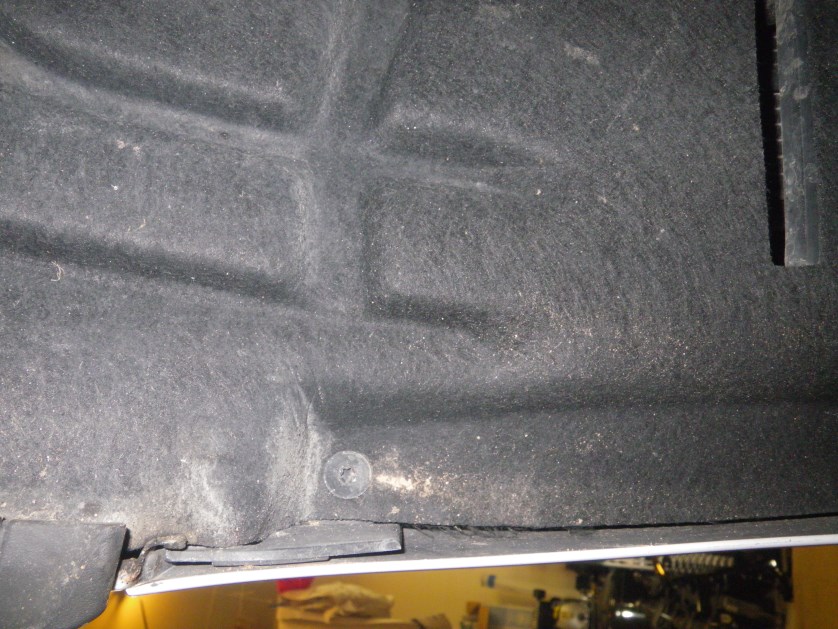
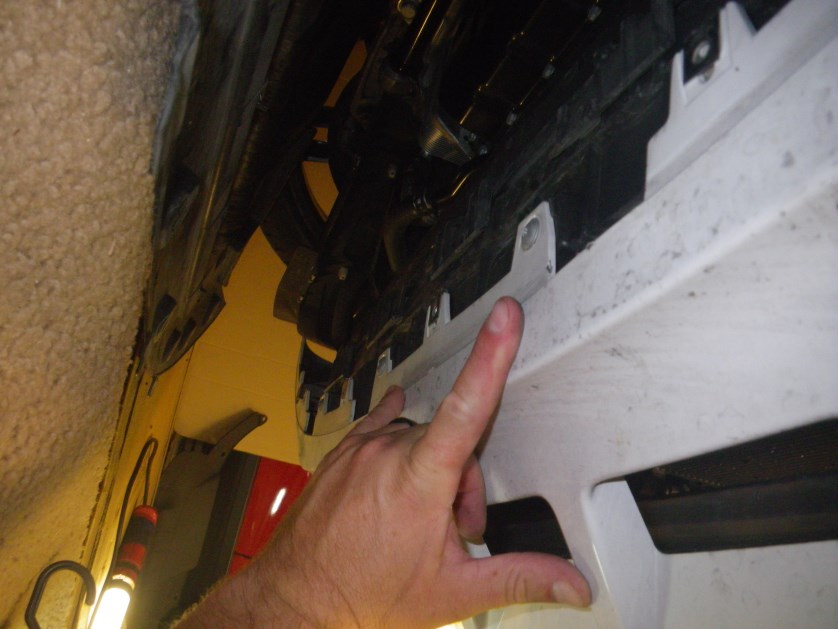
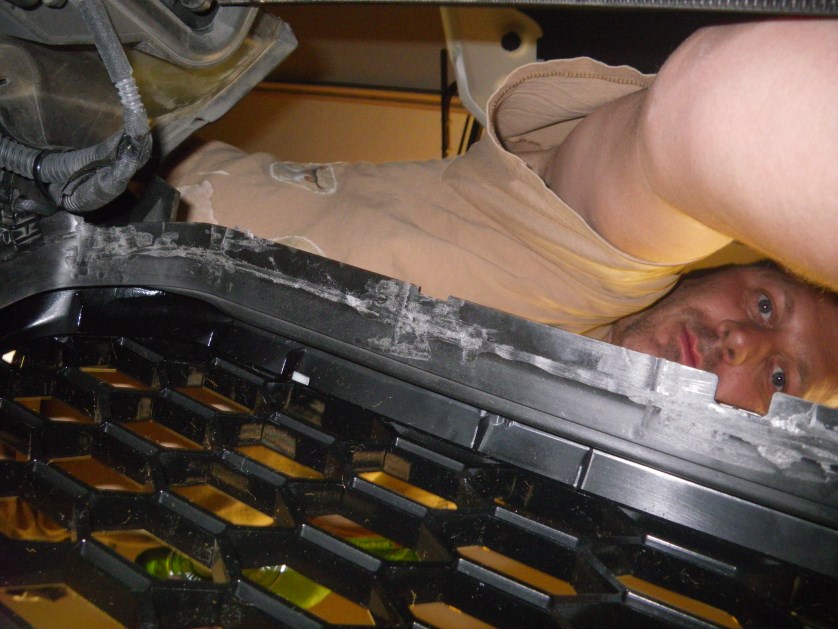
Step 6. On the underside of the bumper, you must remove all of the torx screws that secure the belly pan to the bumper. There are also 3 phillips screws (on each side, 6 total) which are located on the belly pan right near each wheel (on the right in the picture below)

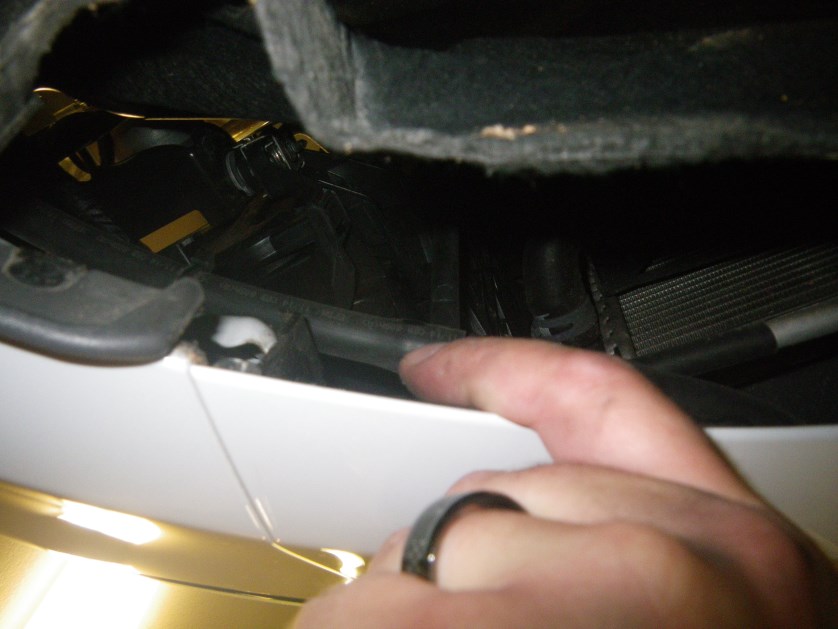
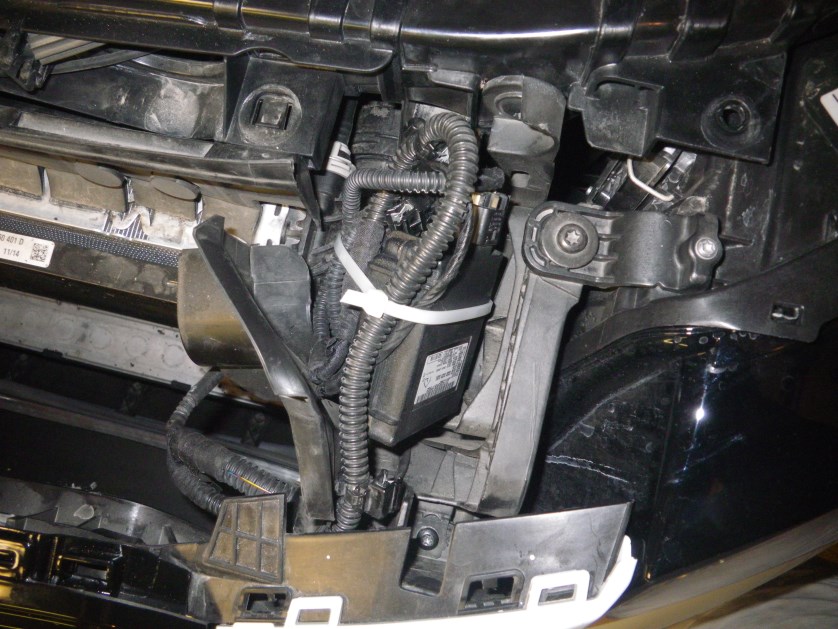
Step 7. Pull back the belly pan as shown and locate the 4 (I think, it may only be 3) silver t20 torx screws securing the bumper to the rest of the car. Remove these bolts.

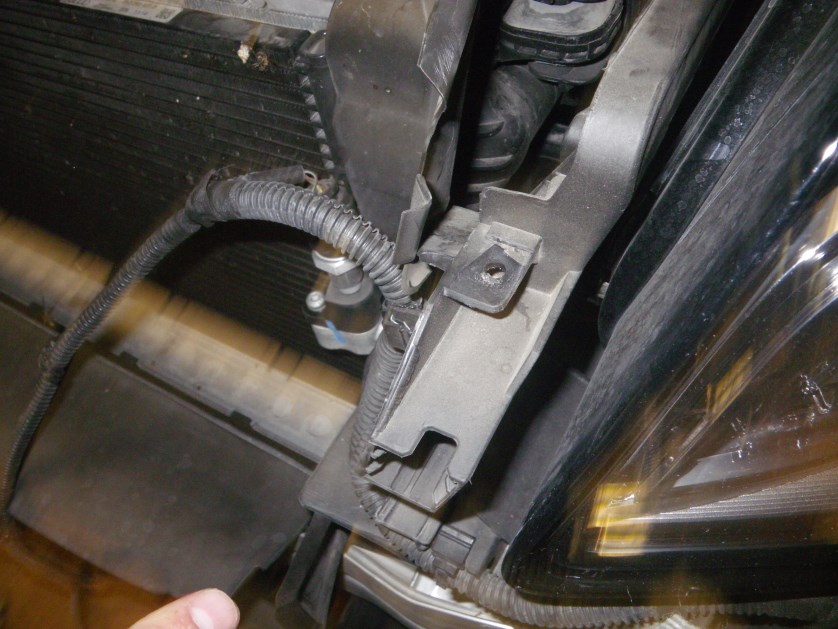
Step 8. Inside the engine bay locate the two screws in between the grille and the headlights on each side which were originally hidden by the radiator carrier cover and remove.

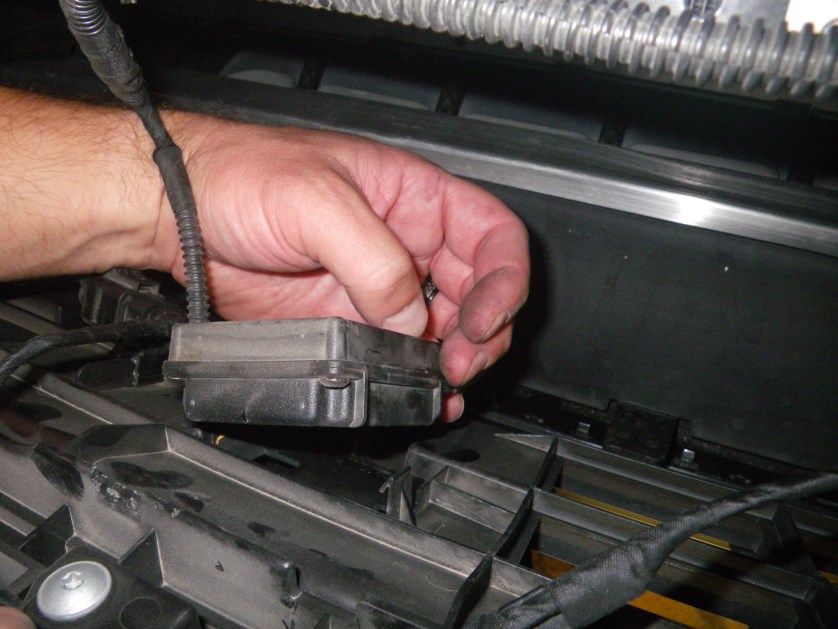
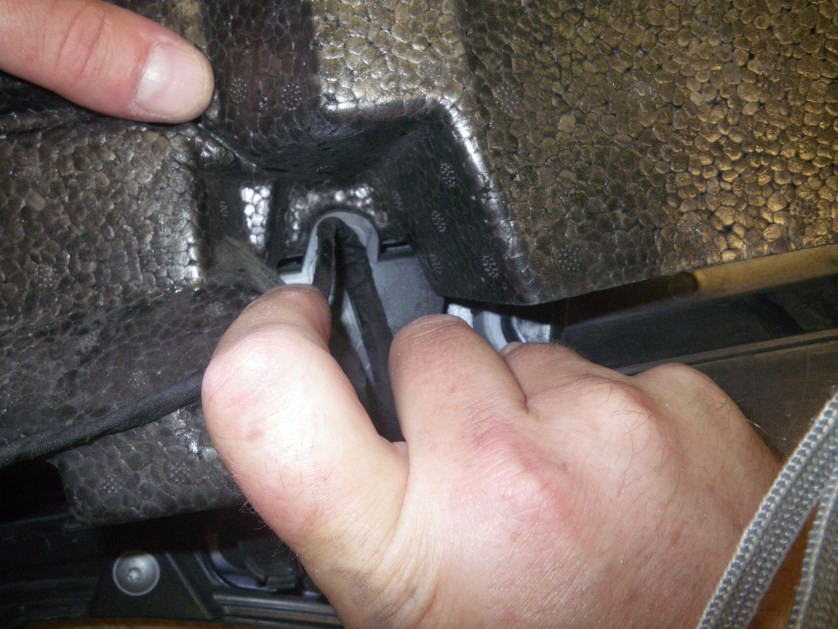
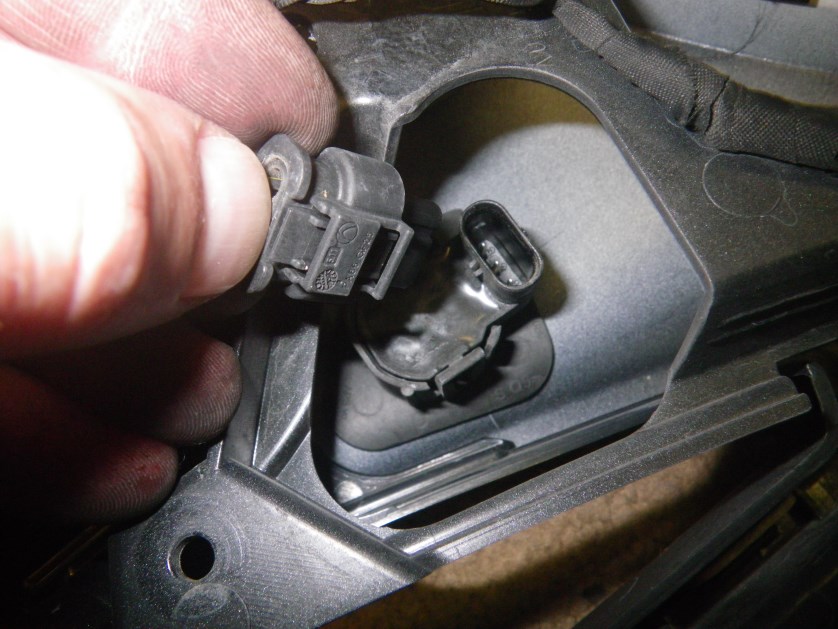
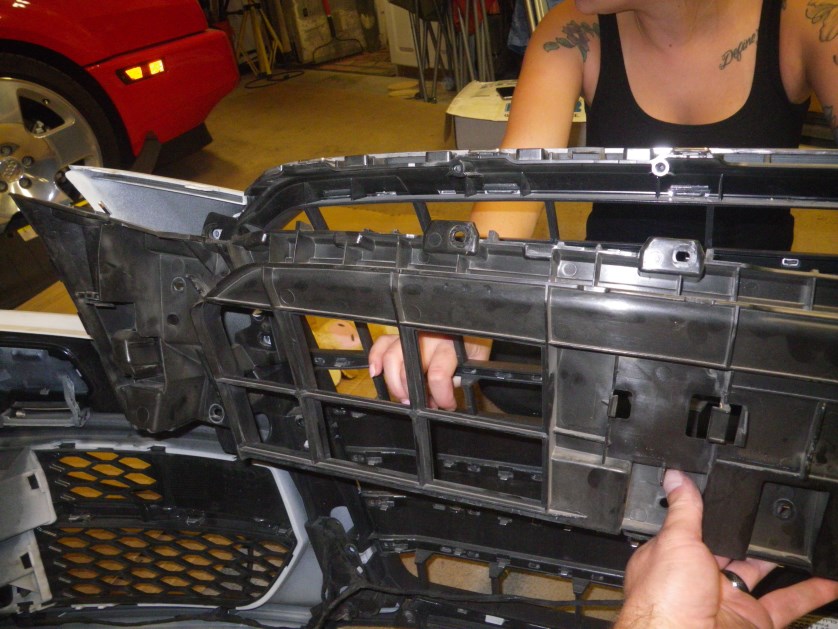
Step 9. Disconnect the homelink and cable for parking sensors and pull on each side of the grille starting in the wheel wells. The bumper should come free easily.

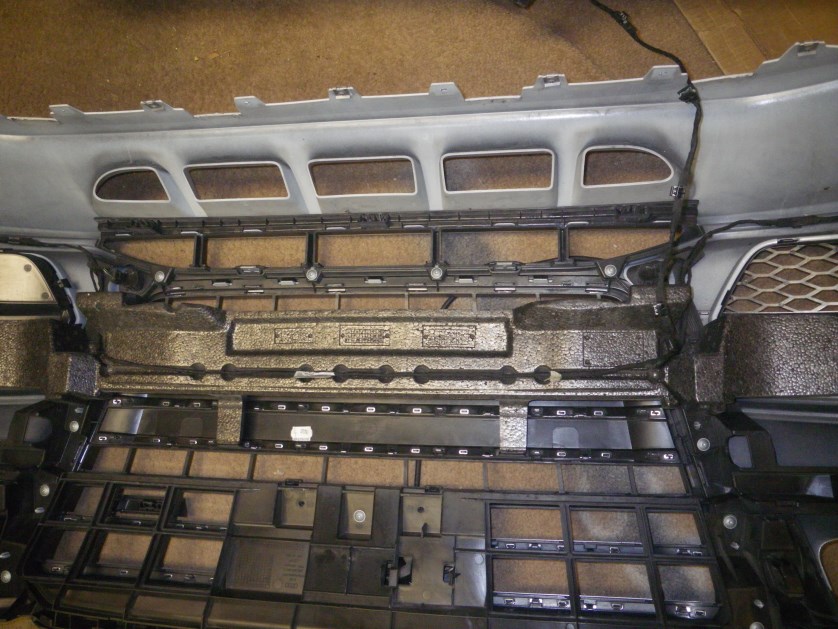
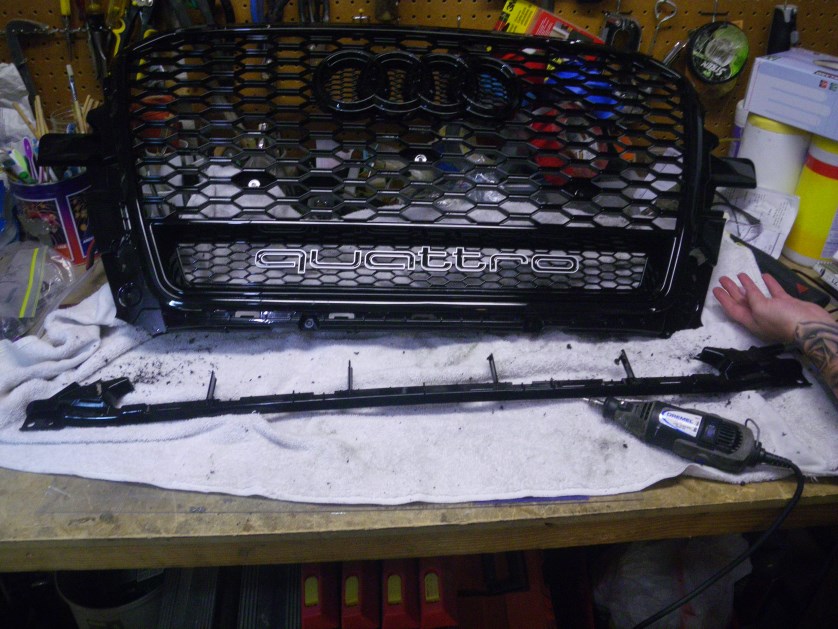
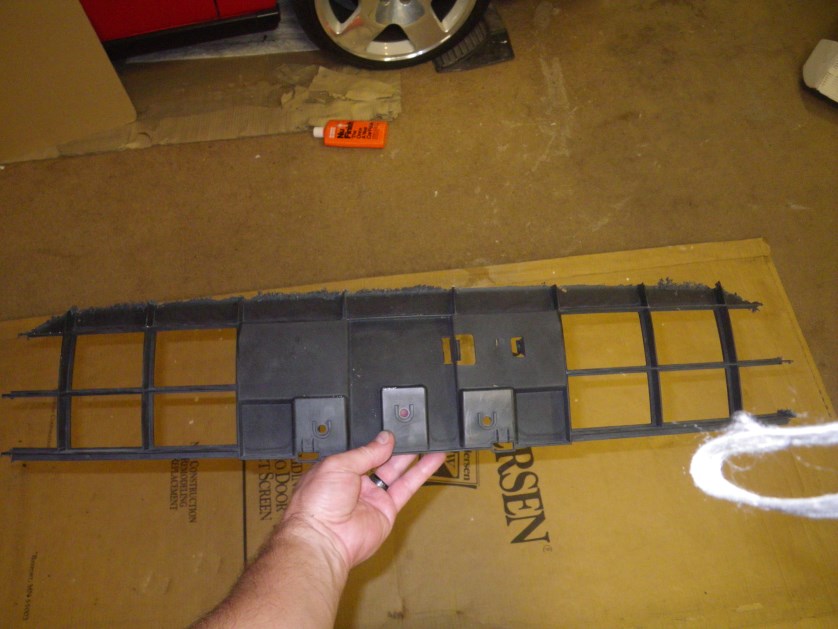
Step 10. Locate the 15 t20 silver torx screws on the backside of the grille holding the bumper in place. Remove all of these.


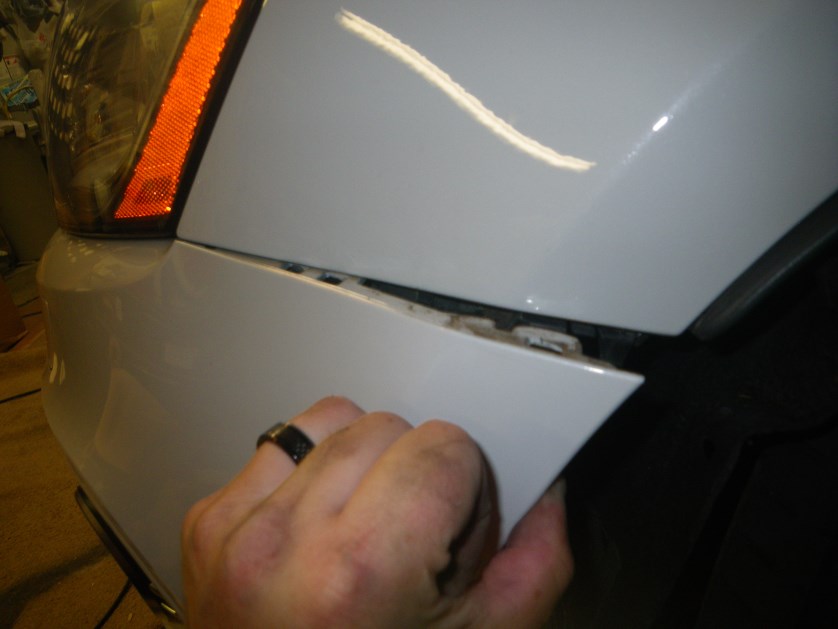
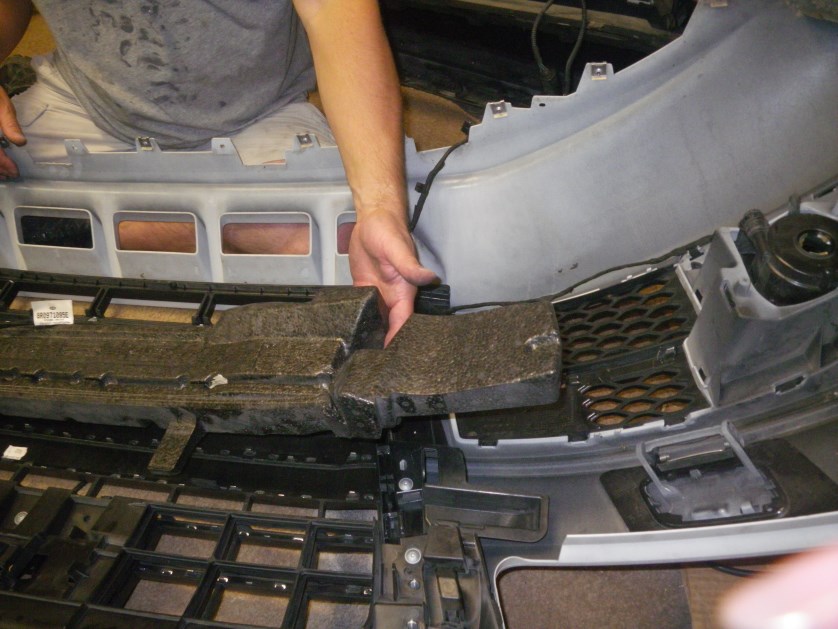
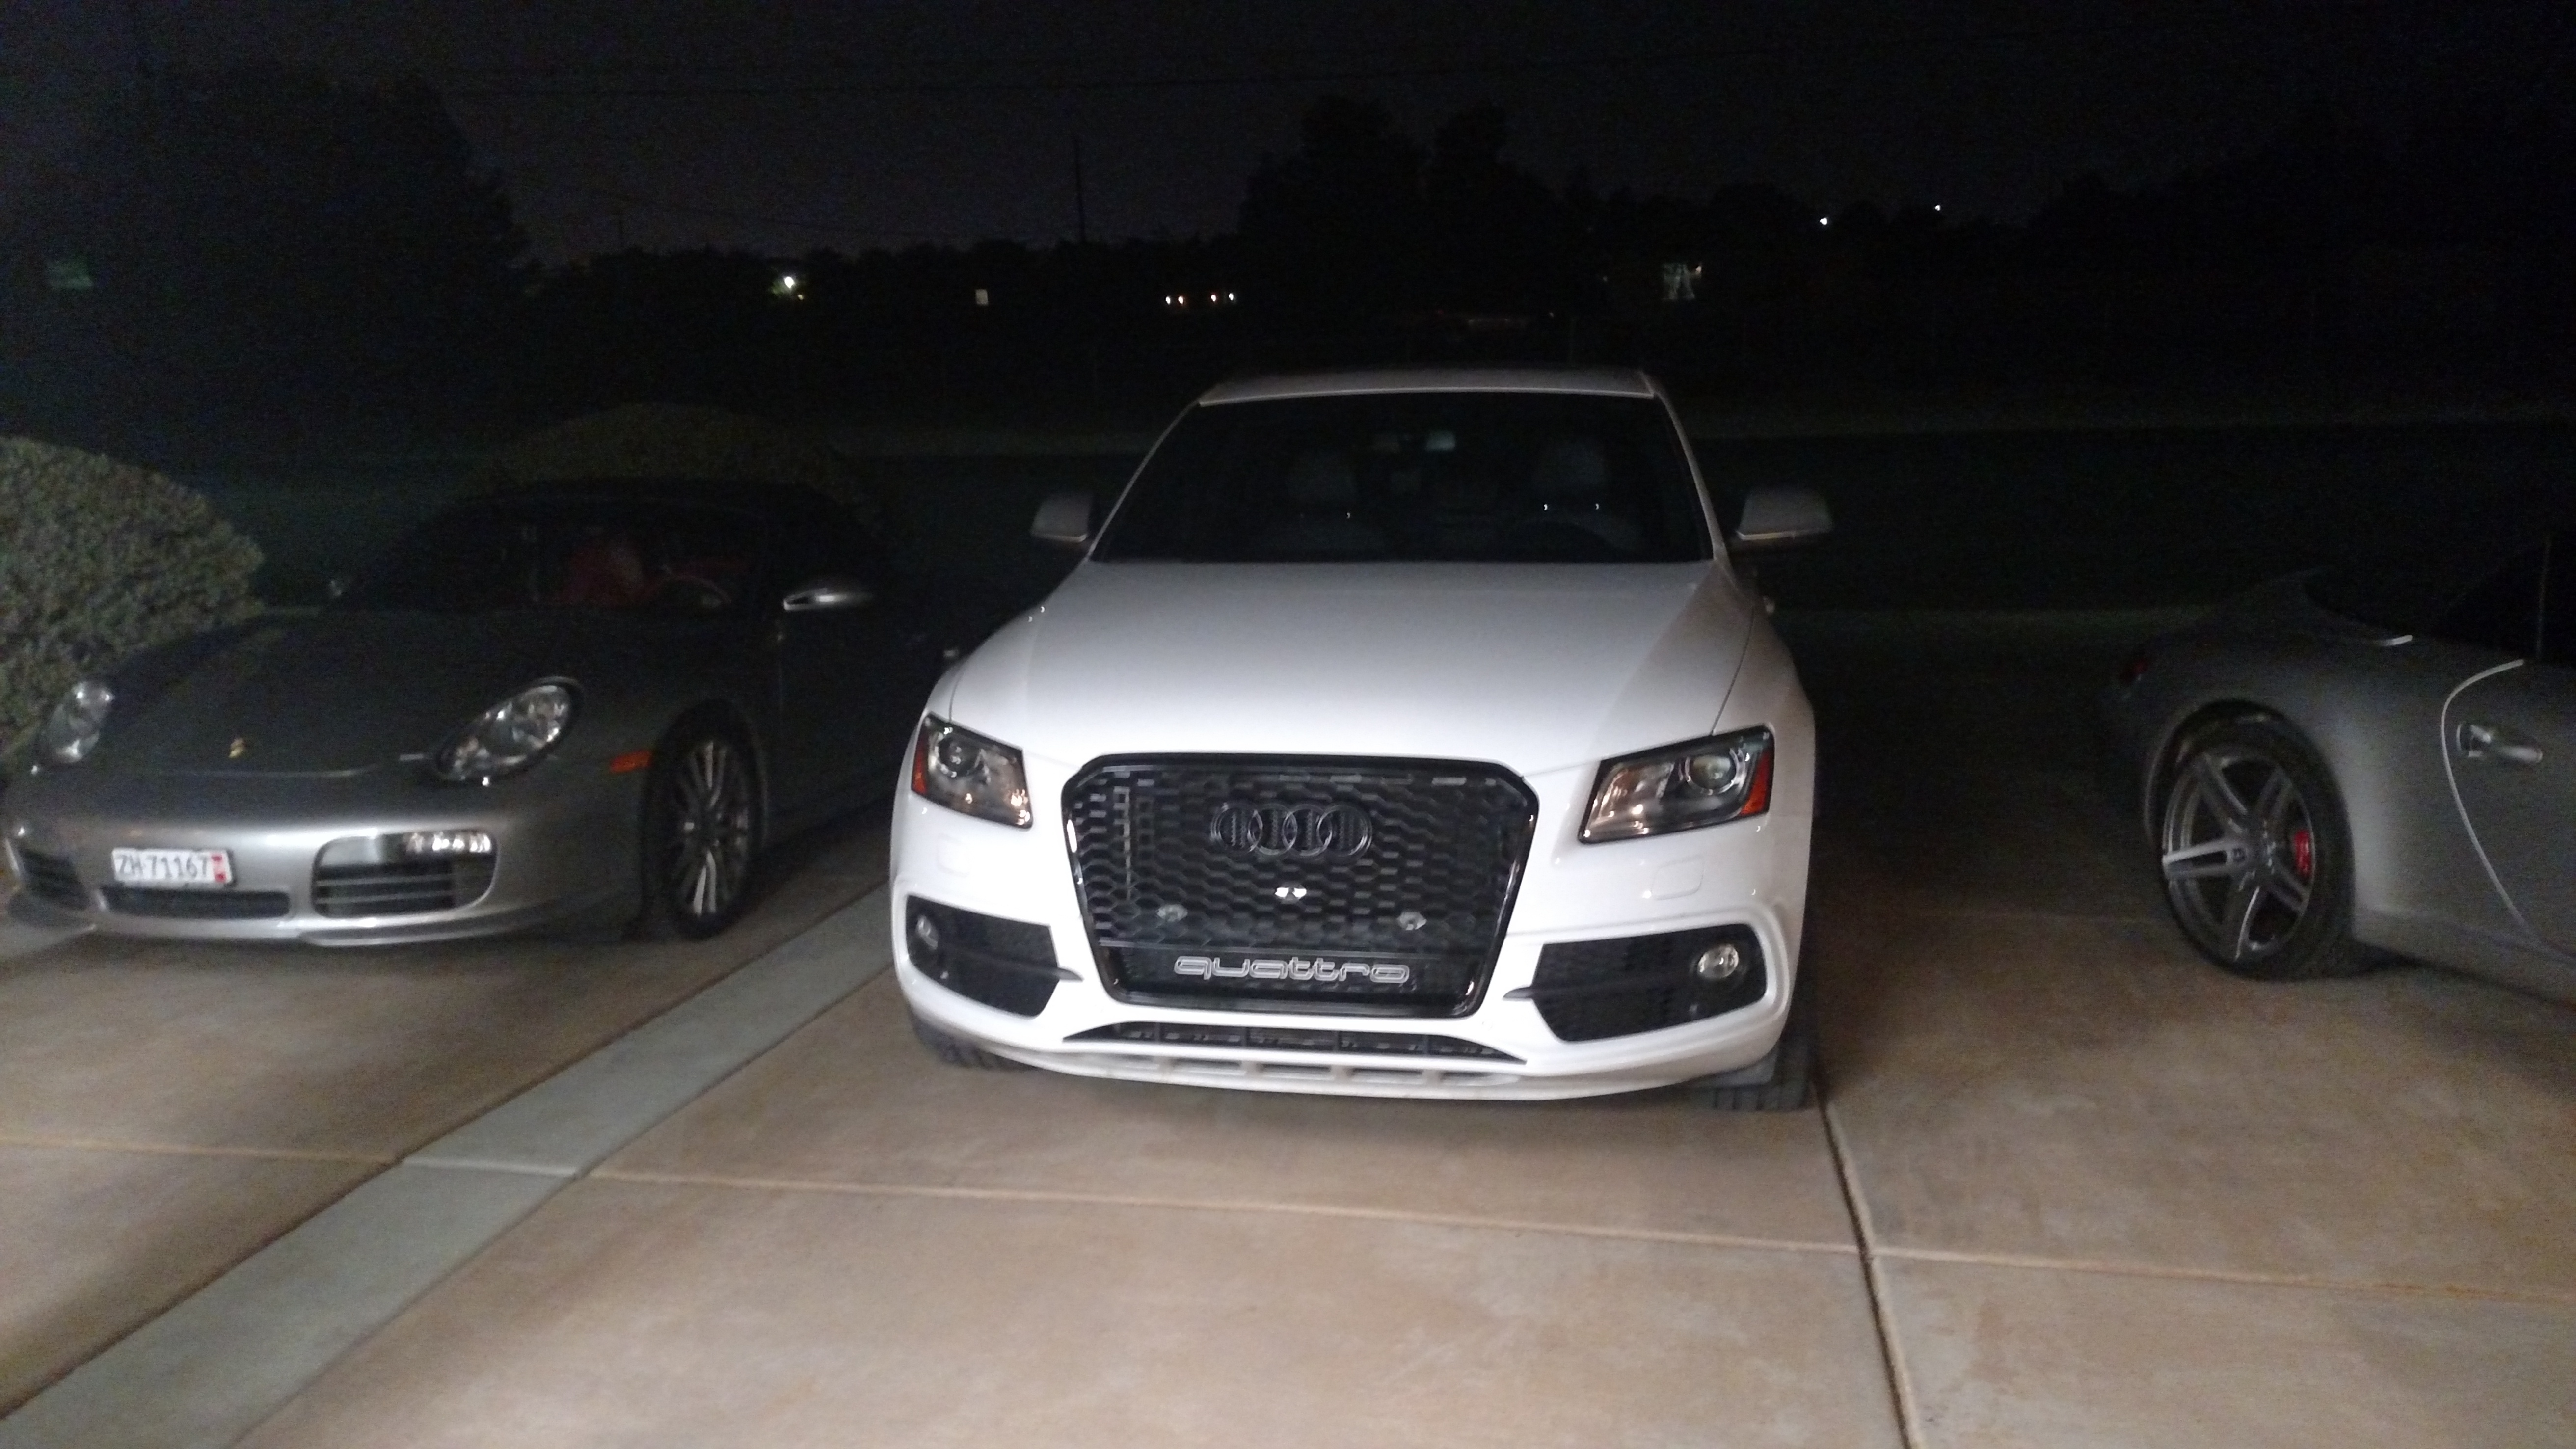
Step 11. Remove the clips holding the parking sensors in place and remove the foam backing. Unclip the grille and place the new grille in. Bolt everything back by reversing the process and thats it!

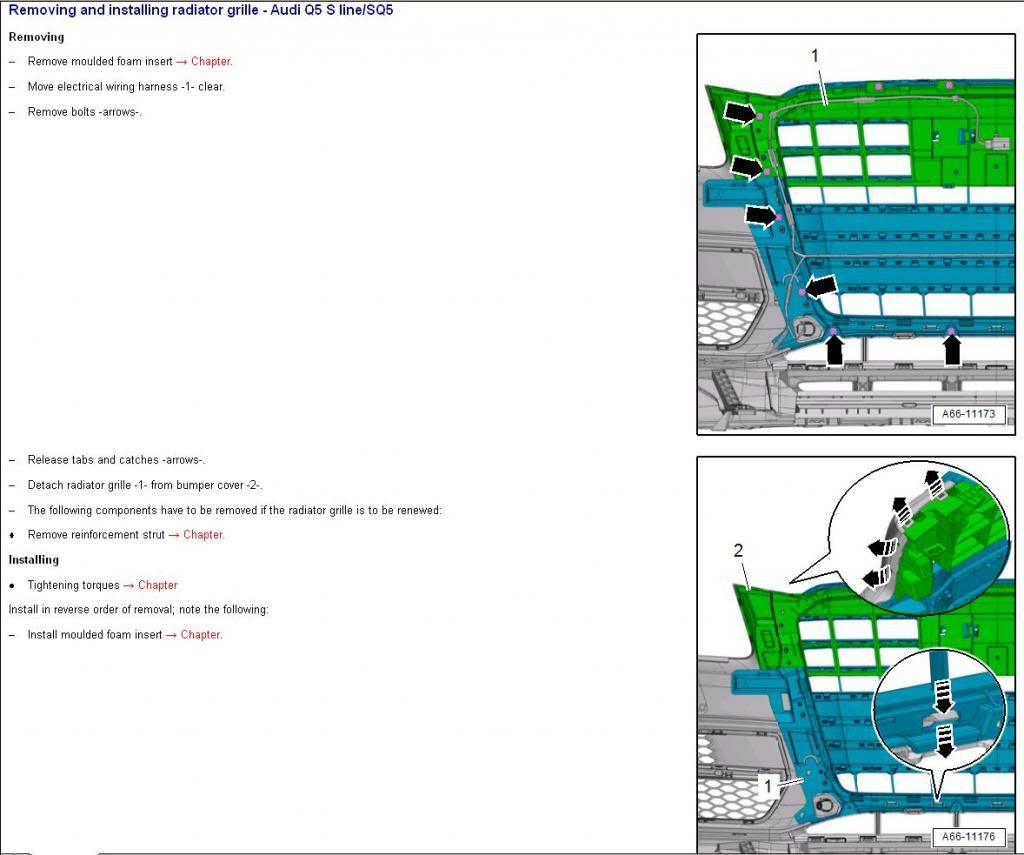
I was able to get a copy of the elsa instructions for a q5 to help in giving a rough guide on removing the bumper. The elsa version is not a straight forward guide and is missing a few key steps so do not go by this 100%, but it gives a good overall idea of some of the areas I had trouble taking pictures of.


 Reply With Quote


Bookmarks