


Tools/Parts Needed:
- Flathead regular Screwdriver with a small tip. Not a eye-glass repair kit size, but probably the smallest normal flathead in your toolbox.
- 1156 bulbs. I used Sylvania 1156 LL (Long Life) bulbs. Cost for a two-pack of bulbs: About $3.65 at Walmart; about $5.00 at Autozone
- Towel
- Latex automotive disposable gloves
Intro:
This might seem extremely simple to some people, and that's fine. But this "DIY" guide is to help show those other people that need a little extra visual help. I referenced an existing DIY thread here: http://forums.audiworld.com/showthread.php?t=2768546 prior to my install. But I still had some questions, and it was time to make a proper Audizine thread about this. This entire DIY is for the driver's side tail light section. Bulbs placement is mirrored for the passenger side. Now for the pics and explanation.
Bulbs:

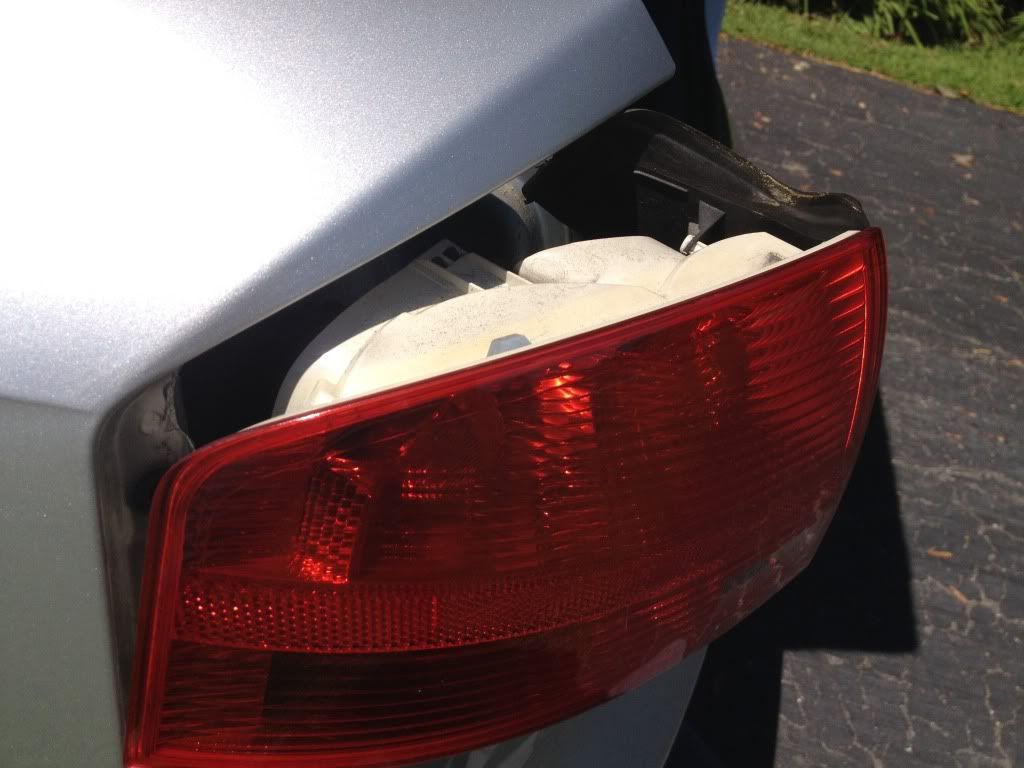
Open trunk. Pop open the fabric circle with your finger at the top (it hinges at the bottom).
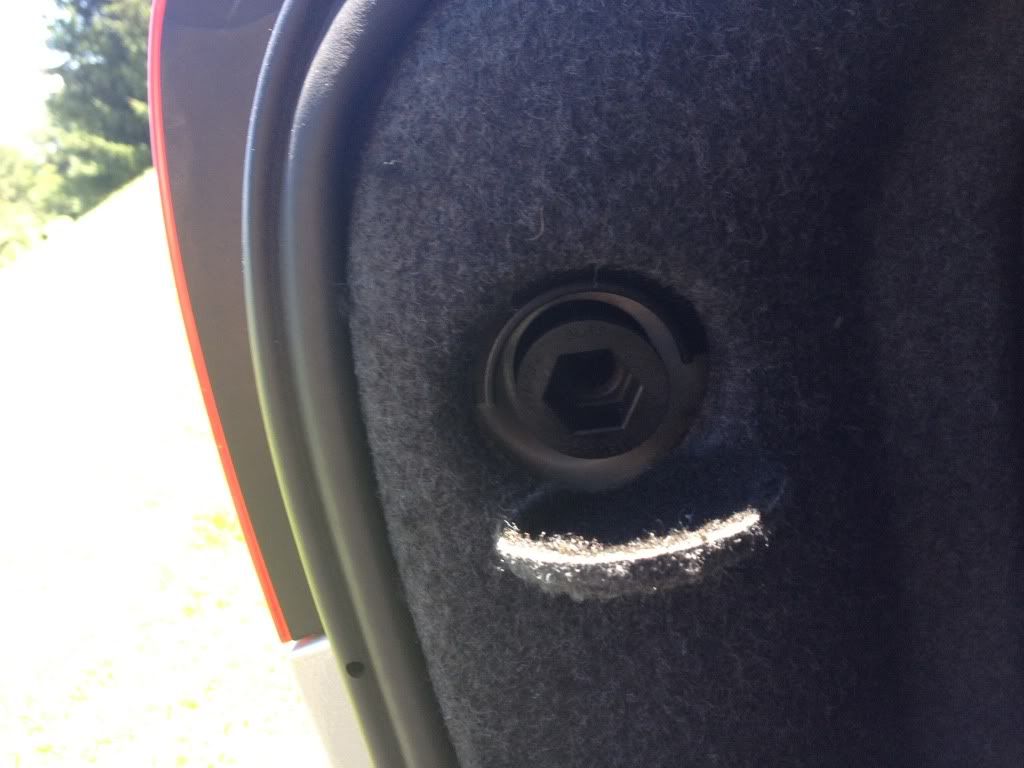
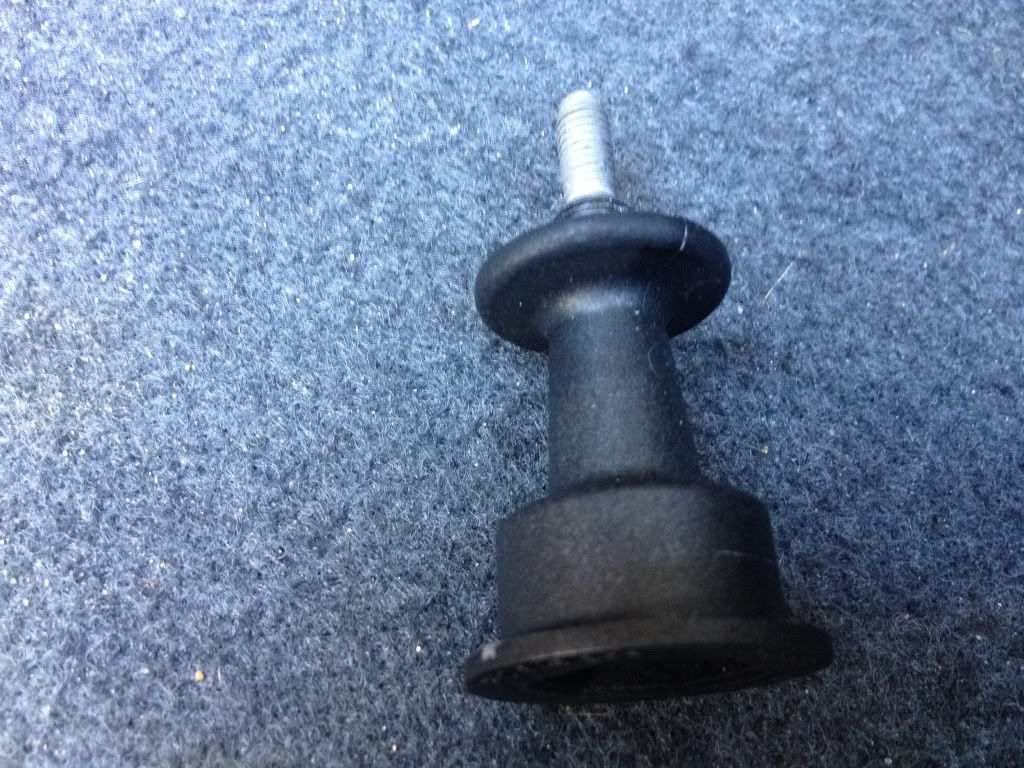
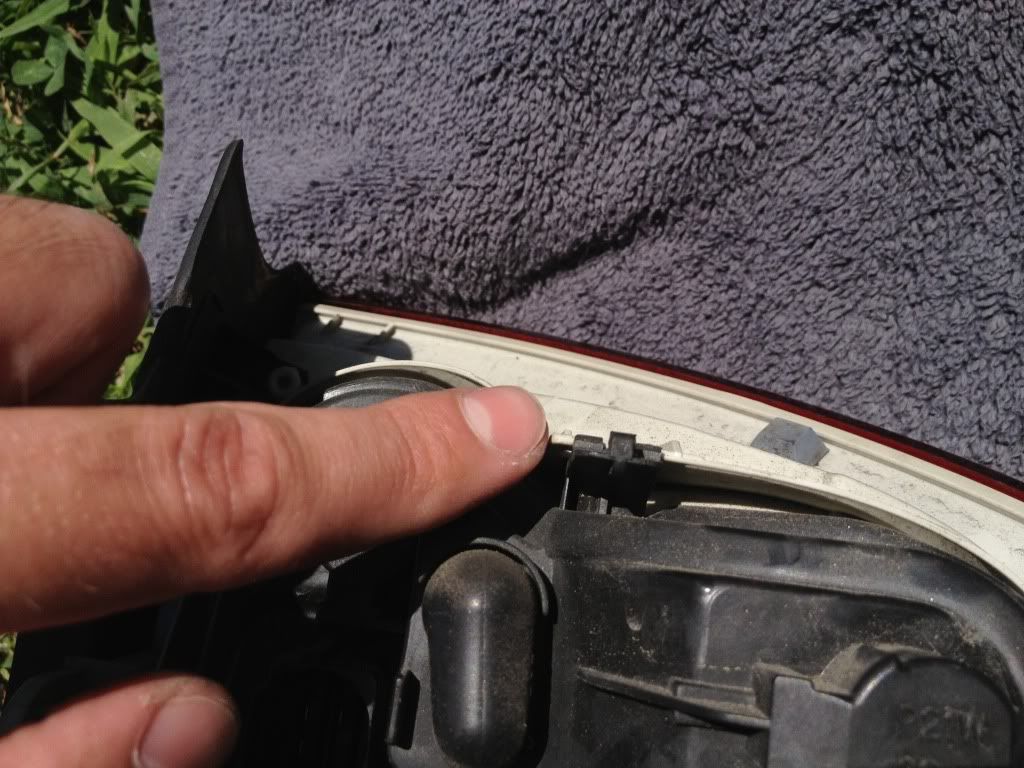
Grab your flathead regular screwdriver with the small tip. Insert into the plastic screw part, and turn counter-clockwise to loosen. This is the only part actually securing the tail light to the car. This is a pic of the part once it is out:
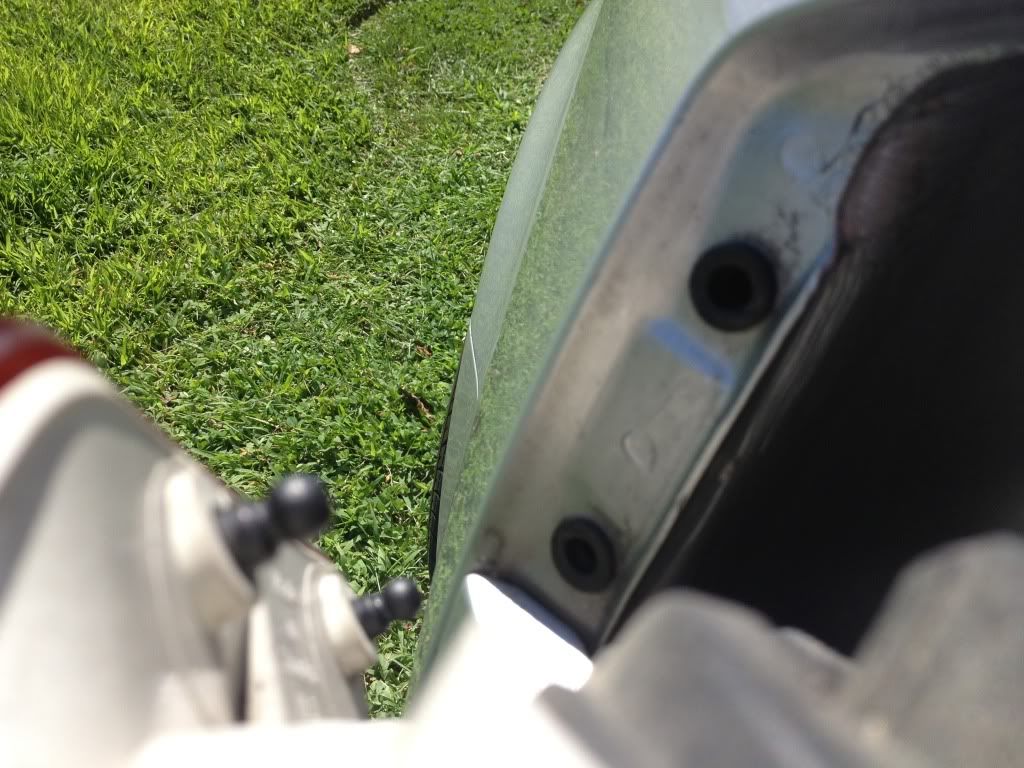
Once this screw is removed, you can pull the light housing out. Think of the edge of the housing on the side of the car as a hinge of a door.
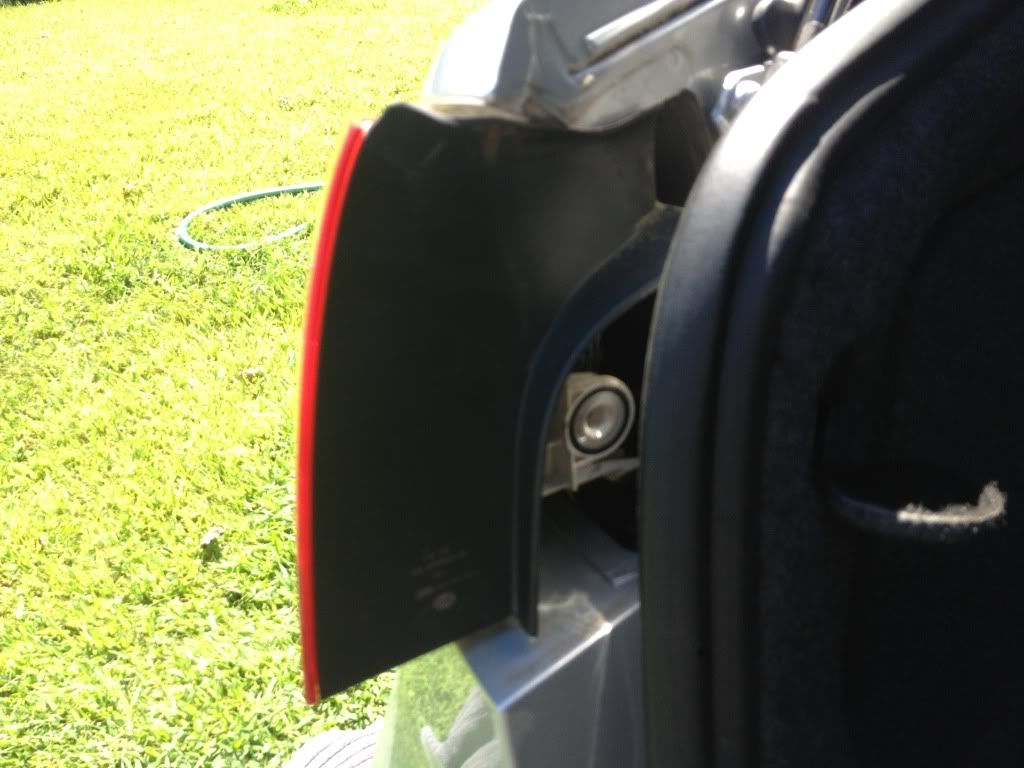
There will be two rubber plugs that will slowly pull out:
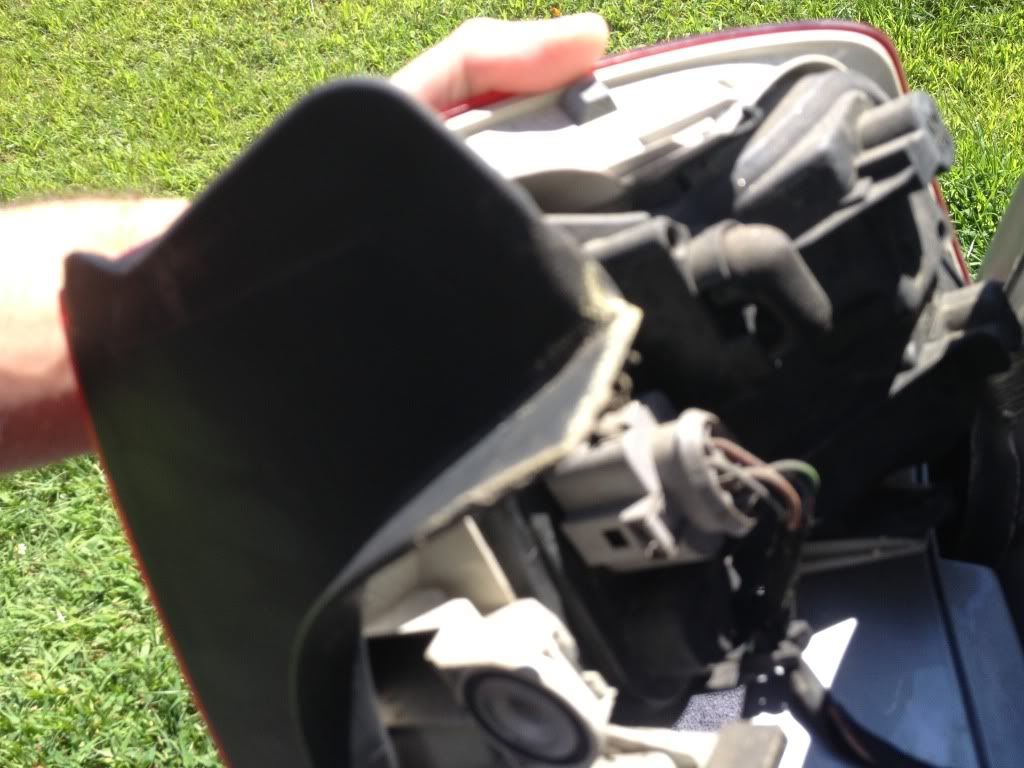
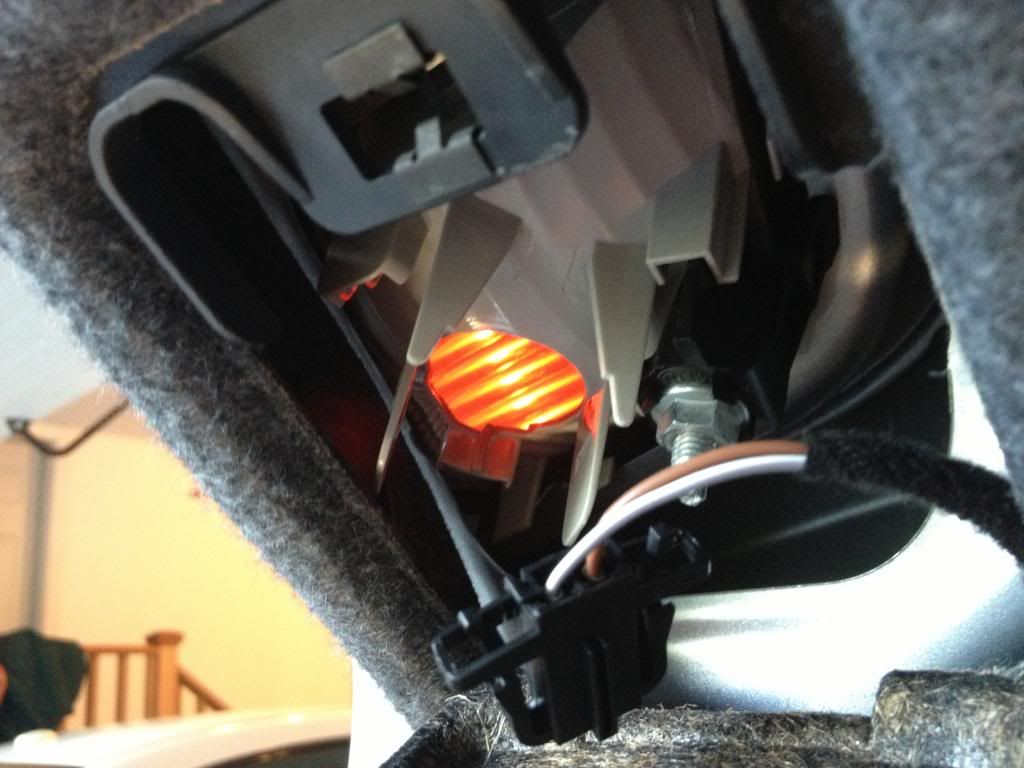
Grab the housing, and carefully remove the wiring clip:
Put a towel down on the ground so as to not scratch your lenses.
Be careful to remove the two clips at the top and bottom of the back of the housing:

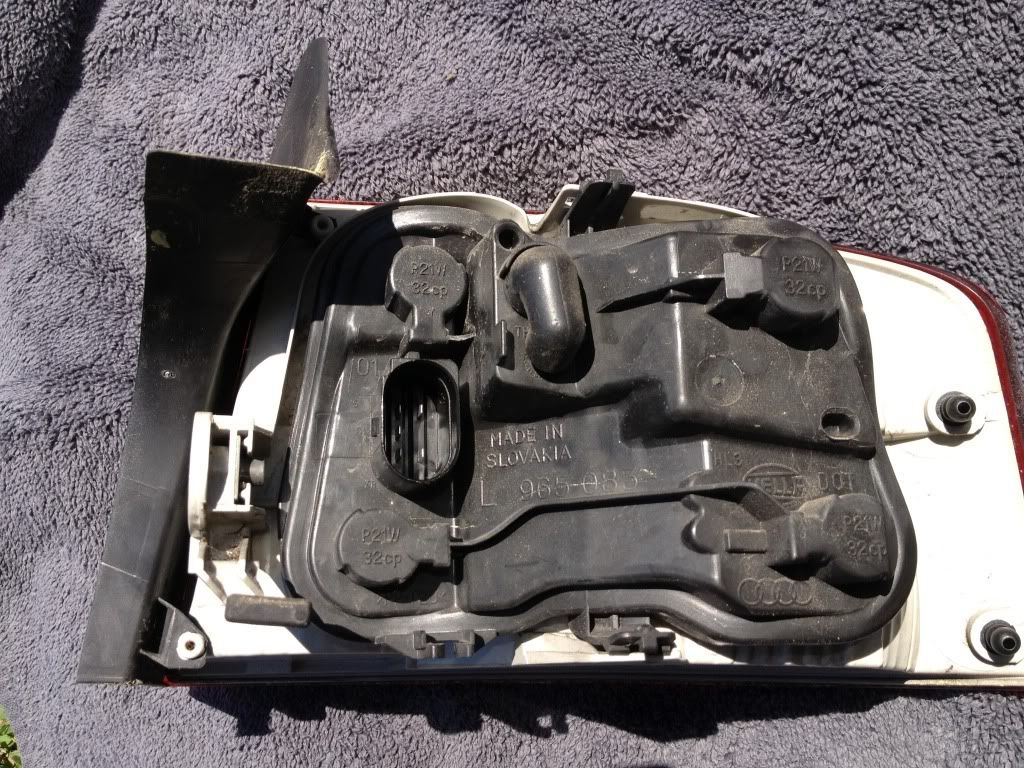
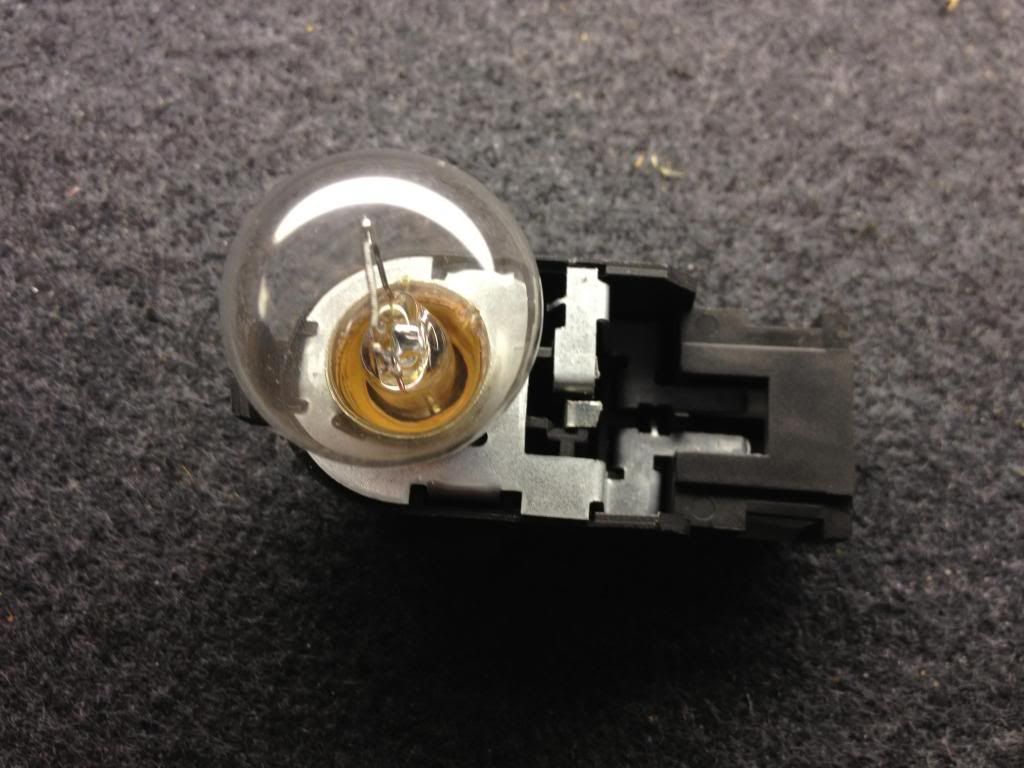
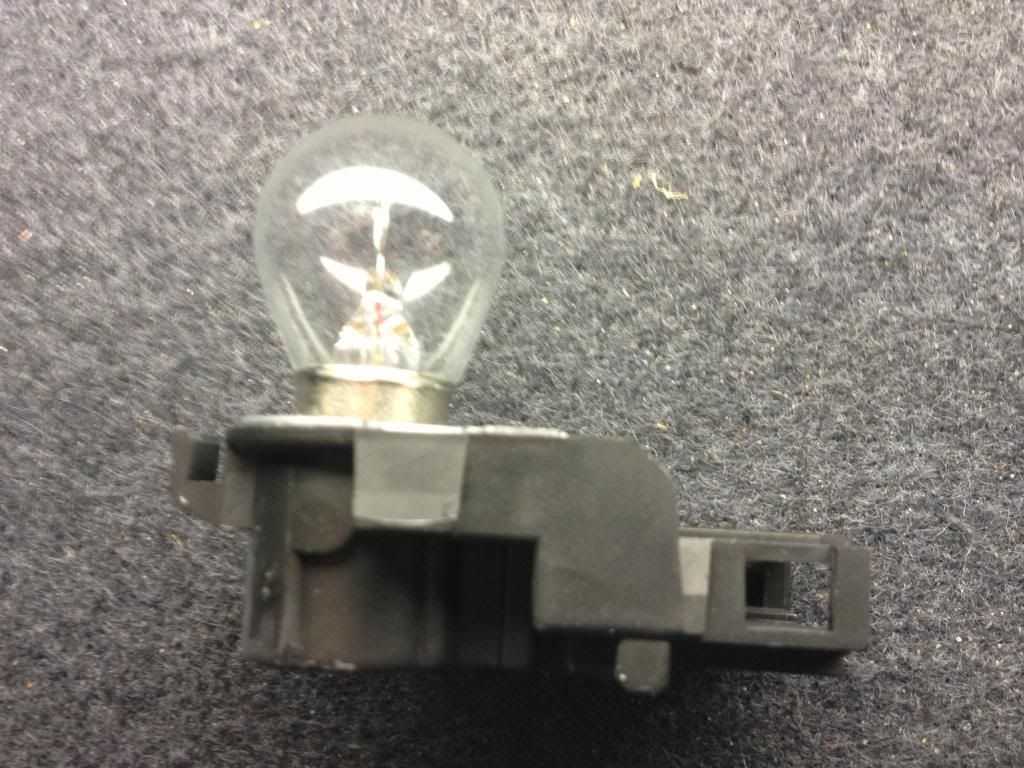
Remove the old bulbs. They will need to be pushed in slightly, then turned counter-clockwise to remove.
Put on latex automotive gloves. This is to prevent the natural finger oils from getting on the bulbs. Any finger oils would create a hot-spot, and make the bulb burn out faster. Once your gloves are on, install the new bulbs by pushing in slightly, and turning clockwise. Once all bulbs are secure, take the tray full of bulbs and reinsert into the lense housing, because careful not to bump or scratch your new bulbs.
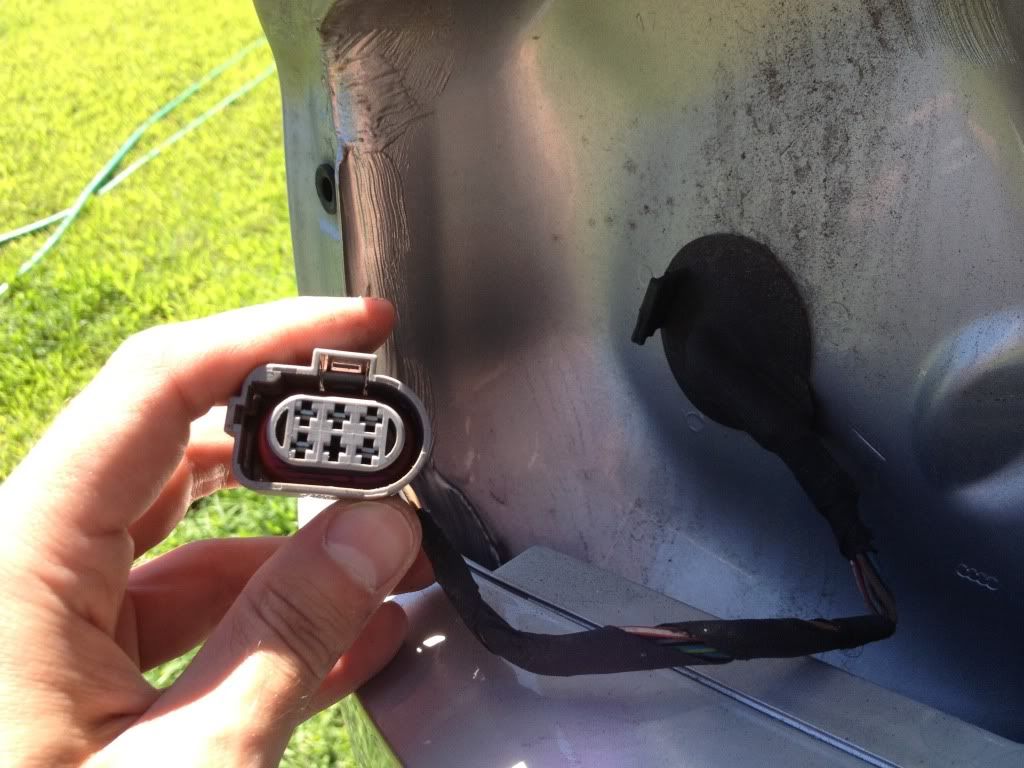
Make sure both housing clips are snapped in and secure. Plug the housing back into the wiring harness from the car.
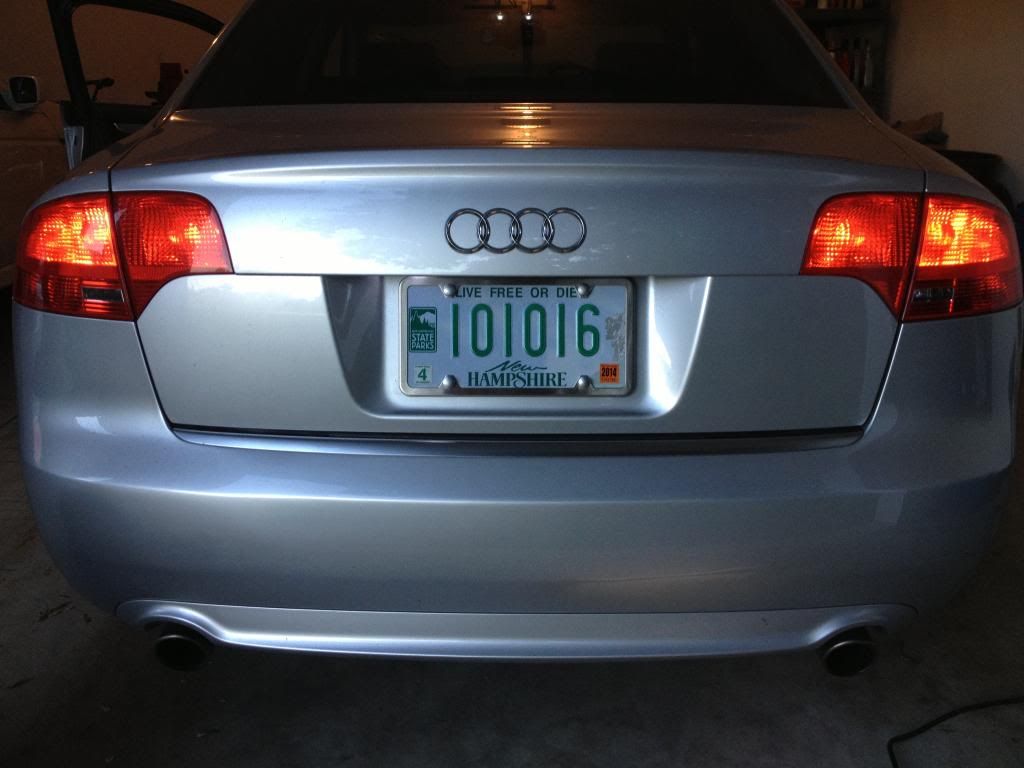
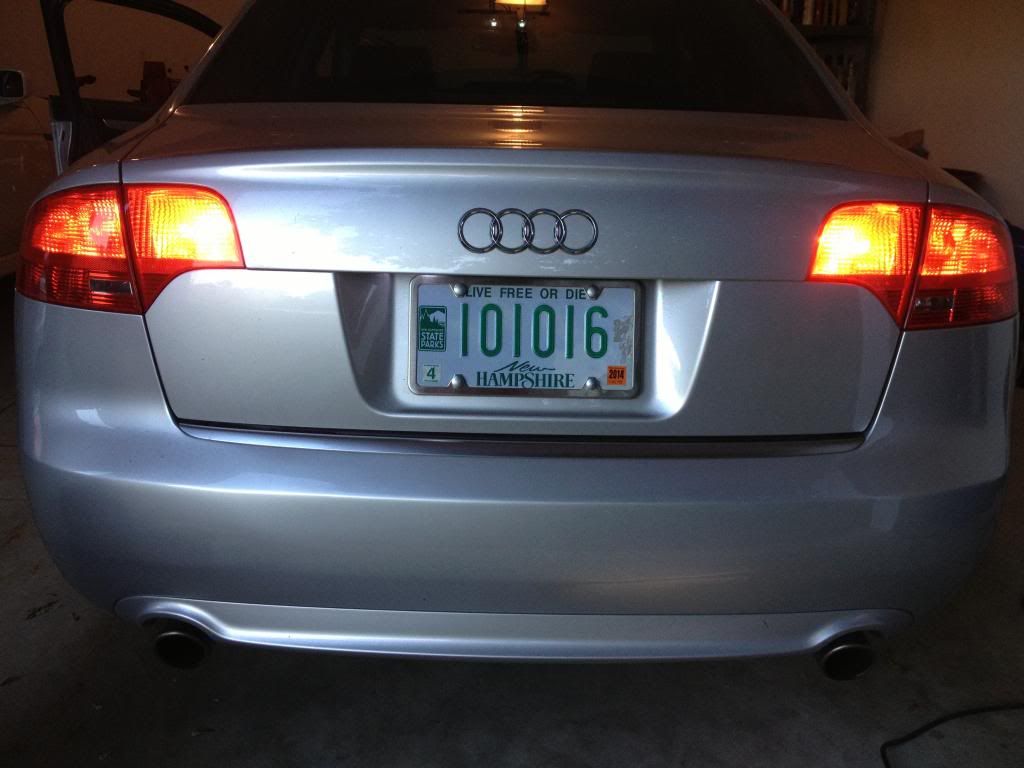
TEST: Test that all of the bulbs are working their specific functions. I recommend getting a friend to help you out to test the functions (especially for testing the reverse bulb - think SAFETY, and don't rely on your emergency brake for keeping your car in place).
Chart/photo of driver's side tail light bulb functions:

Once all bulbs are successfully tested, put the two rubber plugs from the housing back into the rubber holes in the car. Then "close the door" with the light housing. Make sure it is lined up nicely where you want it, and reinsert the large plastic screw. Close the fabric circle, and that side is complete.
I ended up just changing two bulbs at first, but then realized that the new bulbs were much brighter at night than the other old (yet still functional bulbs). Since these bulbs are quite cheap, I replaced all 8 bulbs within two days (4 driver's side, and 4 passenger side).
DIY VIDEO:
Enjoy full-screen in 1080p:
<><><><><><><><><><><><><><><><><><><><>
DIY: Inner (trunk lid) Tail Light Bulb Replacement (B7 A4)
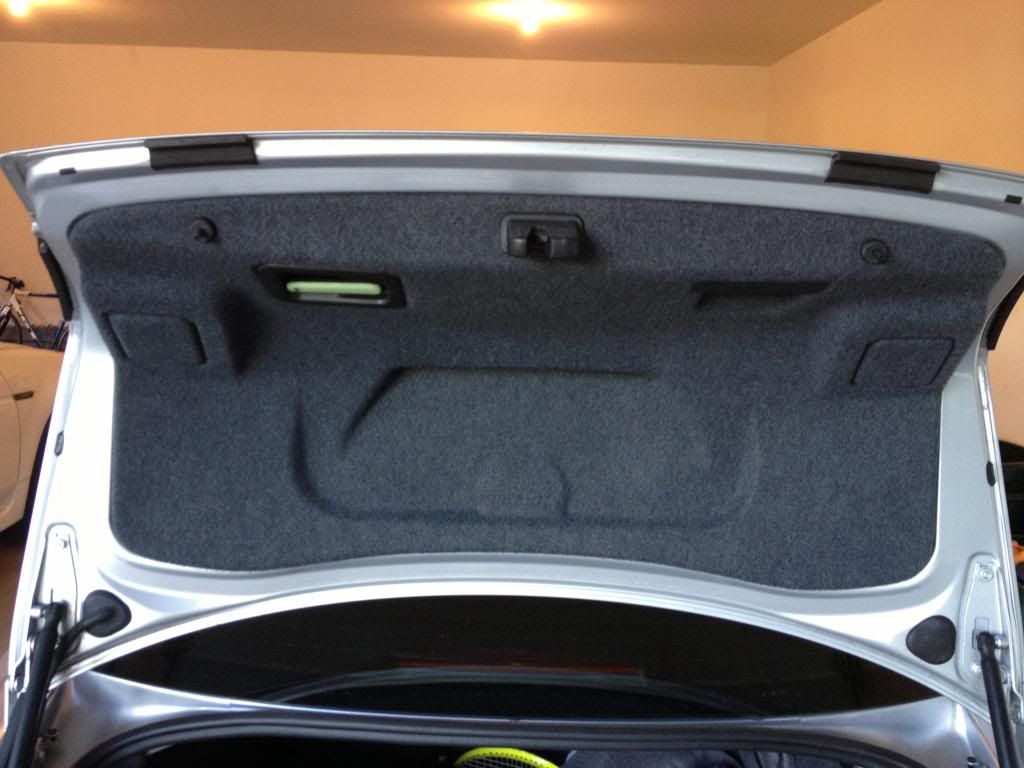
This DIY is for how to change the bulbs in the trunk lid. These lights only come on when headlights are on, and/or if reverse-fogs are on. Reverse fogs increase the bulb to the brightest of the two brightnesses. Each lens in the trunk lid has one bulb. Counter to some info out there, you do not need to totally remove the trunk fabric liner to get at these bulbs. With the trunk open, open the little fabric doors from the top (as the hinge is on the bottom). Remove the wiring harness/clip by pressing towards the center of the harness/clip from both sides. This removes the harness/clip.
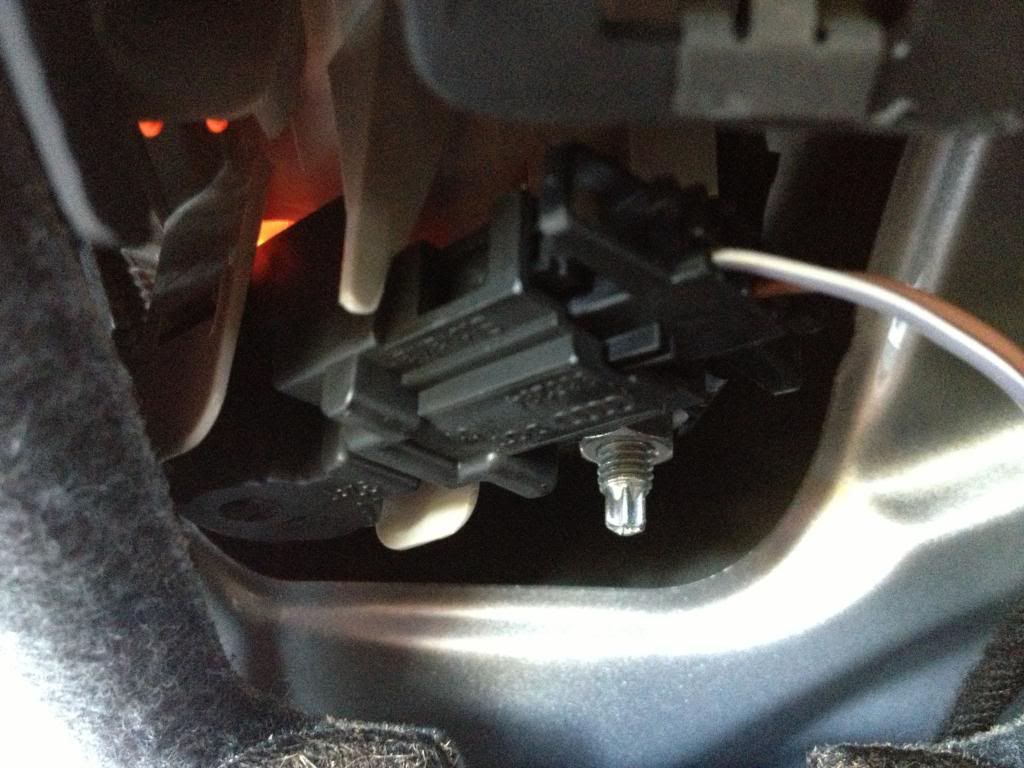
Now you need to unclip the two plastic pieces from the black plastic light structure that physically holds the bulb. You need to carefully spread apart each of the white clips towards the outside (away from the black plastic bulb structure). This frees up the black plastic light structure, and you can now wiggle it free. Be careful not to break any bulbs while doing this.
Put gloves on, replace bulb with new one (1156; or 1156 LL - long life). Reverse order, put back in. Make sure white clips lock in. Snap wiring harness back in, shut fabric door. Test it. And you should be good to go.
With headlights on:
With reverse-fogs on:
DIY VIDEO:
Enjoy full-screen in 1080p:
<><><><><><><><><><><><><><><><><><><><>
If anyone has any other methods here, feel free to post them up. I hope this helps someone eventually. Thanks.

 Reply With Quote


Bookmarks