


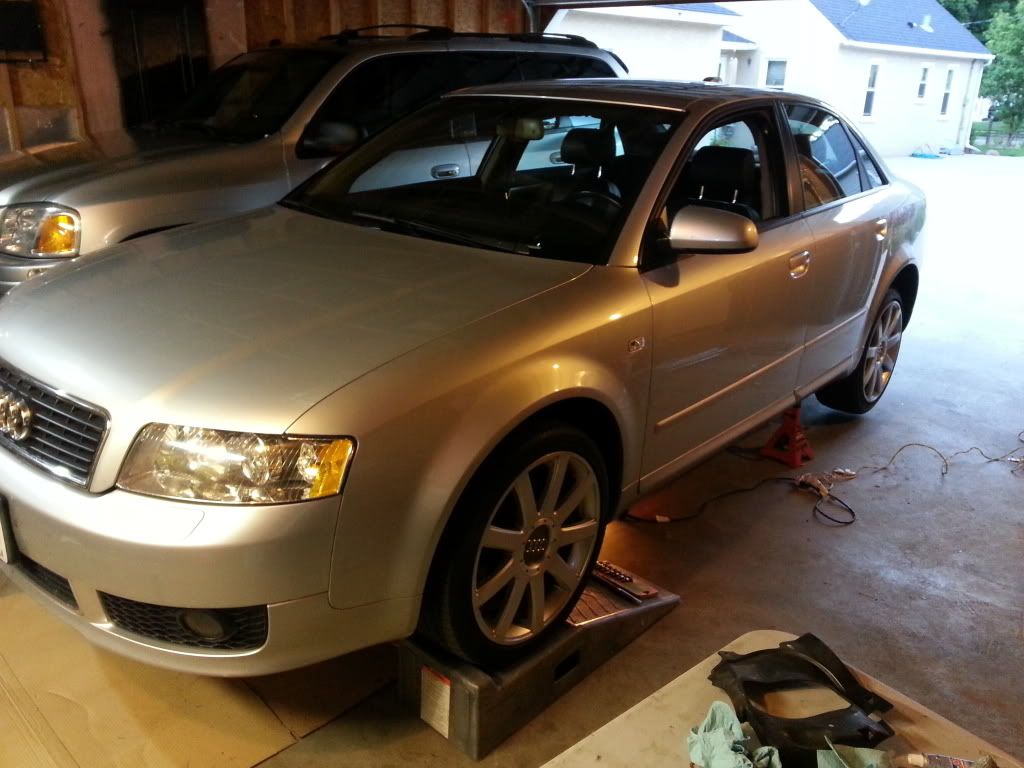
My car had the check engine light reading p0722 and the tranny just didn't feel quite right. It was not flashing the PRNDS like many others do but I didn't feel like waiting around until it did. I would say so far it's been pretty easy, maybe a medium difficulty. For reference, I've also replaced my timing belt as well as the power steering rack and so far this has been much easier.
Parts needed thus far
torx #30
torx #45
13mm socket
18mm socket
allen socket #10
triple square #10
and I believe a VAS 3357 Triple square "tamper proof"socket driver (thanks Audi)
1. Get your car off the ground and level as possible. I used ramps in front, jack stands in back.
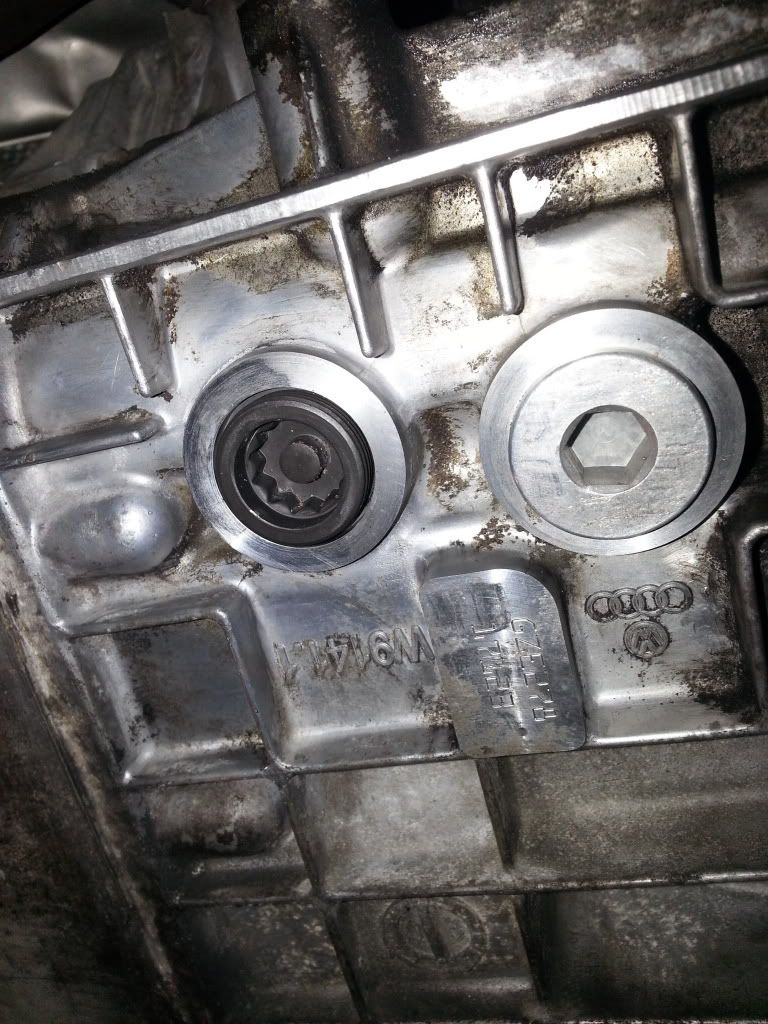
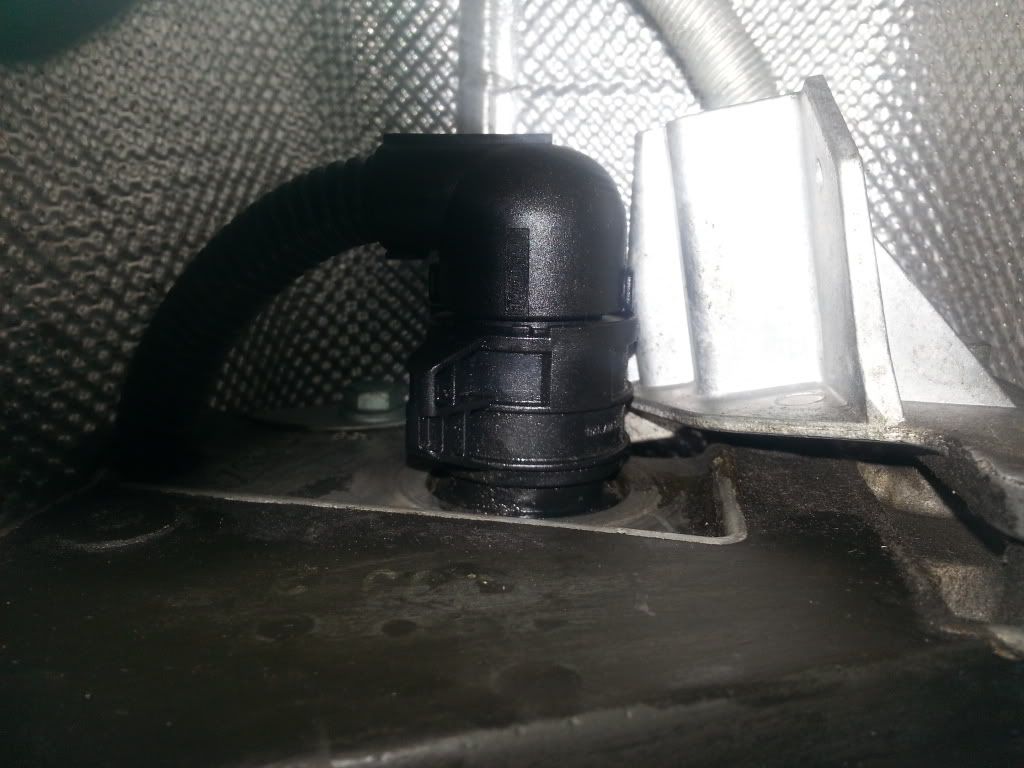
2. Right side is the VAS 3357 and is the drain. Right side is a #10 allen and is the fill hole. I didn't have the 3357 so I just pulled the fill and let what it could drain. ( the rest will come out when you crack open the rear transmission cover)
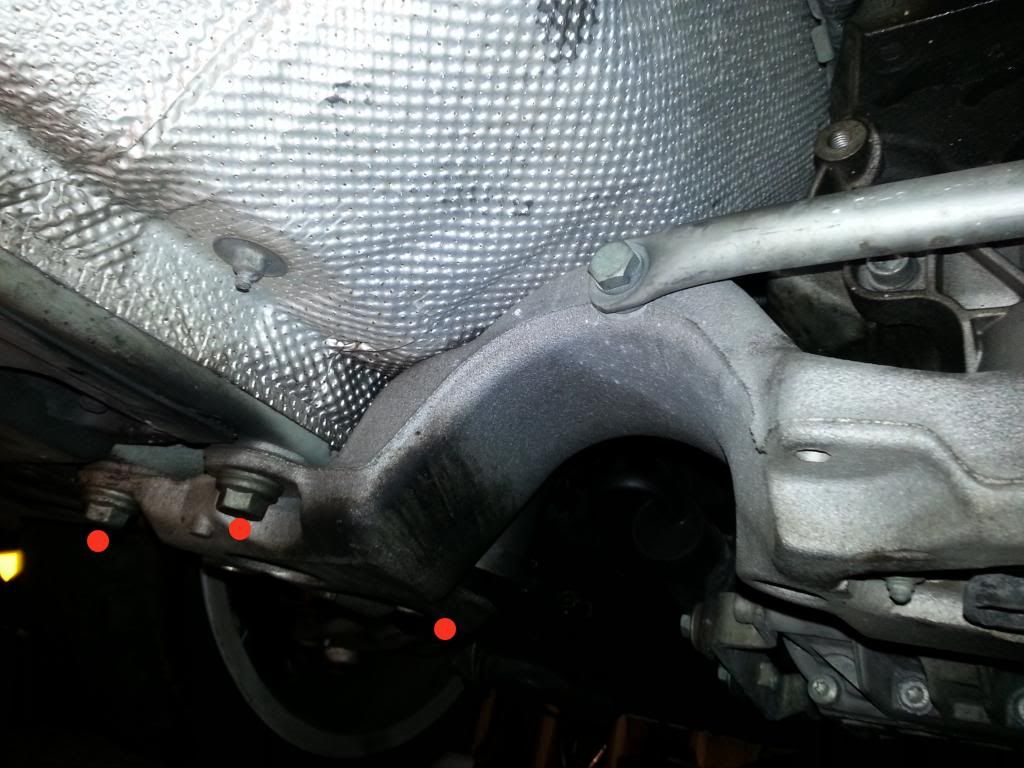
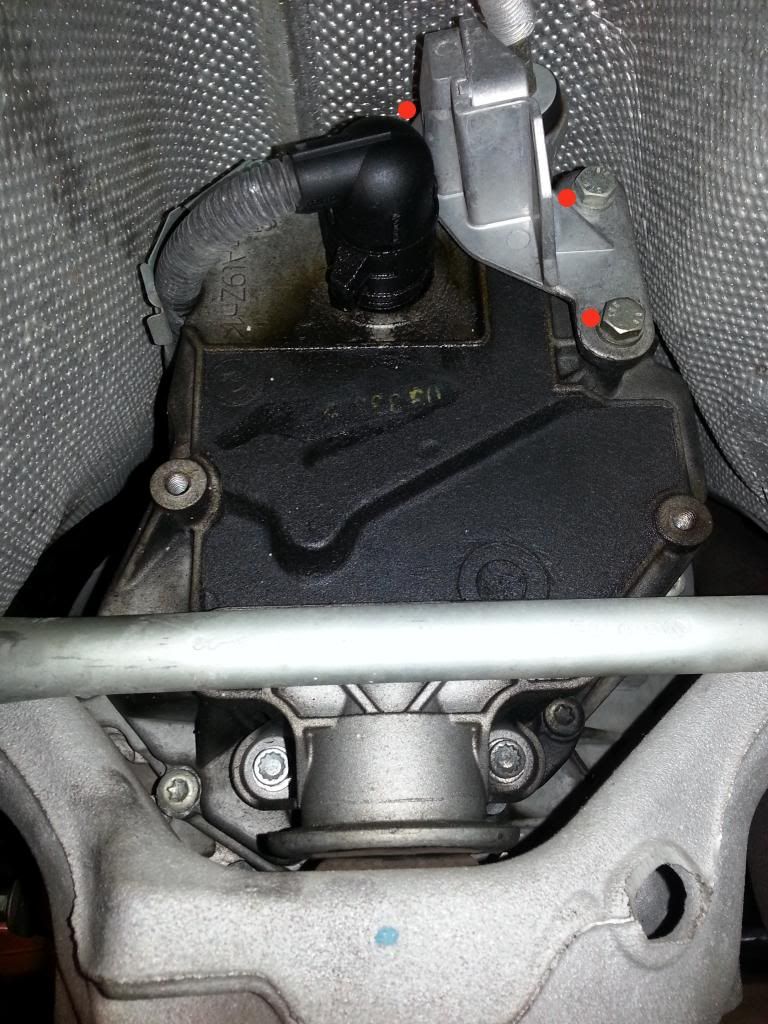
3. This is the back of the tranny. You'll see the TCM electrical connection going in on the top. I've also highlighted 2 of 12 torx in red that hold the back of the tranny cover on and 2 of 4 triple squares. We'll get to that in a moment, but notice that the cross member is in our way so we'll need to move that.

4. Cross member removal. There are three 18mm bolts on each side of the cross member - remove them. You'll notice your transmission is also mounted to the cross member by 2 13mm nuts. They are located directly in the middle of the cross member as your looking up. Remove them. As you take the cross member apart, you'll notice the transmission start to ease down a bit - maybe a couple of inches. It scared me and made me wonder if my tranny was going to fall out but that was only because I don't know what I'm doing.
 After taking all the bolts out, I don't think you have to worry about bracing the tranny or anything but someone please chime in if that's needed so I can immediately go do that to mine.
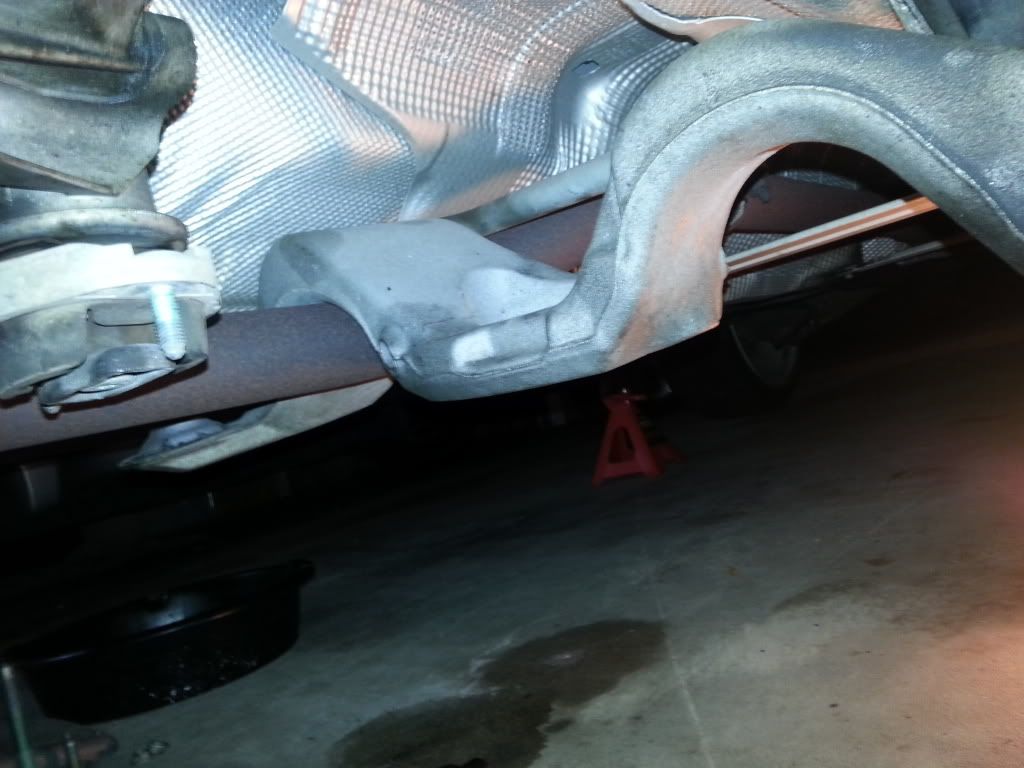
5. After you take out all the bolts for the cross member, you need to slide it towards the back of the car. The exhaust won't let you fully take it out, so just wiggle it back so you have room to work.
6. Next we need to remove the transmission mount that still connected to the tranny held on by 4 triple square bolts.

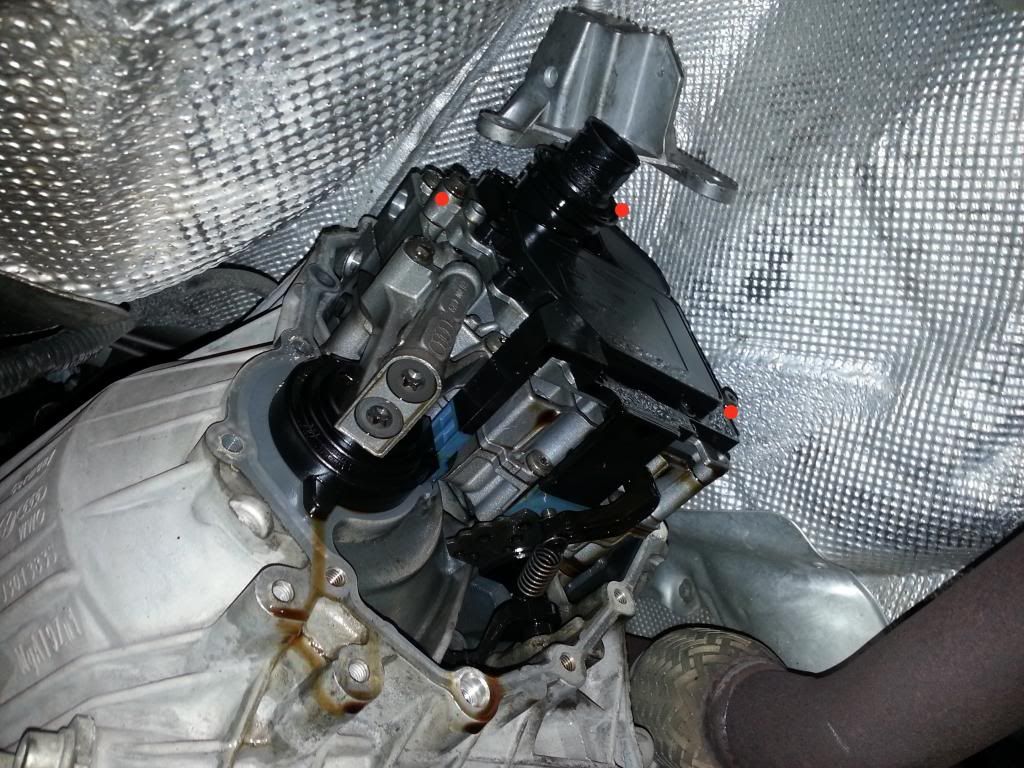
7. Now you'll have a good obstruction free view of the back of the transmission. First thing we'll want to do is to remove the TCM electrical connection. I was worried this was going to be a b$%# to take off like other connectors I've had to deal with but this one is easy. All you have to do is crab the connector and turn counter-clockwise. There's a little tab on it that should help you do so.
8. Next you'd need to remove 3 bolts located at the top. I have no idea what this is so until someone can tell me, just remove it and don't ask any questions.
9. There will be 12 T45 torx holding on the back transmission panel so go ahead and start loosening them all. Beware though, if you didn't drain it properly like I did, just ease them out a little each so you don't splash the rest of the fluid all over once you finally crack the back case open.
10. After you've cracked the case and all the fluid has drained, carefully pull the back case over off. You'll now be able to see the TCM. There are three long T30 torx that hold the TCM in place. Remove all three, and then pull back very gently. I've been told this stuff is fragile so be careful.
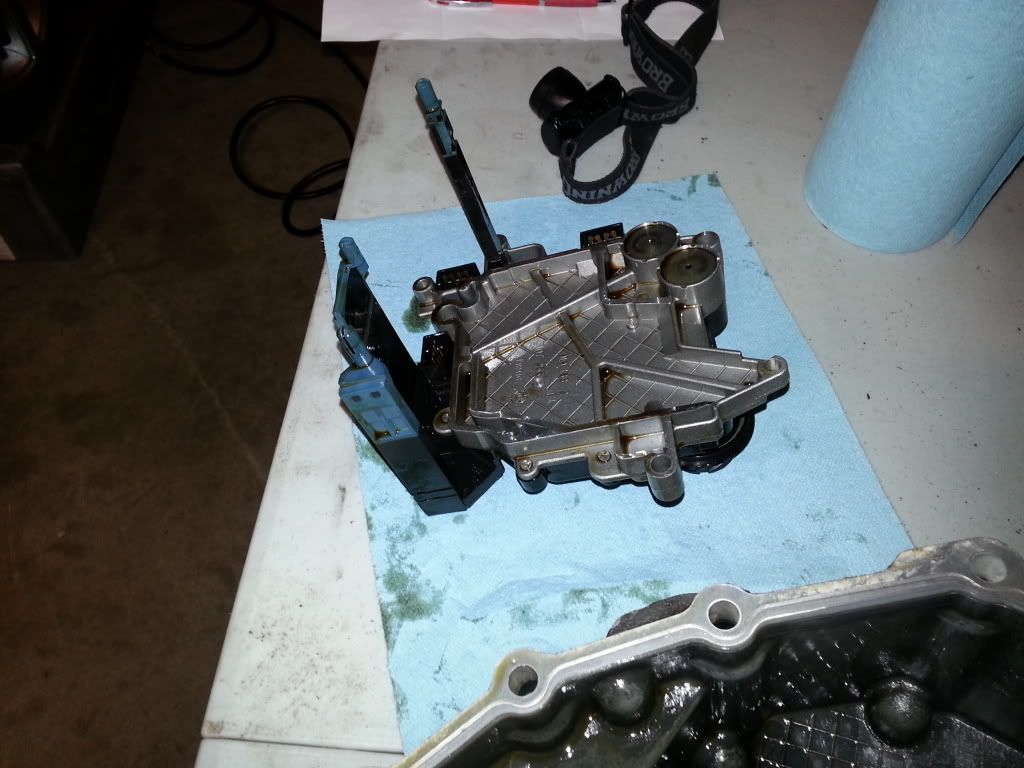
11. And that's it. You're TCM is out so figure out who you're sending it to be fixed and wait until it's returned.

 Reply With Quote


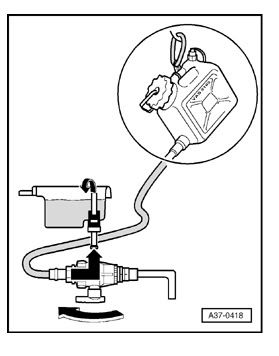 heres the pic in case anybody needed it.


Bookmarks