


You are going to need at least two cans of BG Induction System Cleaner (ISC) as well as an assortment of brushes and scrapers. I also got a rifle cleaning kit which has a stick with wire brushes that you can connect to the end because I knew the space would be tight and I thought it may work well to clean the carbon. It did work fairly well. I had to order the BG ISC off ebay because I think it is somewhat difficult to find. It is made for exactly this job. While people complain about nothing taking this crap off, this cleaner does about as good a job as your could possibly hope for. It is well worth finding and buying it for this task.

You NEED to get at least two pairs of heavy duty rubber gloves. This cleaner is so nasty that if you didn’t use gloves, your hands would probably melt off. At one point one finger tip ripped and I got the stuff on my skin and my skin completely shriveled and felt like it had been burned. You have been warned.
Start the repair with the car on ramps/jack stands and in neutral. Either use ramps in front and jack stands in back or use all four jackstands. It sounds like a pretty stupid idea to just put the front on ramps and then go put it in neutral. You are just asking for trouble if you do that. You're going to need the car in neutral so that you can turn the crankshaft near the end of the repair to close the open valve(s).
Step 1: Remove the PCV line at Valve Cover and Manifold connections.

Step 2: Remove the intercooler hose connection to the throttle body as well as at the cold side intercooler exit hose using a 7mm socket on the hose clamps.
Step 3: There are a sh*tload of connectors mated to the manifold. Start taking them off.
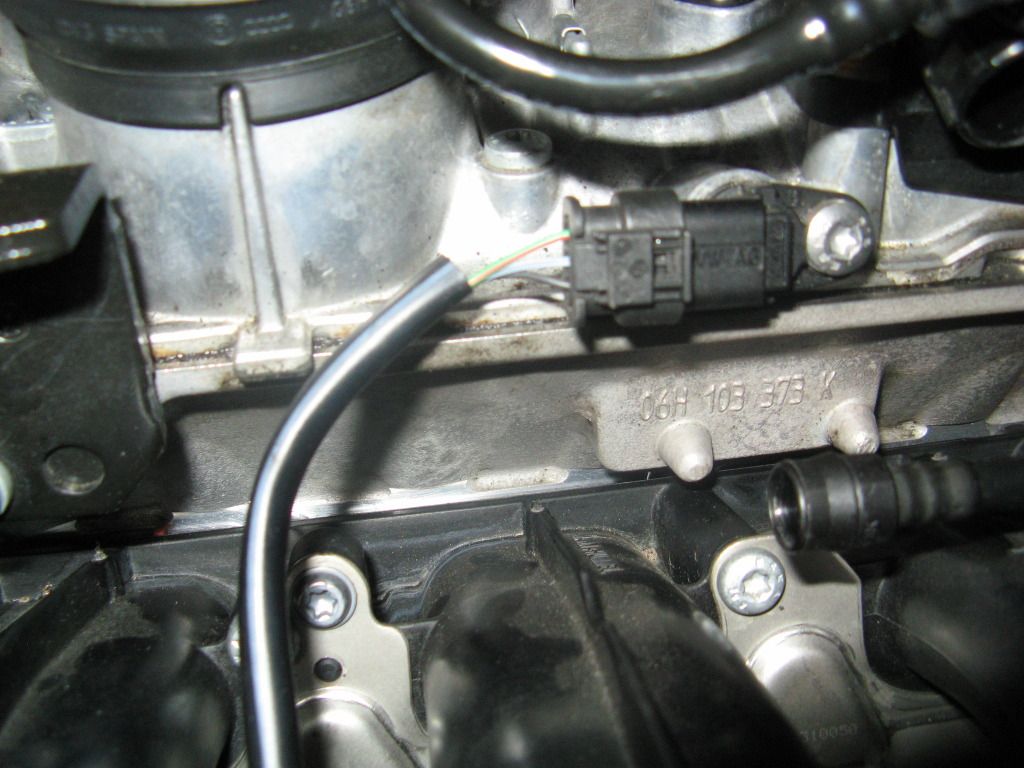
One at the valve cover. Snake this one under the manifold once you’ve removed it.
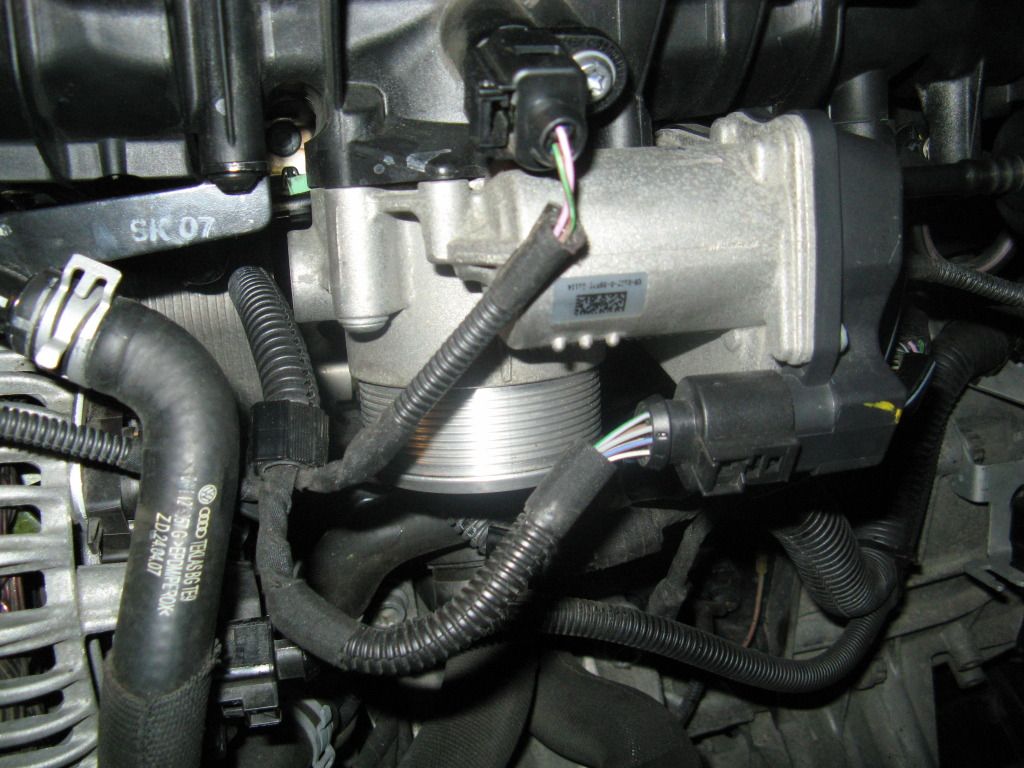
One at the throttle body with another one (IAT sensor) directly above it.
One at the base of the oil filter. Cut the zip tie connecting this wire to a small bracket on the alternator.

Three aft of the throttle body and underneath the manifold.
One near the evap canister.
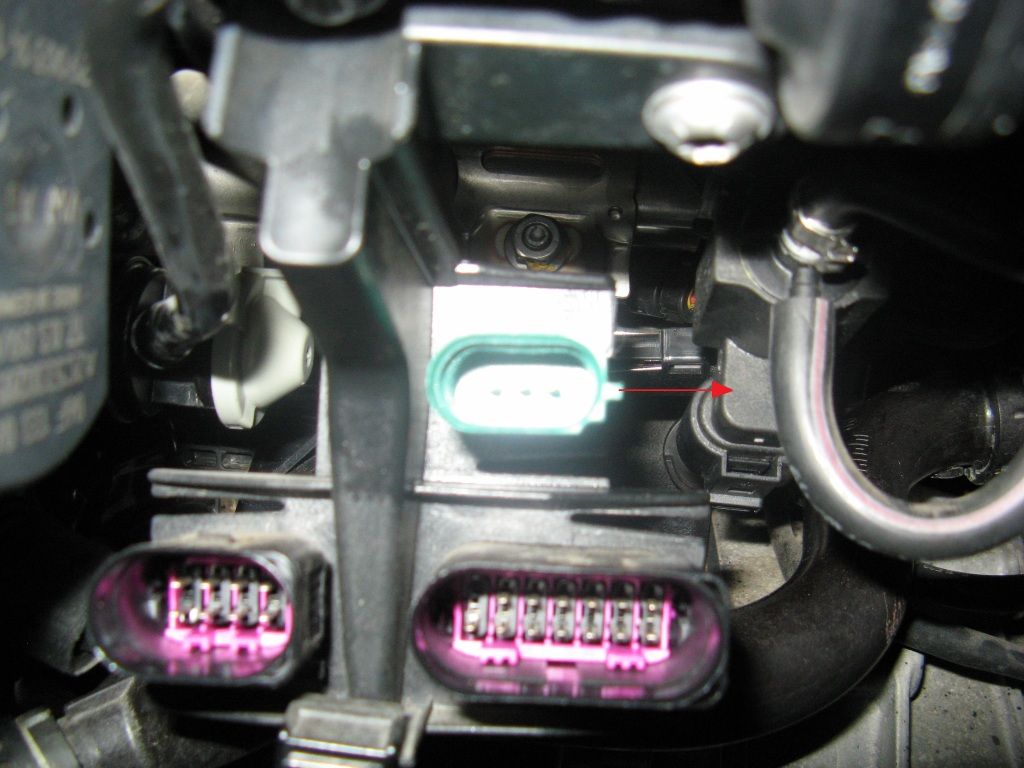
Step 4: Remove the green harness from the bracket aft of the throttle body and below the manifold. It will slide aft and disconnect from the plastic bracket. This one will hang you up when you try and pull the manifold if you don't disconnect it.
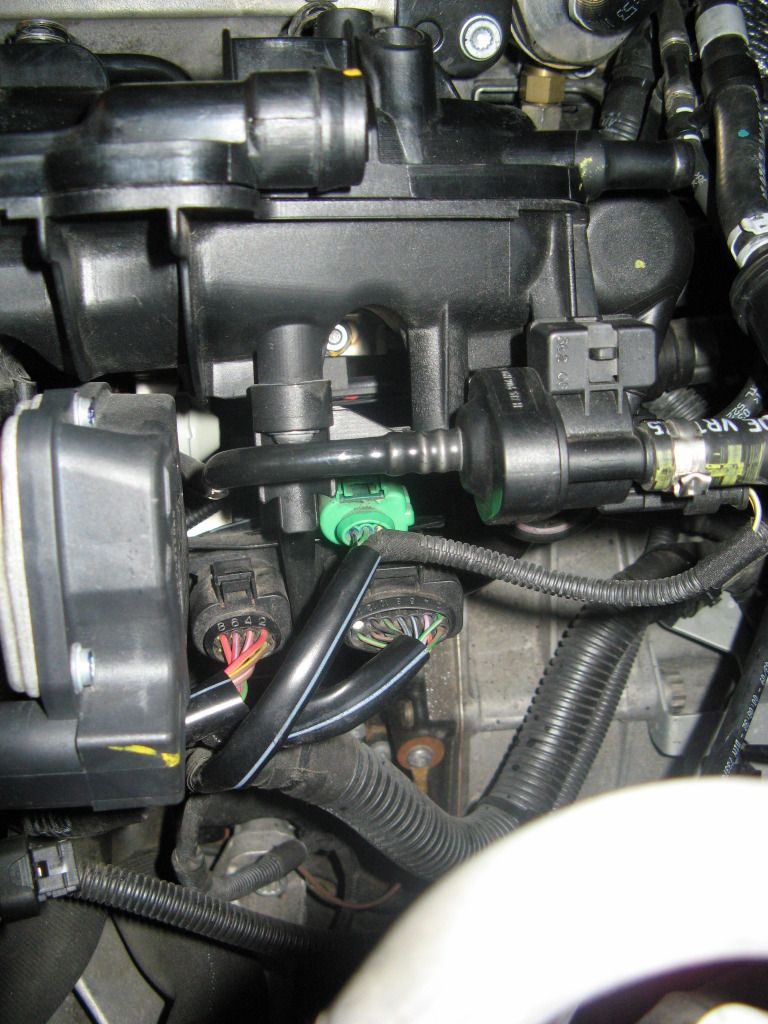
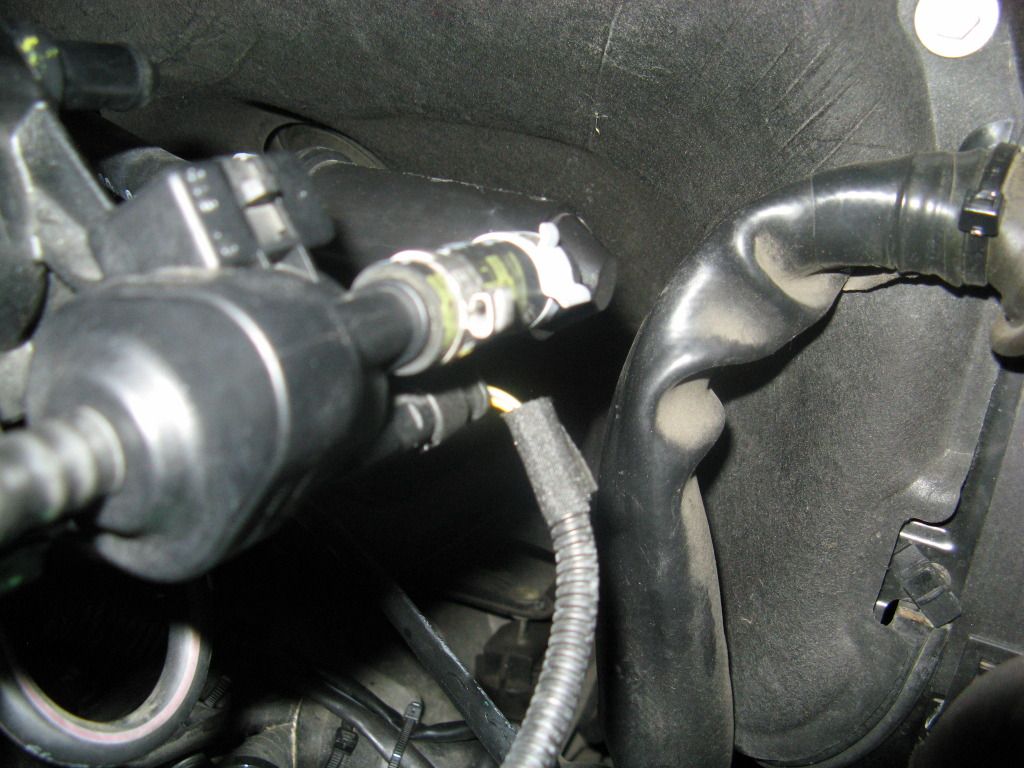
Step 5: Remove the vacuum line from the ???. Mine had a crimp type hose clamp but it was loose enough that I was able to just slide it down the hose. Then I had to use a channel locks to break the rubber hose free from the connection so that it would come off. Do yourself a favor and get a reusable hose clamp here for when you reassemble it. If you end up having to cut this one off it will totally suck because the access is pretty bad. Hopefully Audi did as crappy of a job on yours as they did on mine and you'll be able to get it to slide off without cutting it.
Step 6: Use another channel locks to loosen the hose clamp connecting the rubber hose to the evap canister. Slide the clamp down the line and then de-mate the hose from the canister inlet.

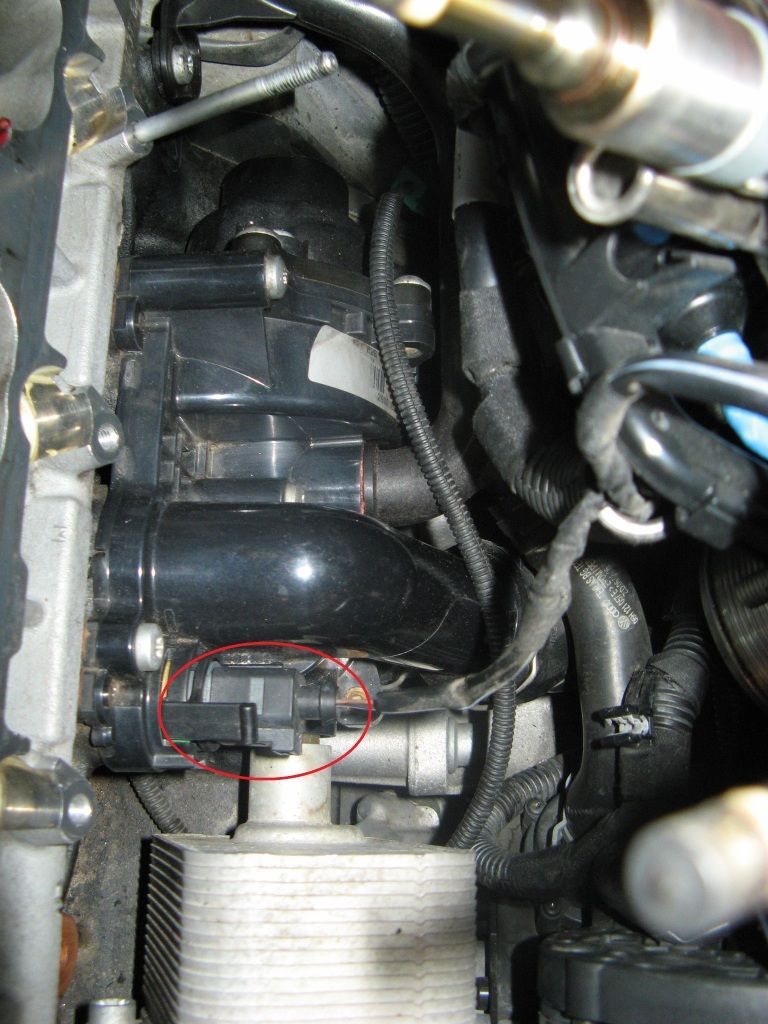
Step 7: Pop this annoying wire holder off the tiny bracket because it completely obstructs the 10mm nut you’re going to have to get to.

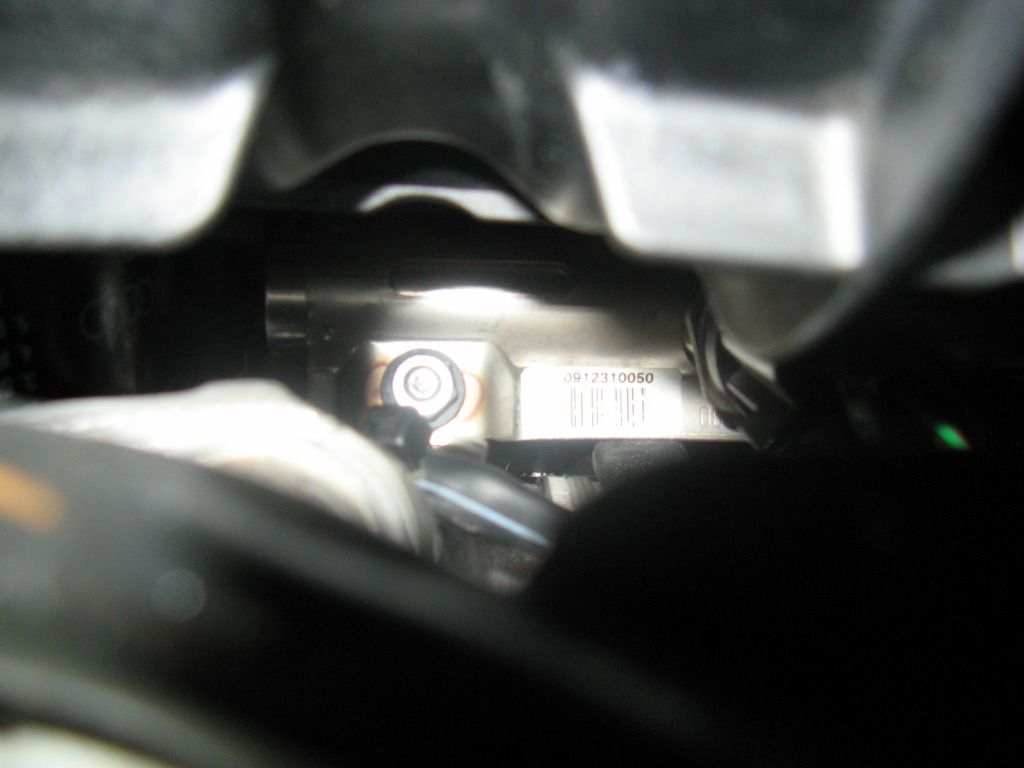
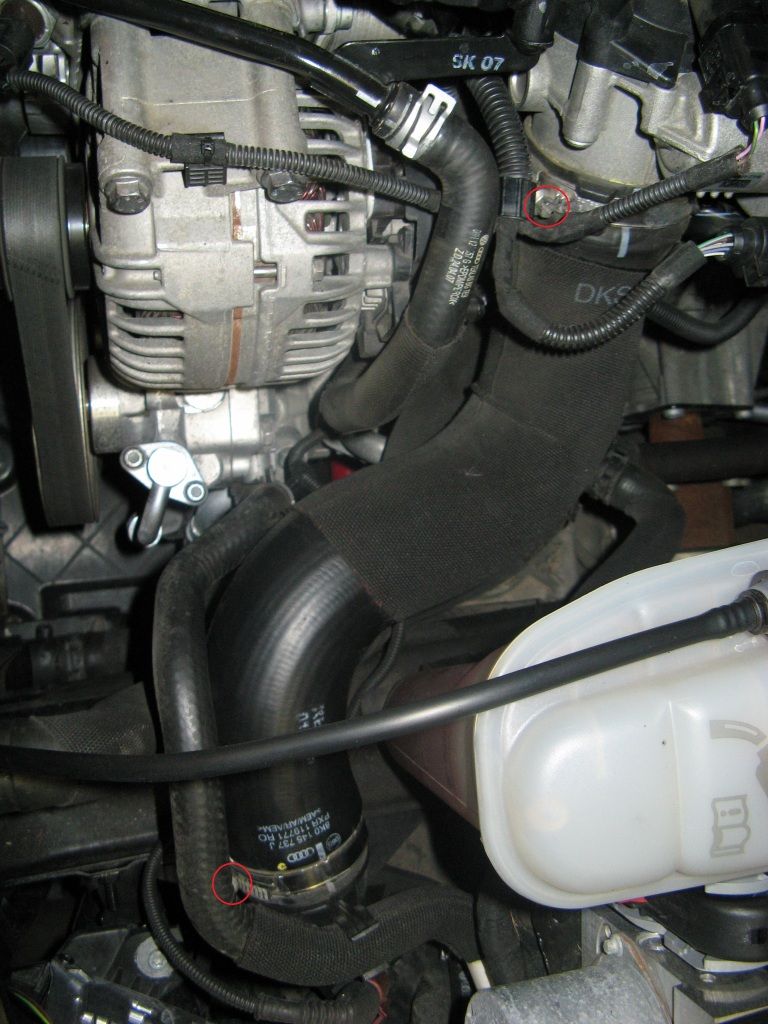
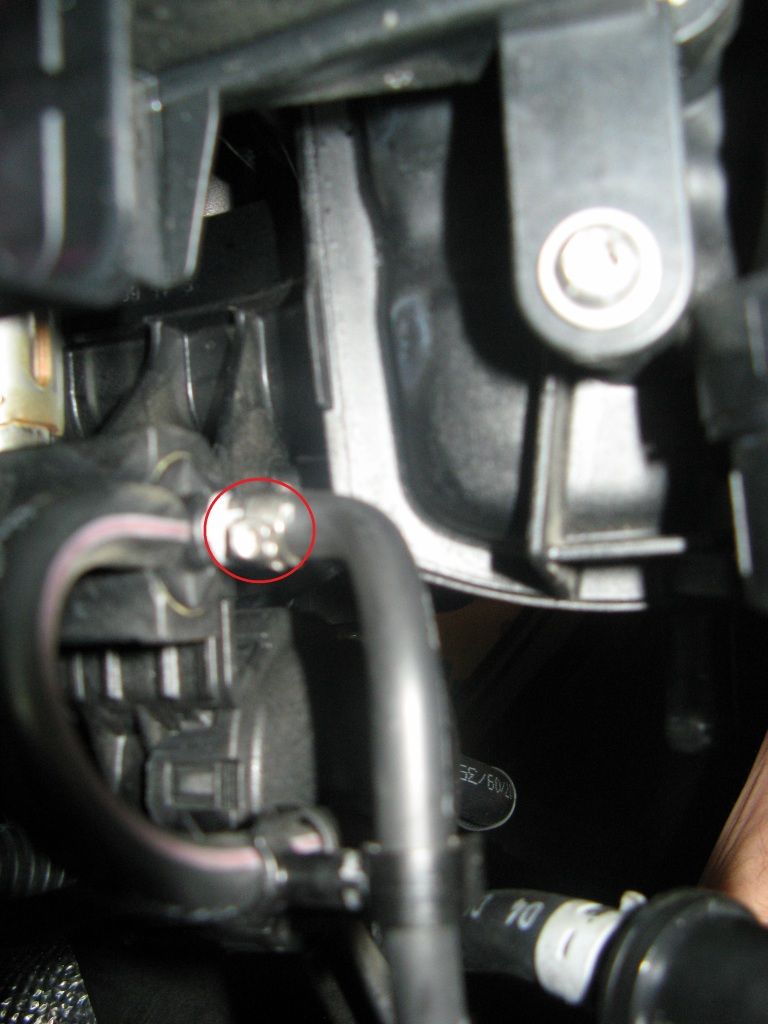
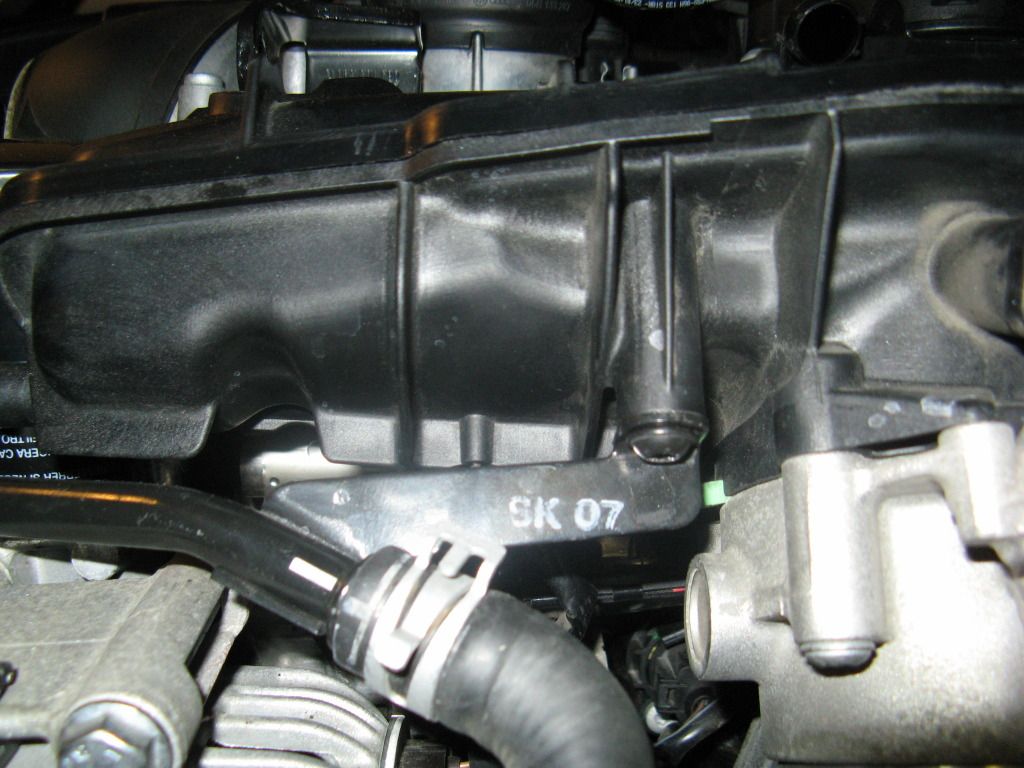
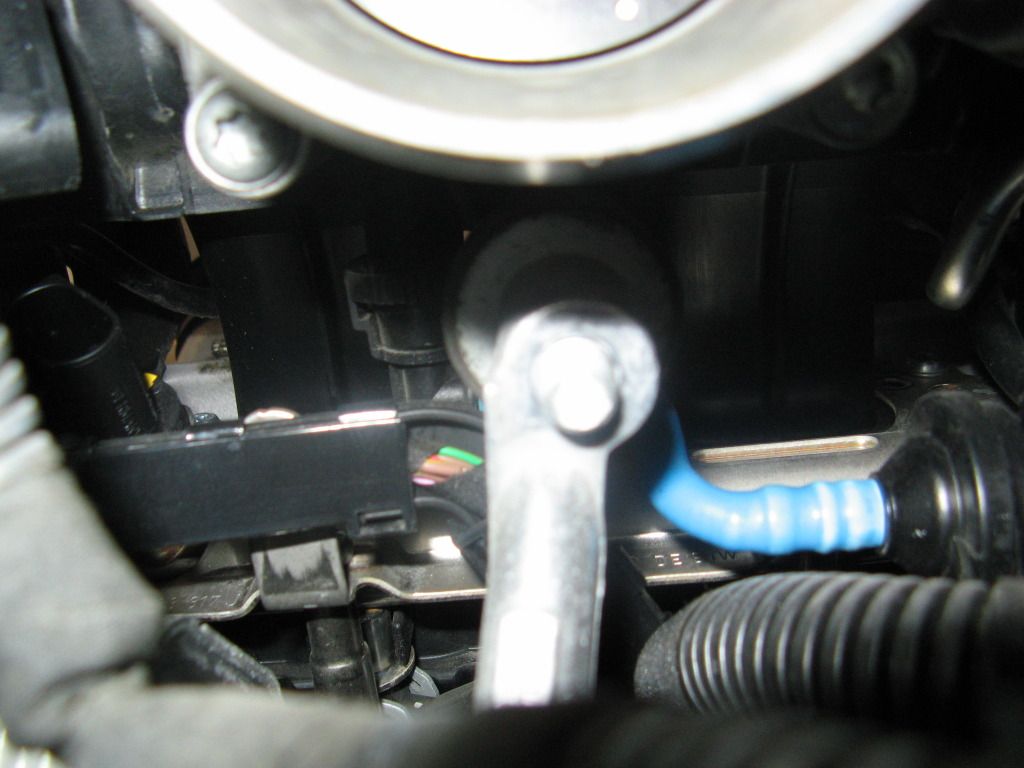
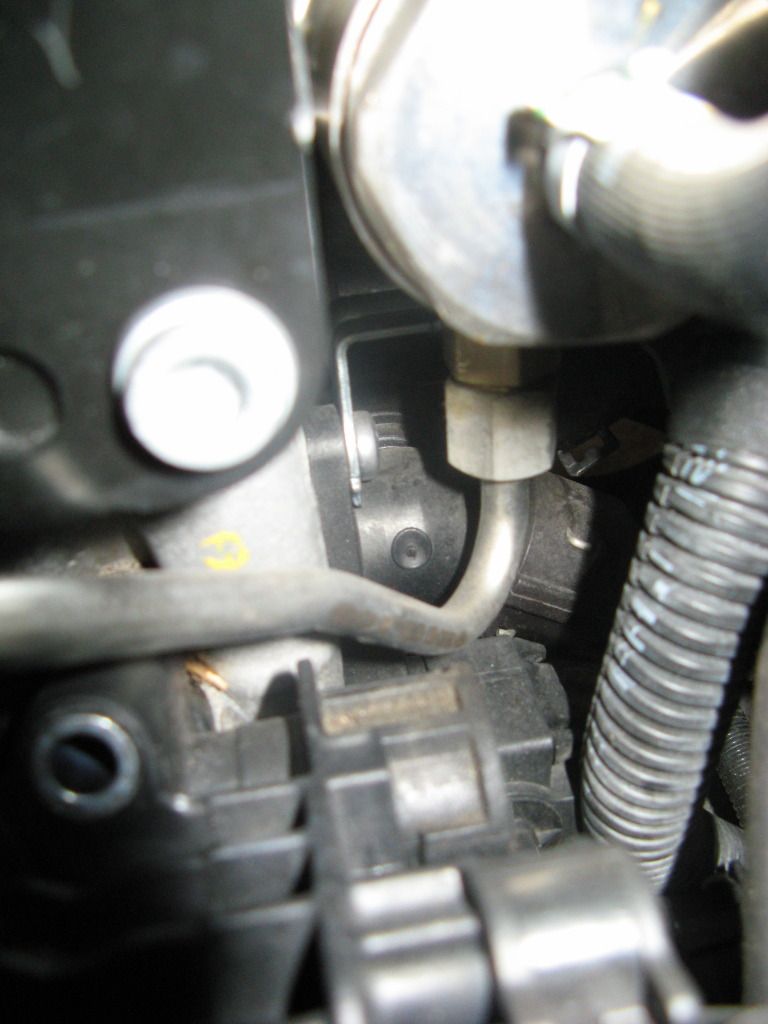
Step 8: Disconnect the turbo coolant supply line from the manifold by removing the T30 bolt holding it on.
Step 9: Remove the connections between the manifold and the cylinder head. There are five T30 bolts on the top and two on the bottom. The top five are easy to get to. The bottom two aren’t so much. The two on the bottom are in the center positions. The rear one will require that you either have a really long T30 or more likely you’ll have to hold a T30 bit onto the bolt and then feed an extension into the space and connect the extension with the bit in place. The access hole isn't big enough for the bit to fit through which is why you've got to do this. After you loosen the bolt you'll have to do the reverse to get it out. Just make sure you don’t drop the bit or you’ll fishing it out of there once the manifold is off.
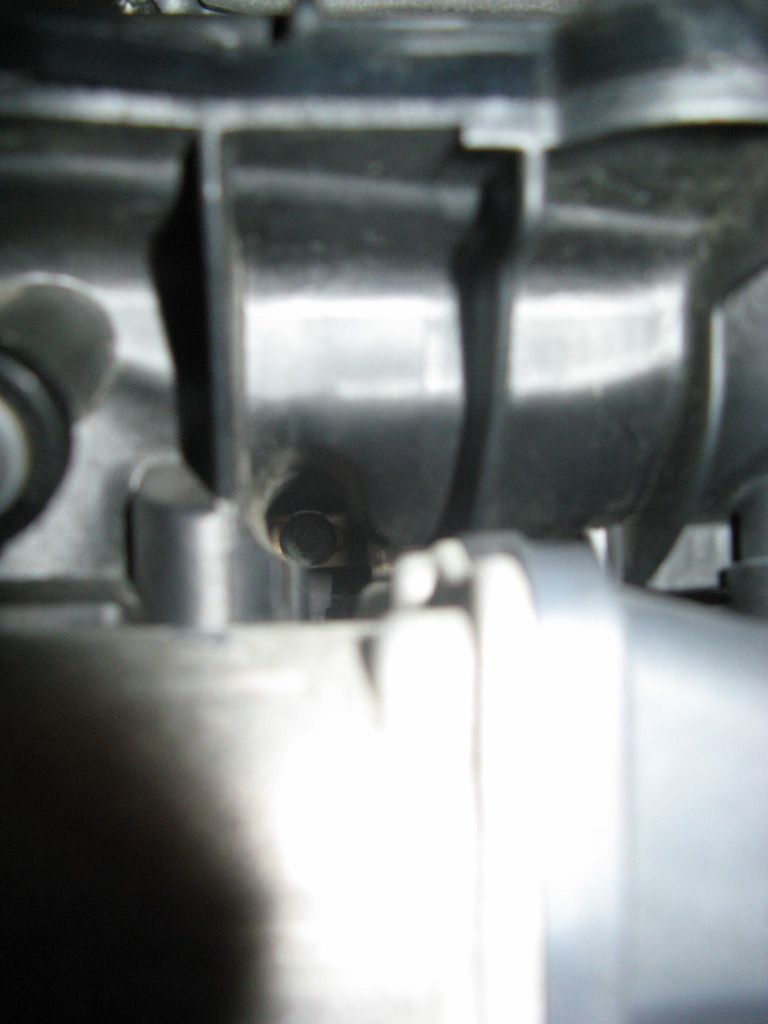
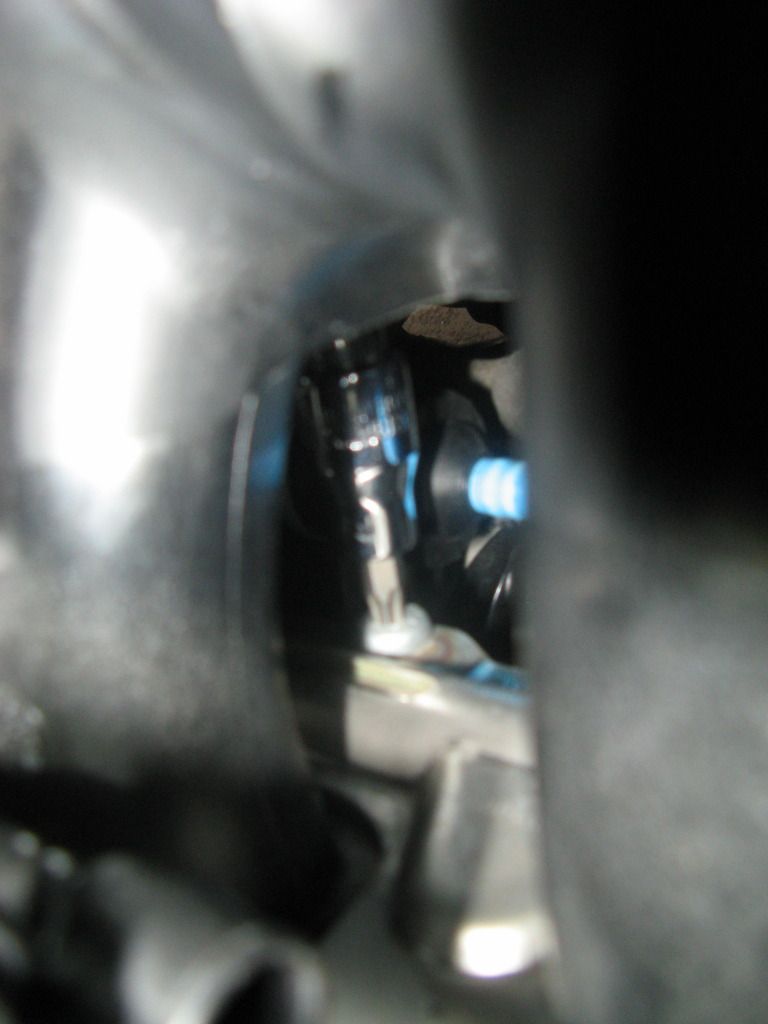
Now you need to remove two 10mm nuts on the bottom of the manifold fore and aft. You should be able to access them easily with a long extension. The problem is that as soon as you unscrew them they will both immediately fall off and go into the engine compartment. I used some small bits of clay inside the socket to prevent this from happening.
Step 10: There is a strut connected to the throttle body that holds the manifold in place and you will need to remove it. First pull the large wiring bundle off of the strut to improve your access. There is a small press on metal bracket that holds the bundle to the strut. Then remove the upper connection using a 13mm socket on a swivel. Remove the lower bolt connecting it to the engine block using a M9 triple square bit on a swivel. Pull the thing out of there.
Top Nut
Step 11: Remove the oil filter.
Step 12: De-mate fuel line connection by loosening 17 mm locknut connecting fuel line to high pressure fuel pump.
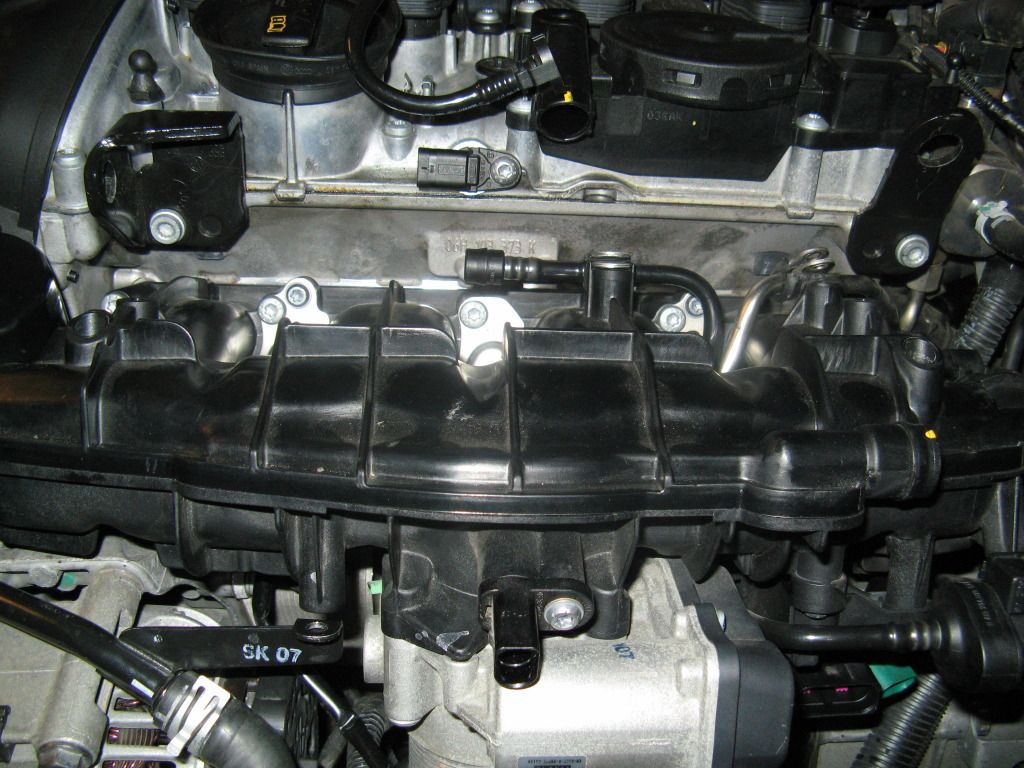
Step 13: Pull the manifold off of the cylinder head and tilt it up. There will be one final connector below that you will have to remove. Some fuel may spill out of the fuel rail inlet when you do this. All four of my injectors came out with the manifold so mimimal fuel came out. The injectors are pressed into the fuel rail with an o-ring around them. They also have a small metal spacer/spring that spaces them away from the fuel rail. There is no need to remove them unless they come out on their own when pulling the manifold. If one of them comes out the fuel will then gush out of the fuel rail.
You can temporarily reinstall the oil filter once the manifold is off to prevent crap from getting in there.

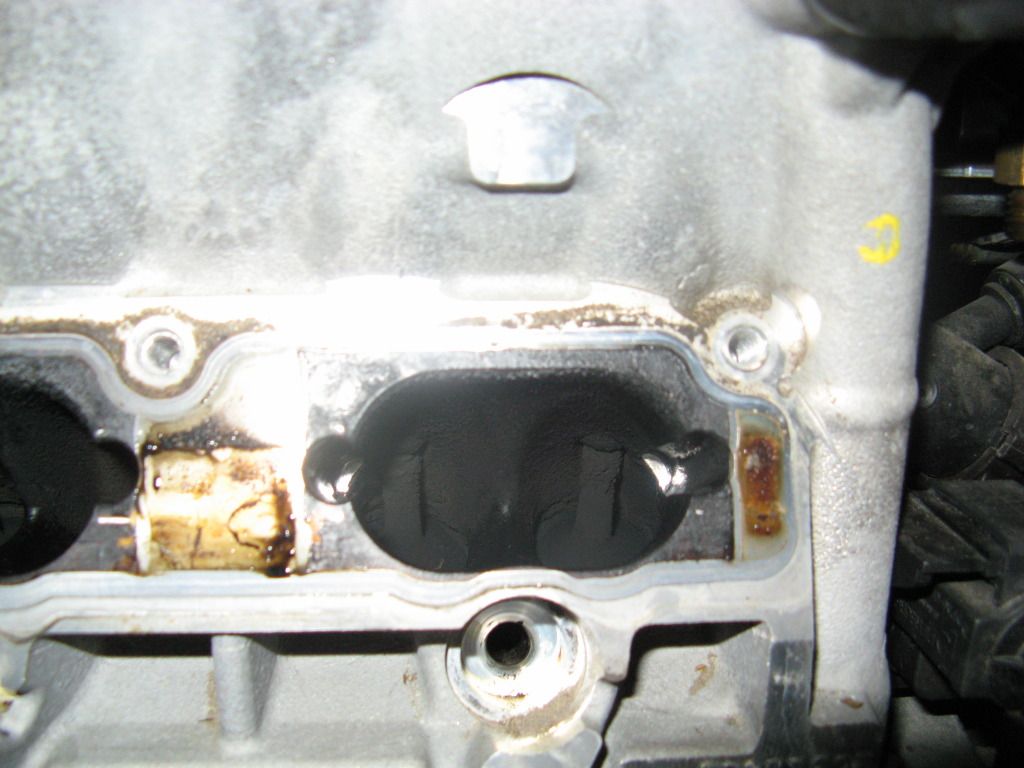
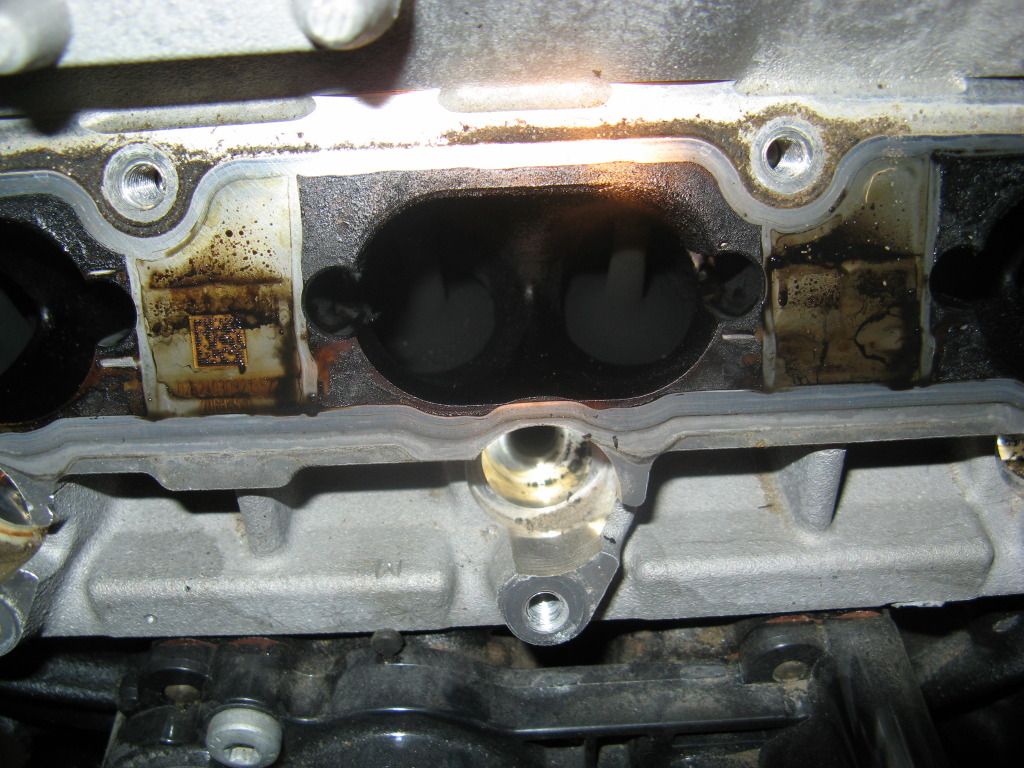
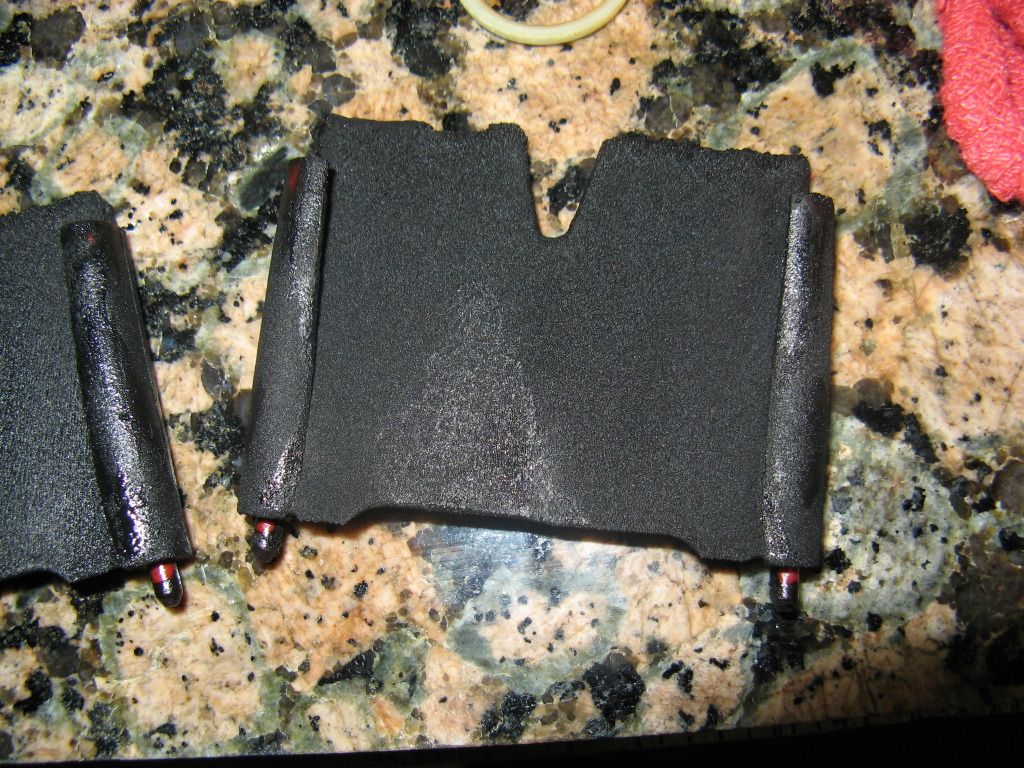
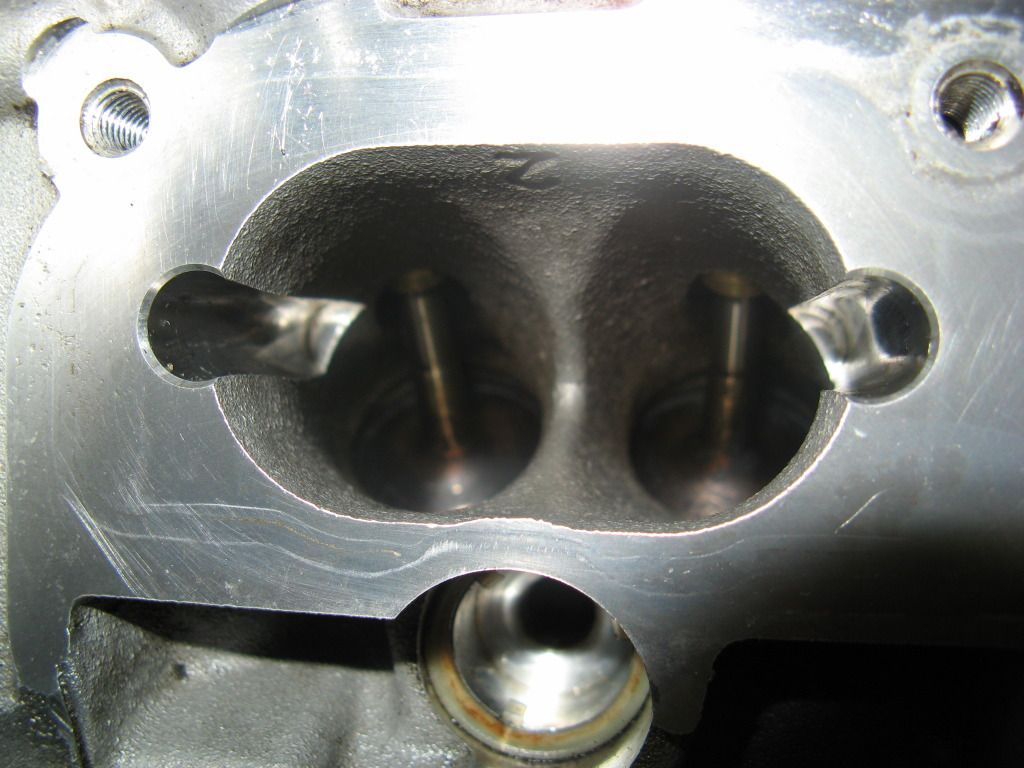
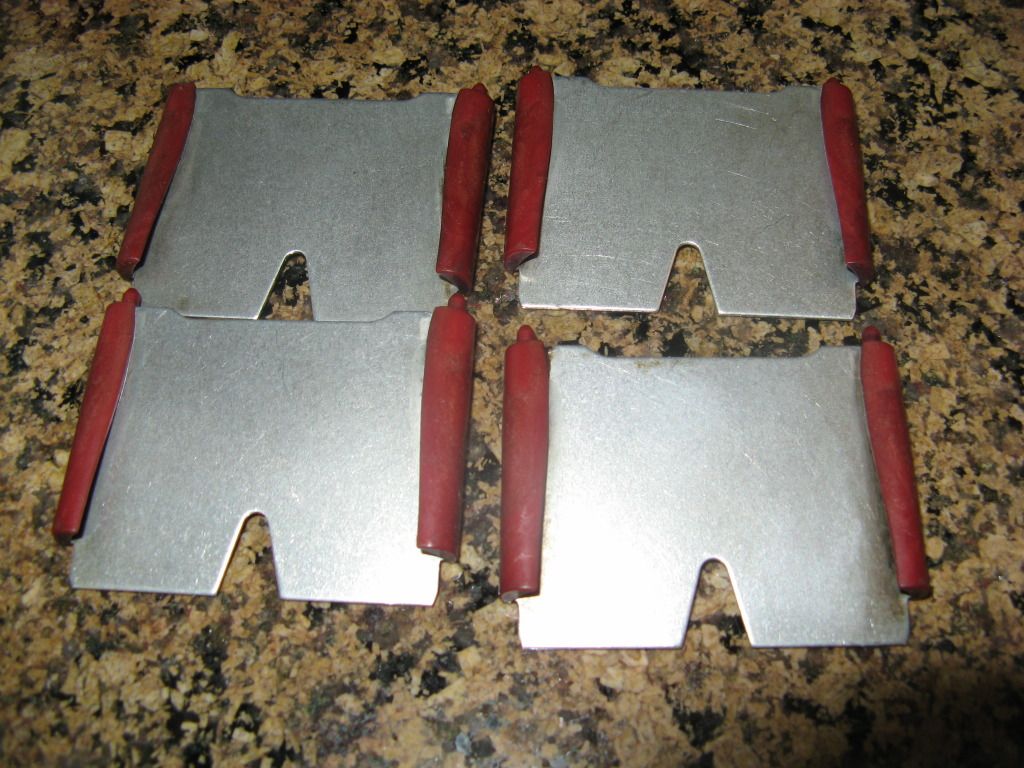
Step 14: Pull out the tumble flaps and set them in a container with some BG ISC to sit. Check out your valves. They probably look pretty crappy. Three of your four valves should be closed and you can just pour some BG ISC into the cavity and let it sit. Hopefully you have accomplished anything requiring a lot of brain power in your life, because you will be smelling this nasty cleaner for the next couple of hours and a good chunk of brain cells will be gone when you’re done. If you are not in a well ventilated area you will probably die from asphyxiation within about 5 min. Put on your rubber gloves and get ready to start in on the cleaning. Other than the cleaner itself, there isn’t anything magic about performing the cleaning. Use a scraper, the wire brush, a sh*tload of paper towels and rags. Whatever you need. You’re going to be doing a series of scraping/brushing, then using paper towels to get the bulk of the cleaner out. Then put a towel over the intake and spray compressed air to get the gunk out that you can’t reach (i.e. most of it). Then you repeat this 3-5 times depending on how clean you want to get the valves and eventually the intake will be clean.
For the tumble flaps, if you've had them sitting in the BG ISC all this time the carbon will basically melt off when you go to clean them. You just wipe them clean with paper towels.
Below are some before and afters. My car had 39k miles on it when I did this.

I didn’t want to try and clean the one open valve with it remaining open so I advanced the crankshaft to close it. This is easy if you started the repair with the car raised and in neutral. Once the 3 closed valves are clean, just pull the two front undertrays and you will have access to the front of the engine. Then put a 24 mm socket onto the crankshaft bolt (bolt in the center of #1 in figure below) and turn it until the valve on the last cylinder closes. Then clean that one. You could try to clean it with the valve open but it is so simple to close it that it isn't worth the risk of getting all that crap into your cylinder.

Assembly is the reverse of removal. Don’t forget to use something (clay, tape, gum) to lock those 10mm nuts onto the socket when reinstalling them. Actually other than the one wire harness below the manifold, these two nuts should be the very first two things you reinstall when you put the manifold on. That way if you drop them you won't be set back at all. Also, don’t forget to put the tumble flaps back in before you start reassembly. I don't need to tell you how bad it would suck to "finish" the repair and then realize you never put these in. Maybe tape a note to your 15" extension to remind yourself to install them. That way you can't miss it when you begin reinstallation. I nearly forgot to do it and I think it is pretty common since you've been staring at the manifold without them installed for hours so it looks normal to have them missing.
When I finished and started the car up it threw a code for low fuel pressure regulator. Probably since some gas had drained out of the fuel rail. I cleared it. If you don’t have a vagcom you will now have a CEL on. Now may be the time to break down and buy one if you don't already have one because the cost of this cleaning is only ~$30 for two cans of BG ISC assuming you already have all the other tools.
When you're done your car will have significantly better throttle response as well as smoother throttle response. Not sure how much power it may add but it didn't feel like much if any to me. The main benefit will be that your car will be forever indebted to you for taking such good care of it and it will promise to last forever and never break down. It will also wash itself every Saturday morning for the next year and fuel economy will increase by at least 1000%. At least that is what I am hoping.

 Reply With Quote
 ), Awe quad tip exhaust w/ res. downpipe, Alu Kreuz DTS Bar, Hotchkis f+r sway bars, KW V2 coilovers, BC Forged rims, OSIR rear valence, PODI gauge+pod, Blackvue dash cam, Escort Passport 9500ix, Rhoplate plate relocator,


Bookmarks