


Let me start with a disclaimer: I have never rebuilt a power steering pump before. I have not experienced the symptoms of a pump that require a rebuild. This whole process was purely learning for me and I thought others may benefit. I will be using this rebuilt pump in my car (installing this near future) so I will be able to critique the effects of my rebuild. I'm writing this up because I haven't seen ANY rebuilds for our cars' power steering pumps and since it costs under $20, I think that we should have the same advantage every other car owner has by being able to do this. So without further ado, here come's the DIY.
Actually, I have to give a shout out to Calan on dsmtuners.com. I have no idea who he is, but I studied his DIY for the rebuild before I attempted it on my own. Although the majority of it is cut an dry (at least for us tinkerers), it definitely helped to have his write-up as a reference. [http://www.dsmtuners.com/forums/arti...ing-pump.html]
For real now, here we go.
My power steering (PS) system has been an issue since I bought the car. The first problem was a common leak that sprung on the high pressure (HP) hose from pump to rack. I eventually fixed the hose (http://www.audizine.com/forum/showth...eplacement-DIY), but in my procrastination managed to burn the pump out by letting the system go occasionally dryer than it should've been. So, in desperation, I ordered a used one on the zine (boy412) because I didn't want to buy a brand new one at robbery prices. I decided I wanted to rebuild the pump, and with the help of Dawn at Jay Gee Hydraulics in Wolverhampton (
 ?) [http://steeringseals.com/a4-1743.html thanks to travrach], this became possible. If you're going to order from this site, talk to Dawn specifically because they don't sell a kit for our car, they had to put it together...did I mention free shipping?!
Even though all of the above is relevant, this is the START OF THE HOW TO PORTION...sorry for the delay :-D
What you will need:
-A pump to rebuild...out of the car already. I'll post how to remove/install from/in the car when I do it...but it shouldn't be hard.
-10mm socket (deep or w/ extension)
-12mm ""
-29mm ""
-Socket wrench
-pick (or something to remove o-rings with)
-flat head screw driver
-table vice
-torque wrench
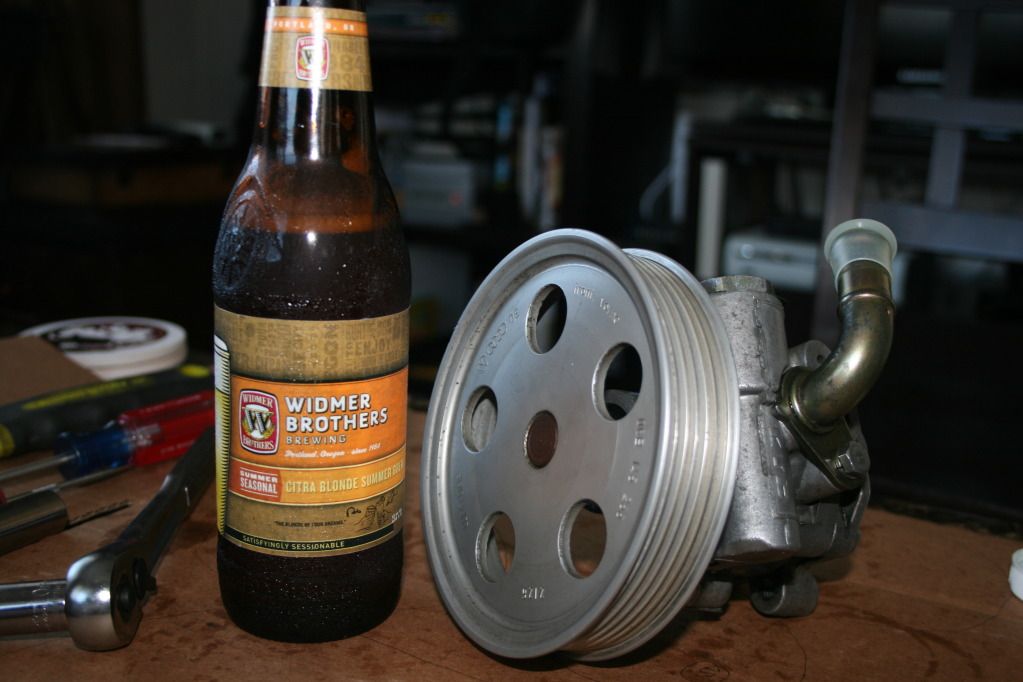
-Widmer Bros Citra Blonde Summer Brew (or some equally refreshing summer beer)
-and of course, seal kit
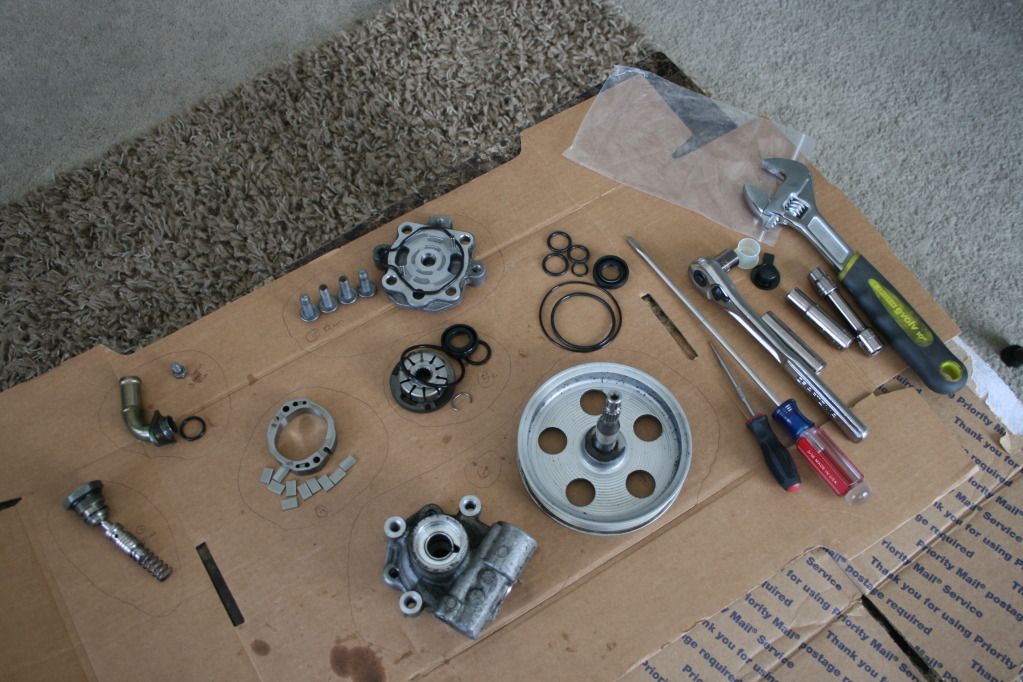
Now, if you looked at Calan's thread and compare your seal kit to his, it will not look the same:
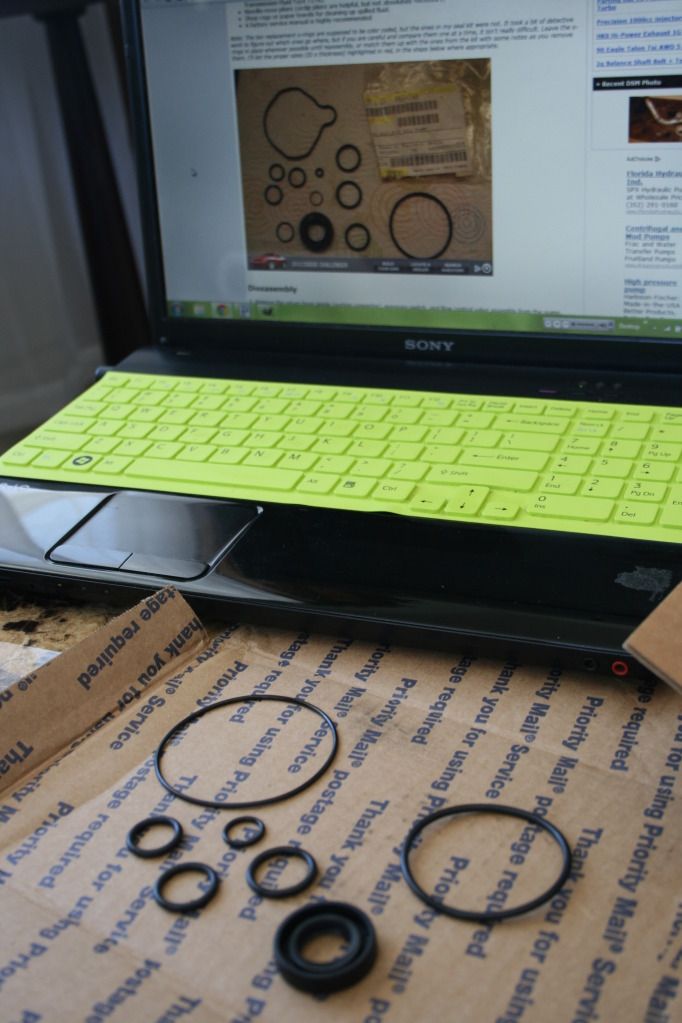
The two most obvious differences are that we have 7 rings, he has 12, and he has one that is odd-shaped, not just a ring. The thing about that ring is that we encounter one that is similarly shaped in our pump, but our new ring doesnt come preshaped, we just have to mold it in and when we close up the pump itll keep its shape.
**As you remove things, whenever you come across a ring that needs to be replaced, keep it with the parts you took it out with. Im not going to mention rings/seals when Im deconstructing because Ill get thorough when rebuilding it. I kept track by outlining the parts and rings that I pulled out and categorizing by step. This is for your own knowledge/convenience.**
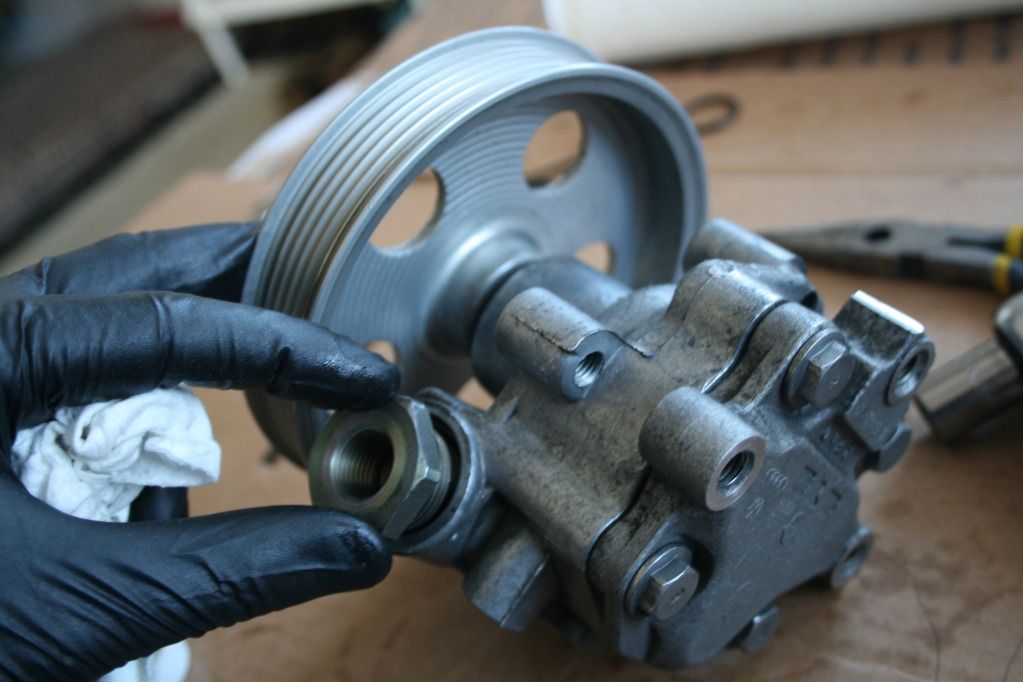
The first bolt to remove is for the suction connector. Its a 10mm.
[IMG]http://i1219.photobucket.com/albums/dd434/teehanrh/PSPumpRebuld010.jpg/IMG]
[IMG]http://i1219.photobucket.com/albums/dd434/teehanrh/PSPumpRebuld011.jpg/IMG]
Then remove the flow control valve assembly, which just means unscrew the plug (29mm). I had trouble getting it by hand and had to resort to a table vice which made it SOOOO easy.
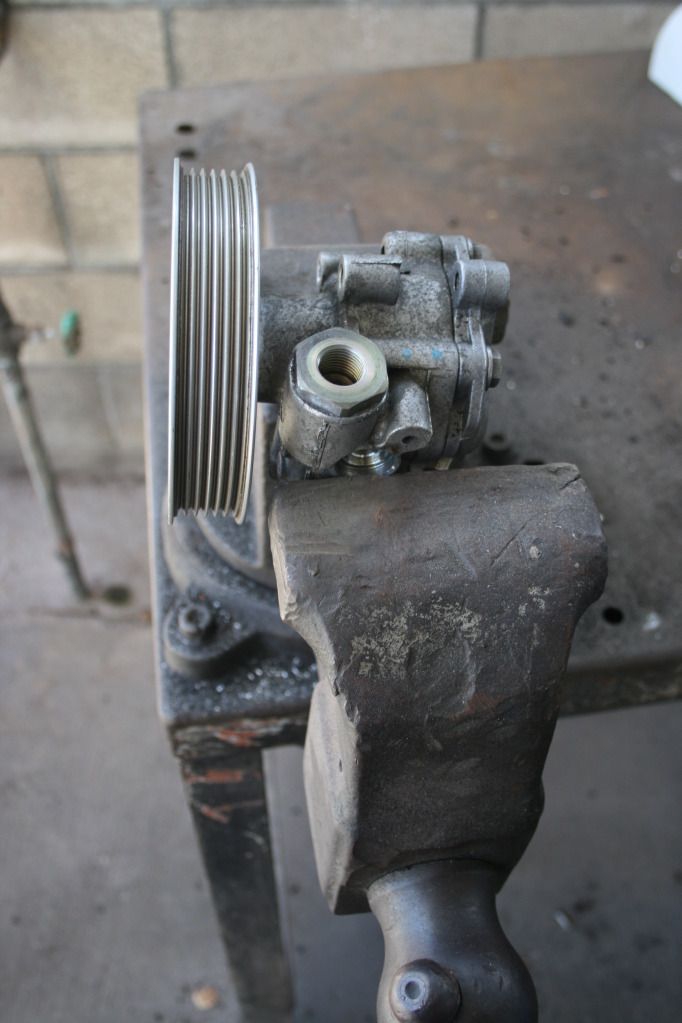
And since I had the table vice, I went ahead and loosened the bolts for the pump cover (12mm).

Then I loosely reassembled the pump and took it back home to continue.
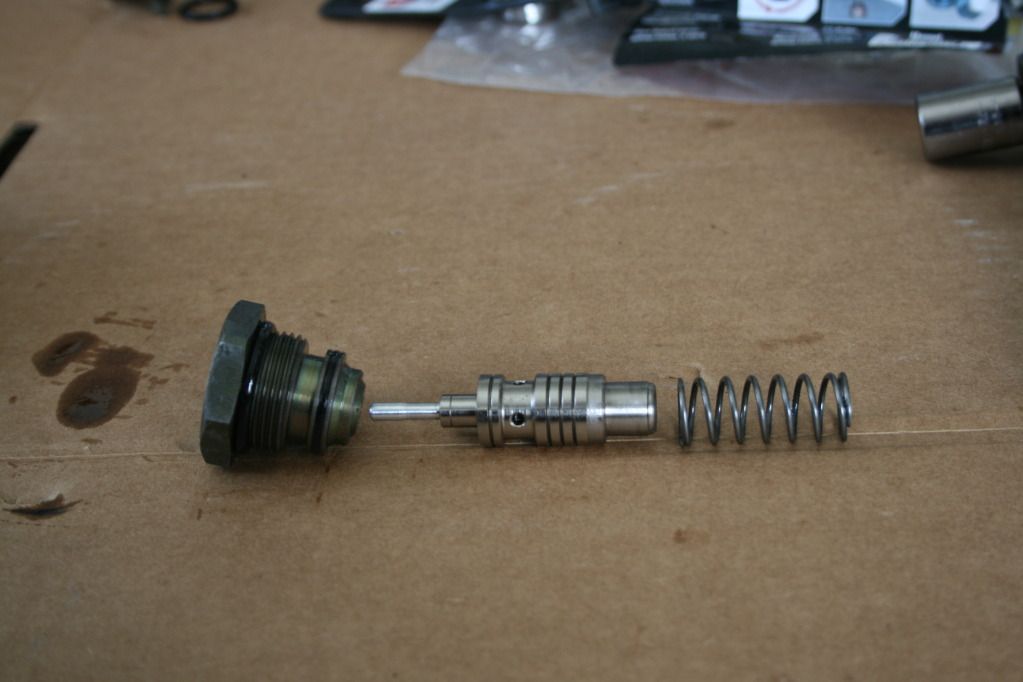
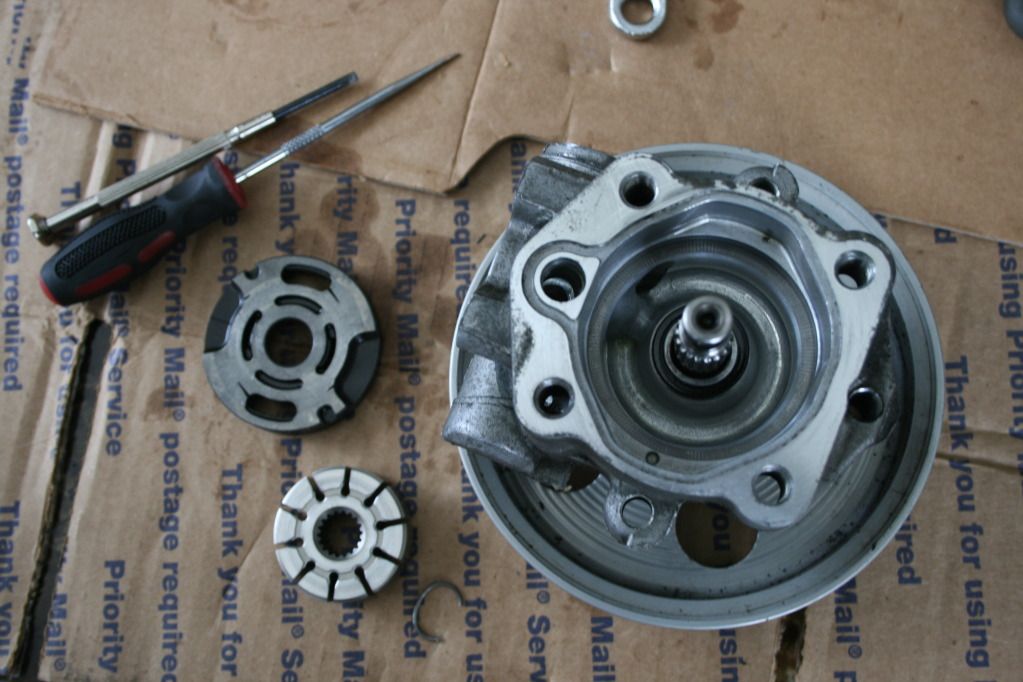
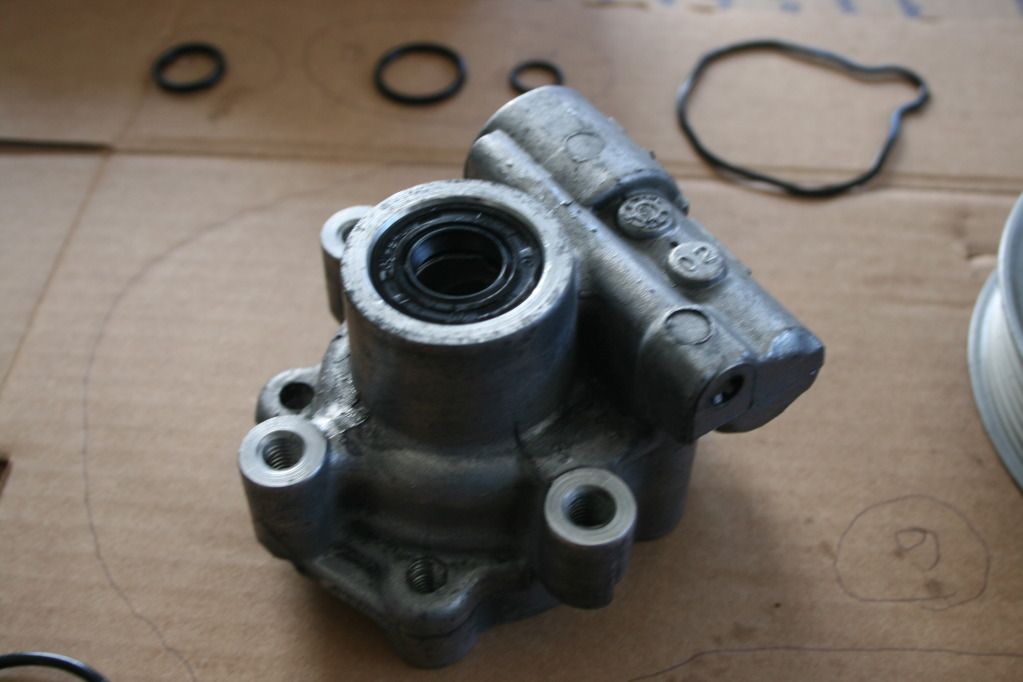
Flow control valve removed:

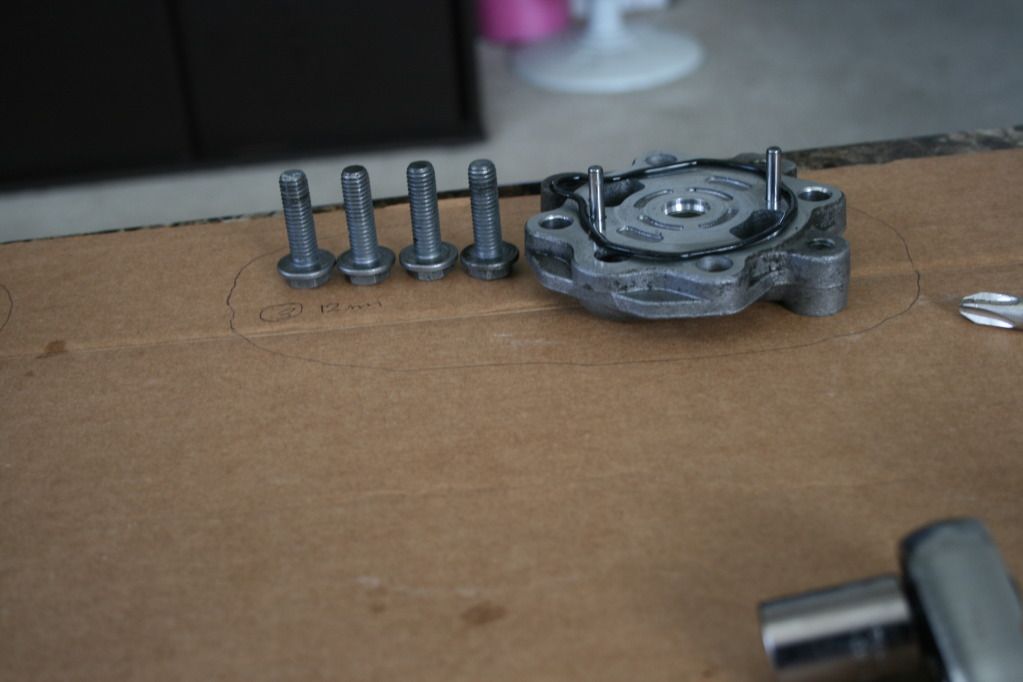
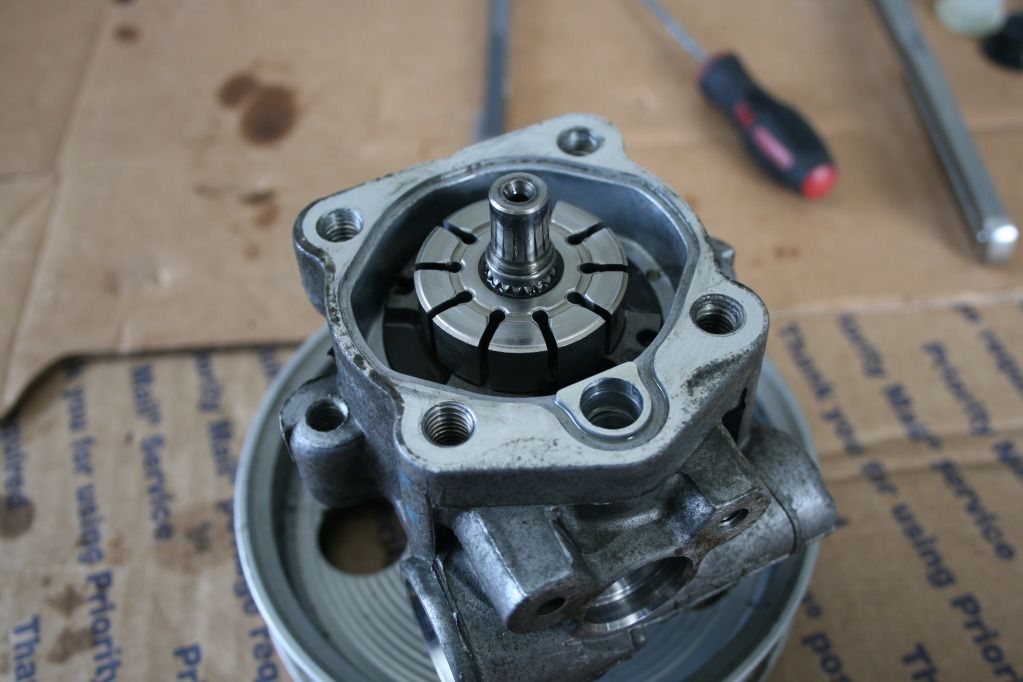
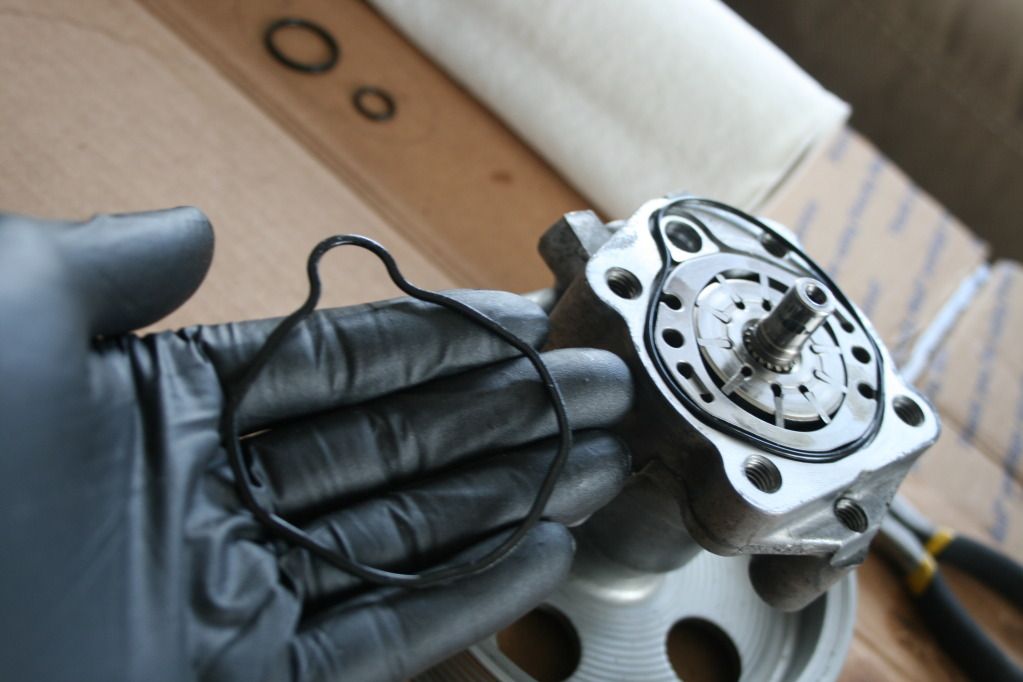
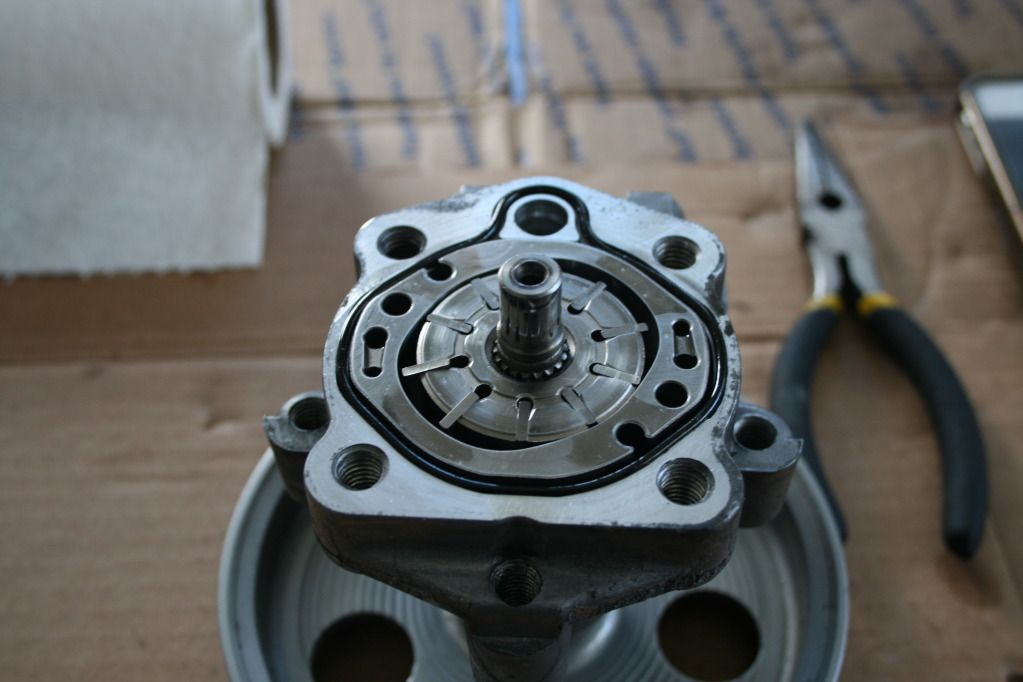
Pump cover removed:
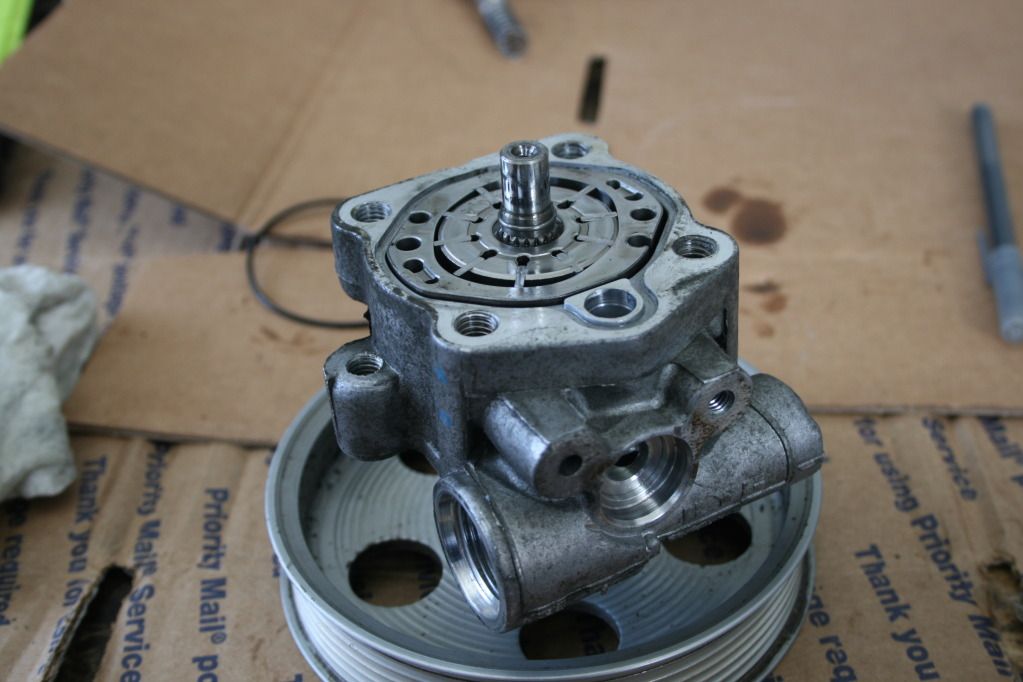
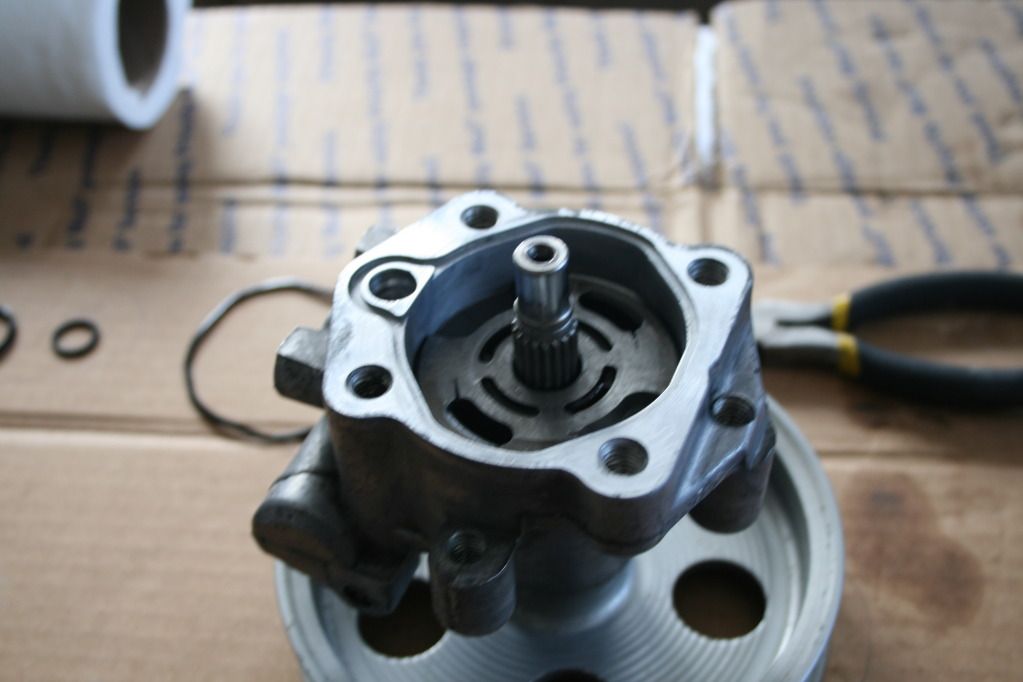
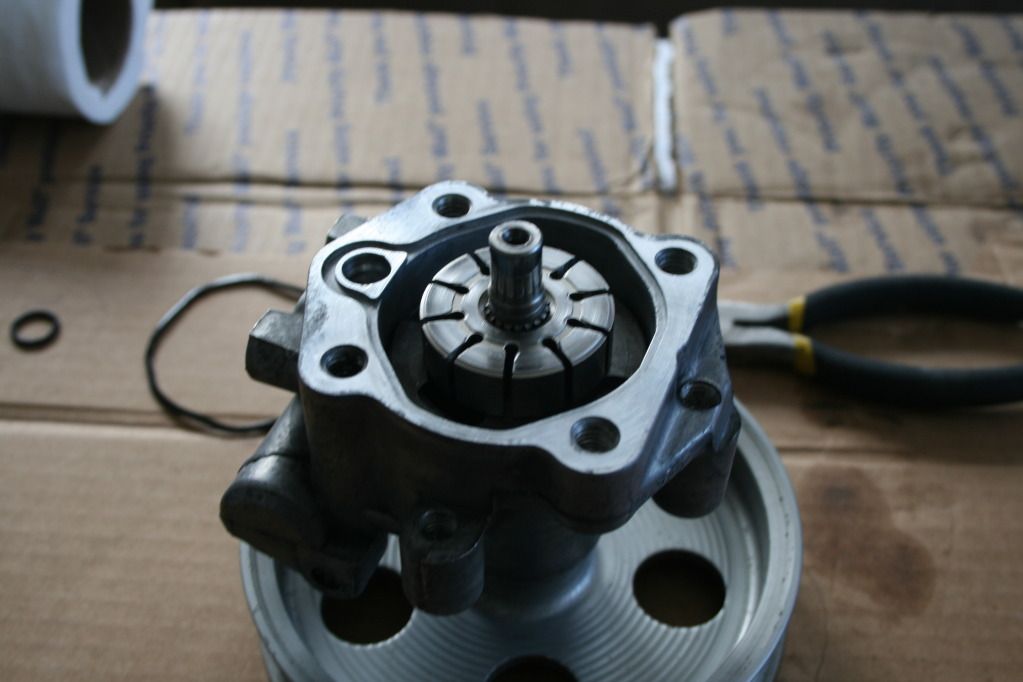
What you see now is the cam ring (outer oval shaped ring), the rotor (main center piece), and the vanes (the little fins that move in and out of the slots on the rotor).
So, I knew the belt spun the wheel, the wheel spun the rotor, but what I didnt know and learned from doing this is that the vanes are not fixed. This was pretty neat to figure out. As the rotor spins the centrifugal force pushes the vanes out to the maximum separation that the cam ring allows and thus pumps the fluid. Like I said, pretty neat.
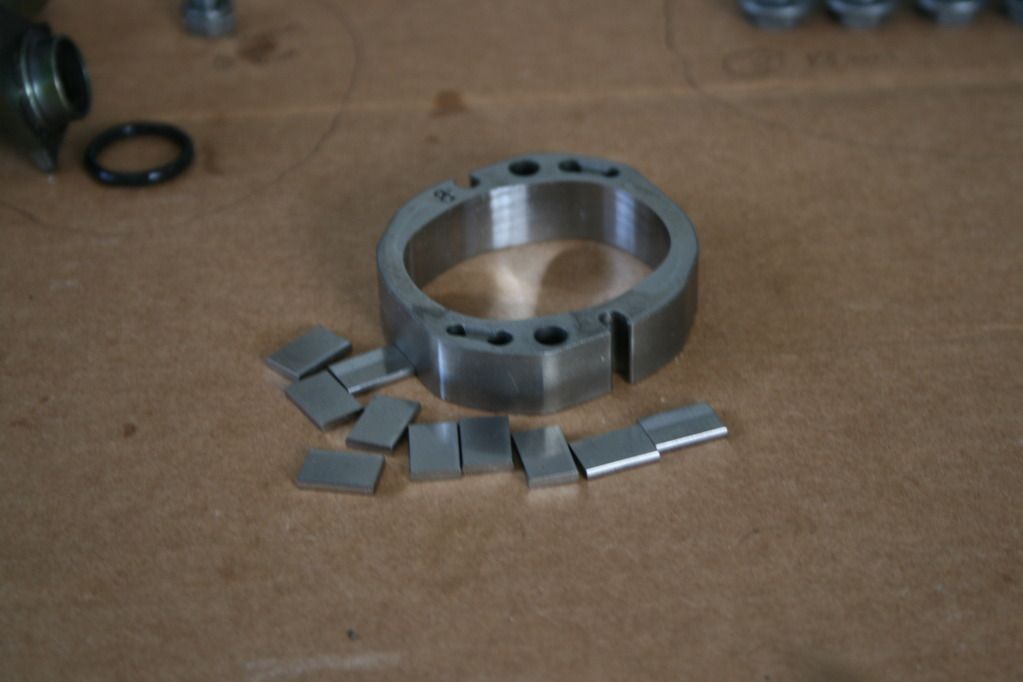
Anyways, remove the cam ring and vanes.
Now, theres a snap ring that holds the rotor in place. Unfortunately, my kit did not come with a new one. If you order from the same place I did, Id suggest asking for one. Obviously I had to reuse this one, so if you do too, dont mutilate it taking it off.
I couldnt find any easy way to do this. I used a pick and a screwdriver, I think, to pry it apart. You can figure out what works best for you. Once the ring is off, pull out the rotor and the side plate below it.
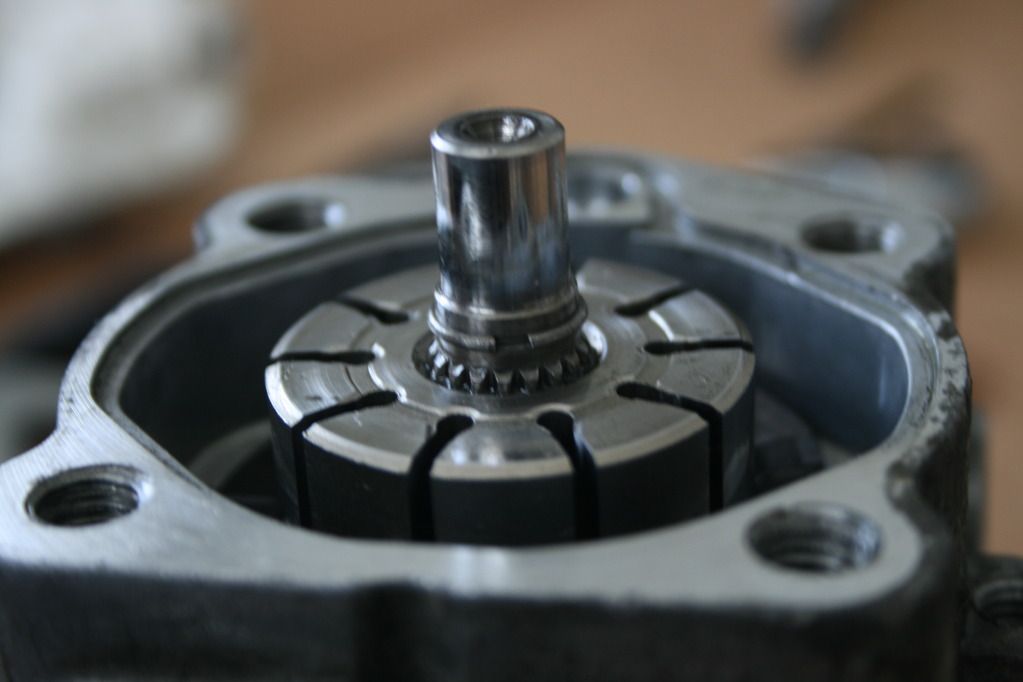
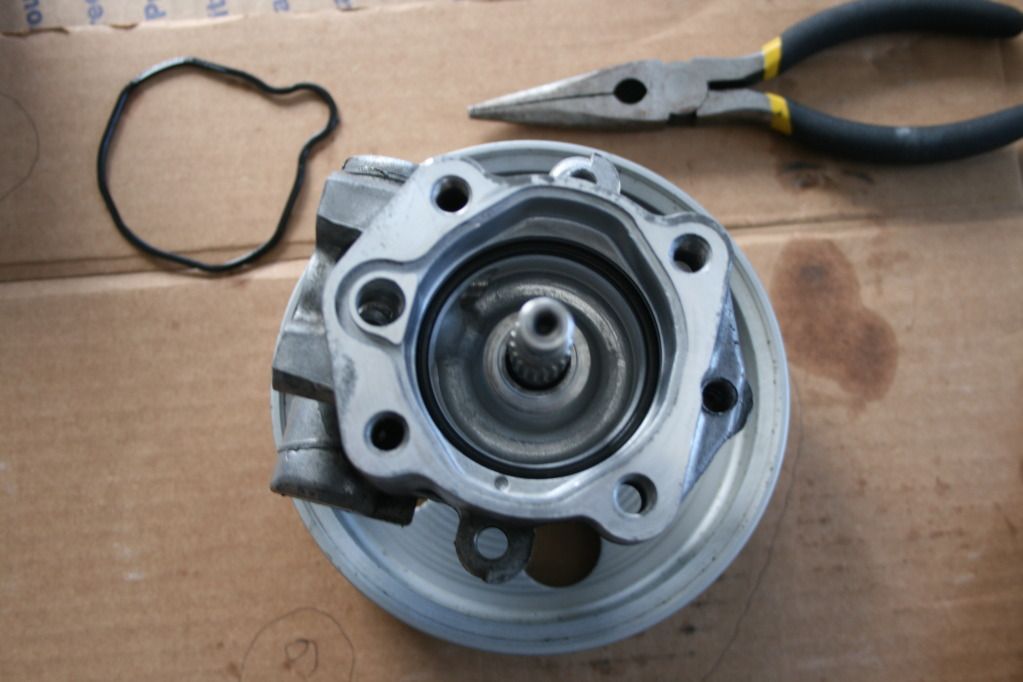
This is what youve got now:
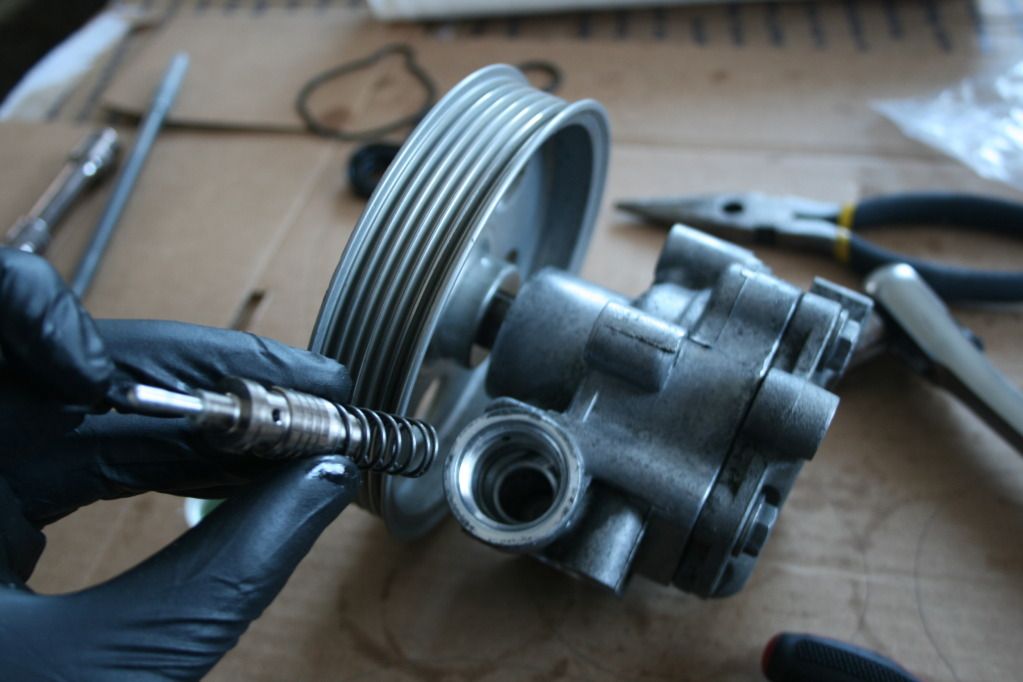
Since the ring and rotor are out, there is nothing stopping the wheel from being removed so remove it. Pull out the seal for the wheels shaft after the wheel. Youll probably need something (screwdriver) to pry it out.
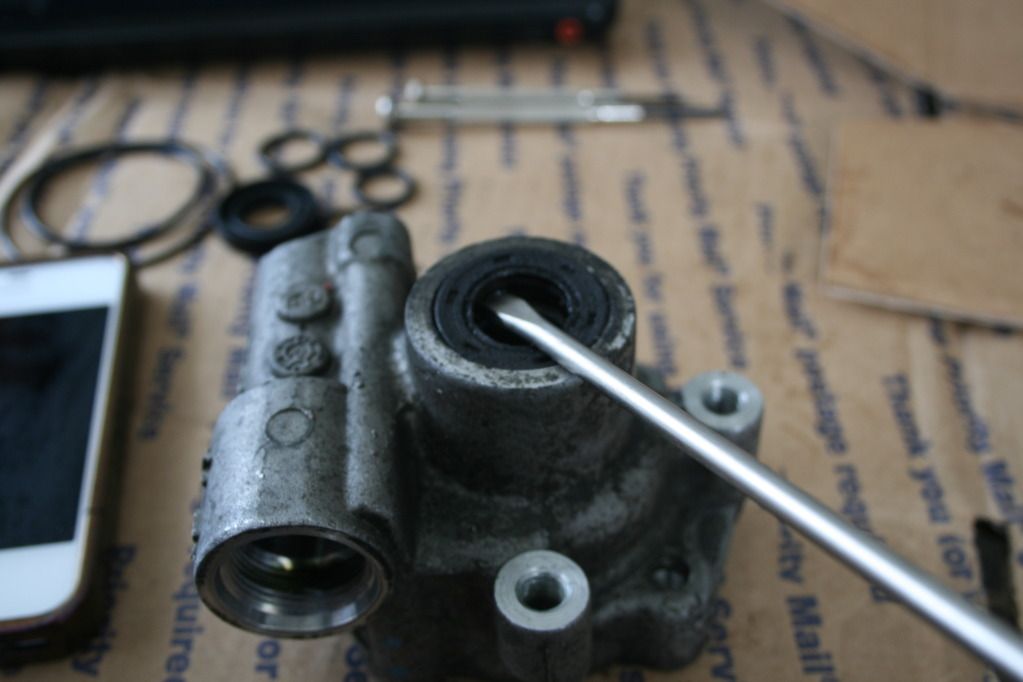
NOW youre finally done with the breakdown. This is what youve got:
At this point, I cleaned the pump housing and the wheel and let them dry out as I tried to match the rings up for reconstruction.
So youve completely disassembled the pump and cleaned it and now youre ready to put it back together. Great! Thats what I plan to show you.
As I put everything back together, I lightly lubed the rings and any contact points with PS fluid just a precaution.
The reassembly is pretty much the reverse of taking it apart the only tricky part is matching up the rings. First you put the shaft seal for the wheel. It just pops in but make sure you put the flatter side up.
Then put the wheel back on. Flip the pump over so its laying on the wheel. Then put the 2nd largest ring down in the chamber below the side plate followed by the side plate, rotor, vanes, and cam ring.
I dont have a good picture for it, but when you put the side plate in, it has to go a certain way. The alignment pin holes have to be in the top left and bottom right. The best way to ensure its correct is to put the pump cover in place and make sure it fully seats flush with the housing.

In the picture above, you can see the seal that was pulled out during the disassembly. This is the odd shaped one I referred to at the beginning. The replacement will be the largest ring that came in the kit. You have to mold the ring into the channel.
[IMG]
It seems undo-able at first, but if you hold down all sides, it will eventually fit. The ring seems to be a tiny bit too large which is why it tries to pop out but because of this, I believe that when you tighten the pump cover down, the ring will flatten out and fill in a little better.
Once you have the side plate, rotor, vanes, cam ring, and the seal in place, reinstall the snap ring. I know its kinda hypocritical since were reusing one instead of using a new one, but be sure not to skimp on the fitment. This snap ring has to keep the rotor in place during high velocity rotation. When you get the snap ring shaped properly, slide it down from the top and use a screw driver to force it down into the groove for it.

Next, put the pump cover on. If you installed everything correctly then itll fit no problem.
If it doesnt fit, you have to take it apart and figure out where you went wrong. Ask me how I know. Luckily I only had to redo it once cause if I got it right the first time, I might not have known that you could do it wrong and I wouldntve been able to warn you guys!
When you get the cover on, then all you have to do is replace the two rings on the flow control valve plug and the one ring on the suction connector. I snapped the one of the rings for the plug and had to go down to OReillys to match it up with a new one. The new one I got was barely a different size but provided better fitment. If you find youre having trouble with making all the o-rings work, take a trip to your parts store with the part, old o-ring, and new one and it will be an easy fix.
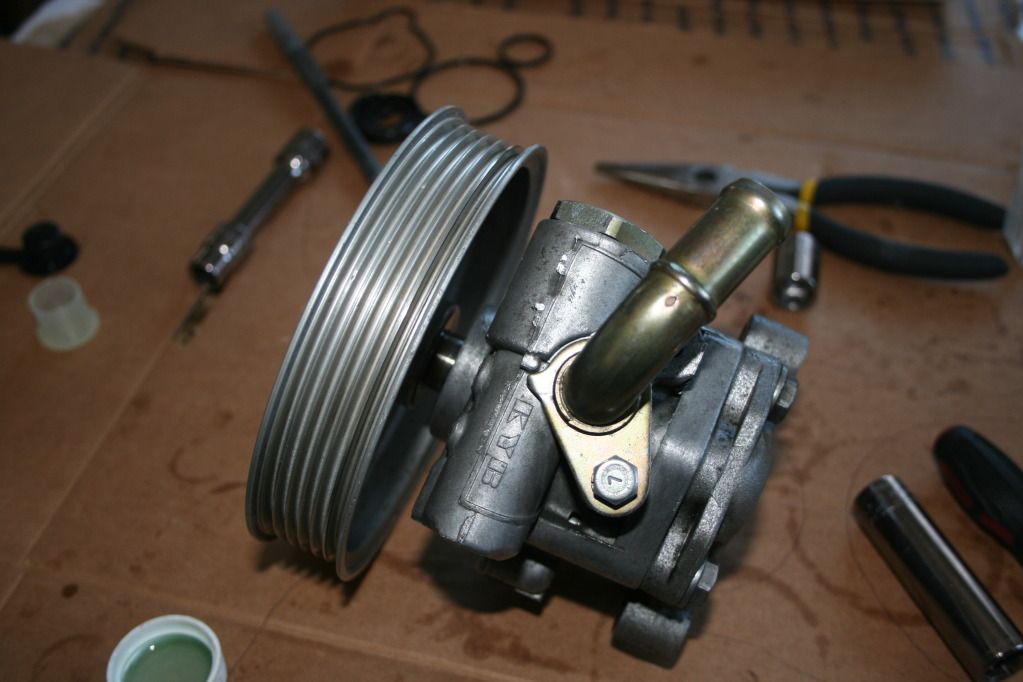
Once youve got all the rings in place, install the flow control valve assembly:
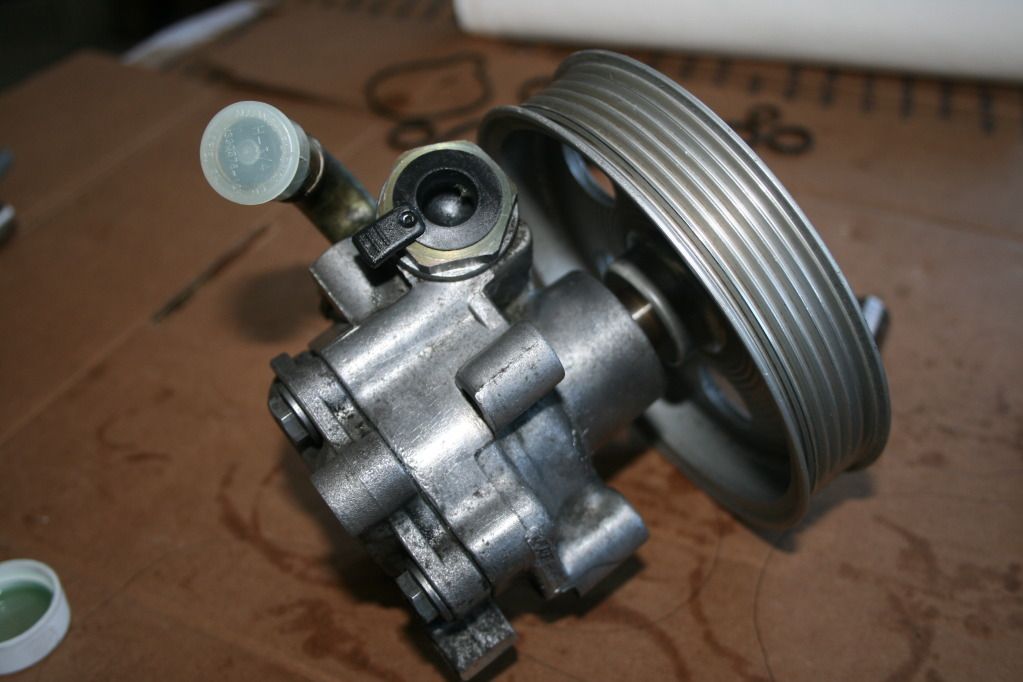
And then the suction connector:
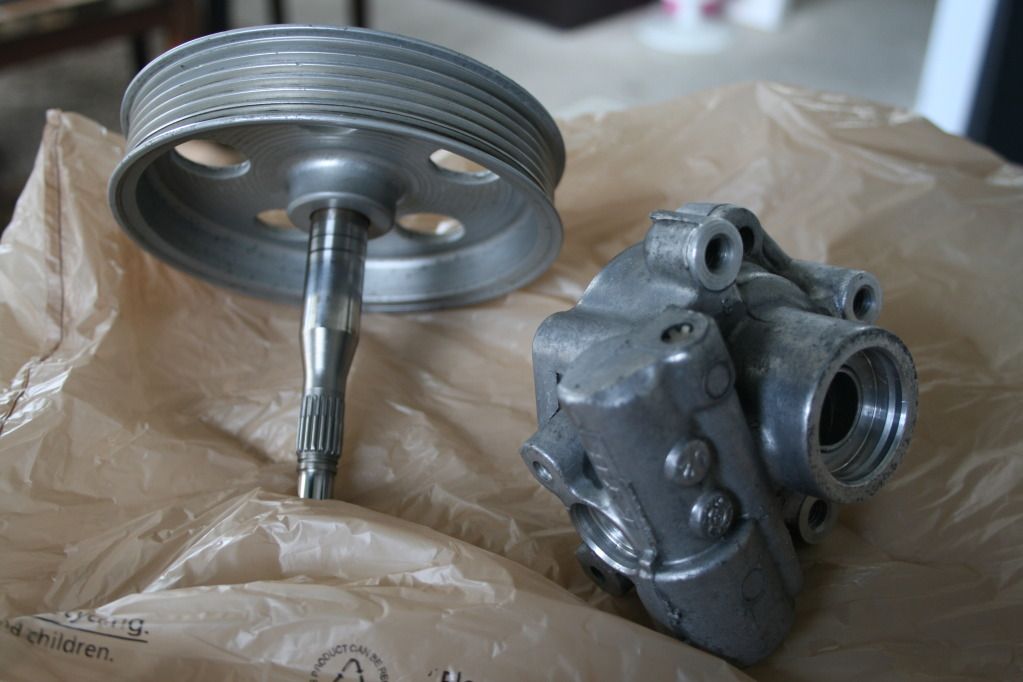
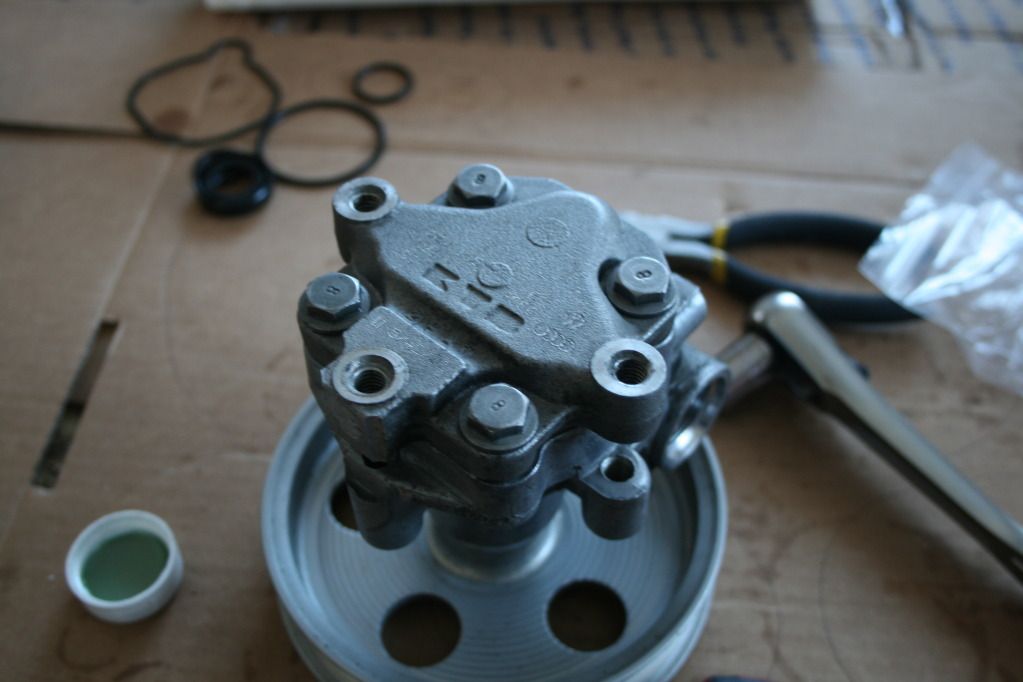
Last step and this is VERY important. Take a step back and look at your finished product:
And then reward yourself:
I hope this helped save you some bucks, I know it did for me. Do not be intimidated by the length of this DIY. Once you start taking the pump apart, it all makes sense. The hardest part is just making sure you put all the right seals back on.
Good luck with your rebuild!
Due to the length of this DIY its very possible for me to have forgotten a step or done something out of order. Additionally, you may figure out an easier/better way to do something. If any of this occurs, feel free to PM me and let me know and Ill adjust the write-up accordingly ASAP.
Thank you!

 Reply With Quote


 His: 2012 Moonlight Blue Metallic S5 Prestige
 Hers: 2014 Lava Gray Metallic Q5 2.0T
 Son's: 2005.5 Imola Yellow B7 S4 4.2 Sedan


Bookmarks