I just completed the Euro hitch install on my B7 A4 so I figure I'd post it here since the thread is fairly recent. Sorry I didn't take any pics for removing trim and bumper, but there's plenty of helpful threads on this site for all that. Search is your friend.

I will be going on a trip from Minneapolis to Tail of the Dragon late summer and I don't want to drive my Ducati 848 all the way there. I'm pretty sure the Curt hitches available here in the US would work, but I wanted to be extra safe and have the option to not see the hitch when not in use. So I ordered the Westfalia towbar that mounts on the bumper location and has a hidden vertical hitch.
According to Eurohitches.com, it's rated for 4,400 lbs and 200 lb tongue weight. Not that I'll ever tow anything close to that. I ordered it from pfjones.co.uk who sells it on their UK eBay site. About $275 savings for Towbar/Hitch & Wiring from Eurohitches even with the high cost of shipping from the UK. Eurohitches also doesn't actually stock the item, they only order it when someone orders from them and they quote a lead time of 4-5 weeks. I ordered it from pfjones on a Wednesday and it came on Monday via UPS. Someone will have to be around to receive it because there were customs duties/taxes of an additional $20 or so.
Here's the pfjones eBay store
http://stores.ebay.co.uk/PF-Jones-Ma...id=p4340.l2563 And do a search for what you need. You'll have to contact them before "Buying" the item so you know exactly what the shipping cost will be.
Assuming you have all the tools to remove trim, bumper cover, etc. you will need to buy the following items:
- Two 50V diodes
- Metal or aluminum spaces with at least 12mm inner diameter and between 20mm-25mm outer diameter
You will need enough to have two 1" stacks and two 1-1/2" stacks
I just cut the ends from my bumper shock when I got to this part, but now you have another option
- 12mm drill bit
- Angle grinder with metal cutting wheels
- Dremel or something to trim the bottom of the bumper cover
Before you freak out about cutting your bumper cover, the cuts are not visible
Wiring
The instructions that came with the wiring kit was pretty good and tells you which connections to make based on location and color of wires. Also give you a good idea of where the wires get routed. The vehicle specific wiring adds a connector in the right place at the fusebox, but the rest of the connections simply crimps on to turn signal wires under the steering wheel and another to the 3rd brake light. The connection in the fuse box allows it to draw power from there instead of "robbing" power from the rear turn signals. I had to muck around with diodes from RadioShack to make it compatible with a 4-pin blade of the trailer since I couldn't source a connector for the Euro 7-pin/pole 12N socket that comes with it. I think I over-compensated and bought 50V diodes, but it works. Without the diodes, I'm either not getting the brakes to work when the lights are on or flashing both lights on the trailer when I signal left or right.
The Wiring Kit:
1 Left Indicator
2 Fog/Auxiliary
3 Ground
4 Right Indicator
5 Right Taillight
6 Brake
7 Left Taillight
The Trailer:
A Ground
B Left Turn
C Right Turn
D Taillight
My Connections:
1 -> B
2 -> Not Used
3 -> A
4 -> C
5 -> D
6 -> diode -> B
6 -> diode -> C
7 -> D
If you don't want to mess too much with the wiring, here's a kit I found for an additional $75 that might work without having to install your own diodes
http://www.etrailer.com/Wiring/Tow-Ready/119190KIT.html. I haven't personally tried it though so use at your own risk.
Not sure the wiring kit was worth the price versus buying something local, but as sensitive as the Audi electronics are, there have been no codes thrown with this wiring kit so far.
Towbar
The towbar was pretty hefty and attached directly to where your current bumper is installed.
Pull the bumper cover off. Measure how high your bumper is from a fixed point so it's at the correct height when fitted over the towbar. This is important because there are plastic reinforcements behind the bumper cover which will not align correctly if the ehight is wrong. Next, remove the bumper from the car, then the bumper from the bumper shock. Take the
Seems like Euro bumpers are open towards the car like this ], while the US bumper is a rectangle. The instructions that came with the towbar indicated that you had to cut a notch at the bottom of the bumper for the hitch, but I ended up having to cut a 2" channel on the side of the bumper facing the car then cut the notch for the hitch. I cut the top part of the channel so it started about 1/2" from the top of the bumper. After fitting the bumper over the towbar, figure out where you need to drill new holes so it attaches to the towbar. You might also need to enlarge the holes on the towbar to fit the original bolt. Then determine how much spacers you need above and below the towbar to get it back to the right height. Use the original bolt that attached the bumper to the shock.
When all that was installed, I put the bumper cover back on then cut the notches on the plastic. It was easier doing this and it minimized the amount of stuff I trimmed off.
That's it. Happy towing!
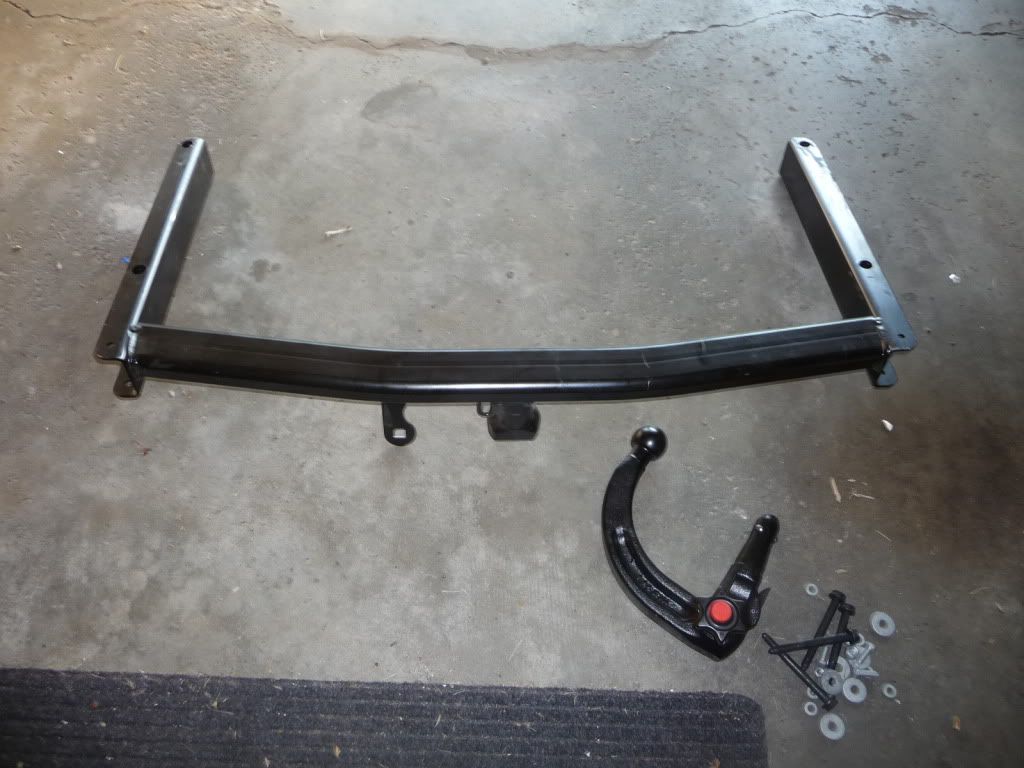
Towbar & hitch kit:
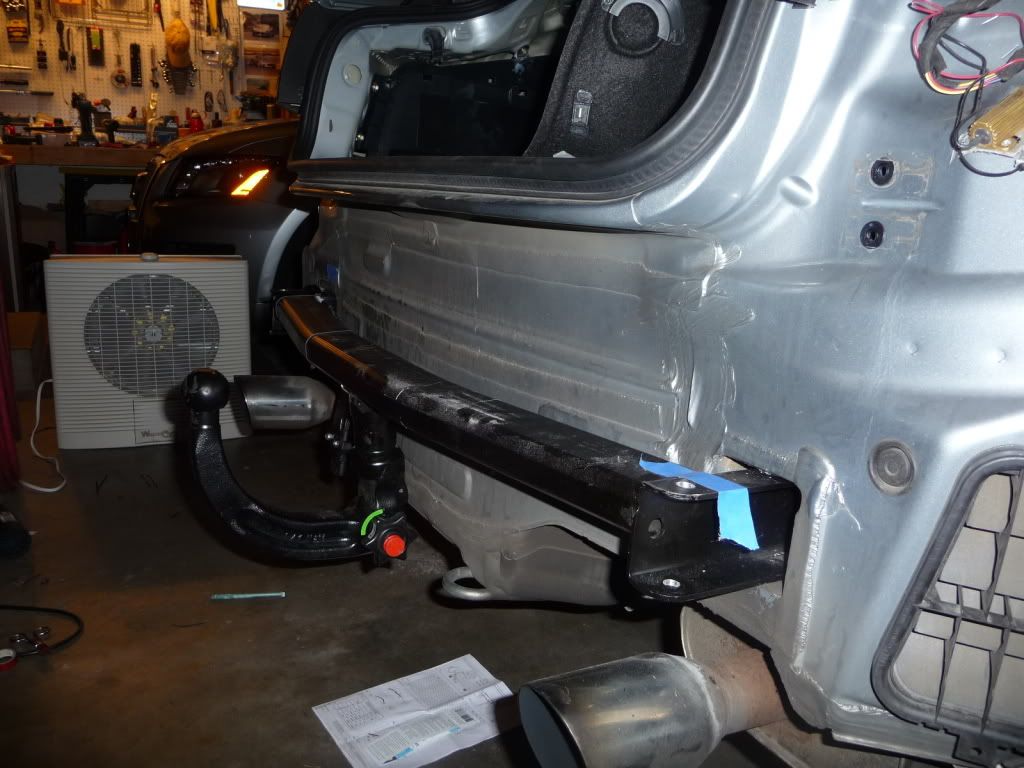
Towbar on the car:
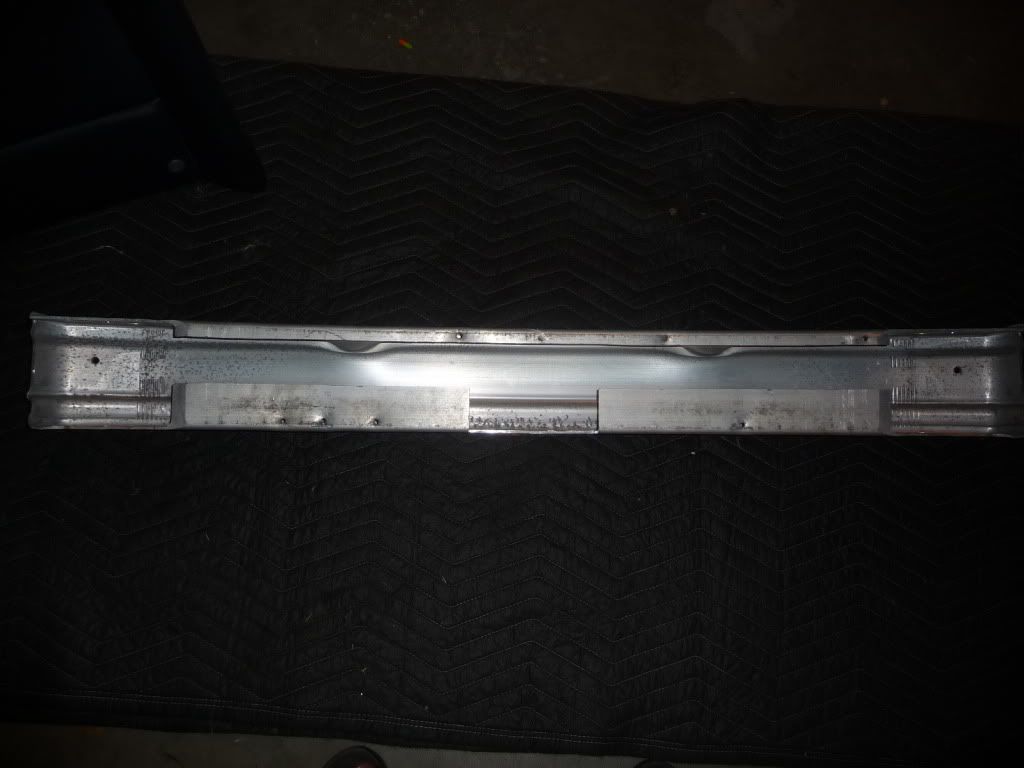
Channels and notch I cut into the bumper:
Now you see the hitch:
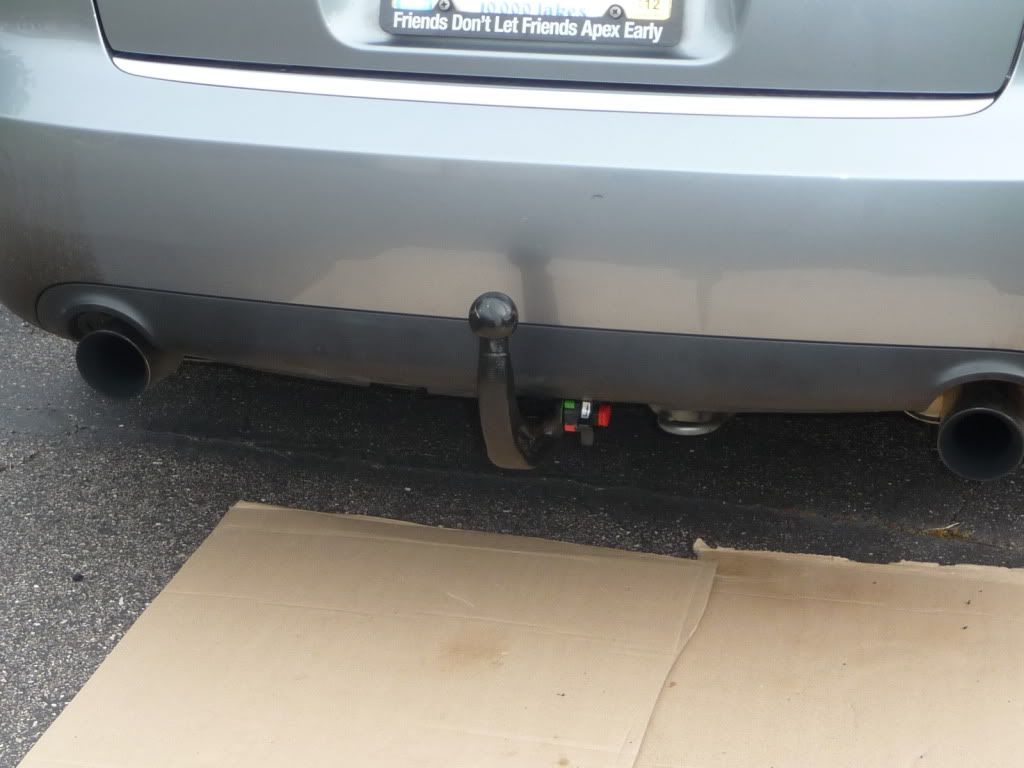
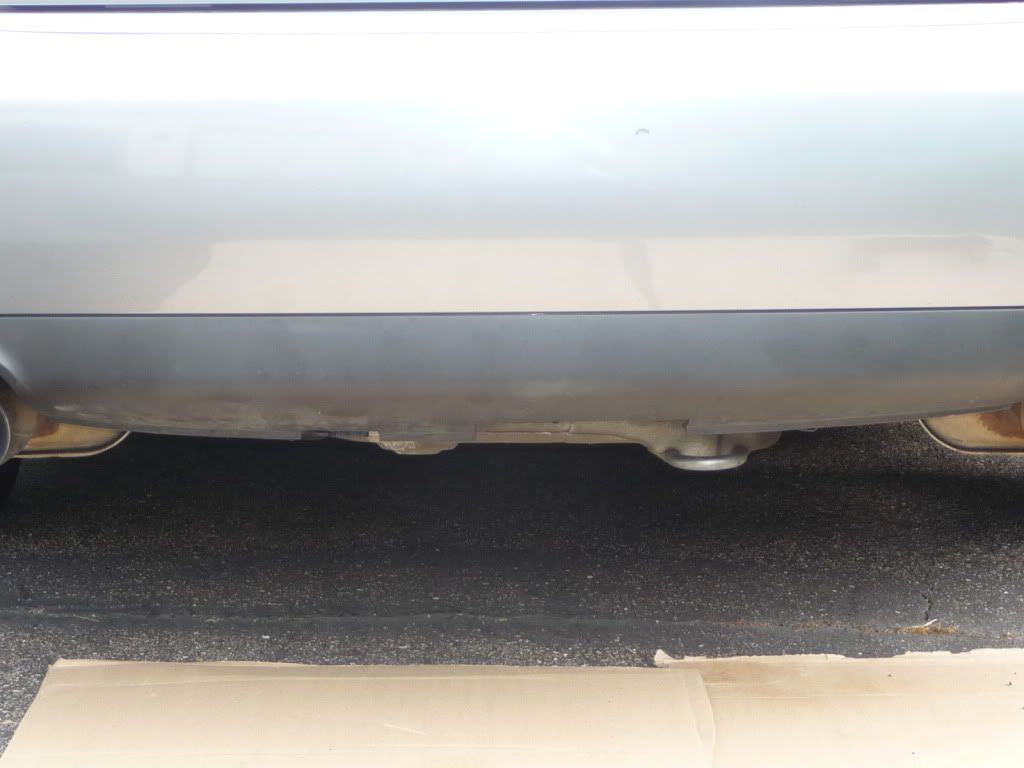
Now you don't:


 Reply With Quote


Bookmarks