


I'm hoping to receive constructive comments to help obtain a better outcome with this project. We have no professional experience in this area, we're just common tinkerers using good judgement and striving for perfection. I'm posting another thread for bumper repair as well. Once complete (and if the repair is a success) I plan to make a DIY for this repair as I have seen none for it on the forums and I believe it to be a common problem that most people take to a shop to deal with. I will accredit all who make a relevant contribution.
Thanks for your input!
Disclaimer: I do not recommend anyone follow the steps I am about to lay out. As mentioned before, my buddy and I have no professional experience and all the work we are doing is irreversible. At least wait for our finished product.
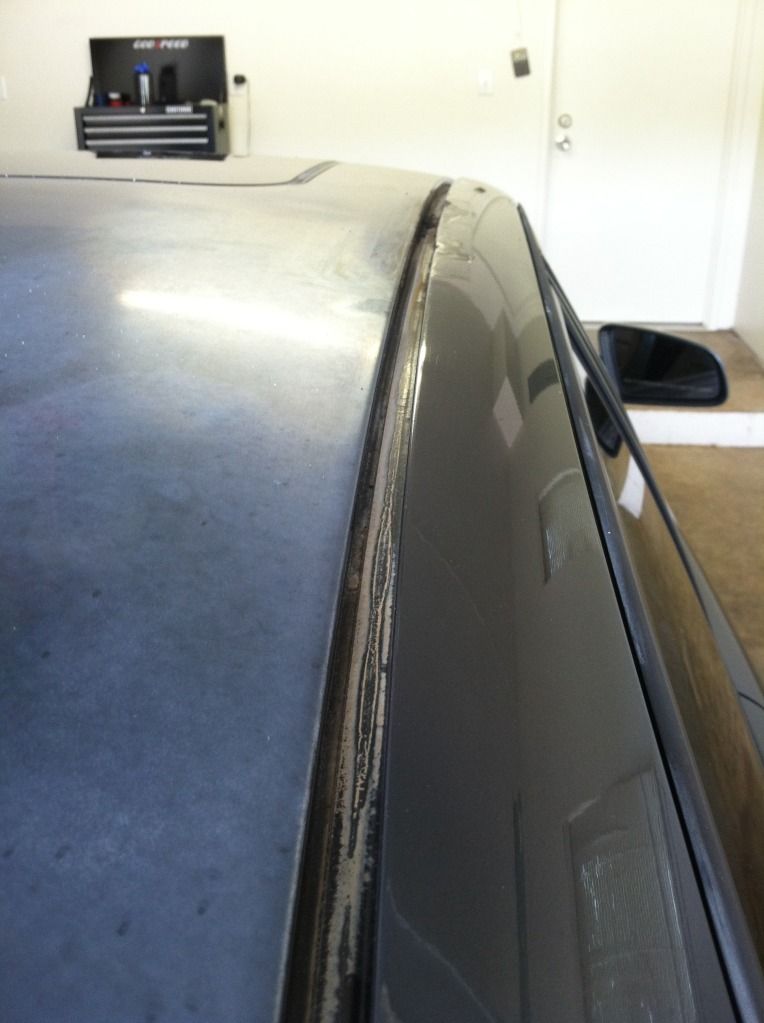
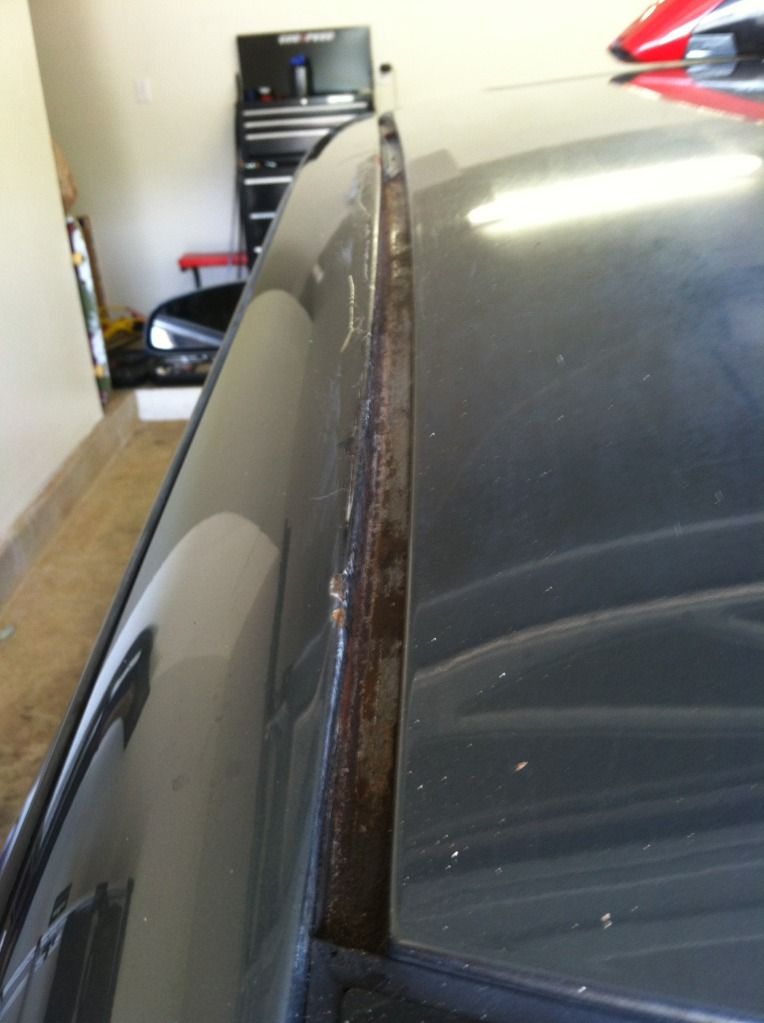
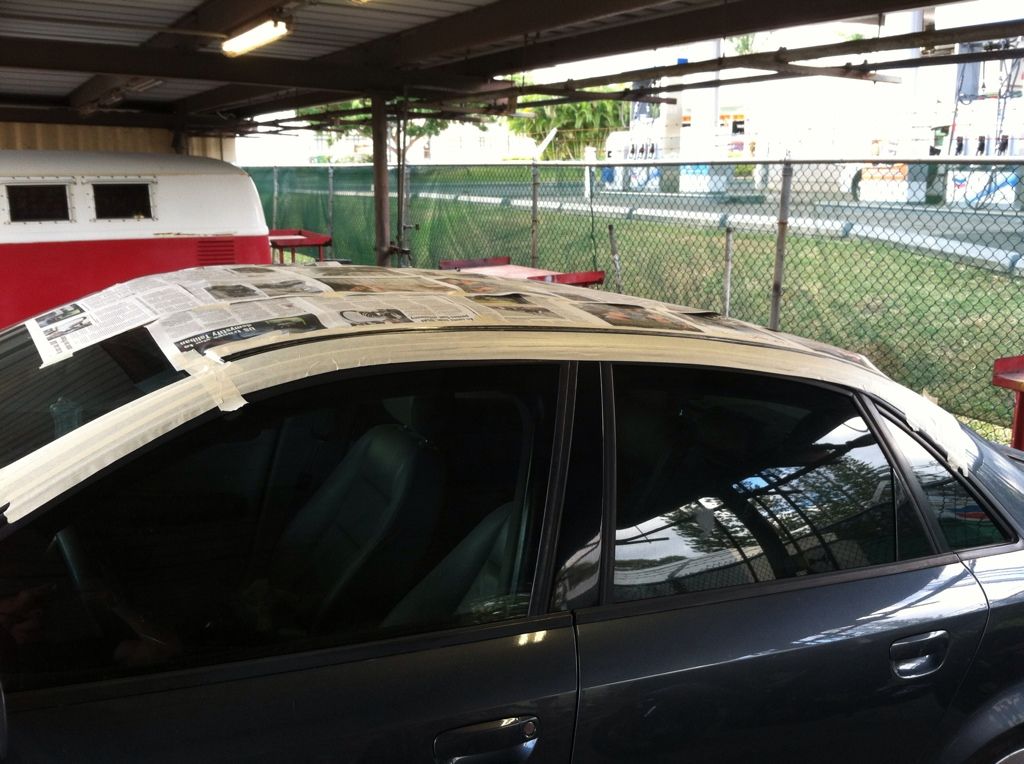
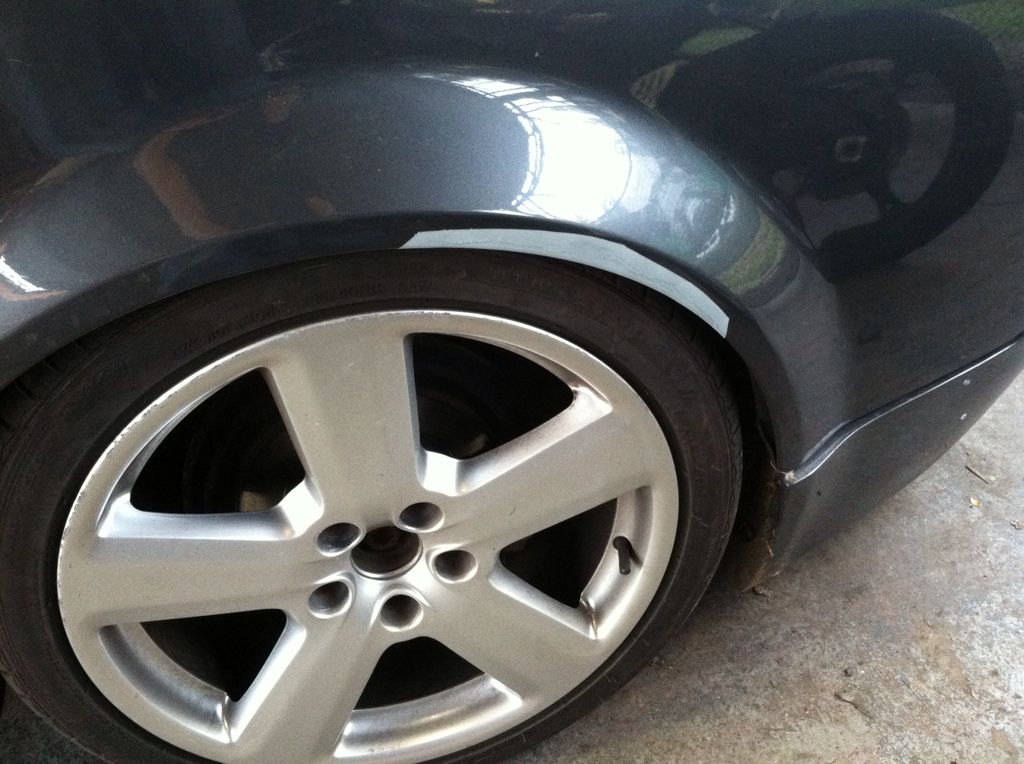
So, when I first bought my car, the paint just had MANY flaws, some big, some small. The roof, for instance, seems to have lost it's clear coat and is fading. We've tried some polishing/protective compounds and no real luck (worked on my trunk). The roof rails and water channel-ways had minor to intermediate visible rust bubbling up from under the paint. Our goal in doing this project is to remove the rust from the whole roof (basically just rail edged and water ways) and then fill repaired areas to keep it water tight, then remove the paint on the roof to the metal and repaint it black. Some of this procedure is made up as we see what works.
Materials used so far:
-100 grit sand paper (and block)
-120 grit on an electric sander
-Straight pick
-Flathead screwdriver
-Steel wire brush
-Vacuum
-Dremel with grinding attachments
-Naval jelly (or equivalent)
-Rust inhibitor spray
-Painter's tape
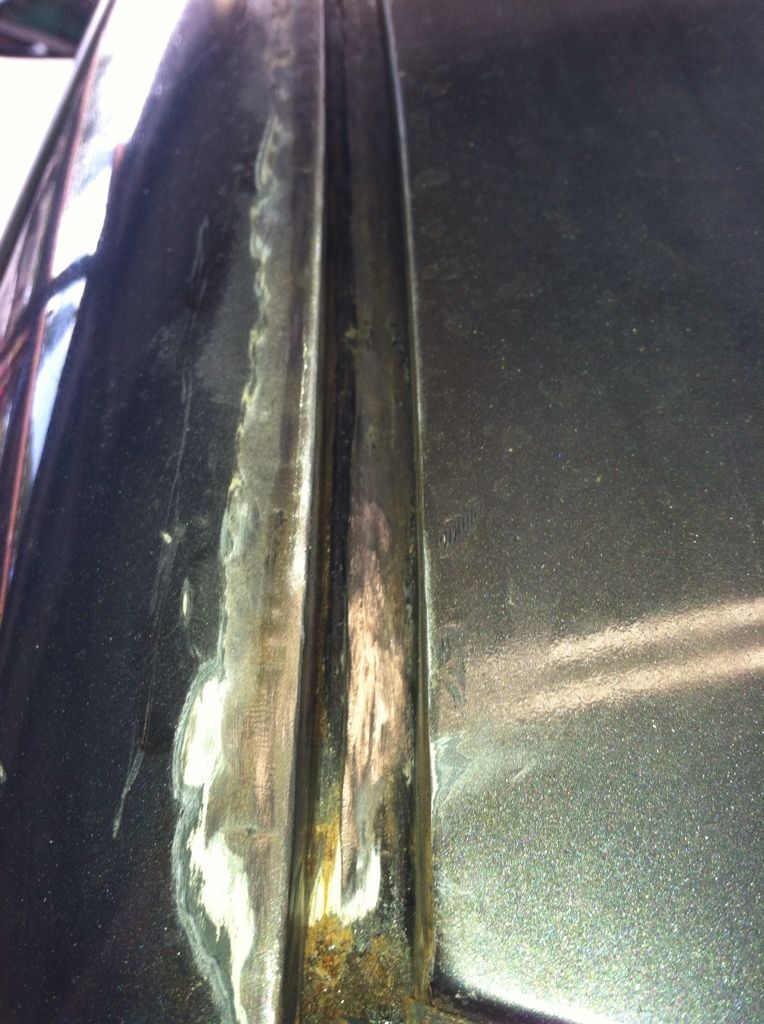
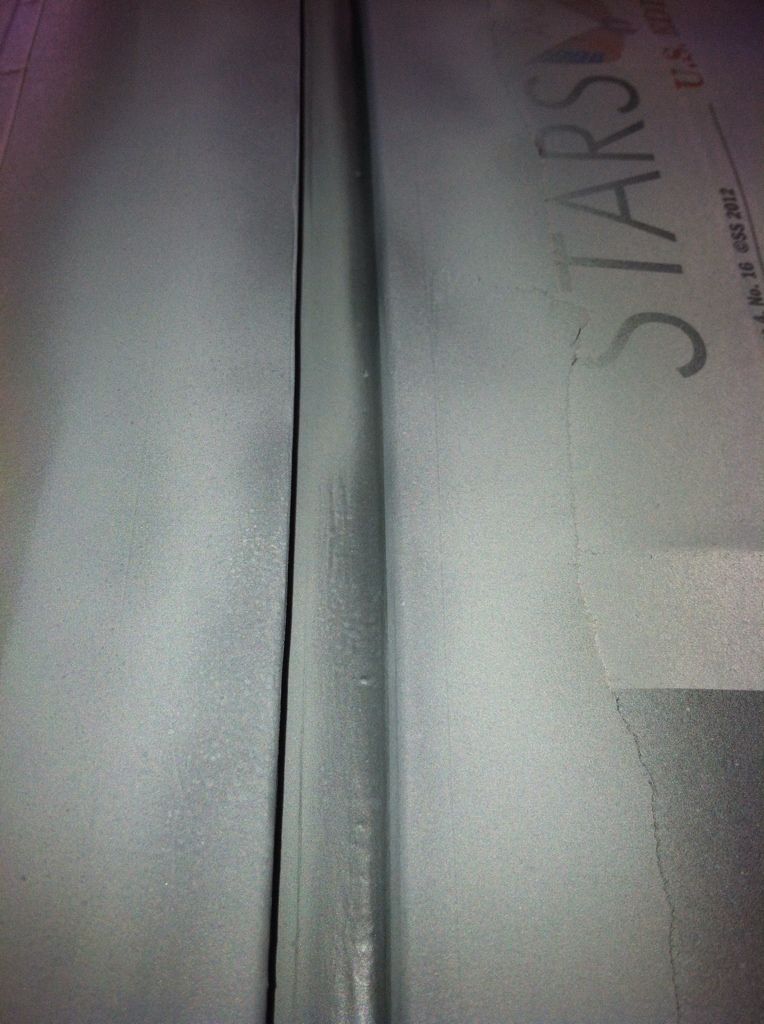
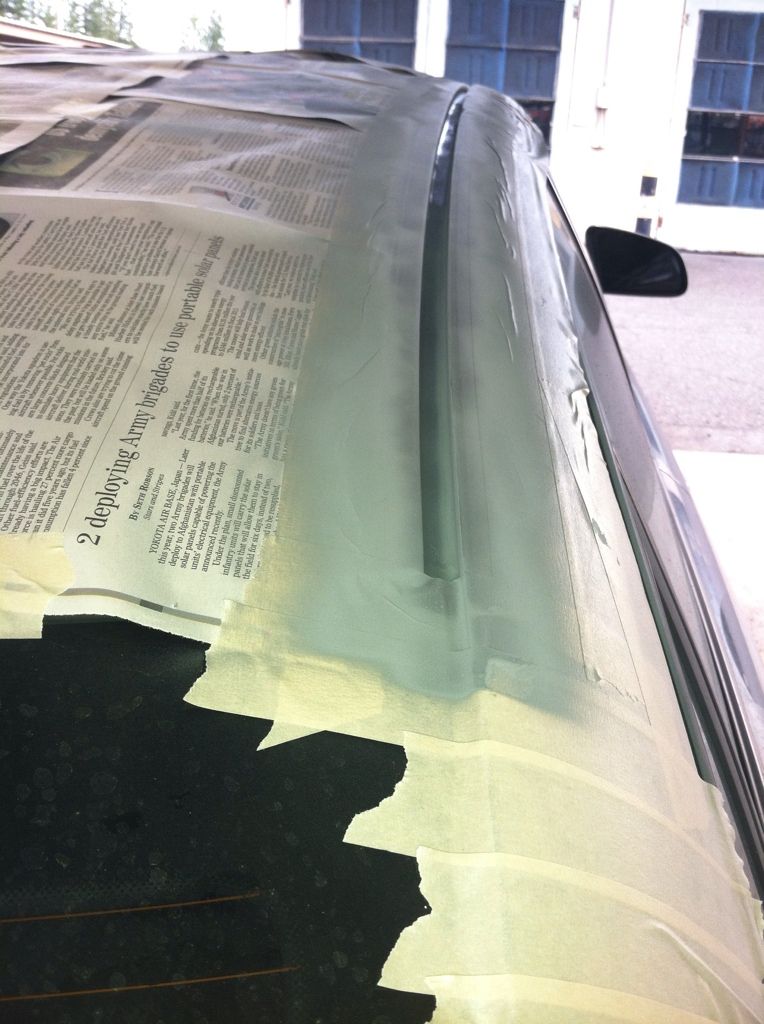
Initially I tried to tackle this project on my own in my shitty assigned parking space in the sun at my apartment. At the time, I thought the only existing rust was what I could see from the surface. So I started on the worst spot. I taped it off, sanded it down and picked out all the rust, then applied the jelly (two coats), flushed it out, wire brushed it, cleaned the surface, and sprayed the inhibitor. The inhibitor is very easy to sand off, but is perfect for saving all the work you've just done until you have an opportunity to start up again. Very helpful, especially here in Hawaii.
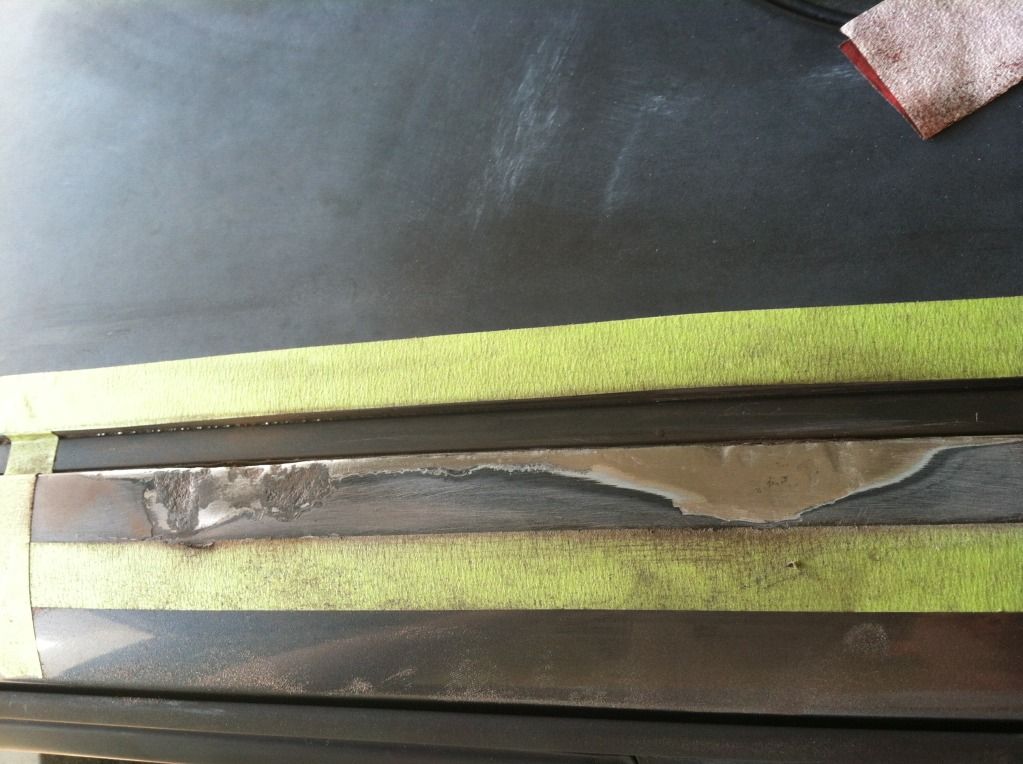
When you spray the inhibitor, it prevents the rust from spreading by suffocating it. It sprays on clear and turns the bare metal and rust black. Like I said, easy to sand off.
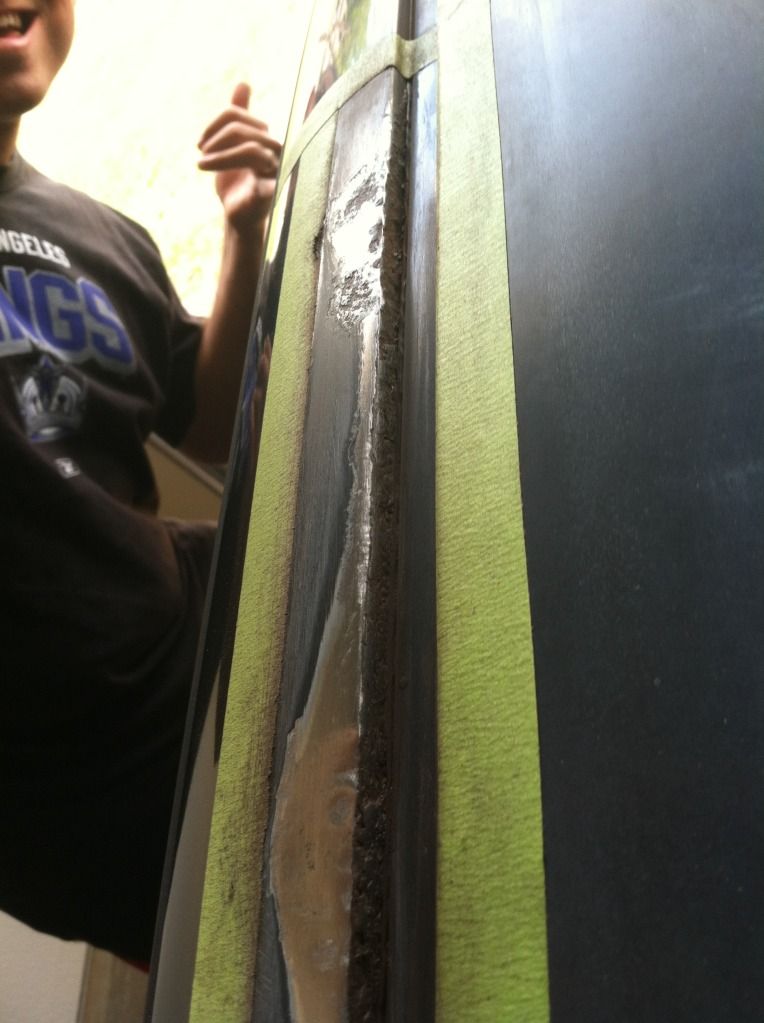
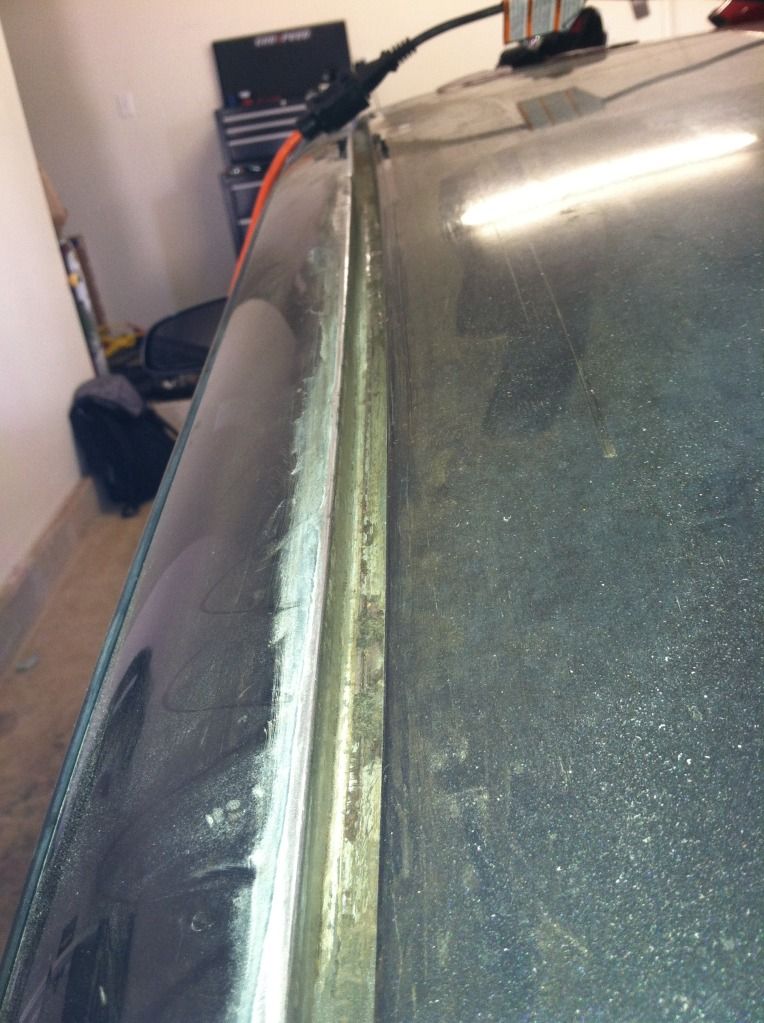
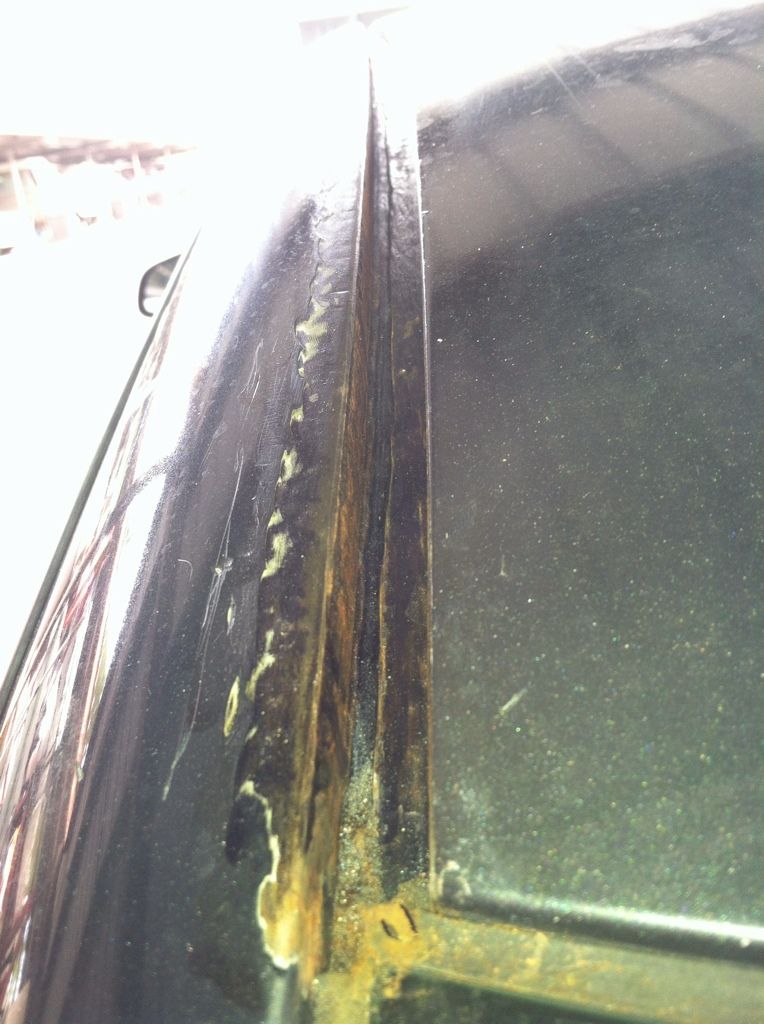
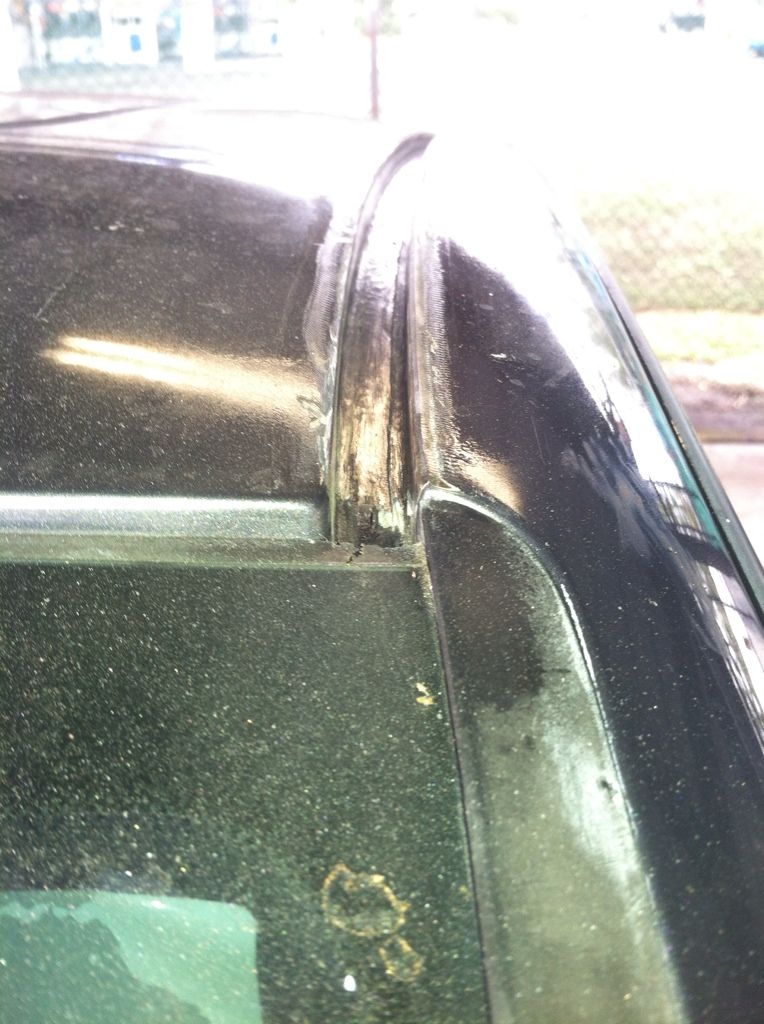
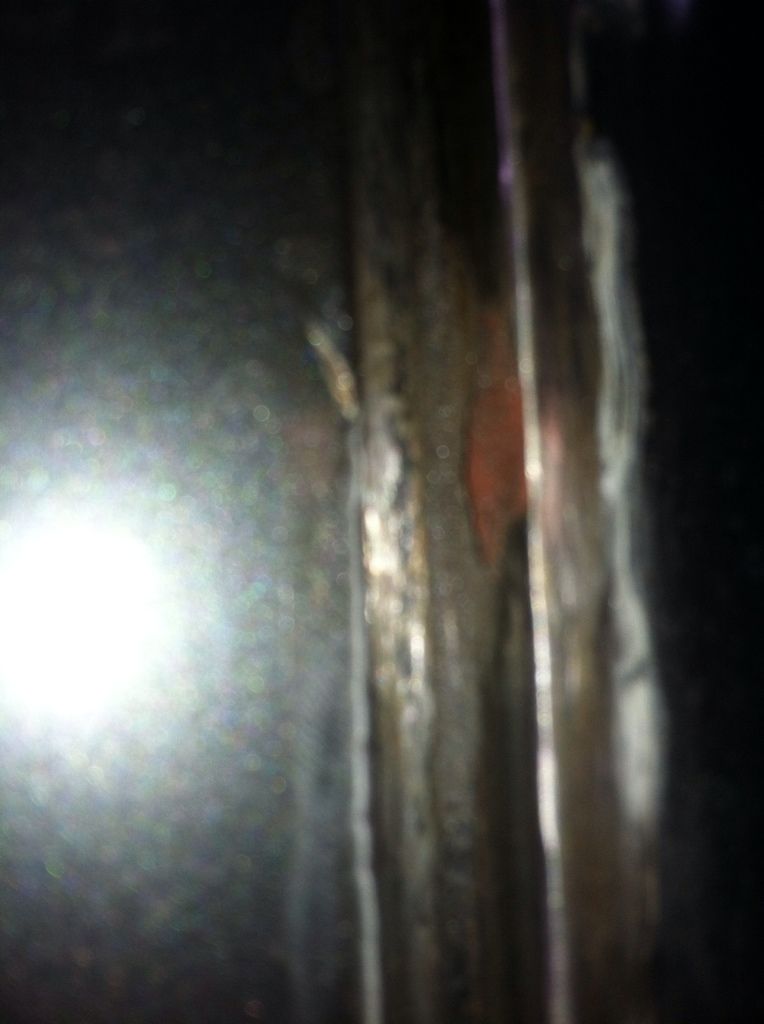
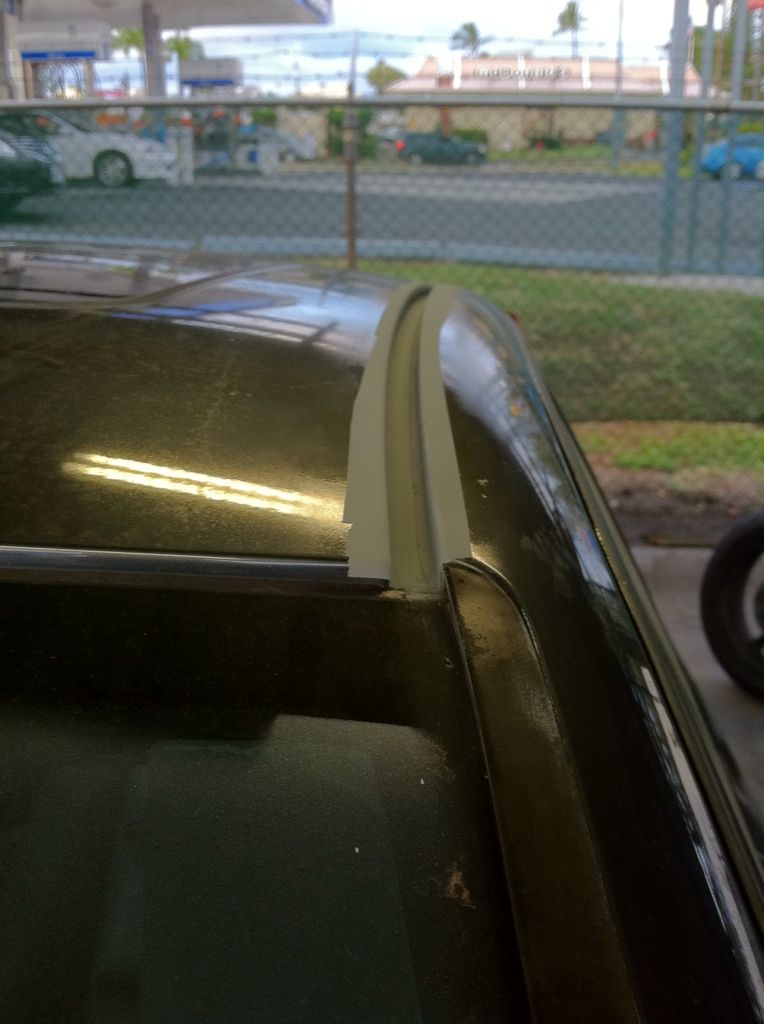
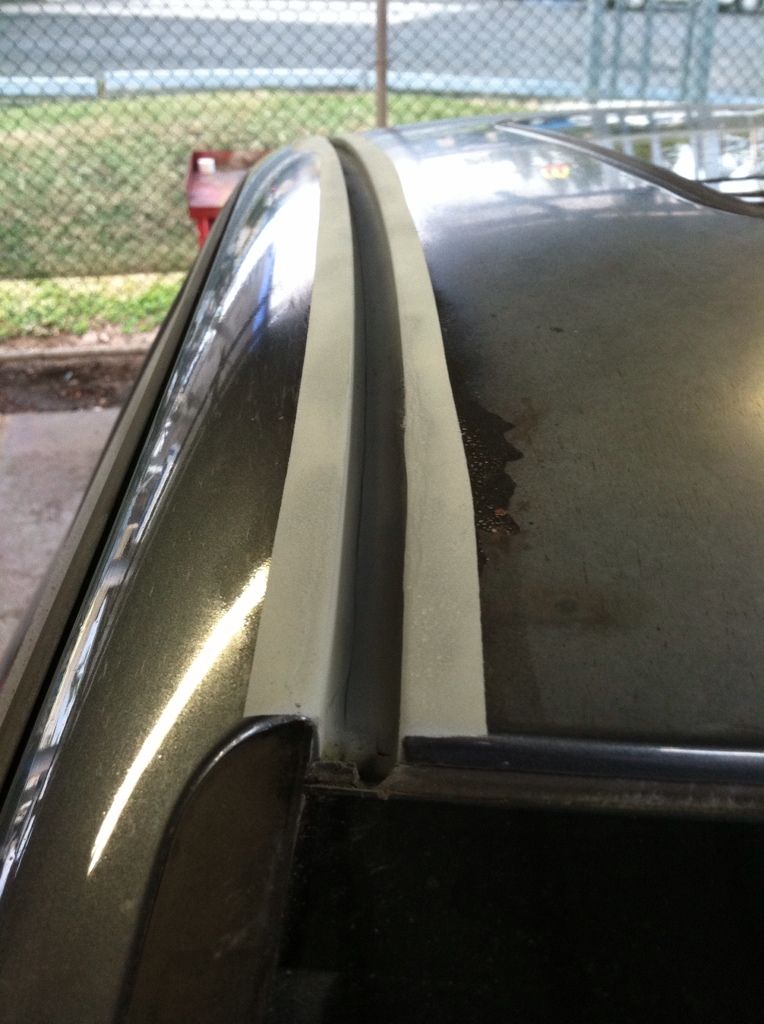
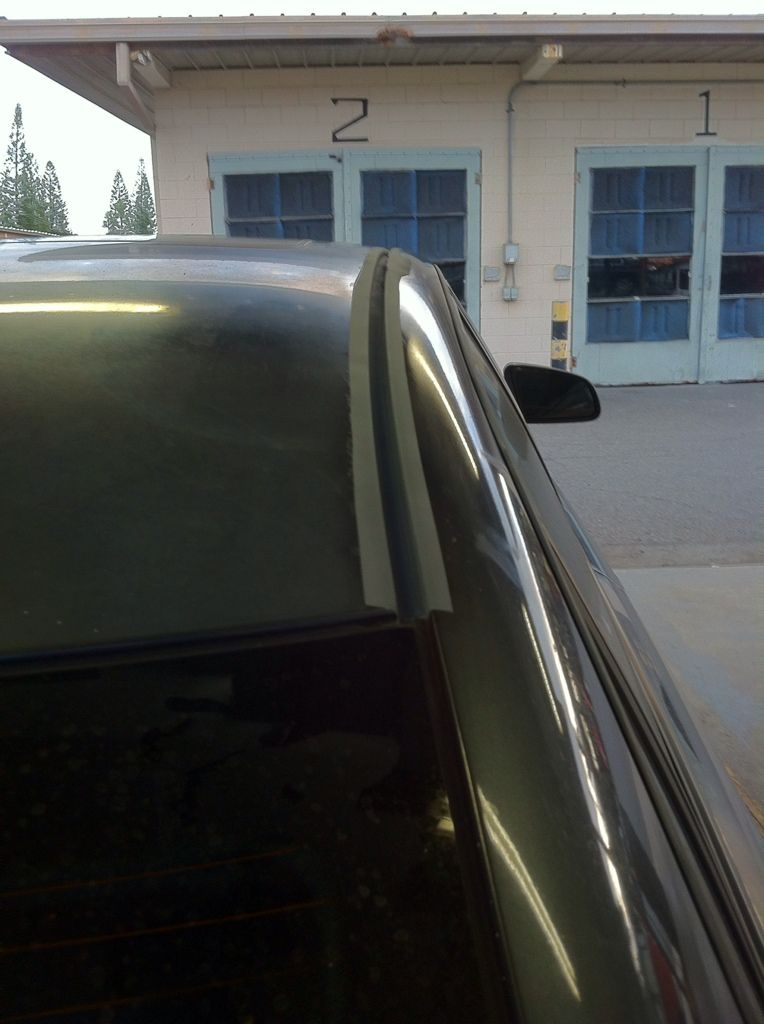
Lucky for me, I went to my buddy's house (with a garage) to remove my front bumper (next thread). He decided he would help me clean out the rust and started on the other side. He discovered the side walls of the rail (short but necessary) were weakened by the rust and in some areas rusted all the way through. He also pulled up the end of the channel guard and discovered that the rust (mostly surface further down) appeared to go below the channel guard. We started on the visible rust and then called it a day.
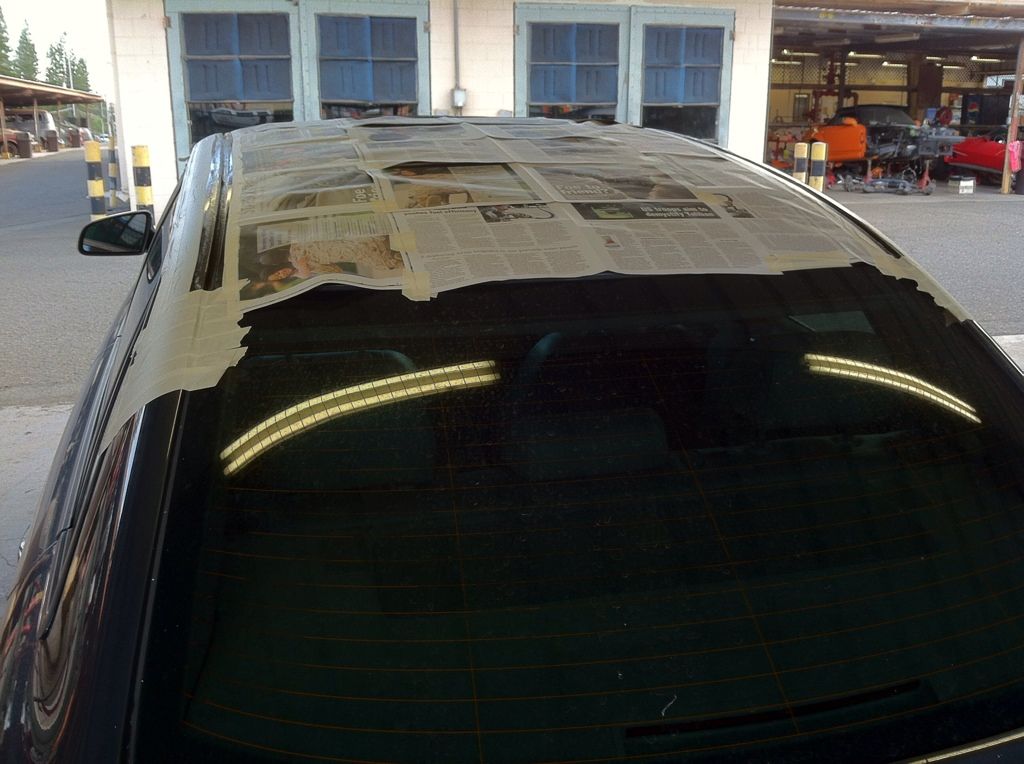
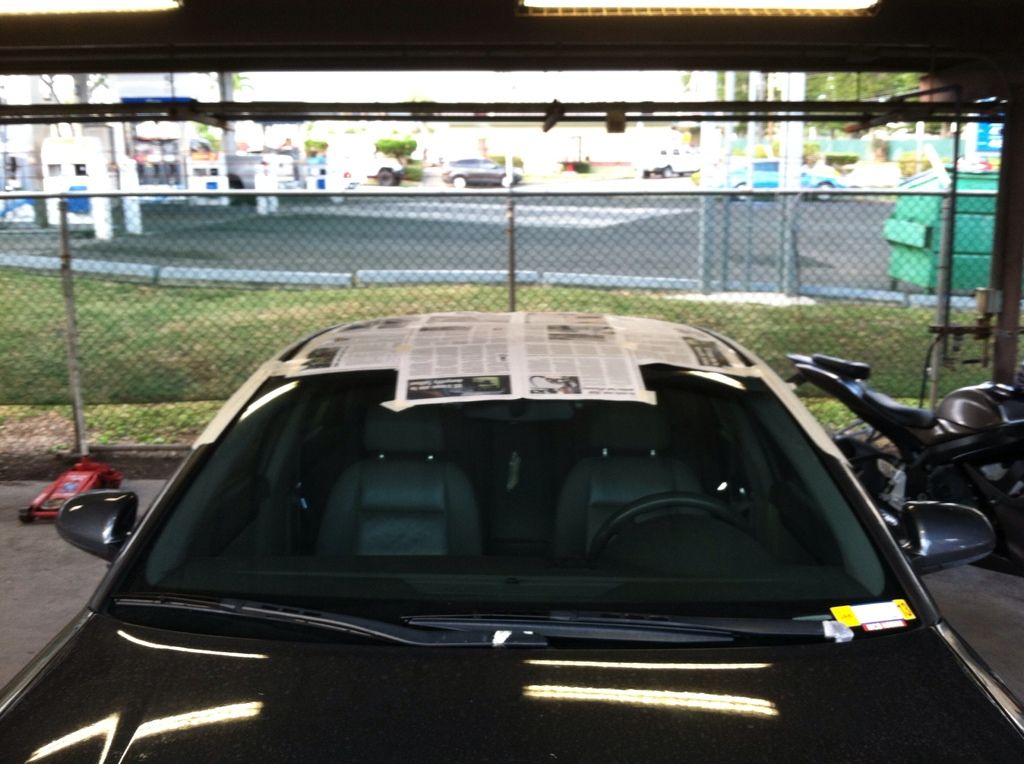
These last two pictures may be out of timeline as I only decided to do this thread on the third day (yesterday).
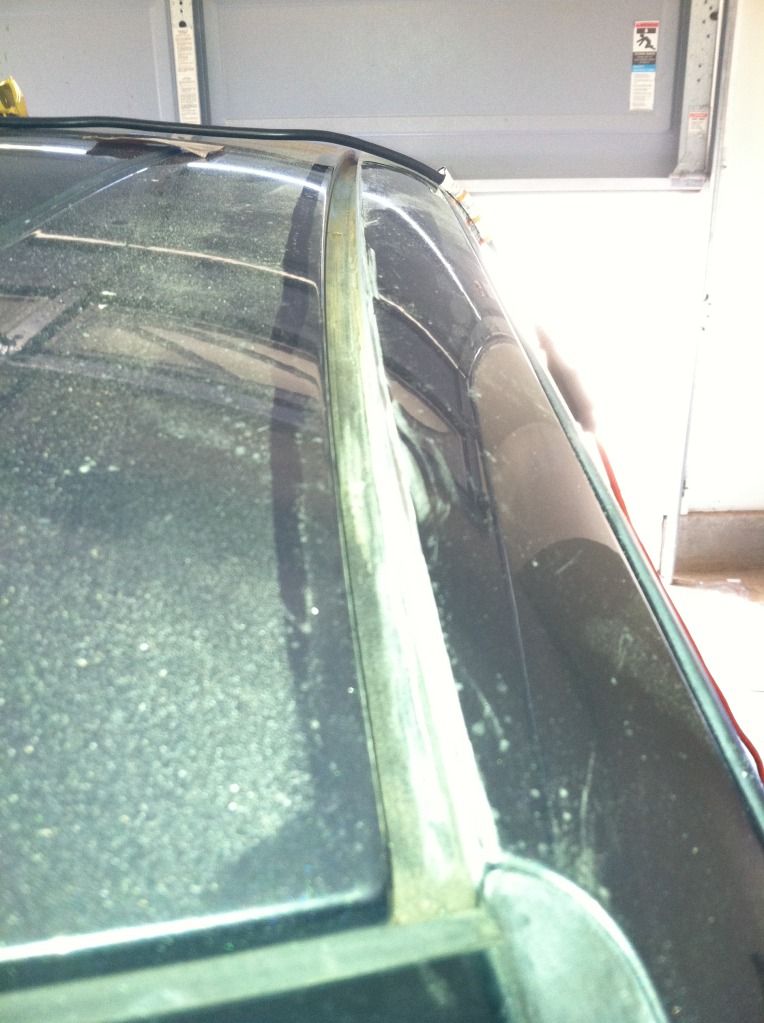
Yesterday I went to AoH and talked to a tech there about some of the work I was doing. He assured me (98%) that pulling up the channel guards would not promote water leakage into areas that shouldn't have water and that the purpose of the guard was to cover up the welds underneath. Upon closer inspection (and pulling up the guards) I agree with him. The guards are tucked under the trims of both windshields, so they're not deferring the water from those...and there are absolutely not stock openings in this area (only those created by our rust removal).
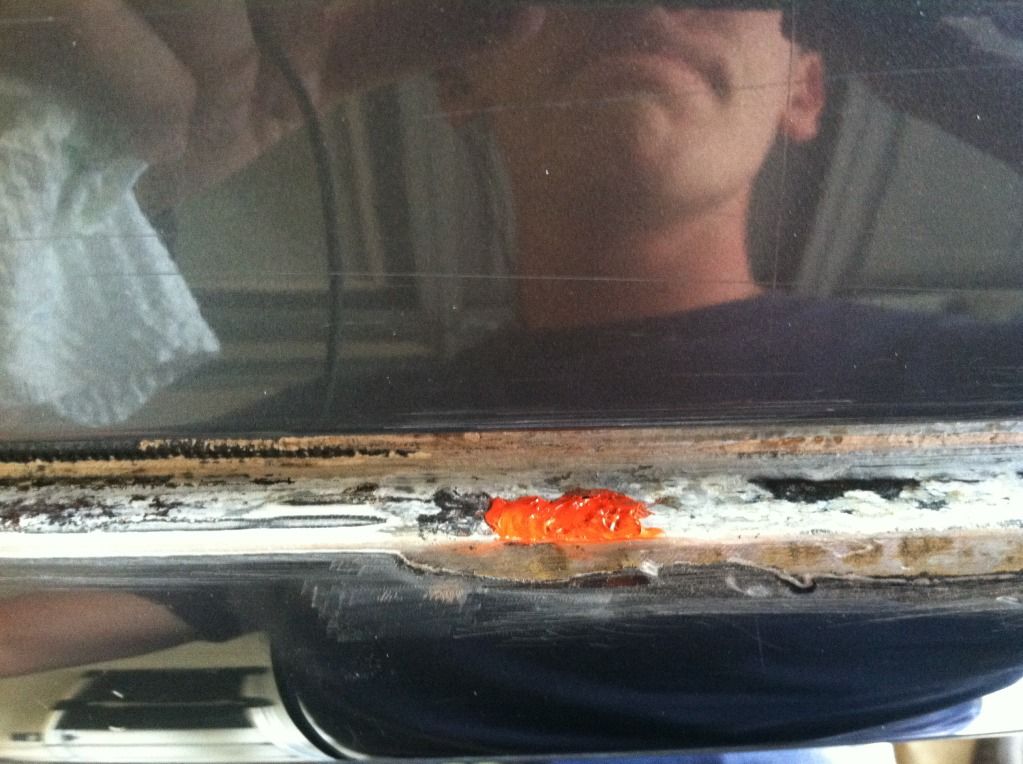
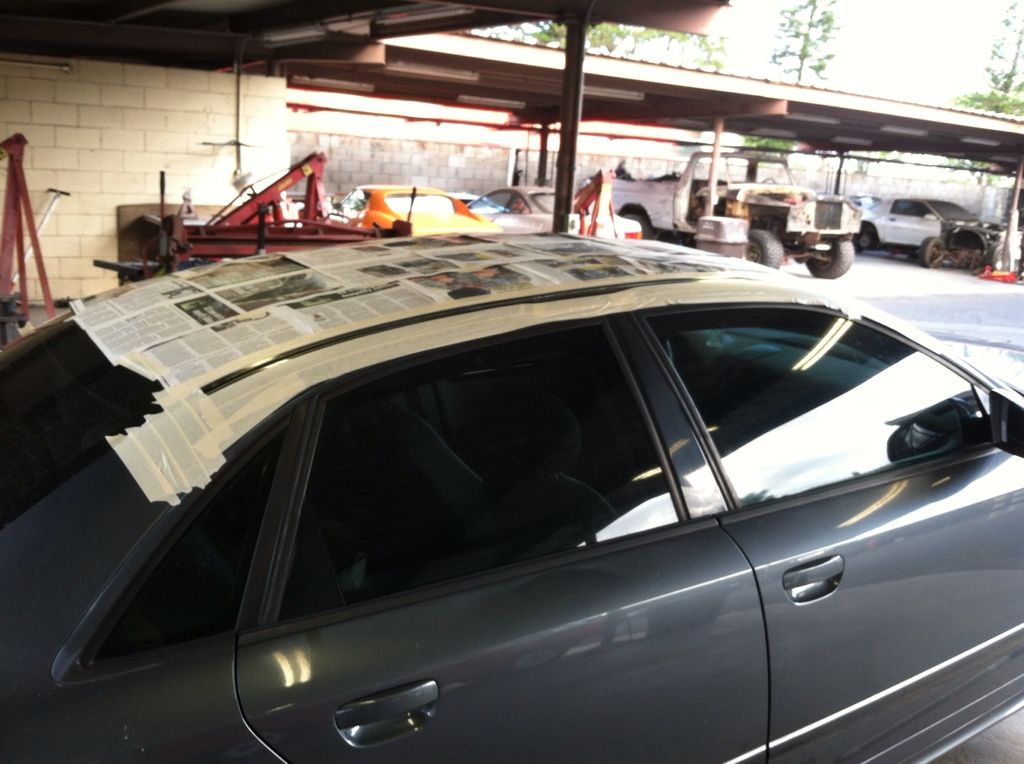
We used a combination of electric sander, hand sand paper, dremel grinder, wire brush, and vacuum to remove as much rust as possible. Very tedious and daunting task. Definitely not for the impatient. We weren't able to remove all the rust in the hours of work for yesterday, but we still jellied and laid the inhibitor down to save our work. We also used a gasket sealer (Honda, boooo) :) to fill the holes to keep water from coming out. As with most silicone fillers, they are very good at being water tight and also very easy to remove once dried (perfect temporary solution, just what we needed).
Here are the pictures from yesterday.

Definitely still a work in progress. At this time, I'd appreciate any CONSTRUCTIVE criticism. If you have any advice or tips or can see anything that we're doing morbidly wrong or could do better, we would much appreciate it. Thanks for your time (I know it's long and not completed) and I hope this proves to be beneficial to you all.

 Reply With Quote
 Good luck.


 ), is still holding like a champ. I am confident that I have completely rid the roof/car of rust and the bare metal is very contained. Unfortunately, I try to take on too many project at once and can only afford to do so much at a time. 42DD catch can arrives today!


Bookmarks