


TIME/DIFFICULTY
6-10hrs depending on your prep and pace
Medium difficulty range
No special equipment needed
PARTS
₪ ZF Steering Rack [new, rebuilt, or used]
₪ Synthetic Mineral Based PSF or M1 ATF 2 Litres
₪ Rack Centering Bolt [M10-1.5 pitch]
₪ New Tie Rod Ends [optional]
₪ Banjo Bolt Crush Washers
TOOLS
[Key requirements]
- 10mm 12point socket
- 18mm Combination Wrench
- 19mm Combination Wrench
- 22mm or 7/8 Combination Wrench
- 6mm Allen Key and Socket
- 12mm Triple Square Socket
- 2ft of 3/8" Extensions
- Jack and Stands
[Basic necessities]
- a solid metric tool set
- Allen and Torx Key or Socket sets
- 3/8 Torque Wrench
- Screwdrivers
- Pick
- Pliers
- Hand Sledge
- Punches
[Misc.]
- Penetrating Spray
- Brake Cleaner
- Anti-Seize
- Petroleum Jelly
- Dielectric Grease
- RAGS!
SETUP/REMOVAL
Apply E-brake, engage steering wheel lock at center position, loosen drivers side front wheel bolts, raise front of car on jack stands, and take off drivers side wheel.
Remove Belly Pan, if applies.
Siphon or drain any fluid left in reservoir.
Disconnect battery, unbolt clamp, and remove battery; a 6mm 1/8 drive Allen socket, long extension, and ratchet works best.

Remove driver side fuse access panel and lower dash panel. Dash panel is held on by 1 bolt behind the fuse panel and 2 bolts on the bottom. Disconnect OBDII port and light then place aside.

Detach steering column from rack pinion. Use a 6mm Allen key or socket wrench to remove bolt then slide the column off the pinion.
............yes the pinion seal let loose and blew PSF all over the footwell


Detach both tie rod ends from knuckles. Remove 13mm top bolt first then 16mm pinch bolt, use a punch or short extension and hand sledge to persuade tie rod ends out of the knuckle arms.


Detach upper control arms from knuckle. Support knuckle with jack, remove 16mm nut, remove pinch bolt using a punch and hand sledge. Pop arms out of knuckle through the access holes using a punch and hand sledge. Penetrating spray and heat will be needed on this step most likely
Alternative method if pinch bolt is seized: disconnect strut from lower control arm, pull strut aside, and jack knuckle up high into the wheel well. This will give you enough clearance to slide the rack out.

Disconnect Servotronic electrical connector. A pick or precision flat head screwdriver to raise the connector clip is recommended.
Remove access cover. Unscrew 10mm nut next to Servotronic connector and pull out the 2 plastic push pins located behind the strut then pull cover out. Dont be afraid to contort it a little as it will catch on things coming out.
Order of disassembly reference

Remove fluid lines. Lay rags under the lines and remove return line banjo bolt with a long 22mm or 7/8 combination wrench. Remove high pressure hard line completely; loosen hose fitting with 18mm and 19mm combination wrenches then remove banjo bolt with a long 19mm combination wrench, and place hard line aside.


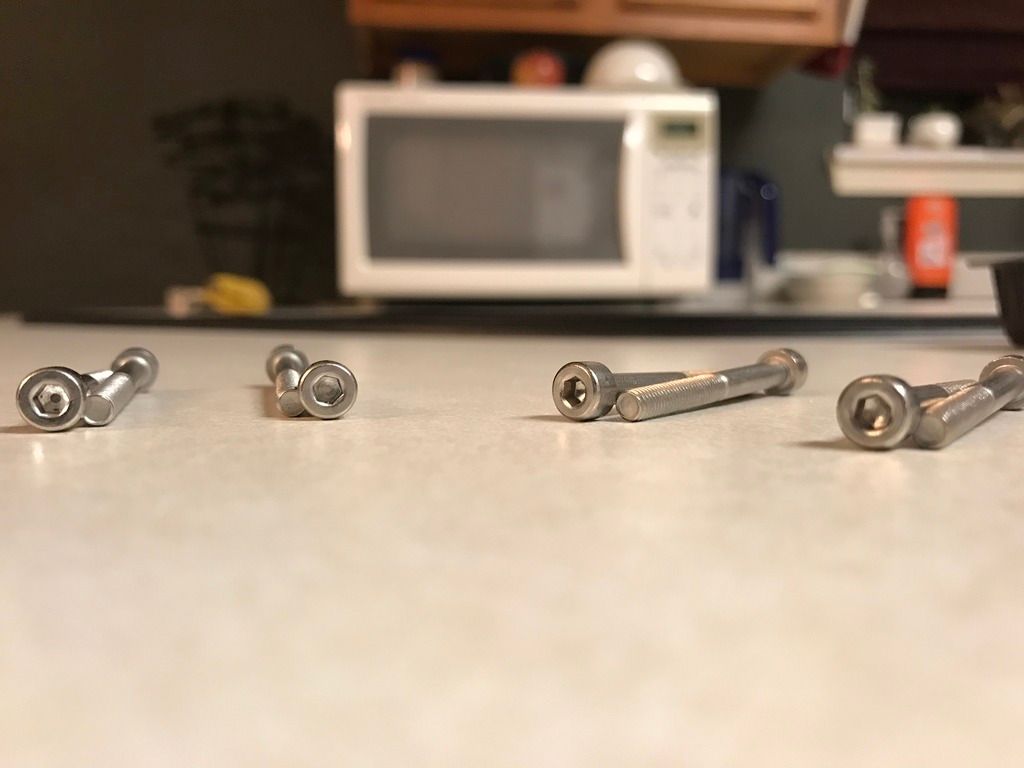
Ensure steering rack is completely disconnected from all associated components then unbolt rack from body. The rack is held on by 3 x 10mm 12 point bolts as outlined below.
Bolt 1: under battery

Bolt 2: next to brake booster

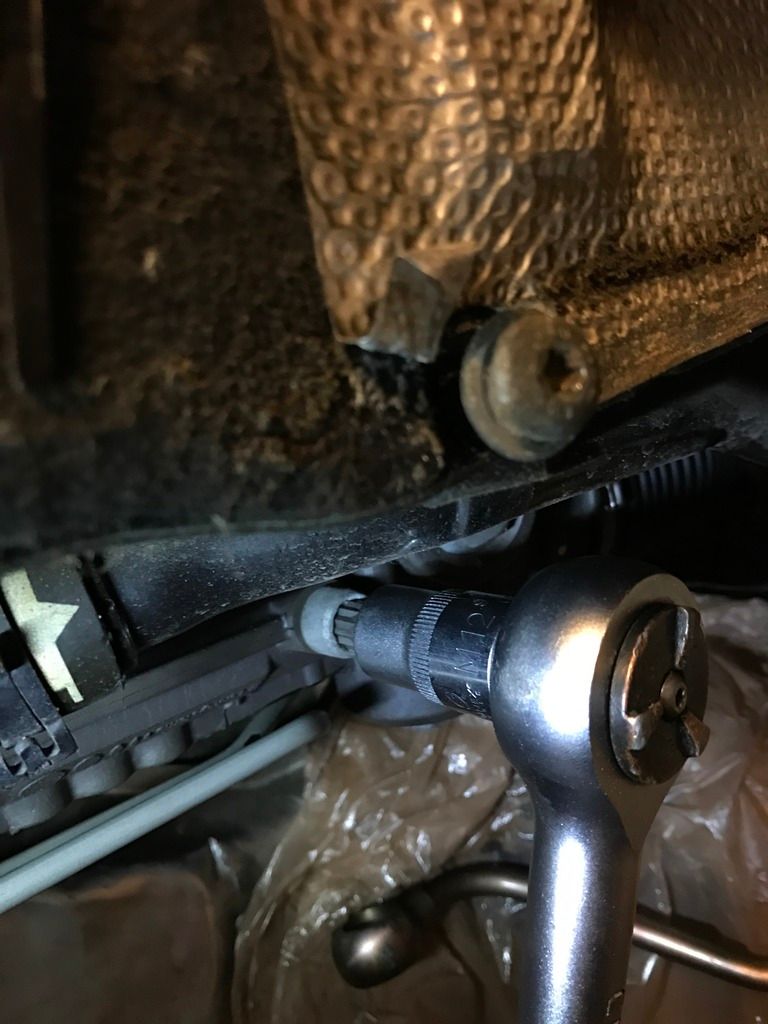
Bolt 3: underneath car; look up between the drivers side DP and trans and you will see it hiding in the shadows. A long, approx. 2ft single or series of extensions will get you there; a universal joint might be needed also.


Remove rack. Lay some rags over the brake and ABS line and slide rack out through drivers side, you may need to get creative and conjure up some finesse having a comrade assisting the rack out from the pass. side will make this step much easier. Disconnecting the strut from the lower control arm and pulling it aside will give added clearance if needed.

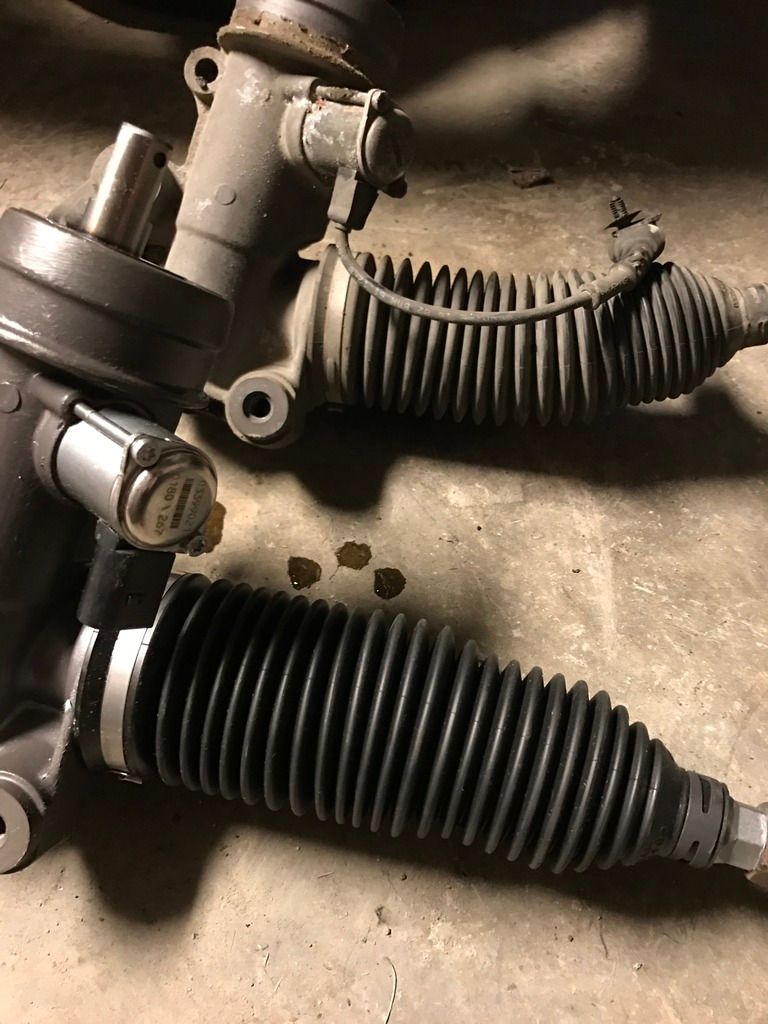
New rack prep. Transfer Servotronic valve and tie rod ends to new rack then center the rack.
Swap or install new tie rod ends using 22mm and 18mm combination wrenches. Take note of the thread count on each side and match it when installing the tie rod ends on new rack. You'll avoid severe tire wearing issues if you cant get an alignment right away. Anti-seize is your friend, so use it

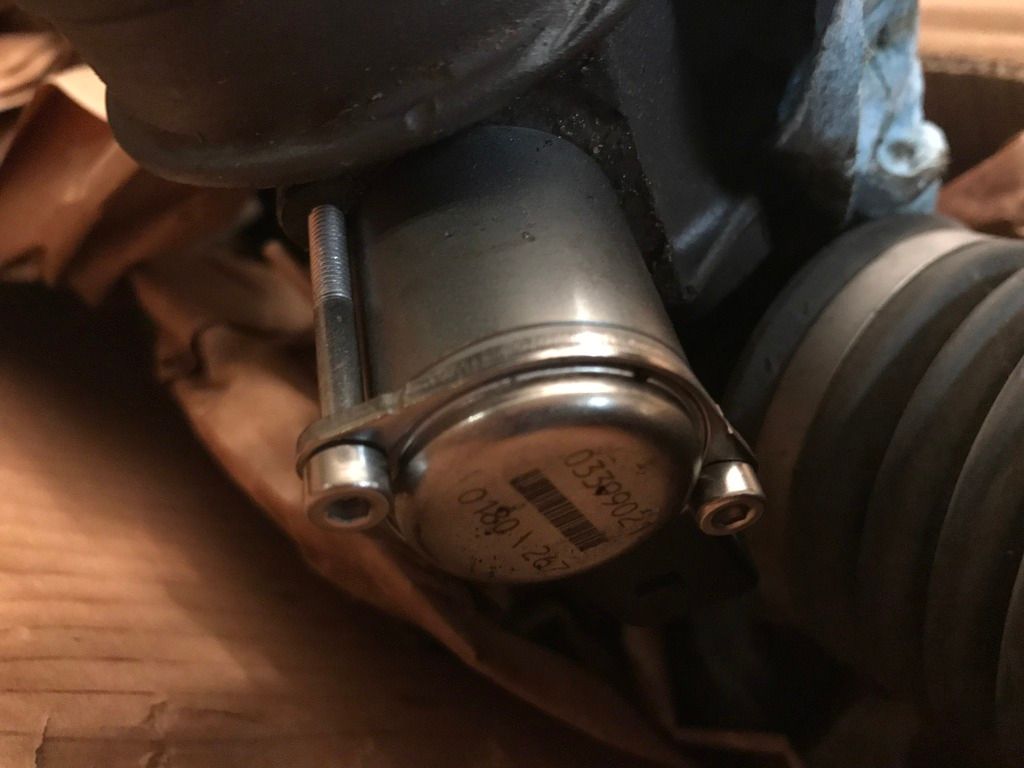
Transfer Servotronic valve. Before installing, inspect the o-rings and replace if necessary. Regardless, apply petroleum jelly to the o-rings.
Center the rack. Remove the access bolt using a 12mm triple square socket. Align centering notch on gear with access port by turning the pinion then use a M10 1.5 pitch bolt to secure gear in place.

REASSEMBLY
Point of advice; if it has a shank or threads, apply anti-seize and if it has electrical contacts, apply dielectric grease.
Install rack. Position steering rack back in the plenum chamber in reverse order of removal and loosely bolt rack in place then torque bolts, starting with the top then bottom, to approx. 50 ft-lbs I say approx. because the use of long extensions makes it near impossible to achieve proper torque accuracy. You just want the rack to be evenly tightened.
Reattach steering column and reinstall dash panel.
Remove rack centering bolt and reinstall access bolt.
Reconnect fluid lines starting with return then high pressure line and tighten firmly, use new banjo crush washers.
Applying petroleum jelly on the upper washers before placing them on the lines will help hold them in place while you battle getting the banjo bolts threaded in. Be patient on this
Reinstall access cover
Reconnect Servotronic electrical connector
As necessary, reattach upper control arms to knuckle and strut to lower control arm. Before tightening strut, lift knuckle to curb weight position to avoid damaging the bushing.
Reattach tie rod ends to knuckle arms. Tighten pinch bolt first then top bolt.
Reinstall battery
FLUSH/BLEED
Flush the system free of any old fluid and leftover debris prior to bleeding.
Koolade did an excellent write up on this which can be found HERE
FINAL DETAILS
Start car, check system for leaks and abnormal noises.
Reinstall belly pan
Reinstall wheel
Lower off jack stands
Take a test drive
Schedule an alignment
If youve made it this far, wipe the grin off your face


 Reply With Quote


Bookmarks