


First I'll give some history. My friend has the same car as me, same year, same color. So we'll call it Karr (I really hope that some of you get that). Anyhoo, He lives in Alabama and one day while talking to him on the phone his car died. We'll after taking it to three billhilly garages the try to remove the fuel pump assembly, with no luck, due to the spinning nut in the base of the pump, I told him to send the tank to me. So billhilly garage number 3 removed the tank and they shipped it up to me in PA. Within 5 minutes of receiving it I got the pump out. I simply used my impact wrench in reverse while prying the pump up. I knew this would melt the stuck nut out. Sure enough it did.
Once the pump was out, I addressed the melted inner housing. I separated the nut from the bolt then heated it up and melted it back in place. it was slightly off center, then I used a bunch of gas tank repair around it, let it dry then filed it smooth. Long and the short, that didn't work well. The car ran, but then when it got below half a tank it started sucking air, than running poorly.
So, by keeping Karr above 1/2 tank, my friend drove it from AL to PA so I could put it under the knife.
Lets do a little explaining of the fuel system:
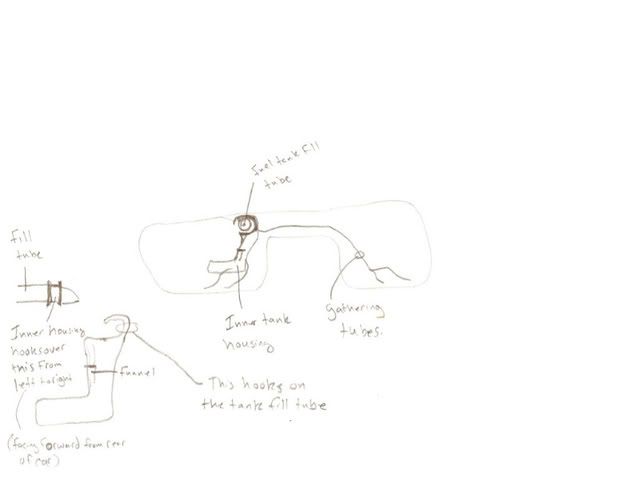
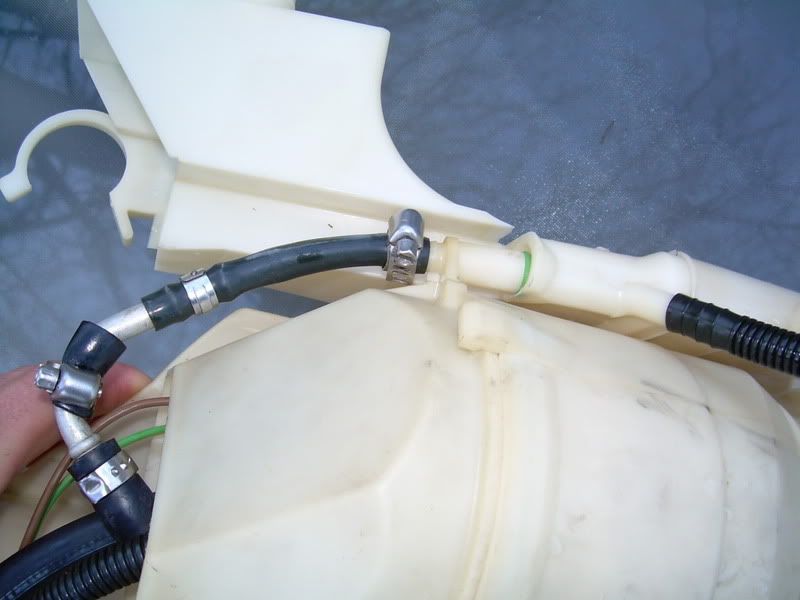
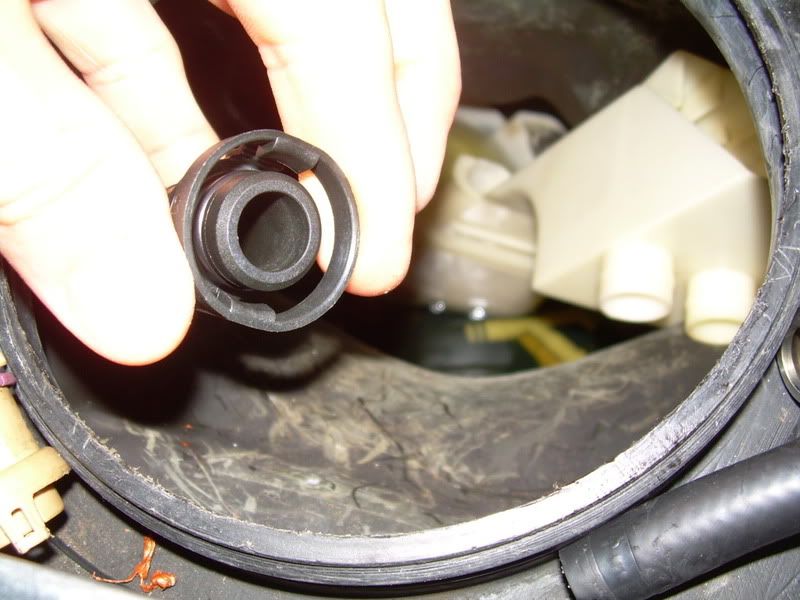
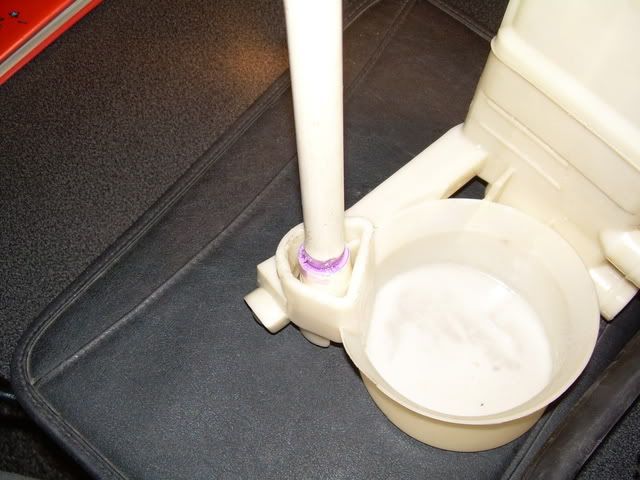
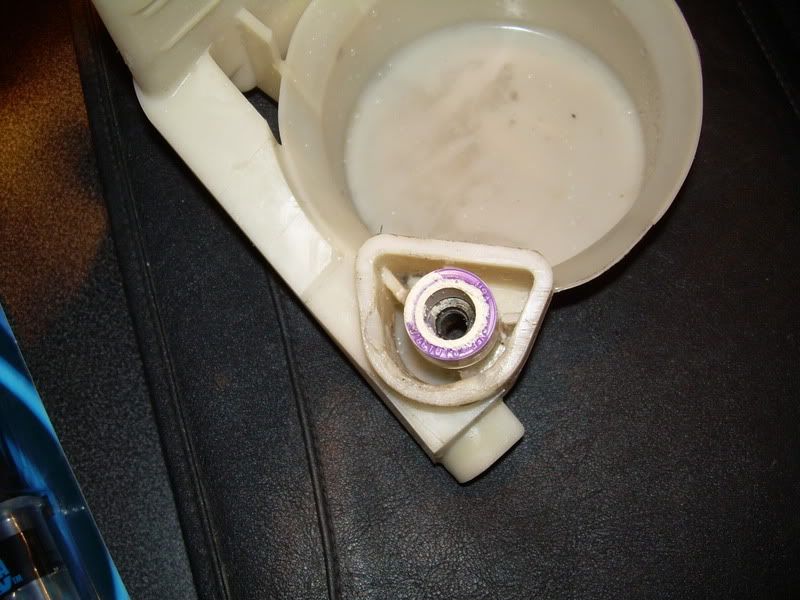
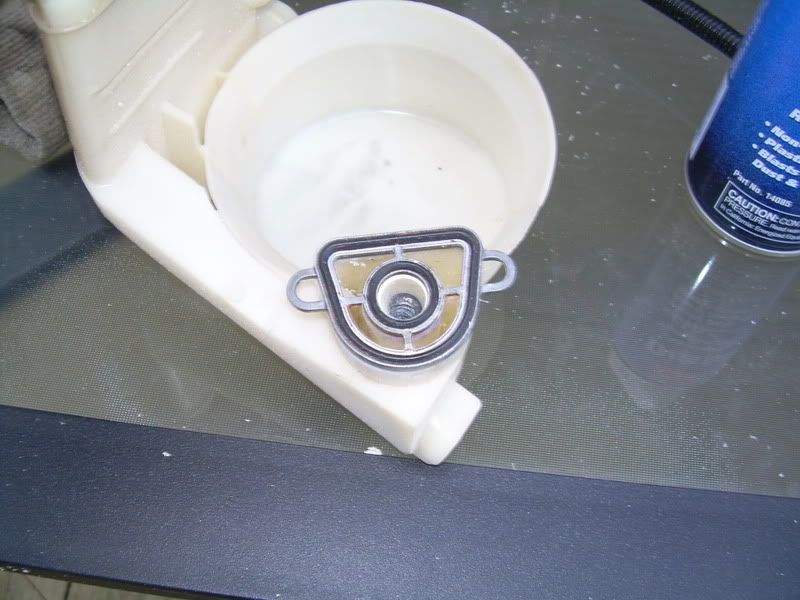
The fuel pump is designed to draw fuel at a preset amount from both sides at once. The fuel gets drawn in from the gathering tubes. The housing assembly is to be solid with fuel to work properly. No more than 2-3 quarts. This allows for proper siphoning. Contrary to popular belief, when the fuel level gets below half a tank, the air that is getting in the system is not from the tube and funnel (see pic). The air is leaking in at the base of the inner housing. If the tube in the funnel was where the leak was, the pump would cavitate when the tank was almost full. That tube is really high up in the tank.
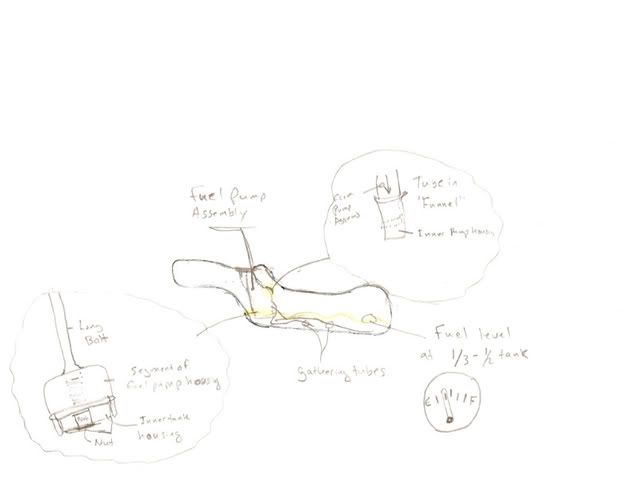
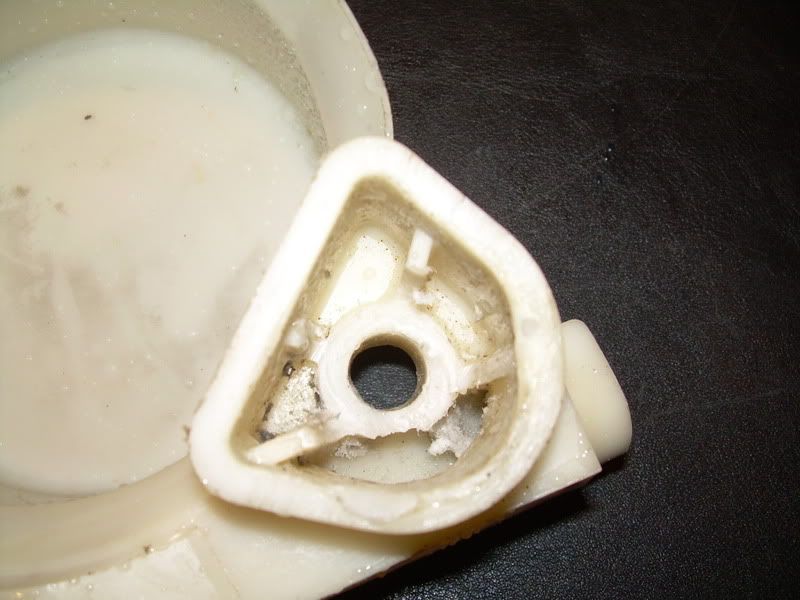
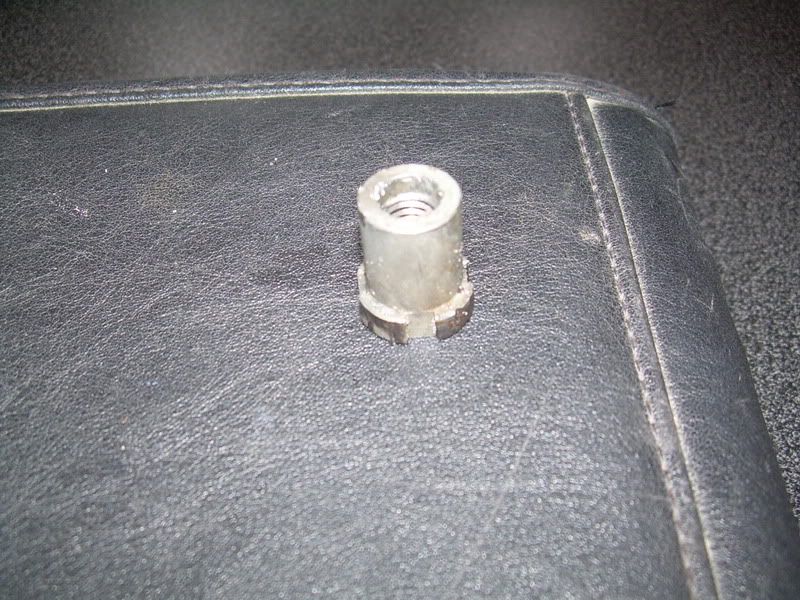
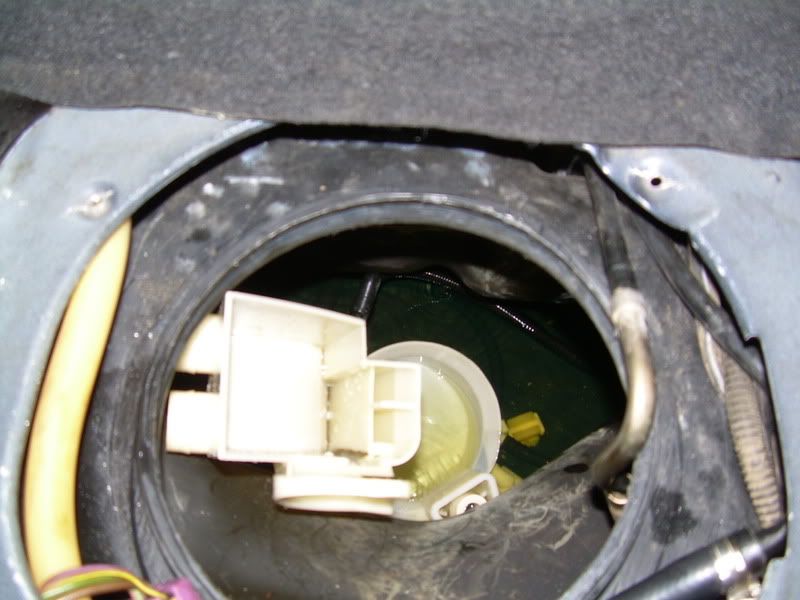
 This is the bottom of the assembly. When the tank fuel level is at 1/2 -1/3, this area of the pump begins to be exposed to air. Then the fuel starts to drain out of the housings and starts to allow the fuel pump to cavitate, thus ending its useful life.
 The Inner housing comes out pretty easy. First, remove pump. If you dont know how, there are two excellent videos on Youtube on how to do it.
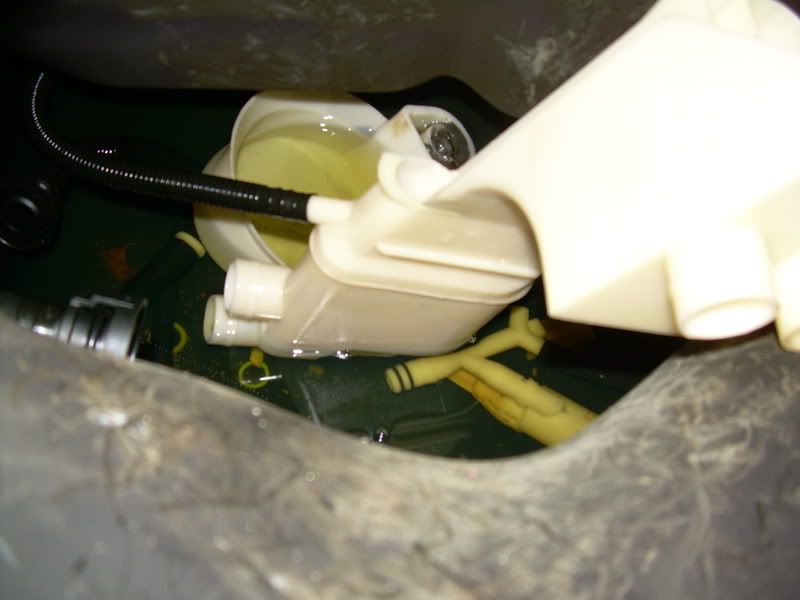
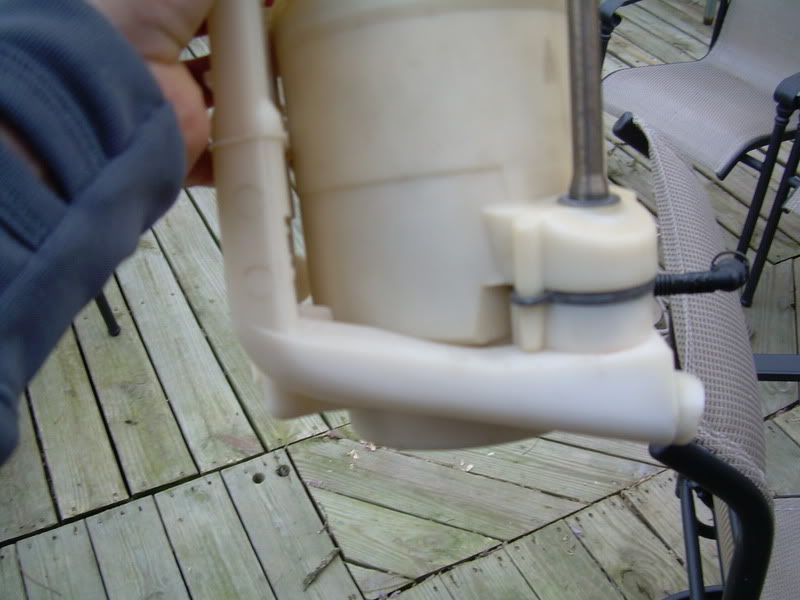
Once it is out, open the other access panel and remove the other fuel sender. Note the arrow that shows where it goes. Once thats opened up. Grab the tubes and lift the whatever its called up and try to shove the tubes toward the fuel pump assembly (towards the right). This is what is known as slack. Move to the other side, grab the inner housing assembly. Push it sideways toward the driver side (left). This is to release the hook that it hangs on the filler tube with. once loose, lean upper section forward then pull it right. The unit should be exposing its left crossover tube. Grab the connector and squeeze like hell. then pull it off. There are 4 tubes connected to that thing. Three are large, one is small. The small one has to be removed in the bottom of the tank. That small one kinda sucks to remove.
Once its free, just origami the thing out of the tank.

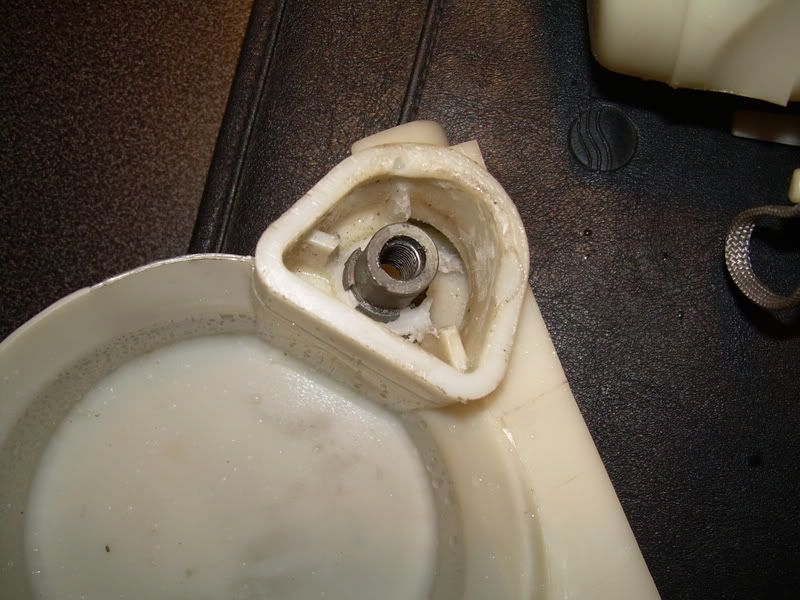
Now the fun parts. You can see in the pic that I used the gas tank repair, best I could do with it still in the tank.
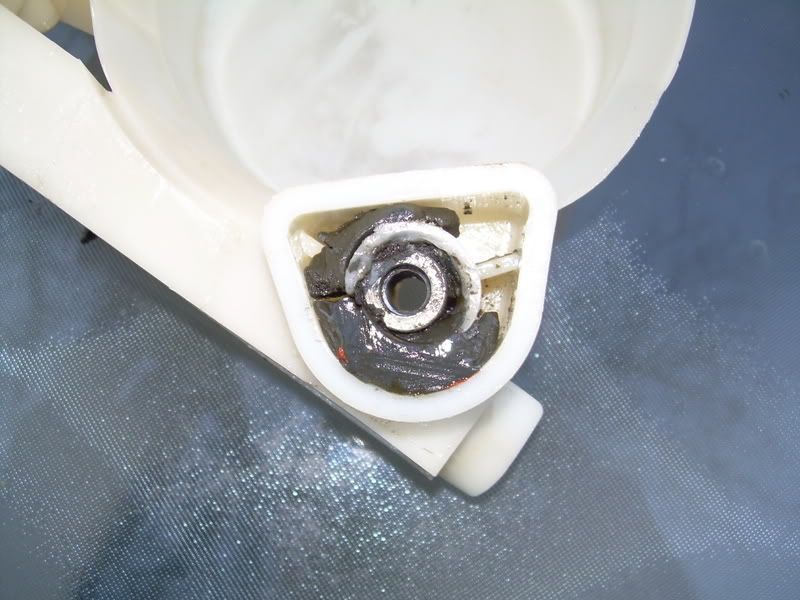
So, chisel that crap out and get to work. Use a dremel tool with a sanding tube to open the area up for work. You'll notice an area in the "triangle" that is lower than the rest. That is where the fuel comes in from the upper portion of the inner housing. It's best to keep that bit clear of obstructions.
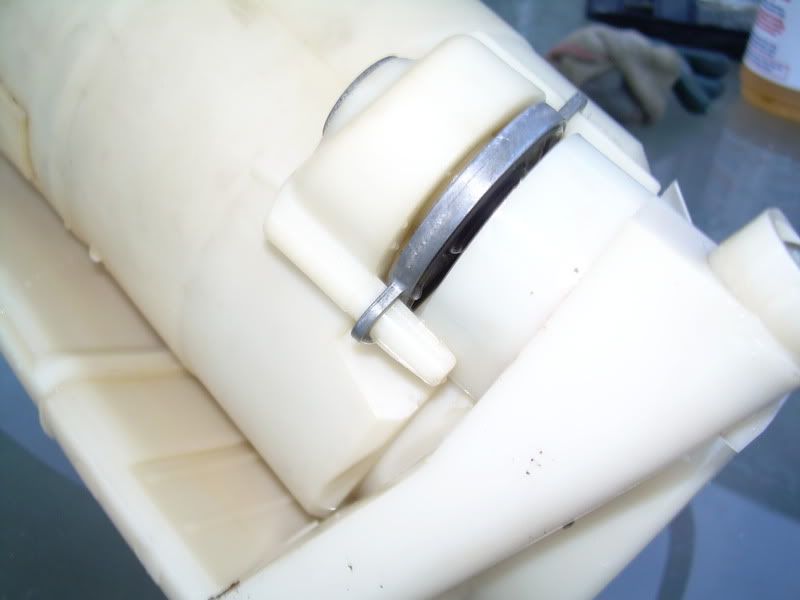
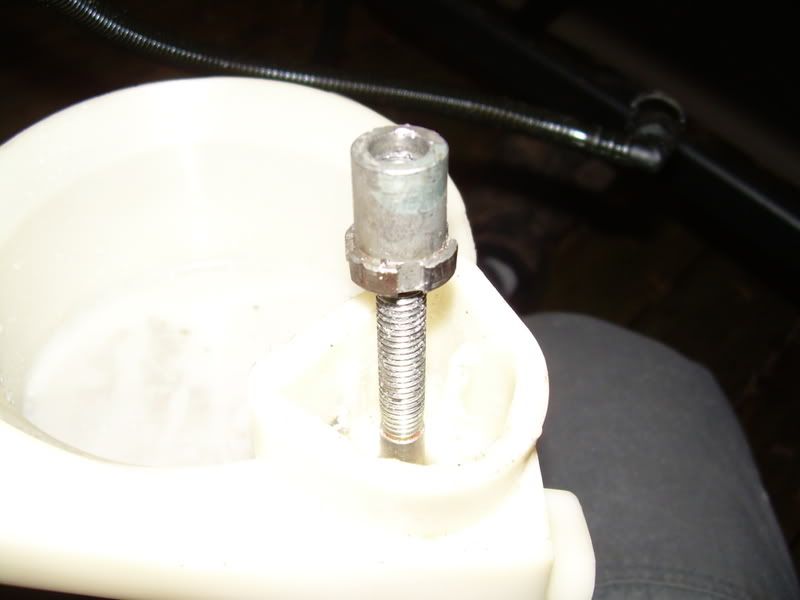
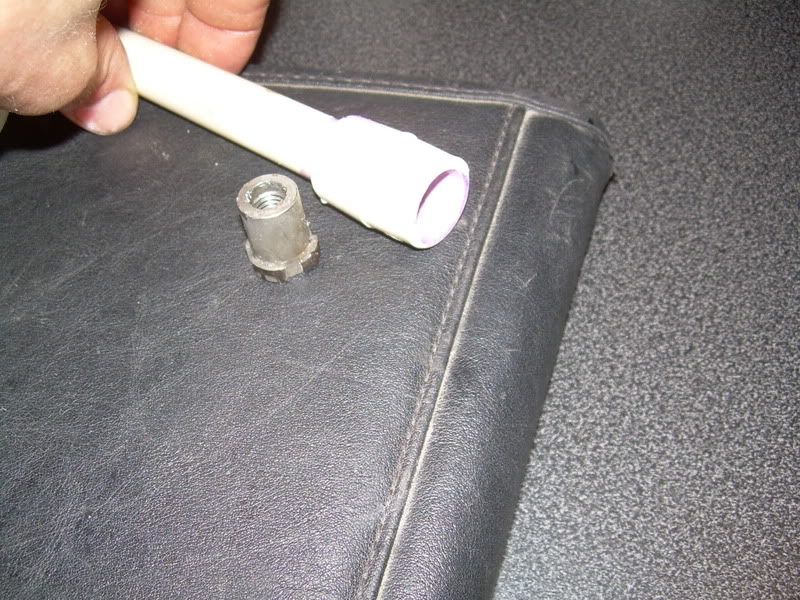
This is the nut that gives us all the trouble.
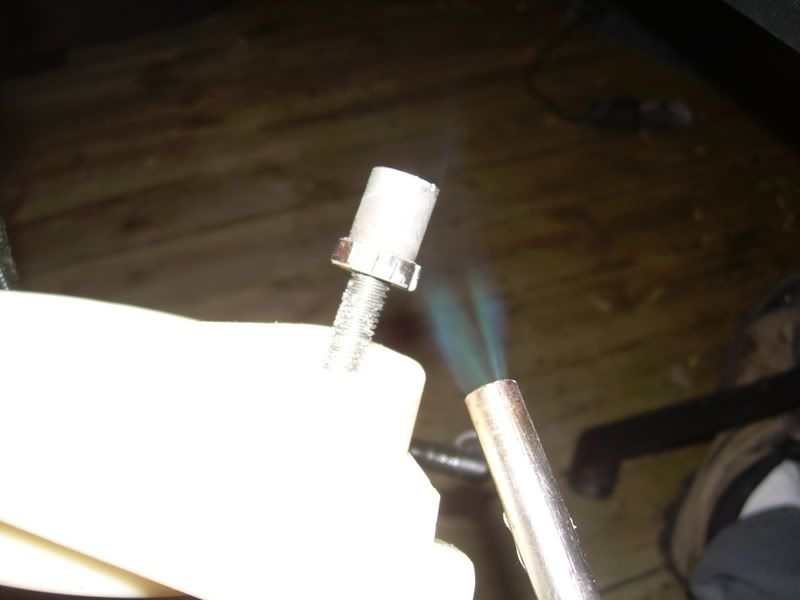
Dry fit the nut and clear the hole underneath, put bolt up through bottom and attach to nut. Use torch to heat nut up then pull down through with slight pressure. DO NOT PULL THROUGH!!!!
This is the final resting place of the nut. Be sure it is as centered over the hole as possible.
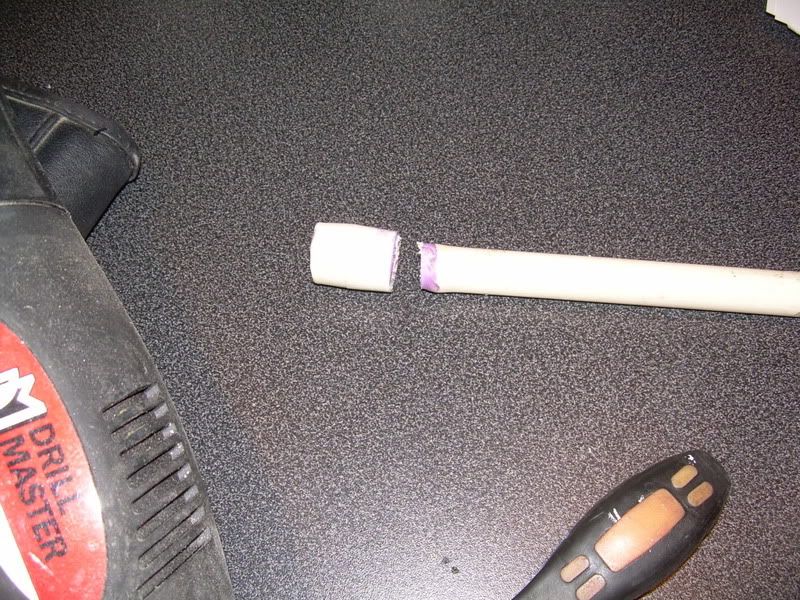
Now, collect a small section of 1/2 inch CPVC and a 1/2 inch coupling. glue them together thus:
Heat up the end of the pipe and put it down on top of the base nut.

This allows for the pipe to conform to the contours on the base.
Cut the end of the pipe off.
Next mix up a bunch of epoxy. For this, the only Resin epoxy is the West system. It is available at many boat stores and is able to withstand gasoline. There is a difference between gasoline resistant and gasoline proof. Sorry I don't have a pic of the West System.
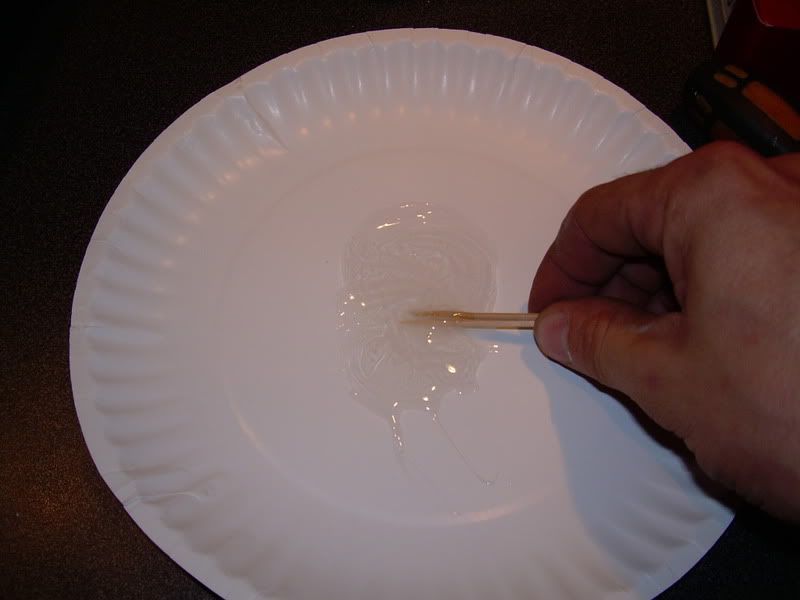
Put as much as epoxy as possible on the contoured end of the pipe and fitting. and put as much as you can on the base around the nut. Then place the pipe over the base nut squishing the glue.
Looks good huh???
Let that dry for a few hours...overnight.. whatever....
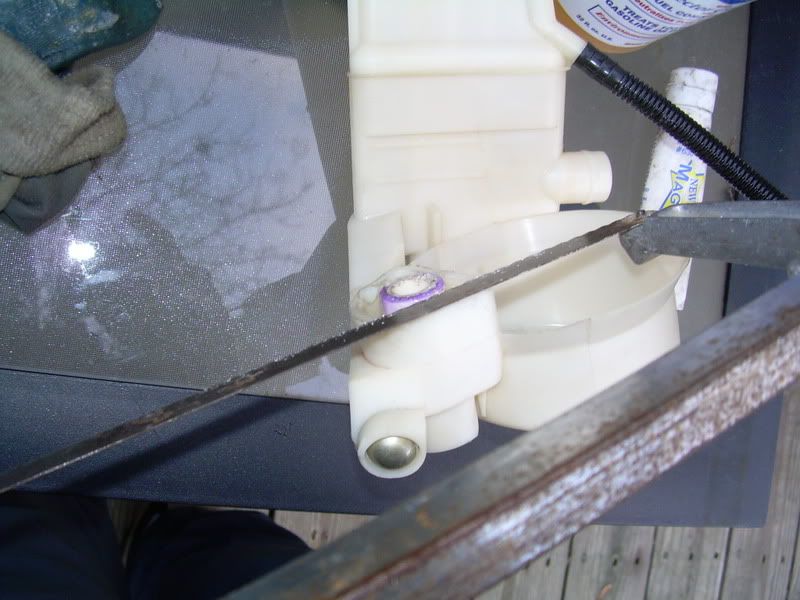
Once it is all dry/cured. Get out the trusty hacksaw and carefully cut off the excess, FOR THE LOVE OF GOD!!!! be careful not the damage the outer edge..
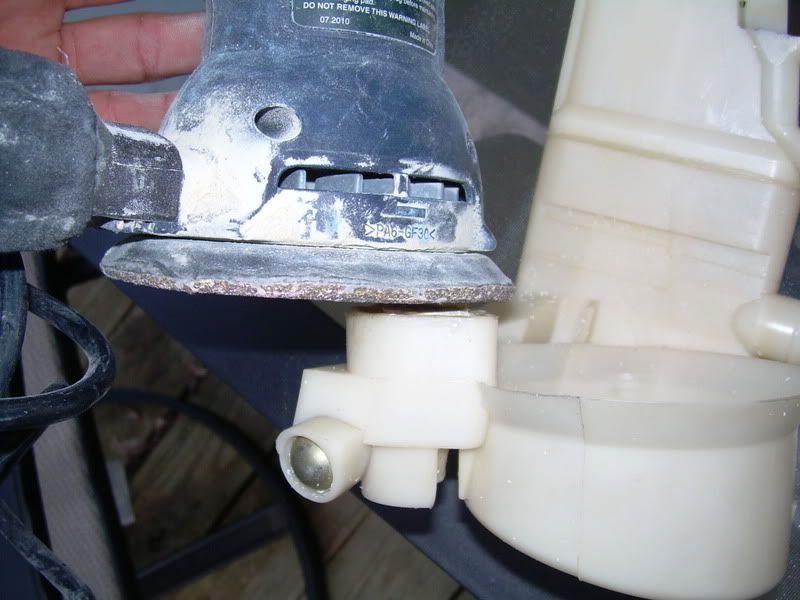
Once that's done, sand the roughness down. I used an orbital palm sander. PVC is pretty soft, so a regular sanding block could be used.
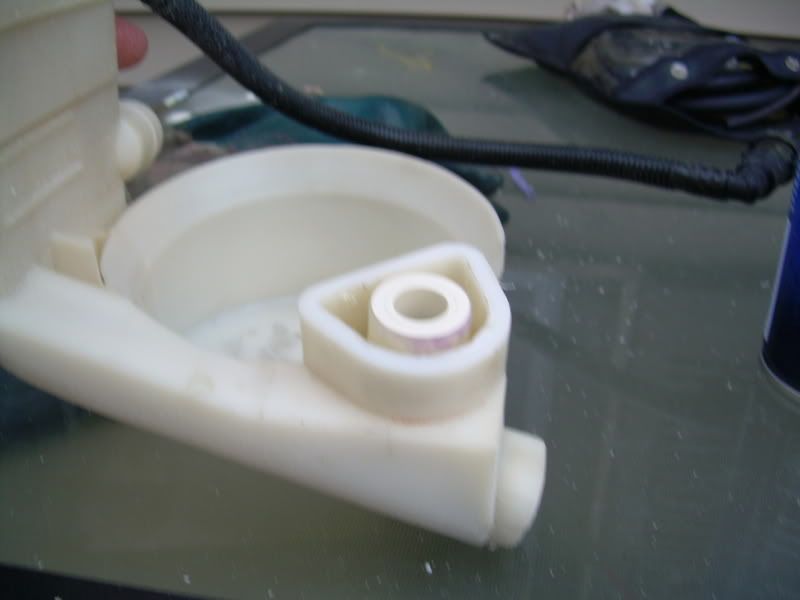
Clean out and look at finished product.
Check the gasket, place it on the surface and look at it across the seating surface.
Stop admiring and start putting it back together. Put it back together and fill it with water to check for leaks. There should be no leaks, none around the bolt, none around the edge, NONE!!!
If there is a leak, It must be addressed before proceeding. Epoxy must be used, caulk or any other sealant like RTV or silicone will break down rapidly in gas.
Once that is done, take it apart and put the inner housing back in the tank. Then hook all the lines back up. I must warn, it is a bit of a challenge getting them hooked back up, so some O-ring lube might help. The install is reverse of the removal. Then watch the video on youtube to see how the pump goes back in. Connect the front lines first. Then connect the small line on the bottom of the tank. Then connect the crossover tube. There are two connectors on the inner housing that point to the crossover. One is blocked off. Bear this in mind when reconnecting.


The learning process for this fuel system has been a long one. I've been dealing with this issue on Karr for months. Geography didn't help. Well any way. I really hope that this tutorial helps, I just won't believe that the options are so limited for this critical system. Hopefully a few of you guys can keep your tanks in place. If anyone has anyquestions or needs help, just PM me and we'll work it out.
Thanks for viewing


 Reply With Quote


Bookmarks