


Parts that are needed:
- x1 S-Line Bumper Cover:. Primed: 8K0 807 105 D GRU
- x1 S-Line Fog Grille - Left:. w/ Chrome Ring: 8K0 807 681 C 01C | w/ Matte Black Ring: 8K0 807 681 C ZDE
- x1 S-Line Fog Grille - Right:. w/ Chrome Ring: 8K0 807 682 C 01C | w/ Matte Black Ring: 8K0 807 682 C ZDE
- x1 S-Line Splitter/Spoiler:. Platinum Grey: 8K0 807 110 1RR | Matte Black: 8K0 807 110 3FZ | Matte Alu (S4): 8K0 807 110 A2ZZ
- x1 S-Line Vertical Slats:. 8K0 807 899
- x3 S-Line Splitter Expansion Plugs:. N 038 549 1
- x1 S-Line End Plate:. 8K0 807 233 B
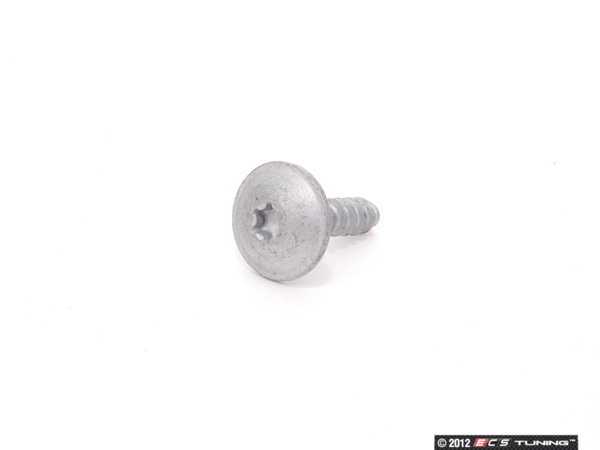
- x10 Screw:. WHT 005 764
Install Notes:
End Plate:
The S-Line End-Plate is not 100% necessary. The non-sline end plate fits, but you have to bend it in certain places to force it to fit. All original hardware can be used to install the S-Line End Plate.
Here is what the interior of the S-Line bumper looks like with non-sline end plate:

Notice how the end plate is bent/contorted into a forced fit.
How the interior of the S-Line bumper looks like with the S-Line end plate:

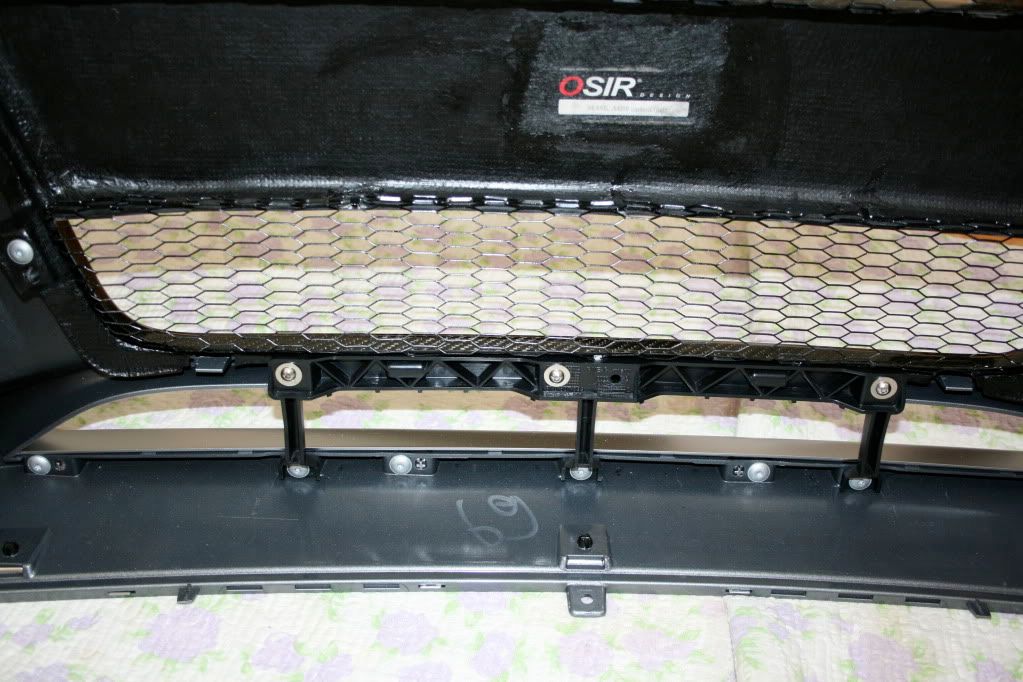
Splitter + Vertical Slats + Expansion Plugs
The Splitter is one of my favorite aspects of the S-Line bumper. Basically, the S-Line bumper has a removable splitter that comes in 3 different colors (listed in parts list). In addition, various tuning companies have created carbon fiber splitters, etc.
The S-Line bumper cover has a plastic piece that runs from either end of the "protrusions" of the bumper that is used to secure the splitter. The splitter slides over this piece and is installed with 4 of the above screws. Once the splitter is installed, the vertical slats can be installed. The horizontal plastic piece that the three slats protrude from fits on the back of the bumper directly below the grille. There are tabs, etc, which align this piece for you. The three vertical slat protrusions are secured behind the splitter. You will use 6 screws to install the vertical slats - 3 for the top and 3 for the bottom.
The 3 expansion plugs secure the center part of the splitter. These plugs are inserted from the bottom part of the splitter towards the top. Once the plug is inserted, push the plastic cylinder protrudes from the flat part of the plug to secure it. This plastic cylinder causes the teeth of the plug to expand creating a secure fit.
Here is a picture (credit: dkky996) that shows the splitter, vertical slats, and expansion plugs installed:
Before/After Pictures
Before:

After: (Fog griles w/ Chrome ring & S4 Splitter)


That's all I can think of right now, I will update this post as new questions arise...
Last Updated: 11/27/2011


 Reply With Quote


 IMO better to spend extra money and do complete S-Line bumper conversion as NPuter here has done


Bookmarks