


Tools needed:
- Custom-made wooden ramp if you are really low
- Car jack
- Jack stands
- Wheel chocks
- OEM Audi lug bolt wrench; or breaker bar with 17mm socket for OEM lug size
- 2 KW coil wrenches (rear and front)
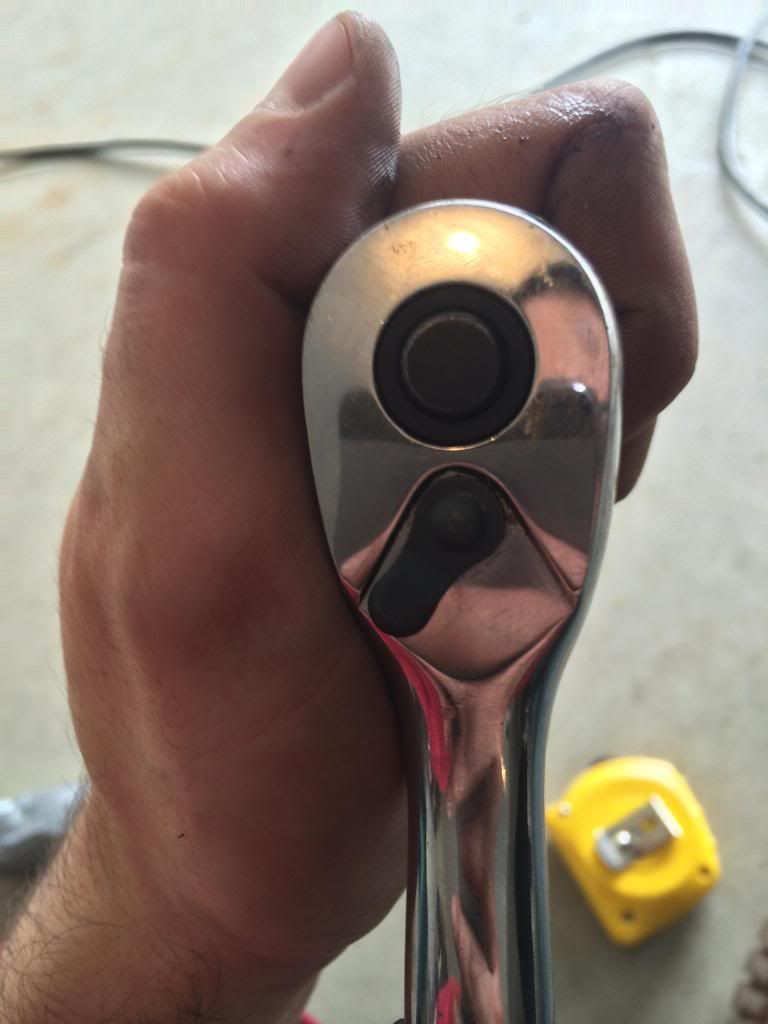
- Ratchet (I used my 3/8drive ratchet, but it could be whatever ratchet drive you prefer).
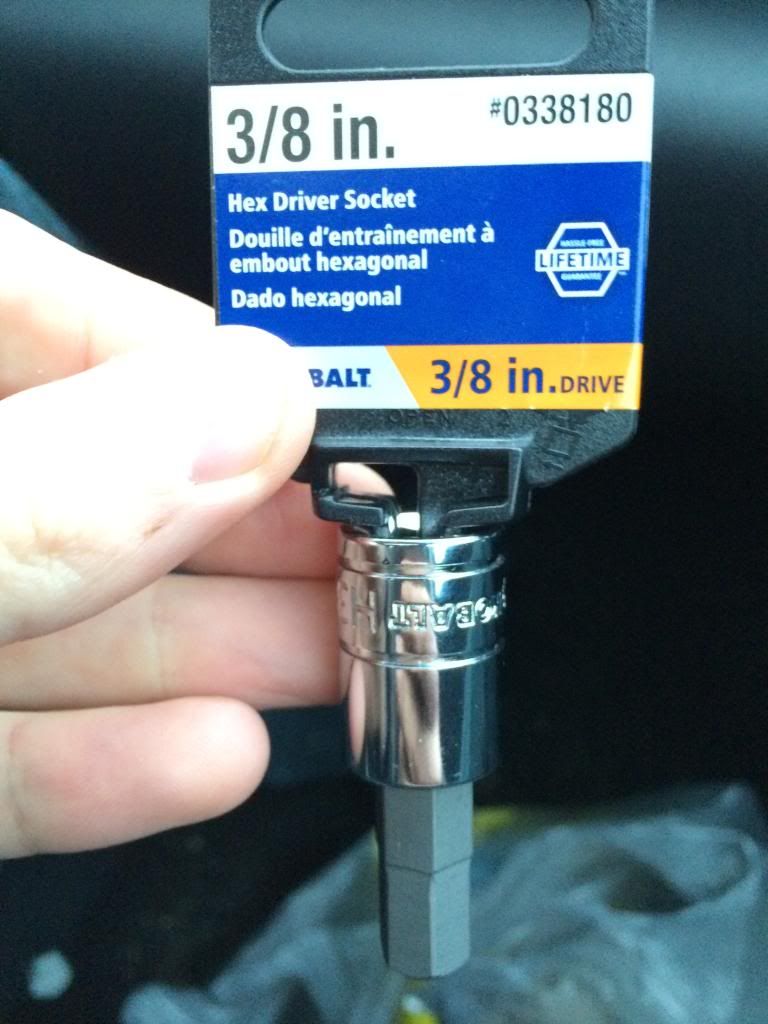
- 3/8" hex socket
- 10" socket extension
- A small hex screwdriver (a.k.a. Allen) of unknown size. Note: a T10 torx screwdriver will work.
- WD-40; or PB Blaster
- Shop towels
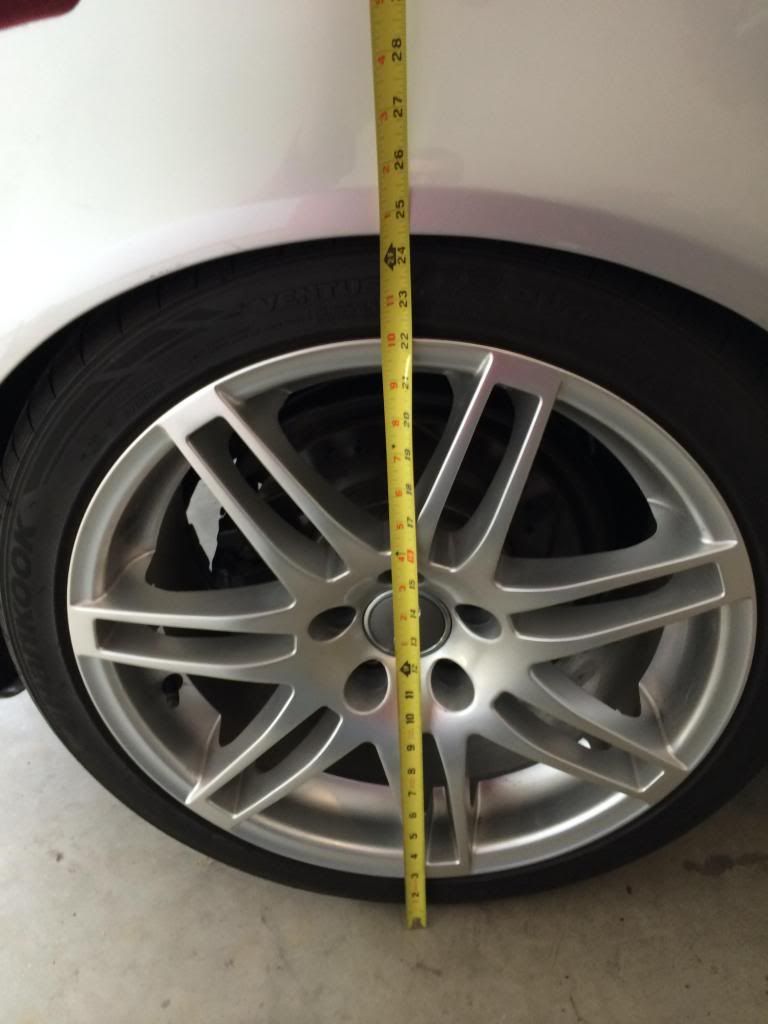
- Tape measure
- Paper/pencil
Difficulty:
It really depends on your skill and experience. Difficult first attempt; should be easier next time. Block off at least 3-4 hours for your first time. Maybe 1-2 hours your second time.
How-to guide with pics:
Loosen the lugs on the wheels you plan to remove soon. They will need to be loose enough so you can remove them while the car is in the air on the jack stands.
Since my car was too low, the car jack would not fit under the front end of my car. I had a board cut up for me at a hardware store into 1' wide blocks. The tires measure approximately 9" wide, so it was perfect. The first level of the ramp is 1.5" in height from the ground, and the second level of the ramp is 3.0" in height from the ground. This gave me the needed clearance to get the car jack underneath.

With the car on my custom wooden ramp, I was able to get the car jack underneath the car. SAFETY FIRST: Before you start to jack anything up, make sure your car is in park, and your emergency brake is on (while you are on the little wooden ramps, or on the ground if you don't need the wooden ramps). Using wheel chocks on the rears while you jack up the front is also a good idea, and vice versa, for added safety.
You will find the proper hard metal that's maybe 8" long behind the front wheels for the front, and in front of the rear wheels for the rear. Typically these are beat up already, since your car has been on a lift or jack before, which is fine. Once the car is up high enough, slide your jack stands onto the jack metal area underneath the car (right beside your car jack). Very slowly, release the pressure in your car jack, allowing your car to slowly put all the weight on the jack stand. I used 3-ton jack stands, but that probably isn't necessarily needed (you could use lower weight stands I'm sure). Once securely on the jack stand, remove the car jack, and repeat until you are on all 4 jack stands. If you only have 2 jack stands, do your fronts first, then your rears.


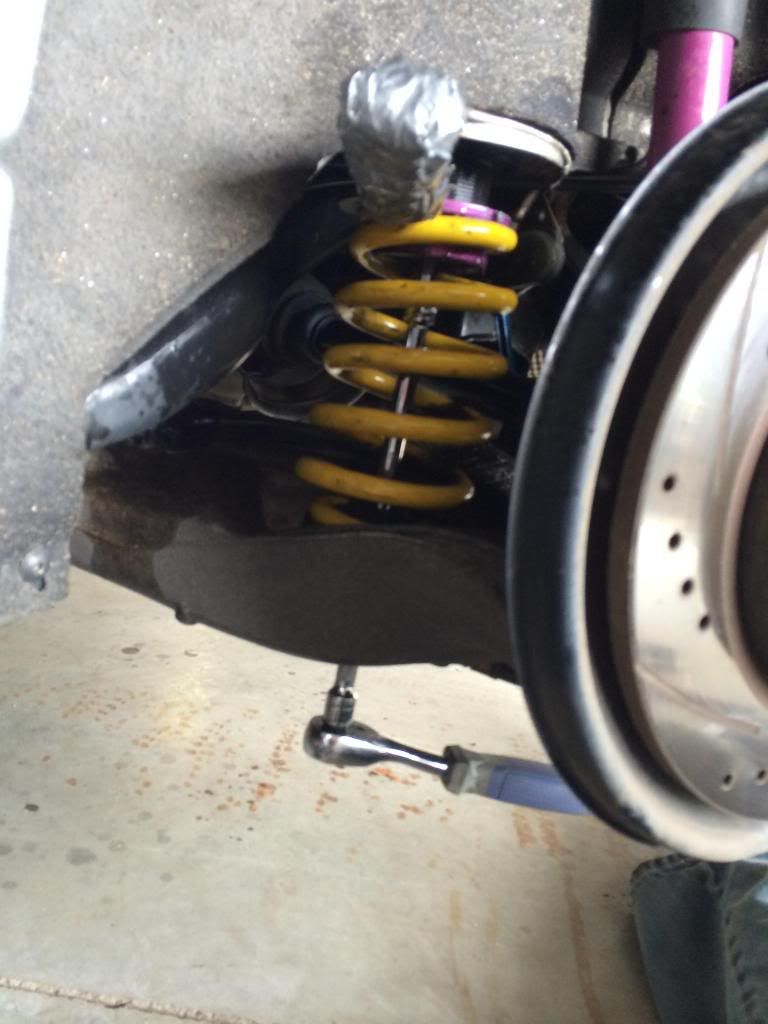
Using your OEM Audi lug wrench from your trunk tool kit, pop the center cap off, and remove your wheels. Alternatively, you could use a breaker bar with a 17mm socket for OEM lug size.


Now for the "fun" part. My goal here was to raise my car up approximately one inch in preparation for the winter. This DIY can also be used to lower your car, just make sure you check your measurements, and also make sure you are spinning the coil parts the correct way.
The red/bold font is for a reason. I thought I knew what I was doing, but made the critical error of accidentally lowering my car one inch in the front without realizing it until both front coils were "done," wheels were put back on, taken off jack stands, and put back onto the ground. I wanted to cry. I am now "over" my mistake, and simply wanted to share this waste of time and energy so people actually take note of what you are doing.
KW coilover kits come with 2 coilover wrenches. The larger one is for the front, and the smaller one is for the rear.

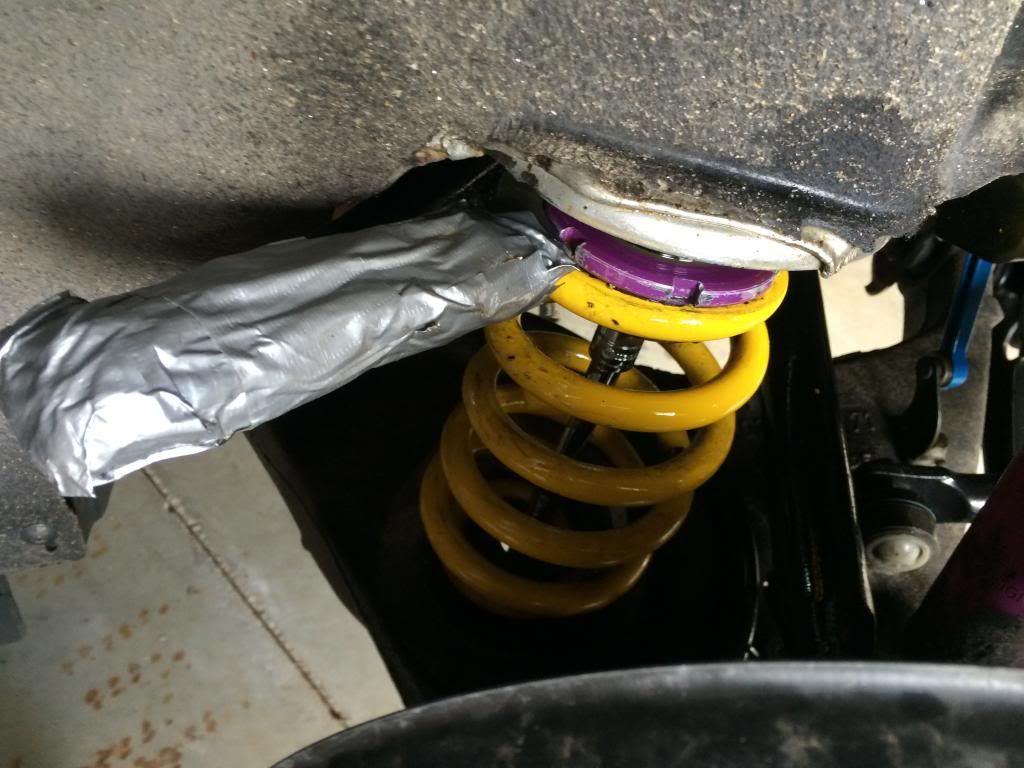
Spray the hell out of your the coil silver spirals and the purple coil perch with WD-40 or PB-Blaster. Let it soak in a bit, then wipe it clean with a cloth. You want the purple coil perch to be as dry as possible so the coil wrench does not slip out. It's ok to have the lube on the silver spirals though, probably want it lubed actually. Try to get all the dirt and grime clean before you attempt to spin the purple coil perch knob.


FRONT ADJUSTMENTS:
Use a T10 torx screwdriver to remove the little screw from each sides purple coil perch. This screw is designed to prevent the perch from moving, so removing this is key and will make your adjustments easier.
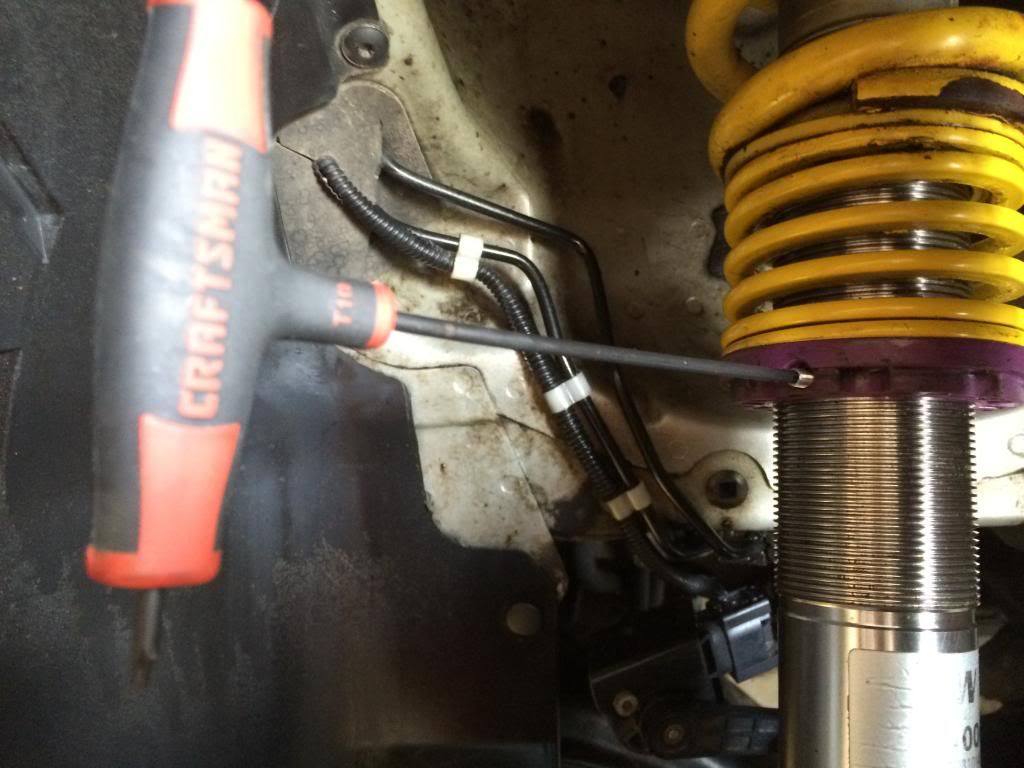
Taking the large coilover wrench, fit it into the notches in the purple coil perch.
To raise the car up (winter-mode we will call it), move the coil tool to the right (knob goes up, higher towards the car).
To lower the car down (summer-mode), move the coil tool to the left (knob goes down, closer to the ground).
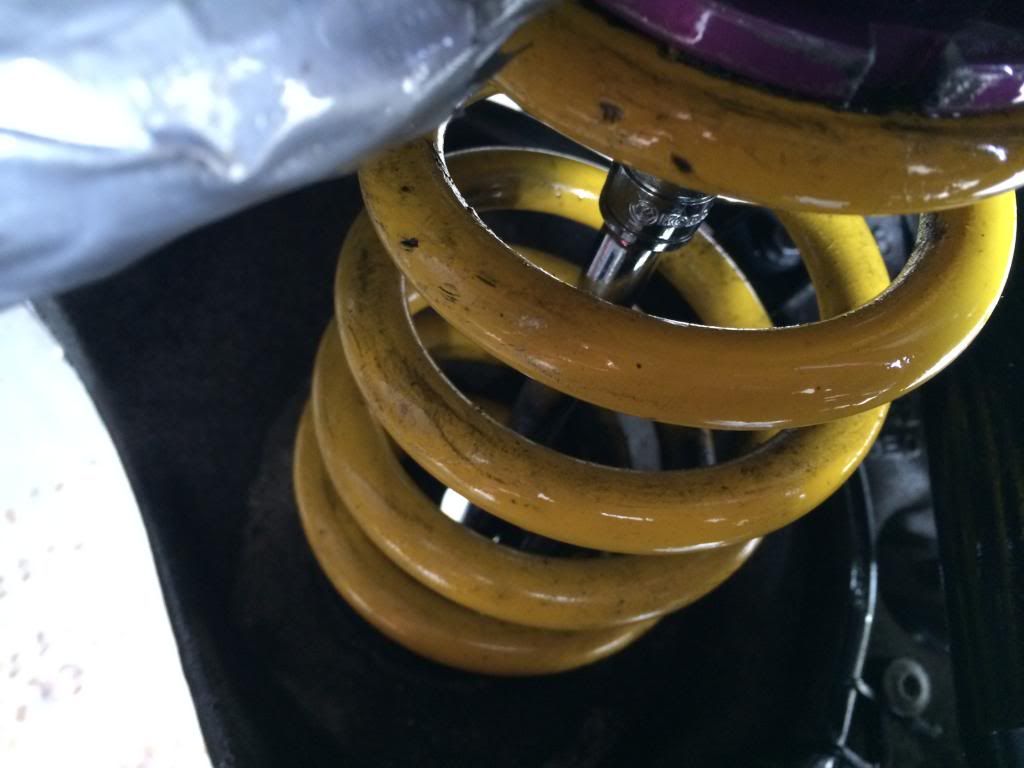
My front FTG (fender-to-ground) measurements were 25.0" FTG while lowered (summer-mode). The following picture is a measurement of the summer-mode coil setup. It measured 2.25" from the bottom of the purple coil perch to the end of the silver spiral threads at the bottom. Write your measurements down before you start adjusting, so you can revert back at a later time if you want.

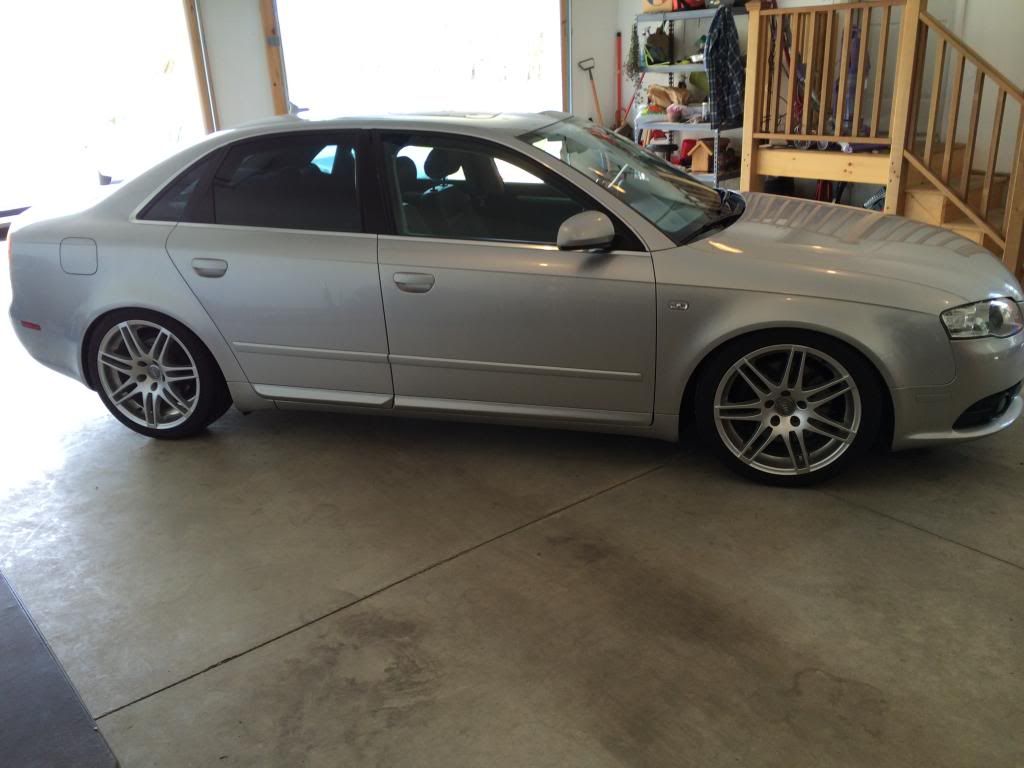
Summer-mode:

Turning the coil tool can be a pain in the ass, as you can only do partial turns, and it will just take some time and patience. If it's properly lubed up, it will be a lot smoother. You will eventually get in a groove, and better understand how to quickly turn and find the grooves with the coil tool.
To totally slam it (slam-mode) to 24" FTG, you will want to lower the purple coil perch down so only 1.25" of spiral is between it and the end of the spirals.

Slam-mode:

For winter-mode, I raised it to its max height. I might not go as high next winter, but I'm definitely not changing it this year. Some people argue against raising it at all, but I live in NH, and the roads here are absolute shit - potholes, frost-heaves (large bumps in pavement due to the temps), snow, ice chunks, etc. I figured I'll play it conservative this year at least. Anyhow, I raised it up to its max height of 25.75" FTG, and the measurement from the purple coil perch to the bottom of the spirals was 3.0".

Once the fronts are where you want them, put the wheels back on, put the car jack under the car, raise it a little, remove jack stand, make sure the wooden ramps are under your wheels (definitely needed if you just lowered it or are low), slowly release the pressure off the car jack, lower the car into the wooden ramps, remove car jack, put car in reverse, slowly drive backwards off the wooden ramps.

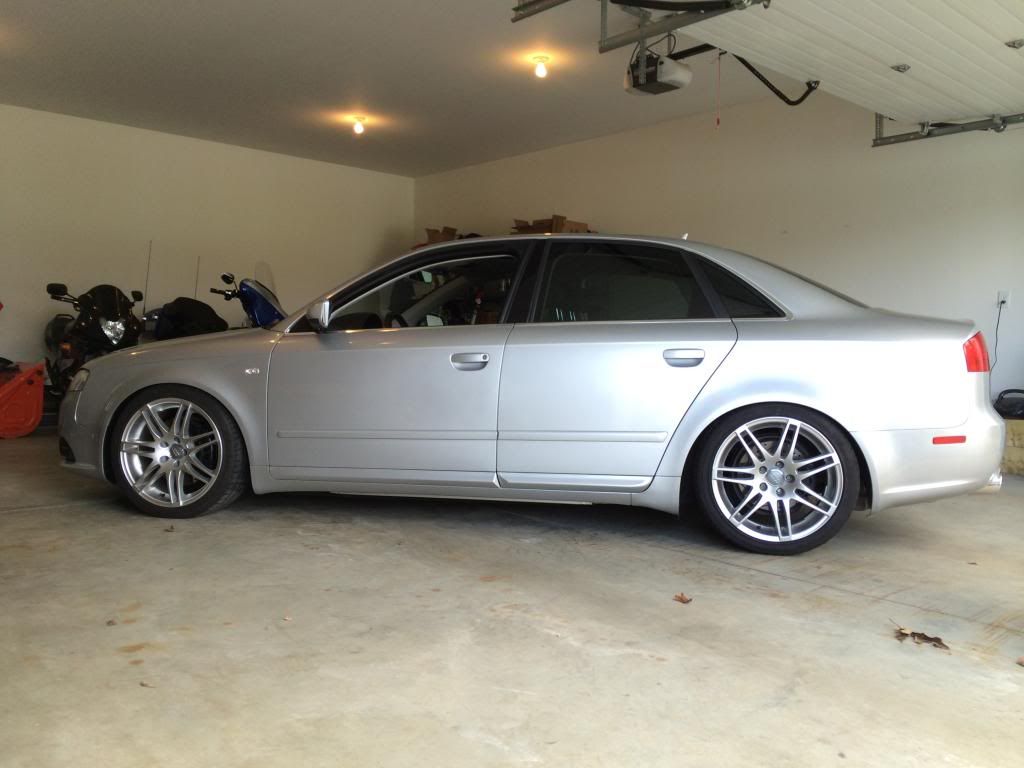
Winter-mode:

Front is complete.
Videos of the front adjustments:
RAudiB7A4s video:
My video (wildcat333):
************************************************** ************************************************** **********
REAR ADJUSTMENTS:
05/05/14 update:
Hi guys. Here is an update on how to adjust your rear KW V1 coilover suspension. A huge thanks goes to user RAudiB7A4 and aluthman for their ideas and help. The thread where this started is here: http://www.audizine.com/forum/showth...uestions/page3 . I successfully utilized this method, and it worked flawlessly.
With the car on jack stands, and the rear wheels removed, you can now start to look at what we are dealing with. Fold the little piece of carpet-like fender material up, because you will need to have access to get your coil tool up in there. Alternatively, you can use a Dremel with cutting wheel (or a utility knife) to cut away that the carpet piece so you will never have to deal with it again.


You will need a ratchet. I used my favorite 3/8 Drive Ratchet. Attached to that was a 10 socket extension. And on the tip of that extension was a 3/8 Hex (a.k.a. Allen) bit socket pictured here:
Ratchet position for summer-mode to lower the car:
It would be on the other side for winter-mode to raise the car.
You put the extension with hex bit up through the bottom of the rear control arms. Insert the hex bit into the black plastic piece that has the threads on it. The 3/8 hex bit should fit perfectly snug in there.
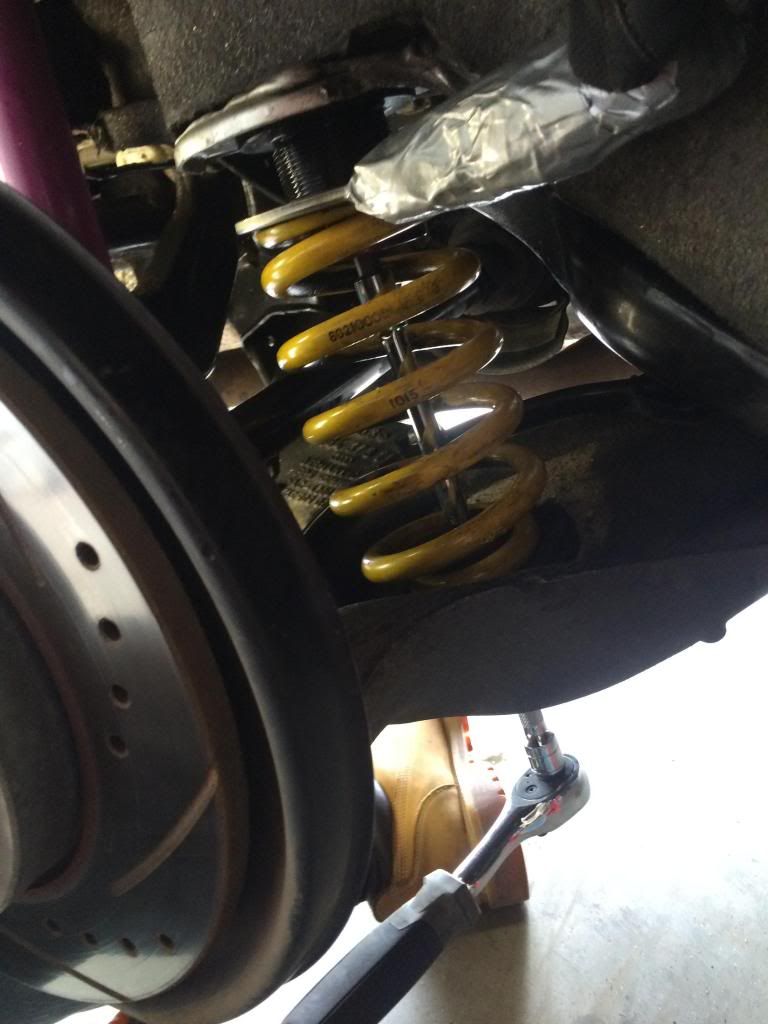
Take your coilover wrench (a.k.a. spanner wrench; a.k.a. crescent wrench) and grip the purple metal coilover perch. You will need to be on the left side of this piece for summer-mode; or right side for winter-mode. You are not spinning the spanner wrench at all, but rather just holding on tight, and preventing the purple coil perch from moving at all.
You will be using your ratchet now to spin the black coil piece with threads. The higher up the black piece with threads moves up towards the car, the lower the cars ride height will be. I left 15mm between the absolute top and the purple coil perch. This left me right at 24.5 FTG (fender-to-ground measurement). This is my summer-mode setup.
*****
Pics of winter-mode setup:
I raised my car to the max height, by moving the knob to the lowest level of spirals possible. Winter-mode:

The rears are now approx 26.0" FTG. All ready for winter now:

*****
Once your coil purple perch is in place where you want, throw your wheels back on, and put it back on the ground.
Rears are complete.
Many people have advised me that a proper torque wrench would be good, so the lugs can be put back onto the wheel with the proper torque... so that would be a good idea too. Ive been advised between 95-100 foot-lbs is the proper spec. 95 seems to be a good number from my experience. If you don't have one, the OEM Audi lug wrench will work for now (that's what I used for a while until I got a torque wrench). Just make sure you really put some muscle into the lugs so they won't fly off while driving later.
Now would be a good time to get an alignment - it will be worth it so you dont ruin your tires.
My videos for the rear adjustment.
1 of 2:
2 of 2:
*****************
For people interested more in my KW V1 review with more pics:
http://www.audizine.com/forum/showth...now-%28pics%29
For those interested in my true rear coil adjustment terror and freaking out:
http://www.audizine.com/forum/showth...44#post6910744
I hope this helps. The reason I wrote this is because KW doesn't seem to offer actual real instructions (barely anything in English); and I did not find anything of substance (or with pics) online prior to my adjustments.
Let me know if I need to edit anything please, and I will. Hope this helps a few people.
*************

 Reply With Quote


Bookmarks