


Here is a short history of my lighting progression. I went from all completely stock with more than likely original from the factory bulbs to S4 Bixenon’s with Passat projector fogs. I would say that the projector fogs made my output roughly twice as bright and a bit wider. I felt nervous driving at night with my stock output since I felt people couldn’t see me and I kept getting cut off. After installing the projector fogs I didn’t get cut off a single time for at least 3 or 4 months. Fast forward to about a month ago I purchased new ballasts, new bulbs, and some new housings to attempt to do a TL, or FX retrofit. After about a month of measuring and fiddling around I decided aftermarket projectors wouldn’t fit the awkward shape of our housings without some major hacking up of the housings, and I wasn’t really willing to destroy them if I wasn’t positive they would fit. Instead I just ordered up some STI Replica lenses from The Retrofit Source in an attempt to get the most out of my stock projectors. With the new bulbs in my stock housings the light was about 50% brighter than with the old bulbs, so I felt like I could almost drive without the fog lights on. After I made the decision to stick with the stock projectors and install my STI lenses I would say the projectors are about 25-30% brighter and are about as bright as the stock projectors with new bulbs + HID projector fogs. It is now somewhat difficult to notice when my fogs are on, whereas before the clear lens upgrade it was about half as bright with the fogs off.
These mods are relatively simple and should definitely increase your projector width as well as intensity, but depending on the condition of your projectors it might not be a night and day difference. I got so good at pulling the housings out of the car and pulling the projector from the housing that no joke I was able to fire up the stove for spaghetti and pull both housings out of my car and pull both projectors from the housings before my spaghetti was cooked. So I am confident anyone out there would be able to perform similar mods to their housings. These mods are for the Bixenon projectors which are a 3” lens, so this won’t translate directly to a single xenon projector since they have a 2.5” lens, but I am sure if you contacted The Retrofit Source they should be able to help you match a set of lenses that should work with the single xenon projectors. The same basic ideas and procedures should more than likely work with a little troubleshooting on the single xenons.
Anyway, without further ado here is my best attempt at a DIY for all of the upgrades I have done to my housings and projectors.
Tools required:
Long handled T30 driver or screwdriver with skinny extensions
Long handled T20 driver or screwdriver with skinny extensions
Medium sized flathead
Small flathead
Flashlight
Right angle pick
Magnetic extendable grabber
Beefy needle nose pliers
RTV Silicone gasket maker

3M wet/dry sandpaper (I used increments of 800, 1000, 1500, 2000)
I chose 3M because the Harbor Freight stuff I bought would fall apart on me and not really work. And the car on the package is rocking my same winter wheels!


Drill with 7/64th bit
Some kind of orbital buffer and some Plastic X or other plastic or headlight polish

4-40x3/4 Screws and nuts
#6 Flat washers (not pictured)
VHT high temp flat black engine paint (not pictured)

A bunch of these. Different brands or sizes might work better for your application, I found the smaller ones tended to break a little easier, so I went with the big ones.

Optional:
Computer power supply to run your ballast and test your output.

Headlight housing refurb:
You will want to start by pulling out the headlights from the car with your T30 and your extended screwdriver. To disconnect the clip you will need either the right angle pick or a couple of flatheads. Disconnect both lights and pull off the rubber ring surrounding the face of the housing. Clean off the headlights and proceed to wet sand the housings starting with your 800 grit paper. Only do your strokes in one direction and make sure to continually wet the paper and clean the headlights off to check your progress. Assuming your housings are decently pitted you might need to sand for around 10 minutes to a half hour with your 800 grit to get all of the chips and pits out of your housing. If you see any areas that still look a little dark or shiny still make sure to hit those spots again since after you polish them in the end if you didn't sand the whole lens smooth it will leave scratches and won't look as nice.
Once you have created a smooth surface free of pitting with the 800 step it up to the 1000 grit. This time sanding 90 degrees from your previous strokes. So if you were sanding the housing horizontally now start sanding vertically. This way you can tell when you have eliminated the scratches from the previous grit and can move up to the next piece. Continue this process until you hit 2000 grit. Once you are finished with 2000 break out the orbital polisher and your plastic polish. Depending on how nice of a polisher you have this could take anywhere from 10 minutes to a half hour to remove the swirls and end up with a clean looking headlight. Once that is done you are almost finished with your refurb.
The next step will be to remove everything from the housing (bulbs, projectors, and motors). To remove the projectors you will need to disconnect the wire from the solenoid (green and yellow wire) and used your long handled T20 bit to unscrew the projector itself. Use your magnetic grabber to snag those screws out so they don't fall into the headlight housing as well. There are four screws shown here by the red arrows.


To remove the motors you will need to remove the adjustment screw gears on the top and put the screw out of the top.

Then you need to disconnect the motor wire and the motor from the face of the headlight mount. It is the little ball at the end of the motor. Once that is free the motors simply twist and pop right out.

Next take some distilled water and pour it in through the back of the housing. I used about half a drinking glass each time. Hold the headlights up in the air so that the water can swish around on the front of the inside of the lenses and clean any water and dirt off of them. Depending on how much dirt, grime, or water spots you have you might need to rinse them 3 or so times. Just pour the new water out the back and dry the housings out with a heat gun or a hair dryer.
I was tired of my bixenon housings leaking water all the time, so I decided to seal them up a bit better. I used the RTV silicone to make a bead around this oblong adjuster piece.

That makes it completely water tight. NOTE: Only do this after you have cleaned the inside of your housings with water and are pleased with the results, otherwise you will have to rip up the silicone to get the adjuster screw out in order to pull the motor. The combination of the RTV silicone and some 3M stretchy tape over the top of the open gear assembly and screw will make these completely water tight. I haven't had a drop of condensation in the housings after doing so.
Once all that is done you should be left with some brand new looking headlights and are ready to proceed with modding the projectors. Now is definitely a good time to pat yourself on the back and snag a brew.

Projector Modifications:
Now that your projectors are out of the housing and your housings are all perfect and cleaned up you can tackle modding the projector. The first thing you will need to do is pop the two halves of the projector apart. They use little C clips on the top and bottom that come off easily with a small flathead.

Once you have popped all four off you can separate the projectors and remove your stock ridged lens to replace with the STI clear lens. Basically you need to release that tab by spinning it to drop the lens out and re-install the STI ones. Grab those needle nose plyers and pull that sucker apart.

Once they are apart you will need to wrap the outer edge of the STI lens in some sort of tape or film to make their circumference slightly larger since they are just barely smaller than the stock lenses. If you don't they will not fit back into this housing properly. Since I was putting 3M headlight film on my freshly refurbed housings I cut really skinny pieces of this and rolled it onto the lens similar to a fruit by the foot. Roll them up following the red line in the pic. Just keep checking them to see when they fit snugly in the housing without wobbling around.

Also, since these lenses are slightly thicker you will need to bend down the ears of the mounting ring to allow them to fit back into the lens holder like so.

Re-install the lenses into the holders using the reverse process you used to remove them. Once that is complete go ahead and spray your cutoff completely black with your engine bay paint. You will need to open the flapper a bit to cover all the parts of the cutoff. Unfortunately the only pic I have of mine is when it is unpainted.

Once those are done go ahead and put the projector back together and you are ready to start drilling some holes.
 Take your 7/64th bit and drill four holes all the way through the projector bowl, lens holder, and cutoff. It is easiest to drill them from the front side, but it doesn't really matter. Drill right in the middle of all of these dimples. Removing and replacing the U clips one by one so that the two halves stay aligned with each other properly. Also, this pic shows me drilling from the back, but you can do either.

Once you have your holes drilled go ahead and take out your screws, nuts, and washers. Thread a screw through each of the holes and put two washers on each screw. You will want the washers to be on the same side as the lens holder, so the cutoff shield doesn't move at all.

Go ahead and screw those on tight and your finished product should look like so. If there is any wobbling or the lens holder isn't sitting flat it will probably goof up your light pattern, so just make sure they are seated properly.

Once that is all done you are ready to pop a bulb in and test those out with your computer power supply setup. I picked up a housing to ballast cable on ebay and wired it on to the computer power supply using a fan connection cable. WARNING. Make sure everything is wired properly and that you have wired the correct + and - to your ballast. I am not responsible if you blow anything up or shock yourself. Just take the appropriate precautions.

Unfortunately my shot of the stock lens managed to disappear from my camera. I will try to get one soon. Clear lens without spacers

Clear lens with spacers
Once you are done with the projectors go ahead and mount them back into the housings and bolt everything back up. You will probably need to mess with the adjustments on your headlight since they will be a bit out of whack. Once you are done with that throw that tape I referenced earlier over the height adjustment screw and you should no longer get any condensation in your housings. You are no officially done! Grab another beer and enjoy some improved lighting!

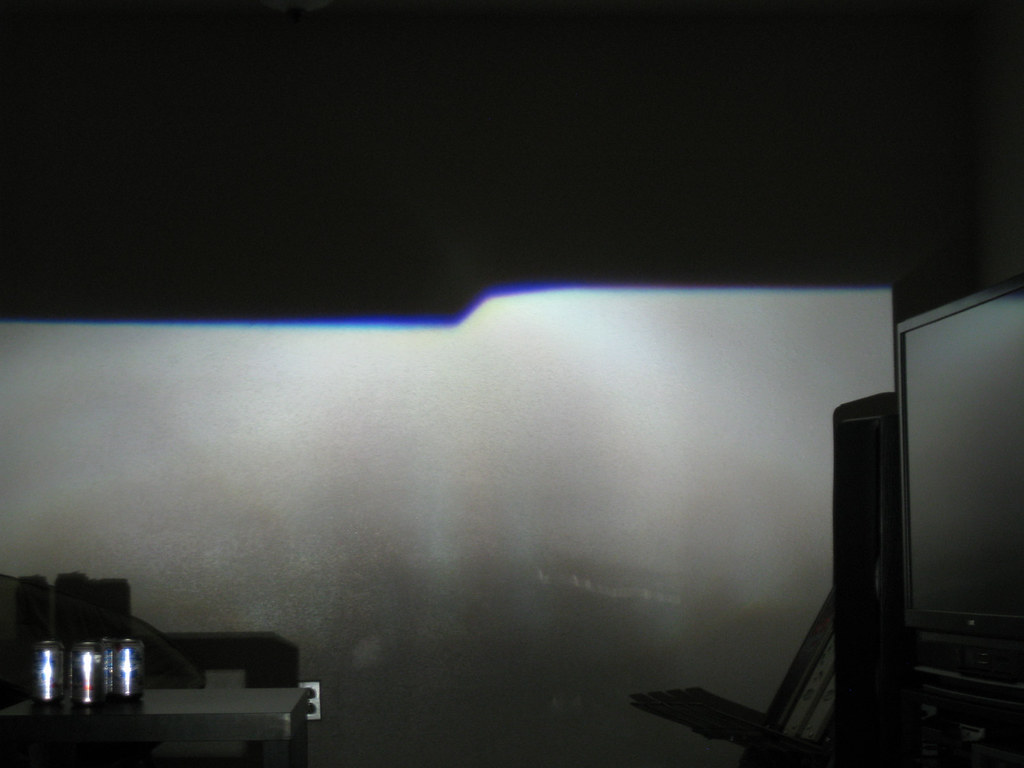
Beam from a single projector. Notice the cutoff is sharp from end to end.

Hit me up if you see any glaring mistakes or omissions. Happy wrenching!

 Reply With Quote


 that's a heck of a write up


Bookmarks