


The problem: My e-brake "popped" one day and I immediately lost my e-brake. After dissecting the center console, I found that one of my e-brake cables seized and would not move back and forth to accommodate the handle pulling/pushing.
The engineering: Audi made these e-brakes "self-adjusting" meaning there is a swivel at the base of the handle that rotates left/right to ensure an equal and firm pull and release. The cables are steel braided wires with a thick plastic/composite "sheath". If the sheath cracks, tears, etc, the steel cable gets exposed to the elements and rusts and/or begins to unravel/fray inside the sheath. Thus freezing the cable in place. On the rear tire is the spring loaded e-braking mechanism but it doesn't have enough "stank" to retract the frozen cable back when the e-brake handle is released.
I'm only replacing one cable in this DIY, but it is only because I replaced the right one about 6 months ago. IMO, if you replace one, you might as well replace the other. The cables only cost me about $45/each.
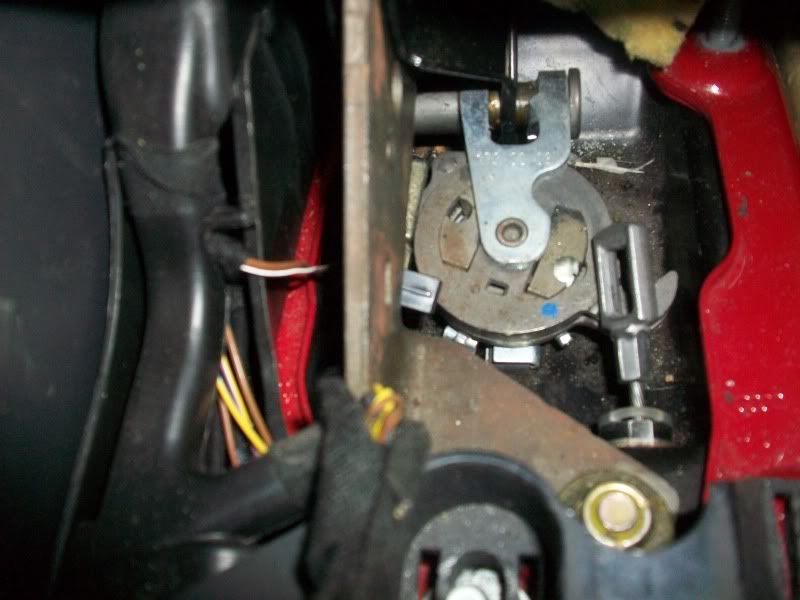
Here's what the adjuster is supposed to look like when functional:

Note the two "hooks" are pretty much even and the "hoops" are the ends of the brake cables. When pulling/releasing the brake, these hoops should move equally and simultaneously front and back. When one freezes, the adjuster attempts to correct this and rotates the opposite way to the extent that the good cable hoop falls off the hook and will disengage the e-brake system.
Here's the dysfunctional e-brake "released" ie pushed down. Note that the left cable doesn't move so the swivel rotates to the right. As a result, the good cable (right) is over-rotated and the hoop falls off the hook:
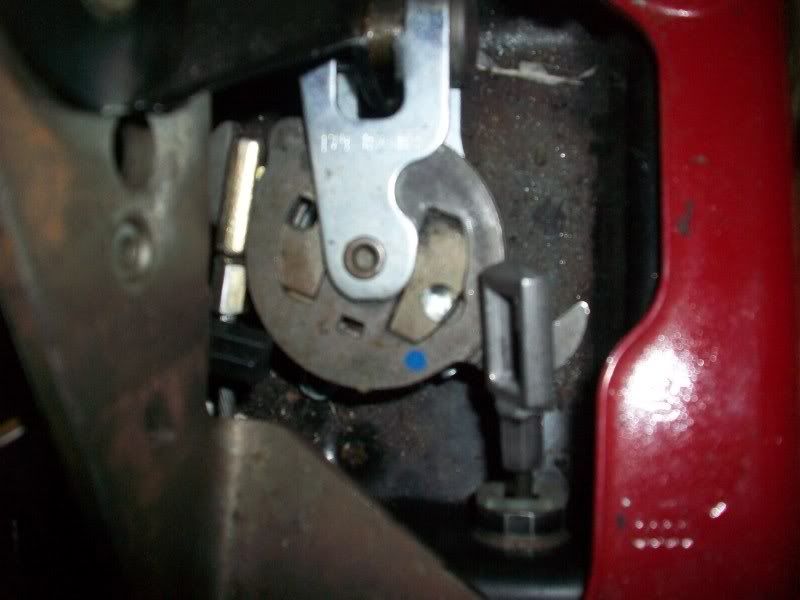
Here's the dysfunctional ebrake "engaged" ie pulled up. The swivel is pulled forward and because the left cable doesn't move, the swivel rotates to the left.

The tools:
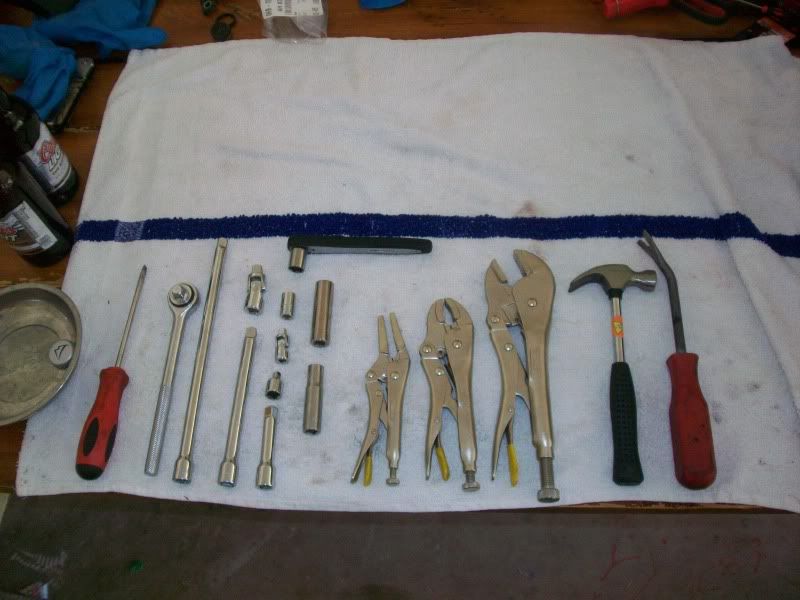
Not kidding...that's it
Time: It shouldn't take you more than 2 hours if you are mechanically inclined. This really isn't that hard.
Disclaimer: This is just what I did. When in doubt, you should take your car to a certified mechanic and have this done professionally. Always use proper safety equipment to include eye protection (crap WILL fall in your face) and never work under a car without jackstands or some way of definitively preventing the vehicle from falling. You will not survive a crush injury if these cars fall on you.
Finally...The DIY:
First remove the rear tire of the side affected. In my case I'm dealing with my left cable.
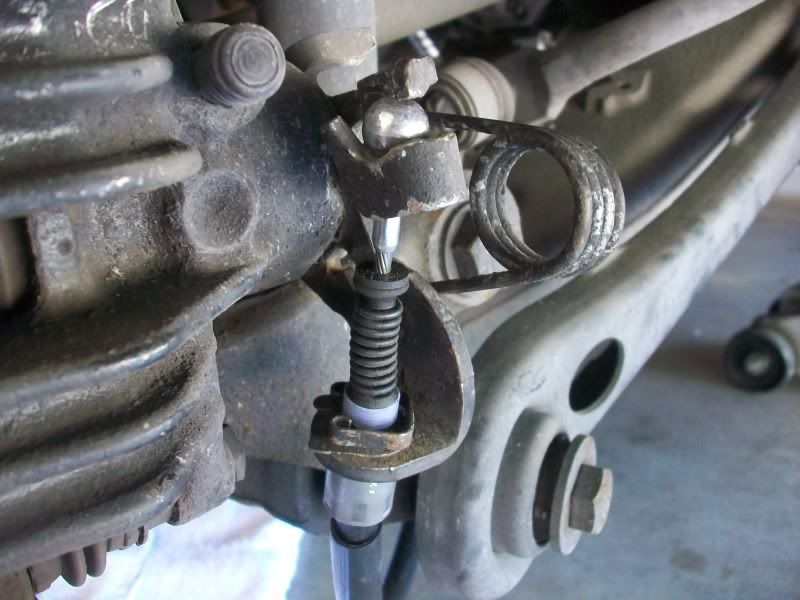
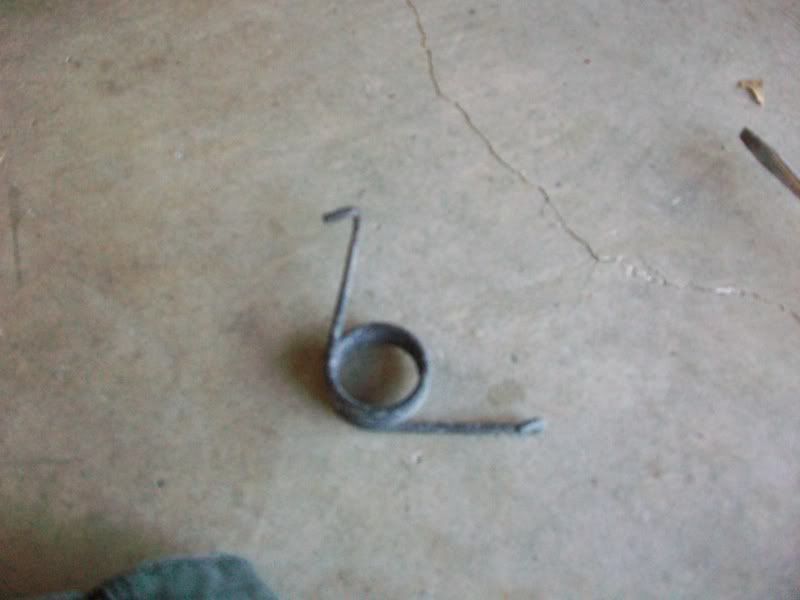

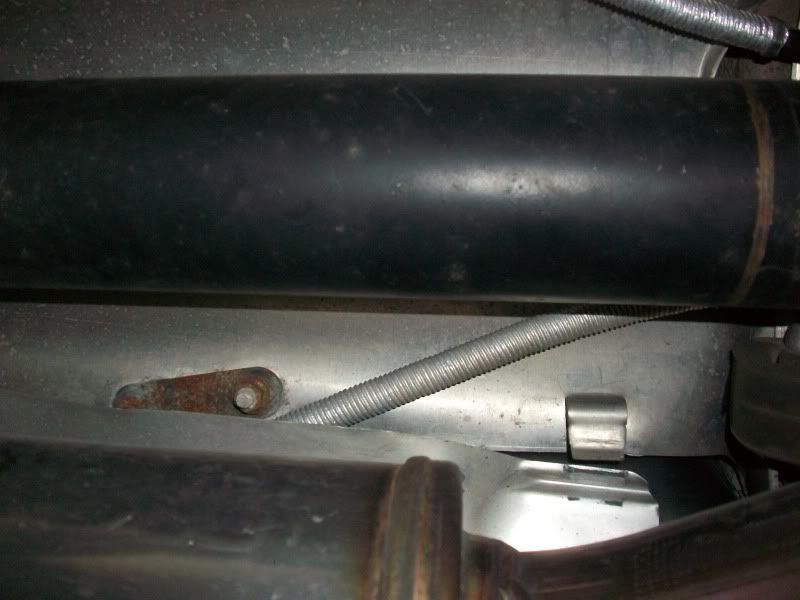
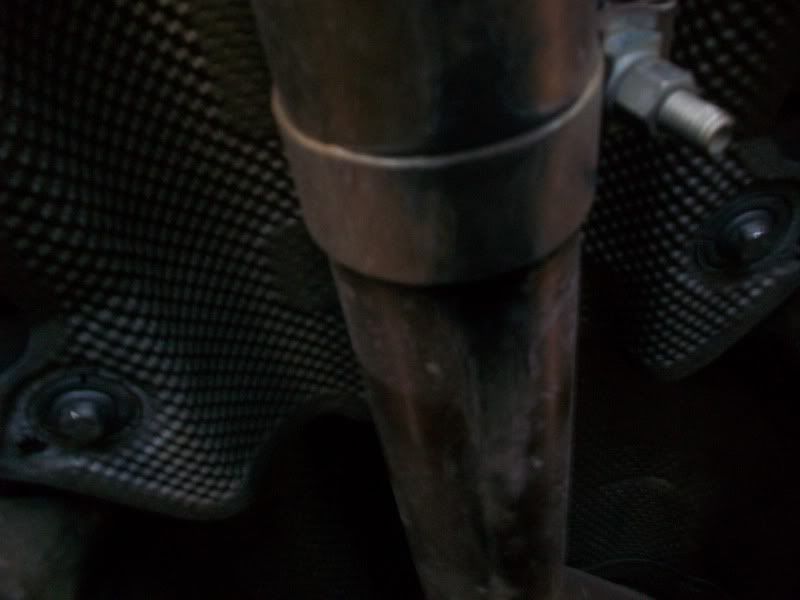
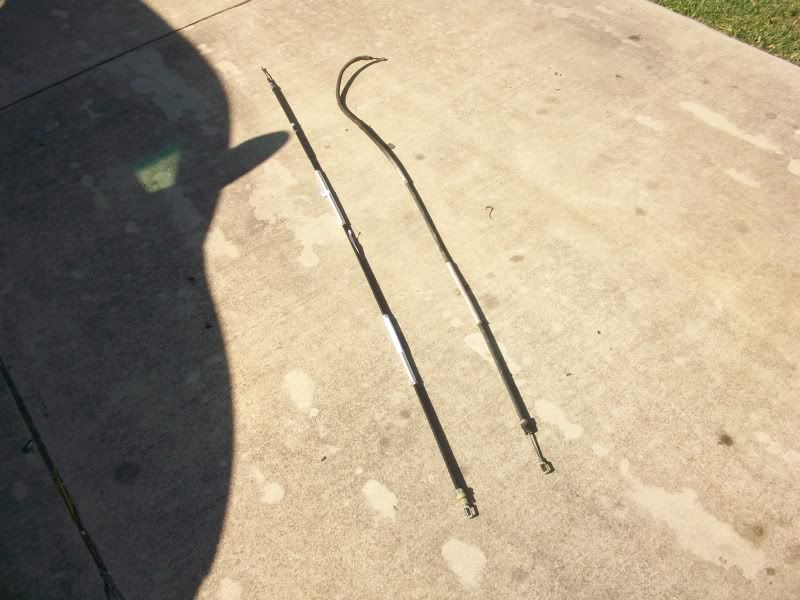
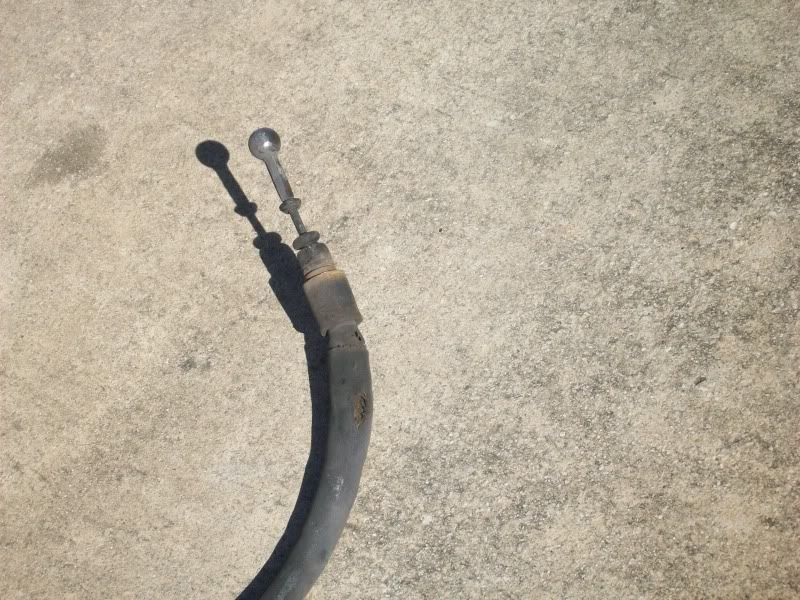
Note the c-spring with cable and retaining ball at the end as well as the retention clip (pry open, rotate until you can slide it backwards to the rear). The first pic above was actually the finished product. 2nd pic is spring unloaded. 3rd pic is the original (old) brake cable. Note the tearing in the cable cover.
Next go inside the car, slide all the seats forward and incline seats as much as possible to give you enough working room. Grab a seat in the center rear seat and remove the ashtray
Remove the lock button plate from the console and disconnect. This is done by sticking your fingers on both sides and feeling the retaining tabs. push both these tabs outward and the plate should fall out.

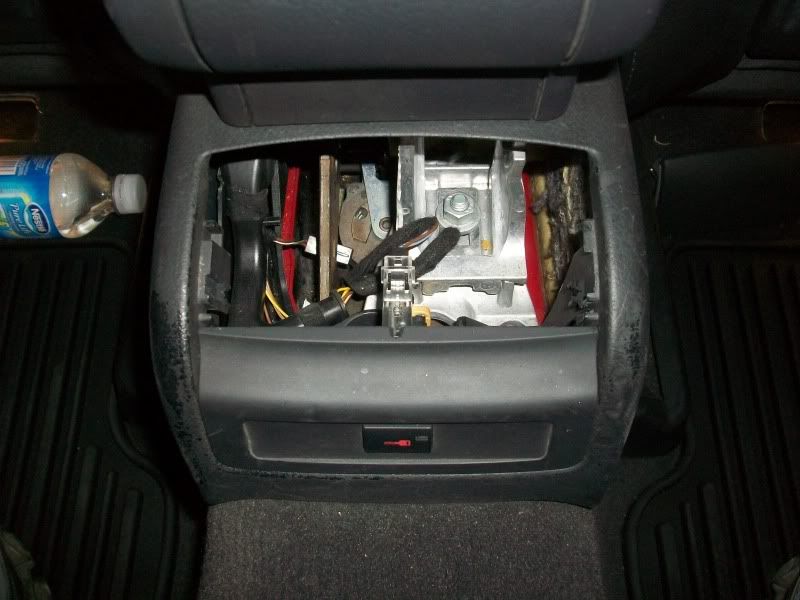
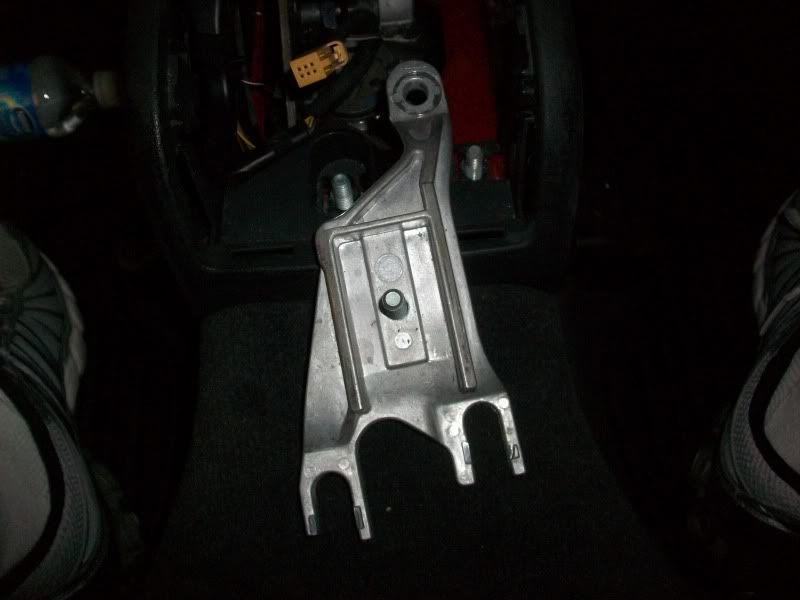
This should give you unabated access to the armrest bolt and aluminum guide plate under it

Remove the center bolt and the arm rest comes out of the top

Reach under the console and push on the bottom of the pocket. The floor plate pops out and reveals a suspicious looking hole. Inside that hole you will find another bolt that secures the front of the guide plate. Remove it

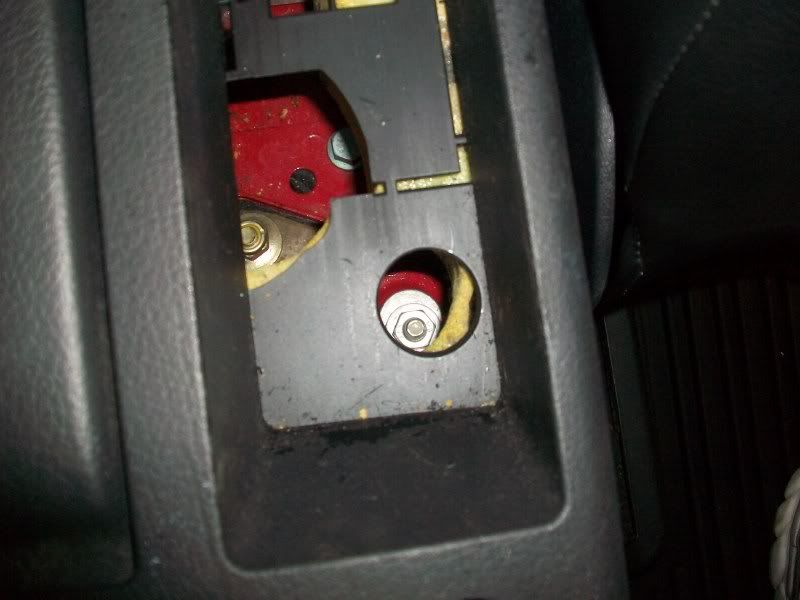
Next remove the two rear bolts on the guide plate and you will see the back of the e-brake handle (adjuster) and the dysfunctional cable hoops. Make sure the cable you are replacing is no longer hooked on the adjuster.
Note the locked cable on the left. Trust me...it won't move.

Step out of the vehicle (you're done inside for now) and go back to the back wheel well.
In the next pic, note the little notch at the top of the spring groove. I moved the bottom part of the spring up to that notch and it made the top part of the spring line up with the hole and release without too much effort. Just keep in mind when you compress the spring, it IS under tension so be careful not to catch it in the orbital socket if it slips out of your hands. You can use pliers or channel-locks, but I managed to get it with my hands (yeah...meaty hands help, LOL).

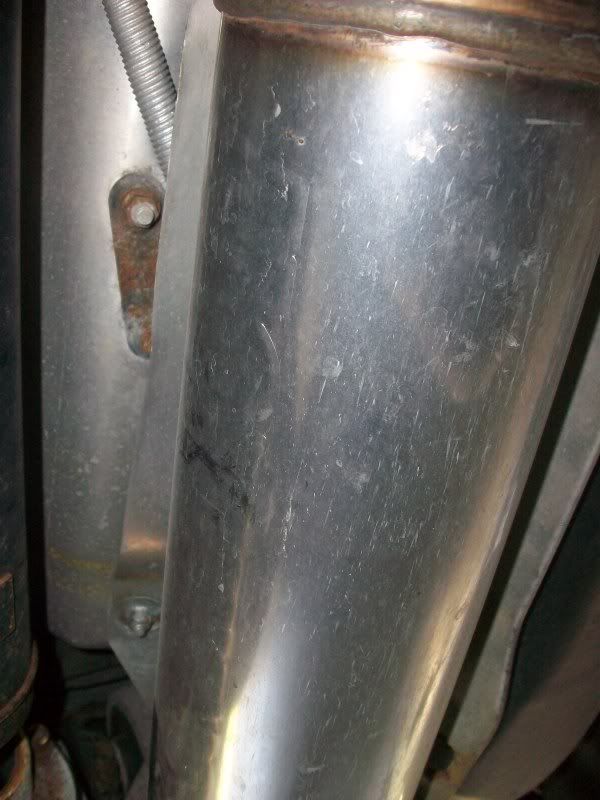
Follow the cable until you see a metal bracket (it's bolted to the lower control arm) and the cable wrapped into retaining clips. Unbolt the two bolts with your handy 13mm socket wrench and continue forward.

Next you will see that the cable goes under a heat shield. Simply unbolt the heat shield and this will reveal the next two retaining clips. I simply just popped the cable out of the clips instead of unbolting the clips. NOTE: This is where I found that these heat shield nuts do not hold up to weathering at all. A few were so rusted that they just broke off. So having a replacement stash to include the screws are definitely handy.
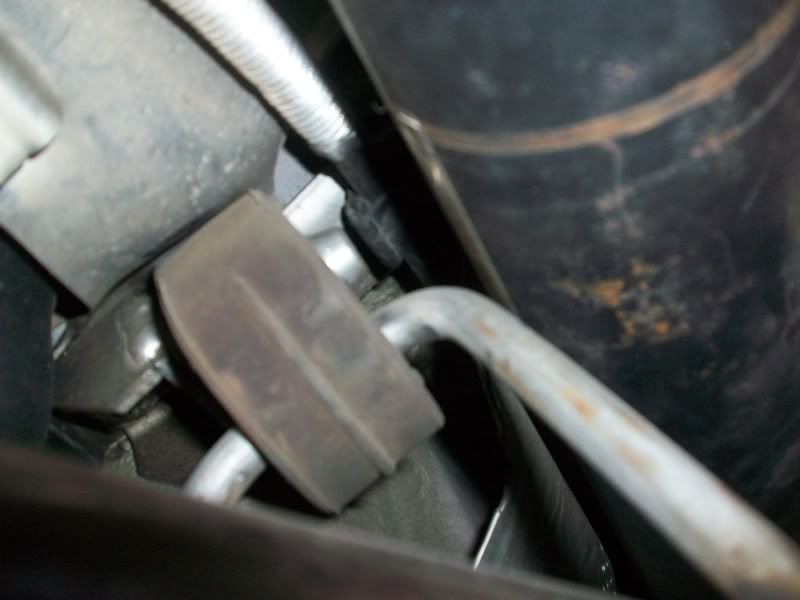
As you go forward, you will see another retaining clip. You should note that it is plastic and wraps around the entire cable. These clips are open towards the middle of the vehicle. Meaning that if you are on the left cable, the clip opens at the right side and if you are on the right cable, the clip opens on the left side. I simply took a flat screw driver and placed it between the cable and clip. Then rotate the screwdriver counter-clockwise (again if on the left clip...its the opposite rotation for the right clip) to create a separation big enough to poke another screwdriver in and pop it open.
The next step is optional, but I found it helped open the workspace up and give me a better view of the area at hand.
Pop out the black plastic heat shield retaining clips at the back of the shield that covers the center exhaust section to shield the drive shaft (If you have a FWD, I would imagine the setup is the same just without the driveshaft). The two bolts on the front of the shield actually secure the drive-shaft yolk (wraps around the shaft to stabilize). When you undo the bolts, the drive shaft will loosen slightly and want to fall down. I held onto the shaft until the heatshield was removed and then loosely threaded the bolts back to prevent the shaft from hanging loosely as I worked.
Sorry for the bad pics on those two. I didn't realize they came out that bad until I started typing this up. But hopefully you get the idea.
After you remove the cable from the wraparound retaining clip, give the cable a good pull and it will pop out of the back of the console. Then walk it out towards the back. Congrats! You just removed the cable. Now you can compare the new to the old. Right off hand you will see that the new cable will allow you to easily manually slide the cable back and forth in the plastic cover. The old will be seized and ready to serve bitch duty in the trash bin.
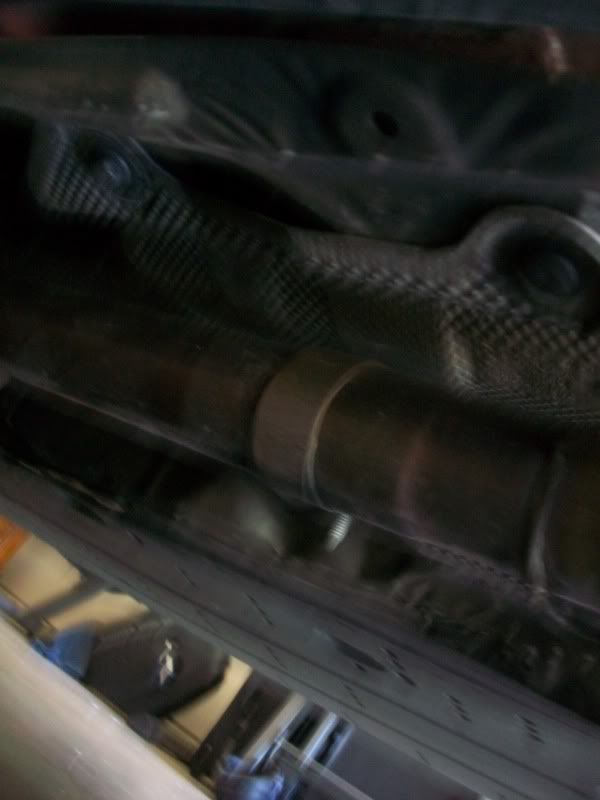
When you're done with the comparo, slide the new cable in the way the old one came out. Before I did this, I place a big bright lamp over the back of the console. This will illuminate the hole you will need to slide the end of the cable into from underneath the vehicle.
Kinda hard to see in the pic. But trust me you will definitely see it when you're under the car.
Because that drive shaft is moved slightly, you should see the hole pretty well. Once the cable finds the spot, push hard on the cable until it pops in. then temporarily secure it in the wraparound clip. Go back to the back end of the cable and push the cable forward. This will push the hoop forward. Go back inside the car and secure that hoop. This will make sure the cable stays put while you push/pull and the cable to resecure it.
Work backwards until you get just to the point of securing the back end of the cable (the retention ball). Before placing the ball, go back inside the car and hook the hoops onto the adjuster. If you are only doing one cable, this will allow the cable to move forward to easily secure the other one (the one that doesn't have much movement because it's under tension).
Finally go back to the wheel and place the end of the cable in its home. This may take a bit of effort. But it's still much easier than trying to hook both of those hoops on the adjuster while both are under tension. TRUST ME!!! Replace spring and don't forget that retention shim at the base. and double check your work.
Mount your wheel, remove your jacks, and lower the car back down.
Enjoy the glory that is now a working e-brake and reassemble the center console.
Hope this helps someone. Thanks for reading.
 "Amy"
"Amy" 
 Reply With Quote
 Nice writeup


Bookmarks