


TOOLS, PARTS, MATERIALS:
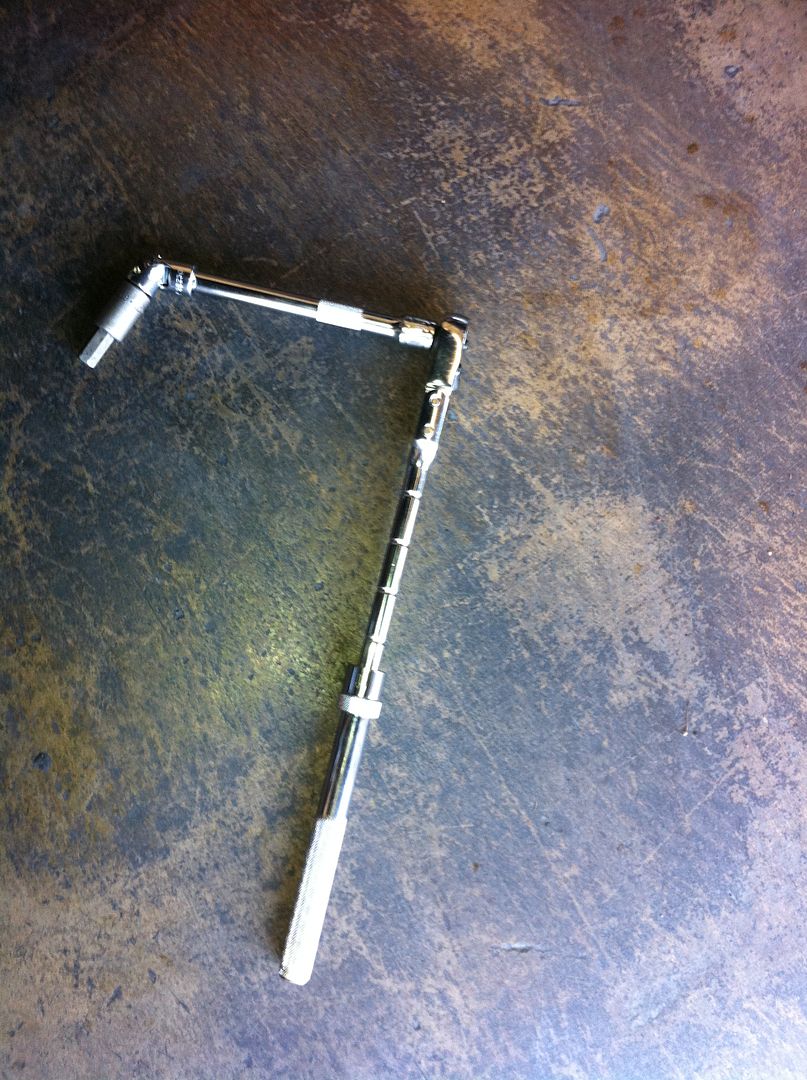
~ 3/8 Socket Wrench
~ 3/8 6 Socket Extension
~ 3/8 Swivel-Head Socket Extension
~ 3/8 10mm Hex-Head Socket
~ 3/8 Torque Wrench
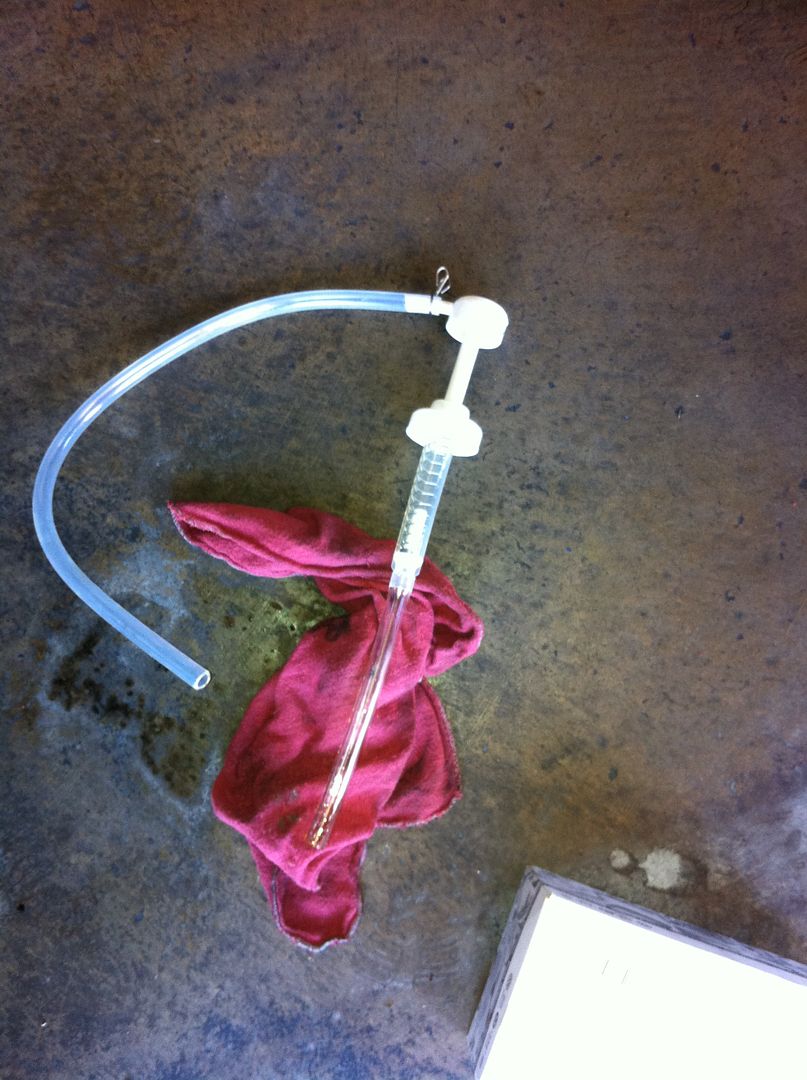
~ Fluid Transfer Hand Pump ( I used a cheap 6$ one from Autozone, but something like a Mityvac will save you a few hand cramps)
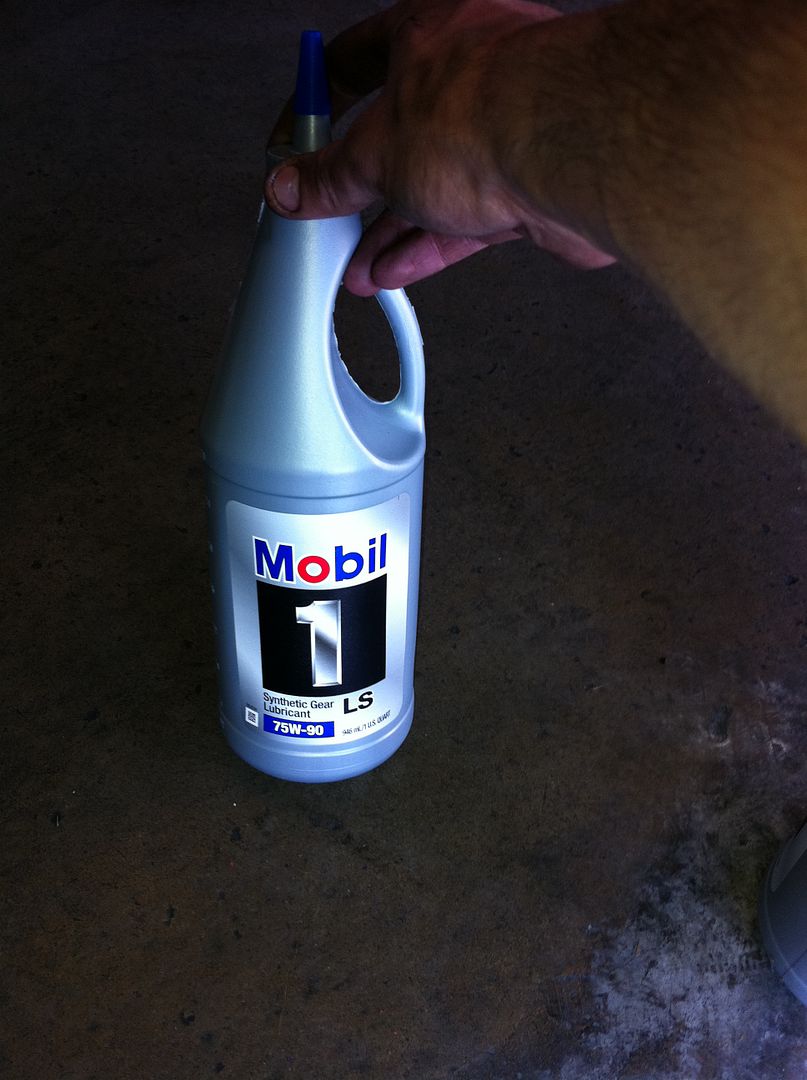
~ 1.9 Quarts of you favorite 75w90 Gear Oil (Here is a good FAQ to choose one. Thank you dparm)
~ A Lift or Jack and Jack Stands
~ Oil Catch Can.
~ Safety Glasses
~ 2 Beers

Note: The following procedure is intended to be a guide only, and was accomplished on a 04 B6 S4. If followed improperly, damage to you or your property is possible. I take no responsibility for your undertaking of this procedure. Accomplish at your own risk. Remember, Safety first.
DIFFICULTY:
This is extremely easy and can be accomplished by just about anyone who knows what the tools and parts listed above are. Total time for me with a lift was 20 Min. It will take a bit longer if you use a jack and jack stands or wait for the car to cool a little (you do want the oil to be warm thou).
PROCEDURE:
- Disconnect the battery.
- Beer sip
- Set the E-Brake, block the front tires, lift the rear of the car and place on jack stands, remove jack. (Never work under a car supported only by a jack) Alternately and preferably lift the car with a lift.
- Beer sip
- Place oil catch can under the rear differential.
- Beer sip
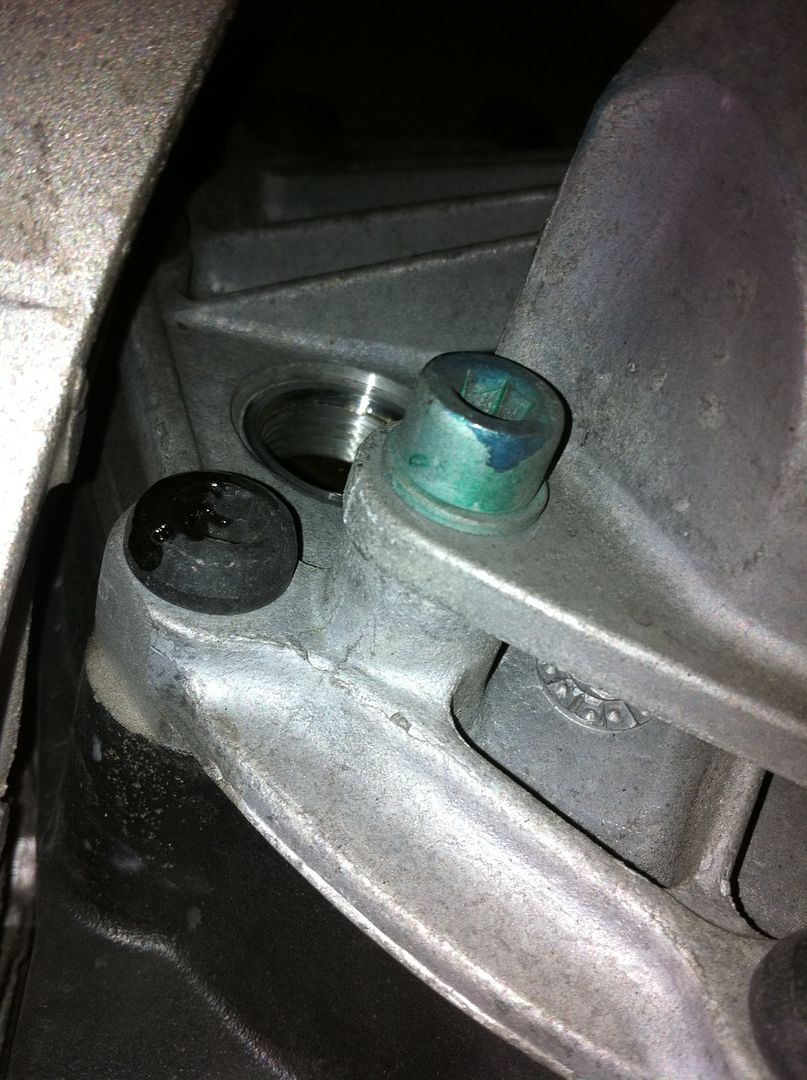
- With a 10mm Hex-Head Socket attached to a swivel and 6 extension, remove the 10mm Hex-Head nut that is towards the top of the right hand side of the differential.
- Beer sip
- Now remove the 10mm Hex-Head nut on the bottom of the differential and drain all of the old oil.

- New beer, beer sip
- Reinstall the bottom nut and torque to 30ft lbs (40Nm) (This is what it was for my old car and couldnt find the torque spec for the S4. will correct if someone posts it up)
- Beer sip
- Install pump on the quart of oil, install hose into the hole from the removed nut on the top right and pump away.

- Beer sip
- Add 1.9 Qts of oil, reinstall 10mm nut and torque to 30ft lbs (40Nm) and wipe up any excess drips.
- Beer sip
- Drop the car, reconnect the battery.
- Finish beer.
- Properly dispose of your oil and beer cans. Have a good day


 Reply With Quote
 Traded 4/3/13

 Noggy S4 Avant MT B6


Bookmarks