


![audi[]viruz is offline](images/statusicon/user-offline.png)

This is for my 2006 2.0T engine.
I thought it would be a good idea to make a DIY for the PCV. I looked around and could not find one. And I needed to replace the one in my car. I also replaced the Breather Tube while I was there.
This is the kit.

Parts needed:
PCV and Gasket
Breather Tube and Gasket
Hose Clamp (the kit does not bring one) buy it separate.
I bought a full kit from Europarts.
Tools needed:
Torx T25 I started with a ratchet bit but then ended up using a Torx T handle which was better for this application.
Flat head screwdriver I used a few different sizes.
Rags or shop towels
Phillips screwdriver
5 mm hex L shape bit
Large Pliers
Start by taking off the engine cover. The PCV valve is located top right.

Here is the hardest part of the job. Removing the two hoses that attach to the Valve.
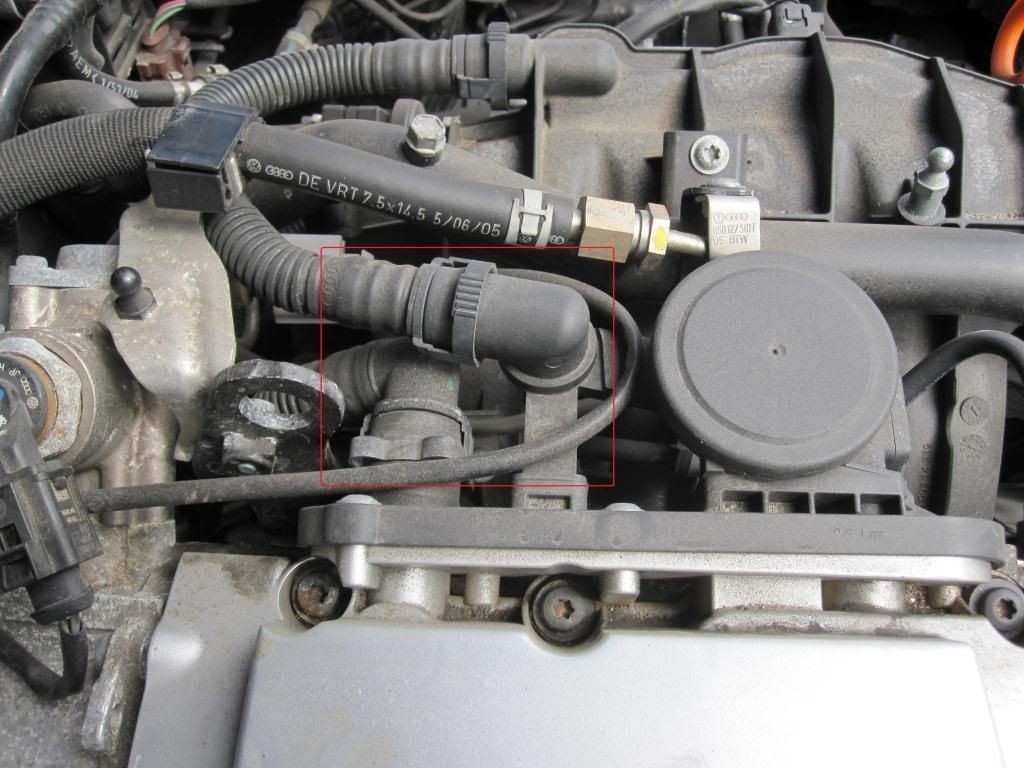
The clip that hold the first hose attach to the valve needs to be squeeze on the top and bottom at the same time pushing away from the valve to come off. I used a flat screwdriver in between the valve and hoses pushing away from the valve. The second hose under the first one is a little more difficult. I used a small flathead screwdriver to pry both sides pushing and top and bottom then pushing away from the valve. Caution be very careful prying and pushing, the clips can break.
Now you can remove the four Screws that attach the valve to the valve cover. I found that using the Torx T handle was better and it does not take much effort to remove the screws.

The PCV valve comes of easily.
This is how it looks like after removing the valve. Once the valve is remove you will see the gasket and you can remove it. I used a small flathead screwdriver prying by the sides. Again be careful.
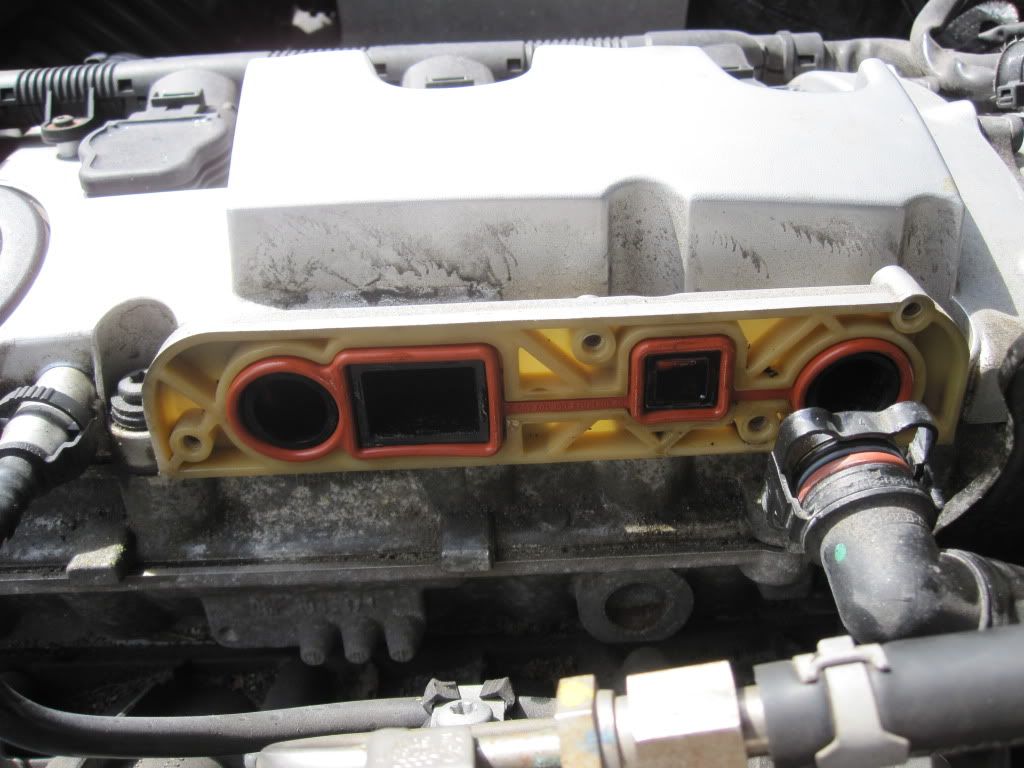
Now you can replace the gasket after wiping the area where the gasket goes with a rag.
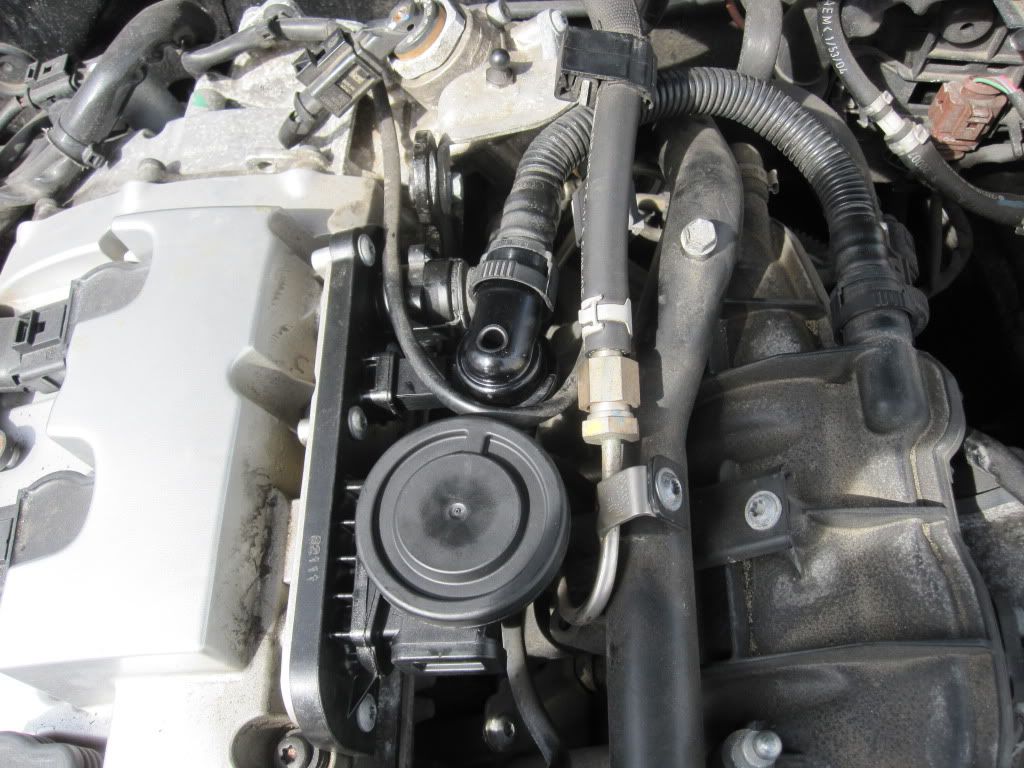
Now it’s just put on the new valve and hoses making sure that the hoses clip back on. And it should look like this.
Now for the Breather Tube.
It’s located under the Air Intake piping on the left side on the engine.
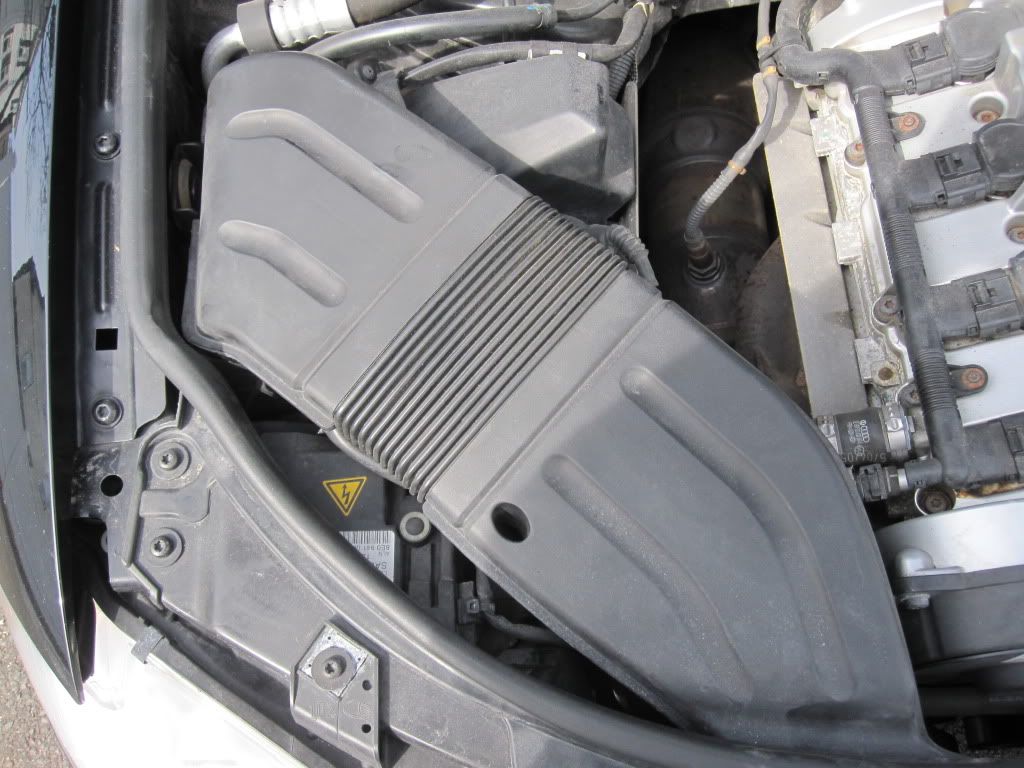
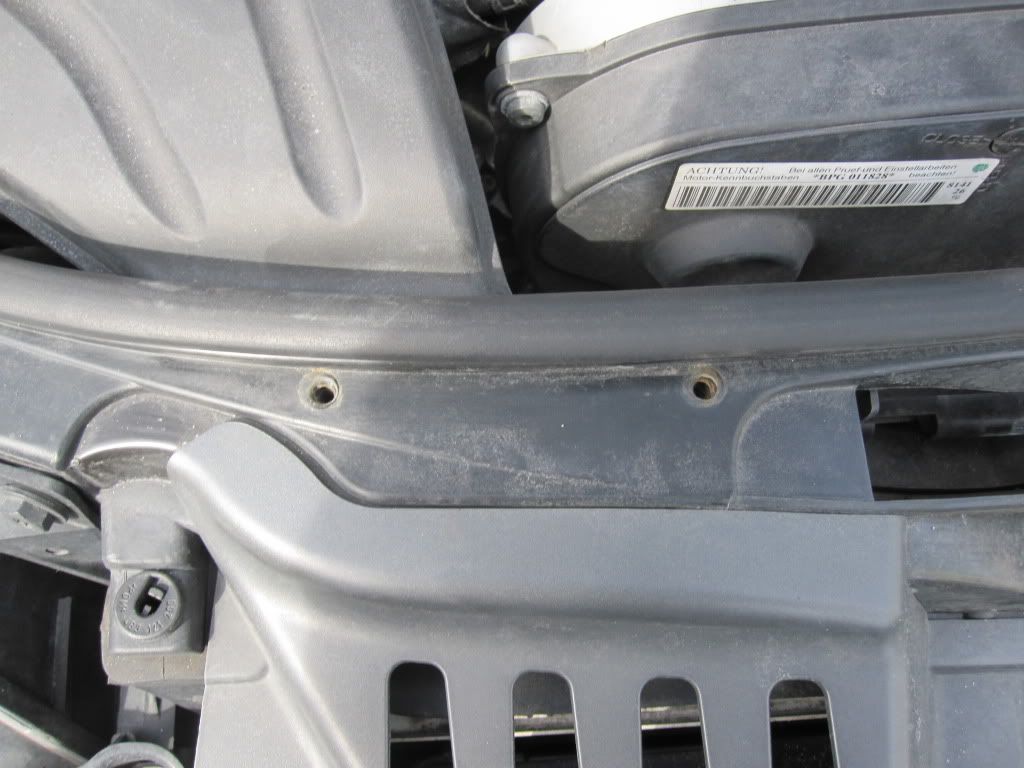
You will need to remove the piping, remove the two screws with a Phillips head screw driver located on the front of the core support.
It will look like this.
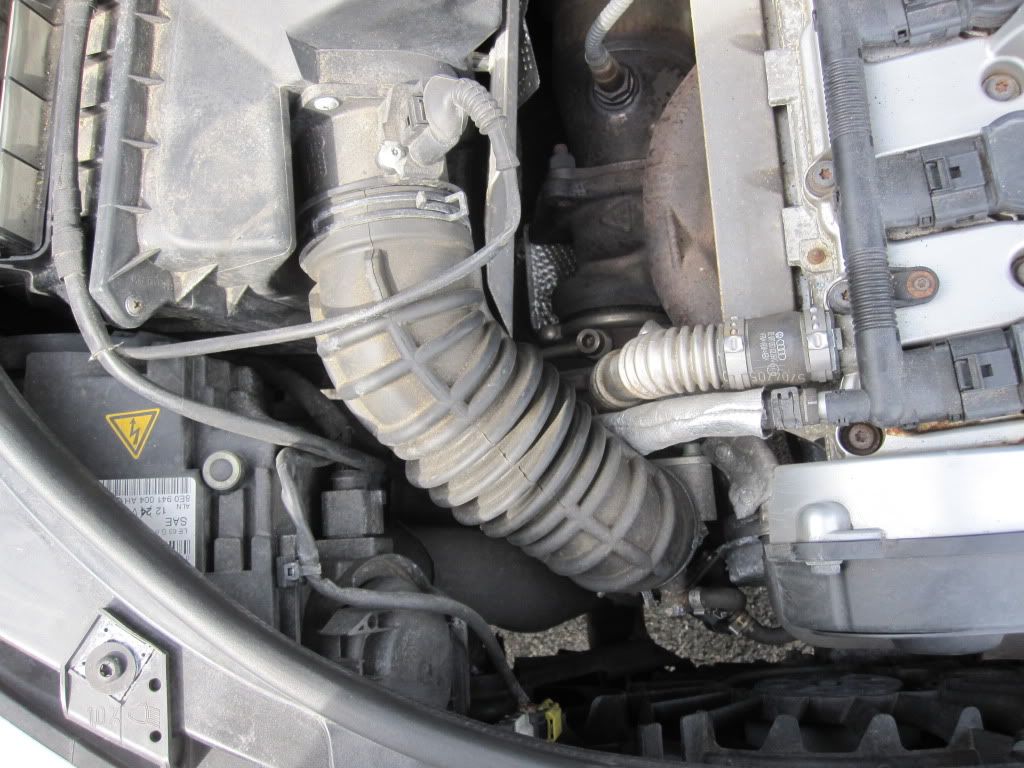
And here is the Breather Tube.
I remove the rubber air intake hoses that attaches to the turbo inlet to make easier access to the bolts that need to be remove. You will need to use a large pliers to remove the clamps.
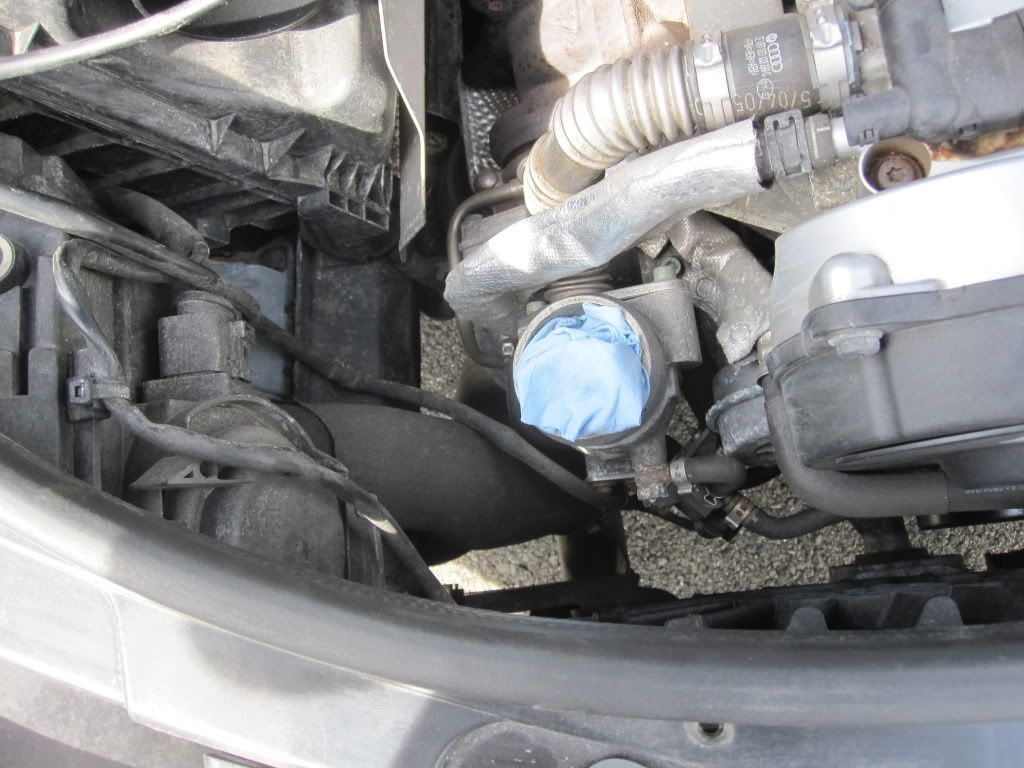
Make sure to put something to cover the inlet hole, I used some shop towels you don’t want anything going down that tube.
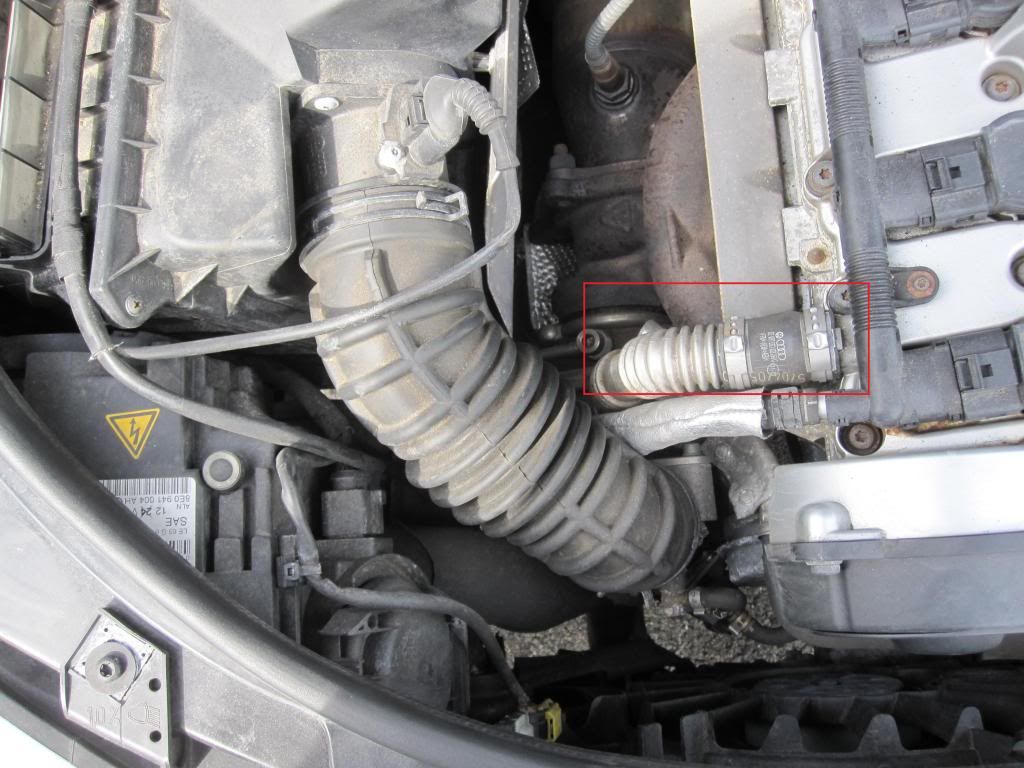
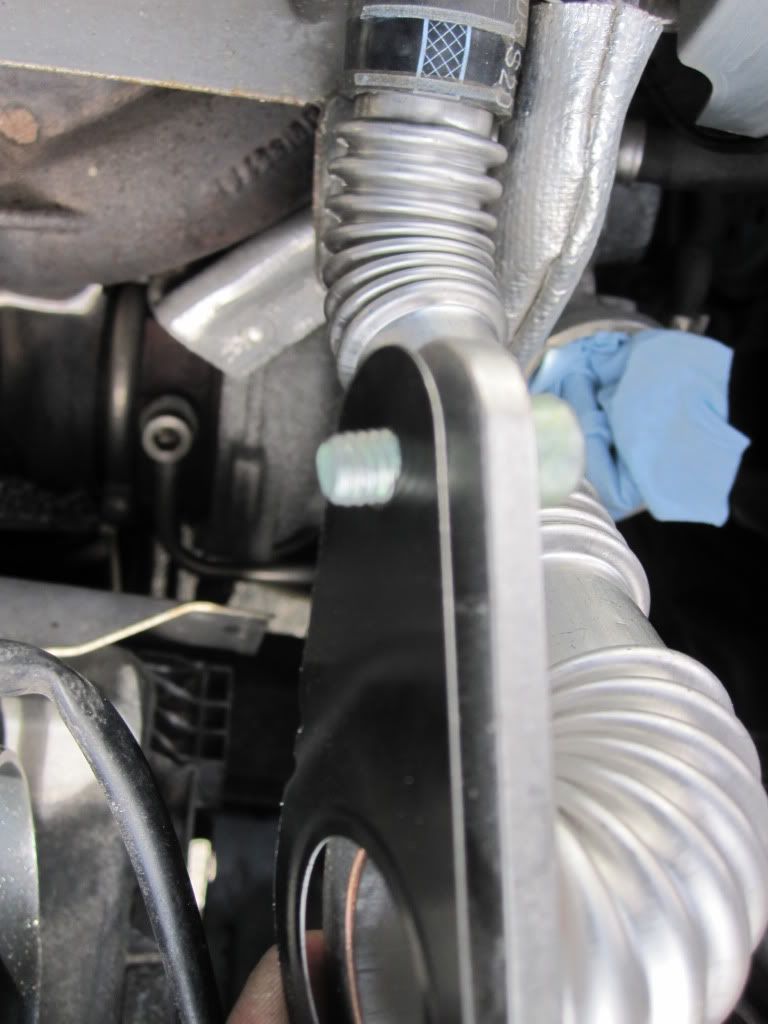
These are the bolts that need to be removed. Note that the heat shield rap for the wire will need to be slightly move to the side to get to the bolt.

This is where it gets tricky, I tried using a 5 mm hex ratchet bit, but there wasn’t enough space for it. I ended up using a regular 5 mm L shape hex. I also used a ¼ wrench to use as leverage and it work out perfect.
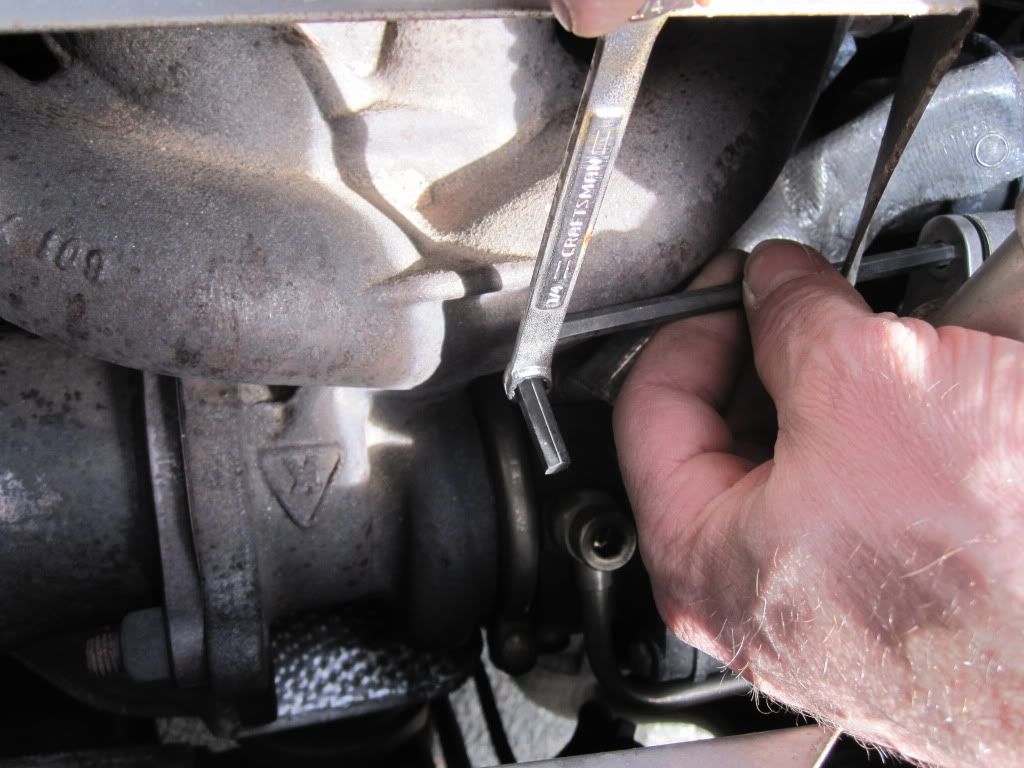
This is how it works.
Now remove the hoses clamp. Just pry the clamp end with a flathead screw driver and pull up and off with a plier.

Now just remove the tube. You will see that the new tube has a notch and the gasket has a little notch that needs to be aligned. Also note that the gasket has notches where the screws go.

I found that putting the gasket on the tube and using the screws to hold it in place works better that trying to put the gasket on once you have the tube in place.
Also once the gasket is in place it easier to connect the tube to the top hose and then swing it down into place.
Tighten up the bolts the same way you took them off. Now get a new hose clamp and clamp the hose to the tube. The kit does not bring one. Put everything back on. And you are done.
Note If you took off the negative battery terminal like I did, (it’s not needed) make sure that you have the Radio Code and also note that the Esp light will remain turn on until you drive the car a few feet.
That’s all.

 Reply With Quote


Bookmarks