


Hey guys just finished installing the CX Racing Front Mount Intercooler on my car and thought I’d give everyone my take on it.
http://www.cxracing.com/mm5/merchant...y_Code=Audi_A4
Price
I paid $480 shipped for it off Ebay.
Install
The kit doesn’t come with instructions so some parts were a little tricky, but overall not too challenging if you have some mechanical inclination. I’m going to gloss over most of the details as there are tons of DIY’s on various parts of the install. If there is something that you want explained in further detail, I’ll do my best to explain.
Jack the car up then remove the front bumper and headlights. I used Fly300kts DIY, which worked great. Remove your intake and stock SMIC’s. To remove the SMIC’s you have to disconnect all the connecting intercooler hoses and just pry them out. There are no screws holding the SMIC in place so you just have to use some force and they will come loose from the mounting points. There is a large metal intercooler pipe that goes across the front end of the bumper that connects the two stock intercoolers. It looked like a lot of work to get it out so I left it in place, it didn’t affect the rest of the install.
When I removed the stock intercoolers I had a TON of oil pooled in the hoses. I’m talking about a quarter quart or more, it was shocking. I’ve had to add a quart every 3000 miles, now I know where most of it when haha. It’s something to keep in mind for all those who have oil consumption issues.
Next you have to relocate the power steering cooler and temperature sensor. I just cut off the bottom portion of the clip and angled the power steering cooler up at a 45 degree angle. To secure the cooler I drilled a hole below the original mounting point and used a screw to secure it.
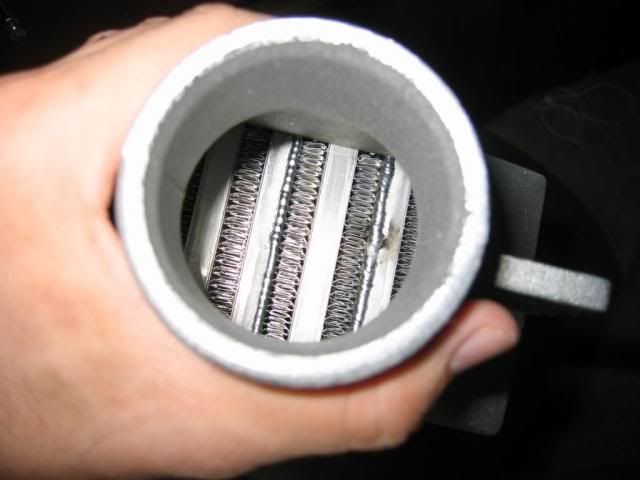
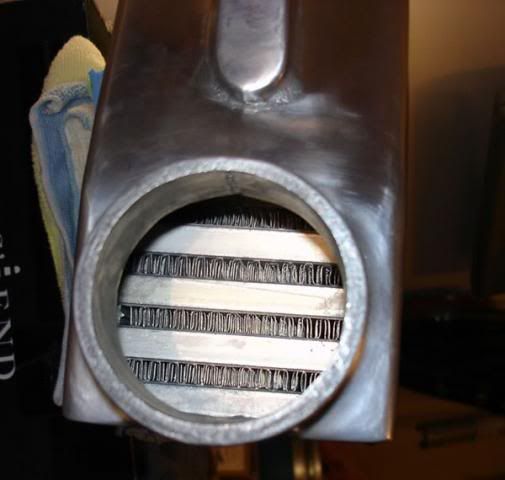
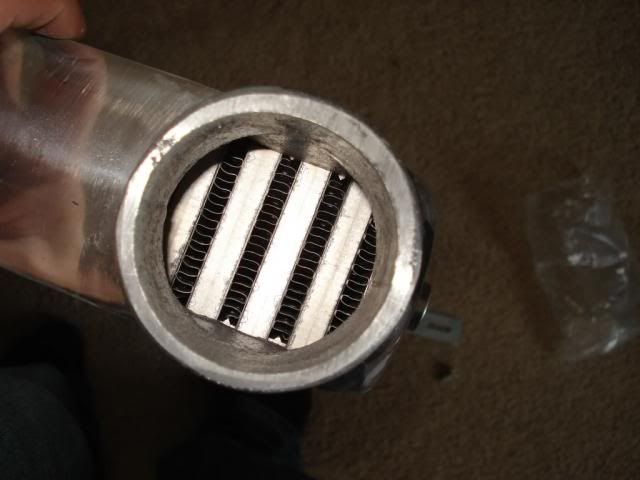
Putting the FMIC on is pretty straight forward, but there were a few issues. First the kit came with the wrong bracket for mounting the FMIC. If you look at the picture in the link the left most bracket should be mirrored with the other, not the same. Not a big deal, just used a cutting wheel to cut off part of the tip and it fit. Once the FMIC is mounted you have to mount the hard pipes. This part required a lot of elbow grease but it fit fine. Another thing to note is the coupler that connects to the turbo was a little too large in diameter. However using the supplied tbolt clamps I tightened them down as much as I could and haven’t felt any boost leaks.
This intercooler doesn’t require any cutting of the crash bar and minimal cutting of the bumper. I have a non-sline so I had to trim two tabs on the front bumper that were hitting the silicone couplers. That’s it.
Power
My current mod list for reference
DIY intake pipe w/cone filter
Revo Stage 2
Test Pipe 2.5”
Stock exhaust
I immediately notice an improvement in power. For me it was a night and day difference. This could be attributed to my hot air intake but I was honestly blown away by the difference in top end power. The most pronounced difference was from 4k-6k. I don’t have any dyno logs or IAT readings.
Final thoughts
On this forum I always hear people talking about putting cheap parts on their car, and how you have to pay to play. My opinion is that everything has a price/performance ratio. For the price I paid I’m extremely happy with how everything came out. I have a hard time believing that an FMIC costing more than twice the amount will deliver twice the power this FMIC gave me. Now if I had planned on upgrading the turbo, I would definitely suggest getting a larger intercooler, but that isn’t in my future so this fits my needs perfectly.
If anyone has an AWE/Racetec/ATP intercooler in the Chicago area with similar mods and wants to compare, I’d be up for it.

 Reply With Quote


 AKA: vmSAi


 Please give reason to such madness..?


Bookmarks