


![Dan[FN]6262 is offline](images/statusicon/user-offline.png)

Well, theres a few options.
-1. Assume the position and take your car to the dealer and have them put the royal shaft in your bum for labor/parts.
-2. Take it to a indy shop and still pay $$$ and hope they don't mess anything up, seeing how it is one of them fancy Geerrr-man tuurbo'ed charged cars.
-3. Get some of that head gasket fixer stuff that you put in your coolant from AutoZone and see how that works out.
-4. Nut up and do it yourself. Show all your friends and everyone at the office how amazing your wrenchin' skills are, and brag about how much moolah you saved by doing it yourself.
First off, you're going to need all the basic tools in a "Mechanic's Tool Set", kinda like this:

- a pair of pliers:

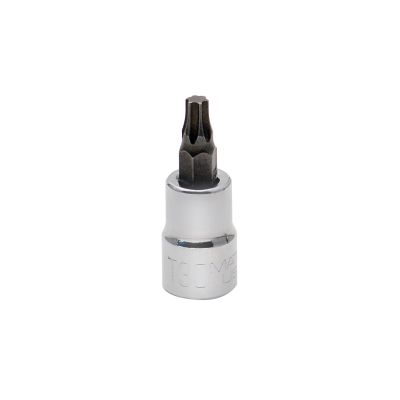
- set of torque bits:
- some allen bits:

- torque wrench:

- and headbolt tool. If you have OEM headbolts. you'll need this tool:

- If you have ARP headbolts, you'll need this tool

You can get both of those tools from here: CLICKY
************************************************** ***********************************************
I am assuming you know how to do most of this stuff, since you are attempting to replace your HG. So I'll keep it short as possible.
************************************************** ***********************************************
****I am not responsible for any damage that you cause to your car or yourself, by following this DIY****
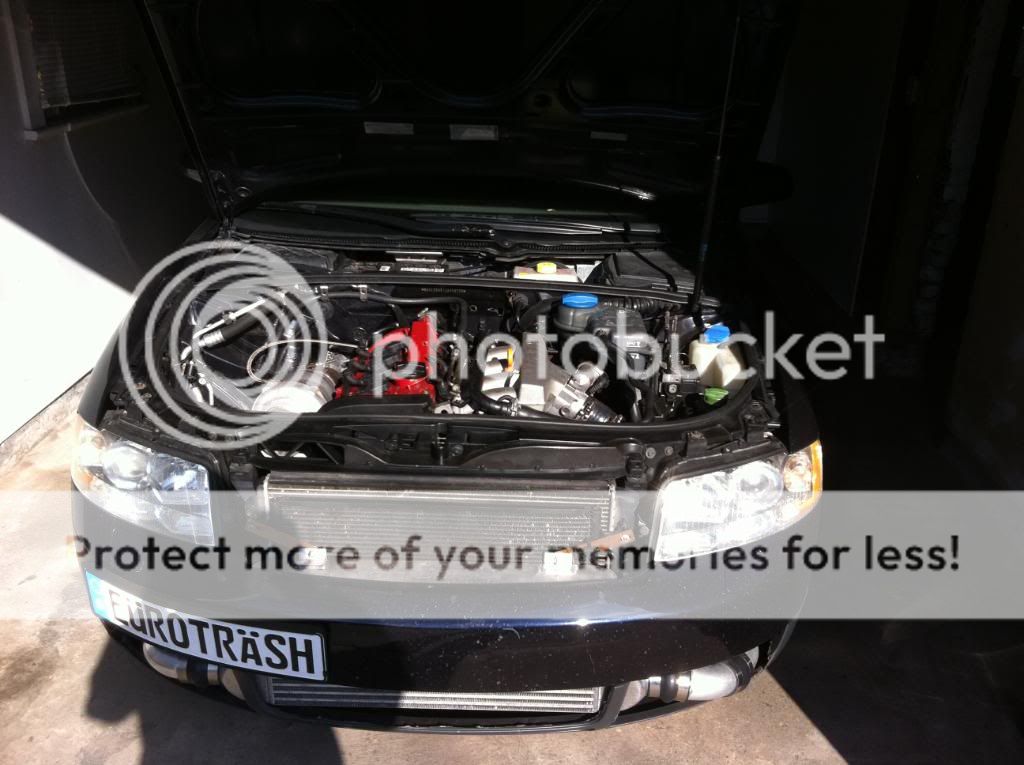
Well here it is. Ready for you to rip her apart, savagely.
Take out the headlights.

Remove the bumper cover and rebar

Remove FMIC and piping, Drain coolant. (I don't wanna hear it about the green coolant.)
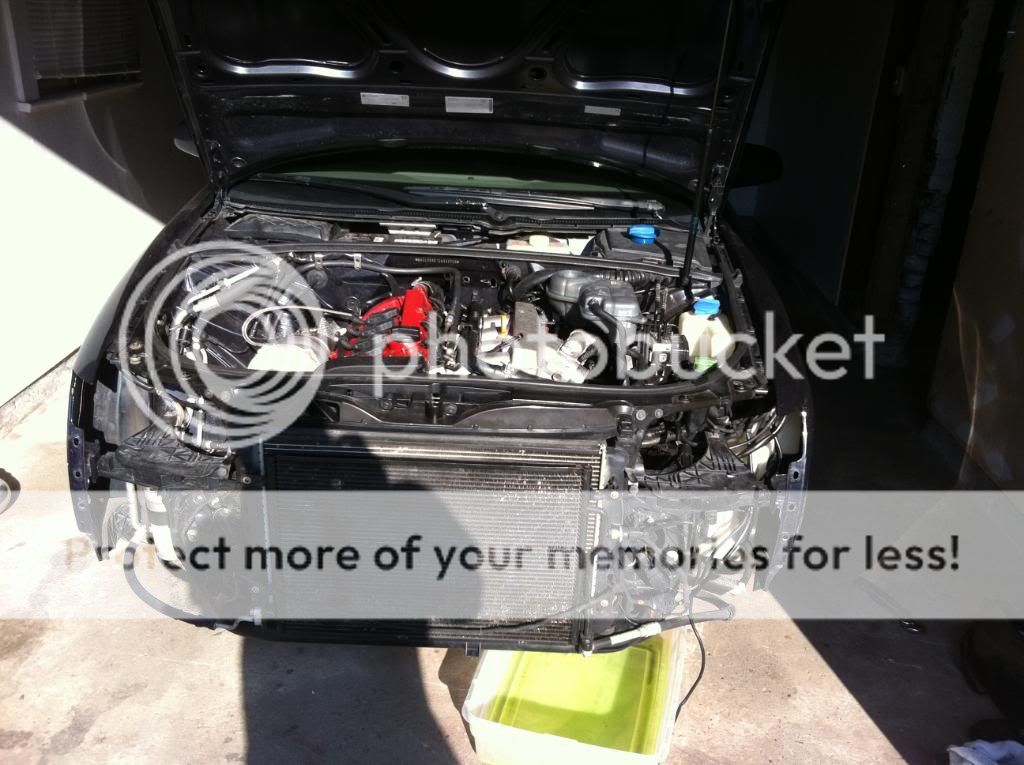
Put the lock carrier into the service position, remove the serpentine belt tensioner and timing belt covers.


Remove timing belt hydraulic tensioner and timing belt.

Remove fuel injectors, and unplug the cam position sensor, and VVT solenoid. remove coil packs and take out the spark plugs. remove coolant line to the hardpipe, move coolant tank. remove PCV stuff. Also remove the coolant flange.

Remove lines to the turbo, pull the intake manifold back out of the way. Might as well disconnect the cat/downpipe/testpipe/whatever from the turbo.

Take off the valve cover and remove the plastic caps covering the intake cam.

This is the tool I am using since I am running ARP headbolts as of now.

Now, time to take out the headbolts. I always take them out in the order that you're supposed to tighten them. Not sure if its actually necessary, but I do it.

Now, after you take all the headbolts out, put the VC back on and put a nut on the middle stud, just keep it in place. get a good hold on the head and lift up, make sure you have something to put the head down on.


Now since you took it all apart, you should be able to put it back together. Obviously its just reverse order. Make sure that you clean both the block and head surfaces very well before you reassemble it.
Anymore, it only takes me around 2.5 hours to change a headgasket in a 1.8t. This took me around 2 hours just to tear down, since I decided that I would do a write up. and it was really nice out today, so I took my time. Make sure you give yourself a couple days to complete this, just to take your time and not make any costly mistakes, like not having the engine back in time, stuff like that.
HAVE FUN!!! and feel good about all the cheddah that you saved yourself.


 Reply With Quote


Bookmarks