Audizine - An Automotive Enthusiast Community

Results 1 to 9 of 9
  1. #1
    Active Member Two Rings p24rick's Avatar
    Join Date
    Oct 27 2009
    AZ Member #
    49876
    Location
    ontario CA

    comprehensive diy ebay intercooler (fmic) install on a 2001 a4

    Guest-only advertisement. Register or Log In now!
    just installed my new front mount on a 2001 a4, which was a pain mainly because of the secondary air injection (smog pump) but I have alot of pictures, and i will list a comprehensive guide on how i did mine because I had a hard time finding good info on relocating the s.a.i, diverter placement, map sensor, ect.

    parts used; ebay core, 2x1 silicone T, 2" 90, (2) 2-1/4 45º bends, 2-1/2 45º and 75º bends, map adapter flange, (2) 2-1/4 couplers, (2) 2-1/2 couplers, stock 2x2-1/4 90º bend from smic, (2) angle brackets.

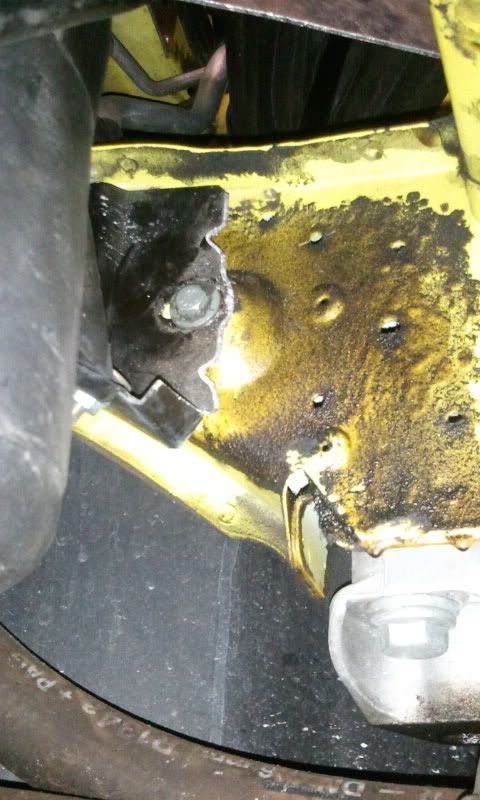
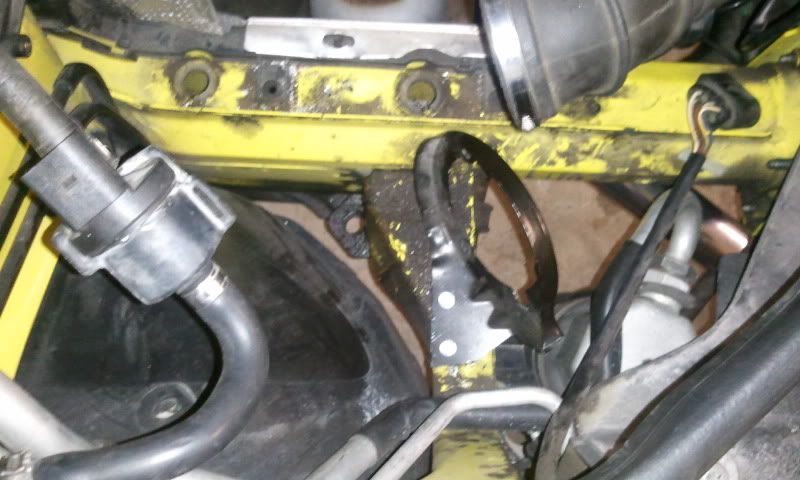
    for most that have researched this, ill assume everyone can figure out taking everything apart. once the bumper and headlights are off, and the factory intercooler is removed, the hardest part is working around the s.a.i pump, on a 2001 it seems the only logical way is relocation. I started out by removing the pump and the bracket. then cut off half the bracket to reinstall to support the ac canister

    then the easiest place to relocate the pump to was underneath the intake (where the factory airbox used to be)
    so i screwed the remainder of my bracket to the frame with self taping screws

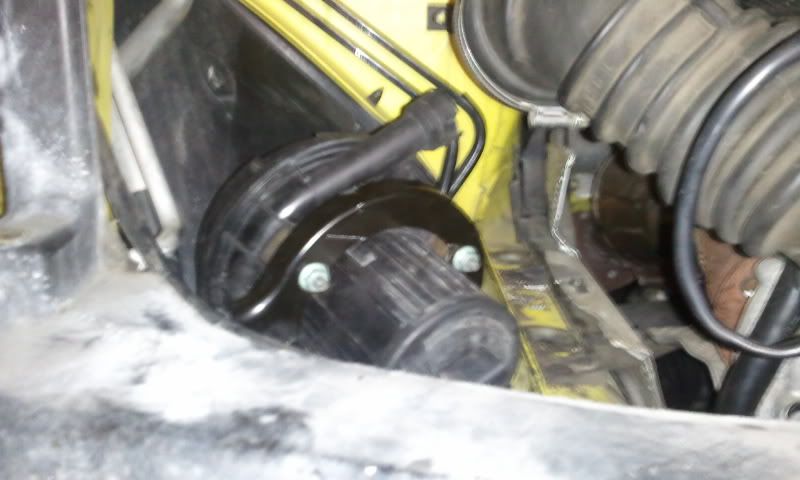
    then install the pump into the bracket, but i did have to shorten the inlet hose to the pump to connect everything

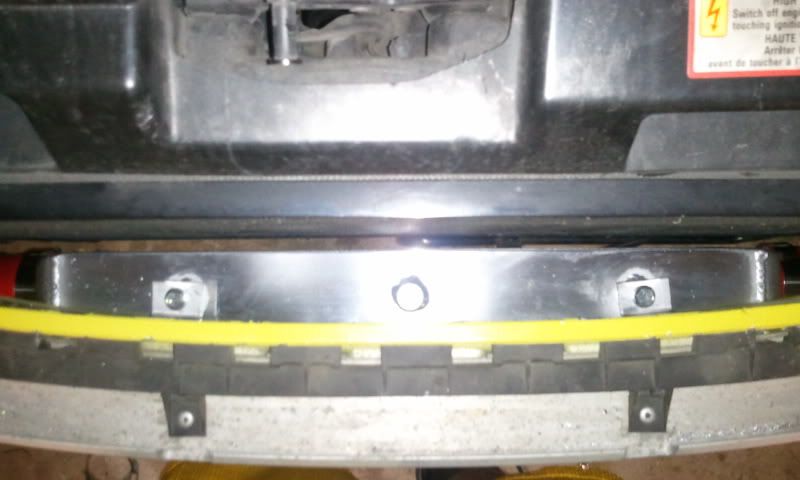
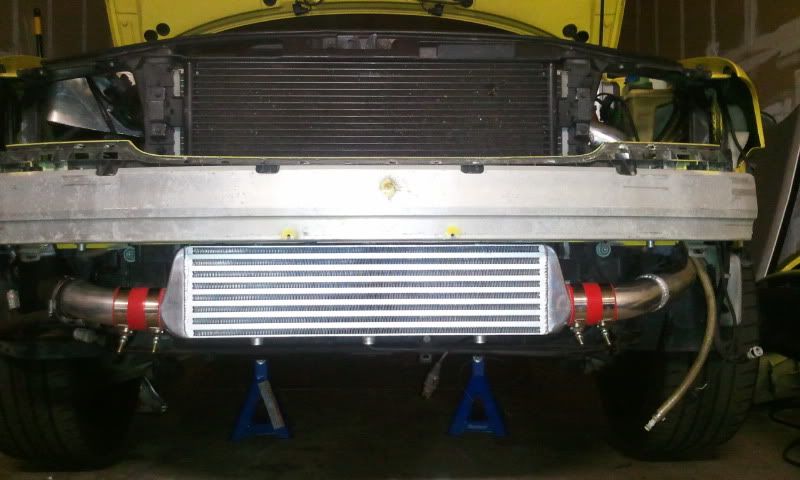
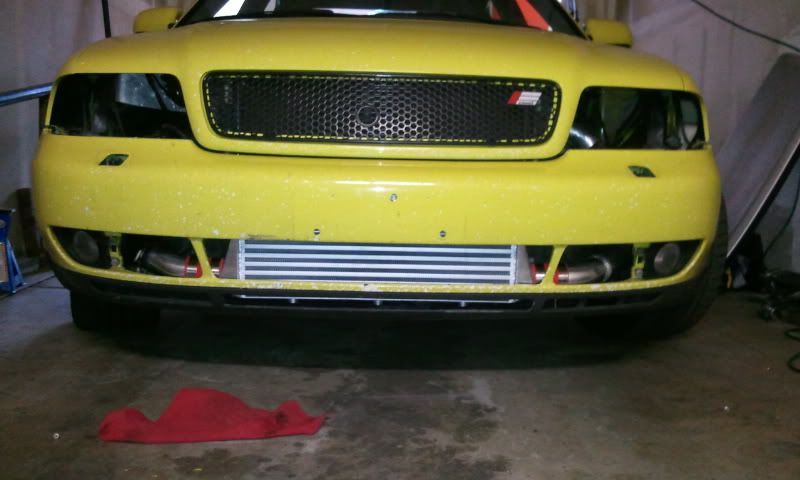
    most people dont, but i removed the metal bumper from the cover and mounted the core to it with 90º brackets

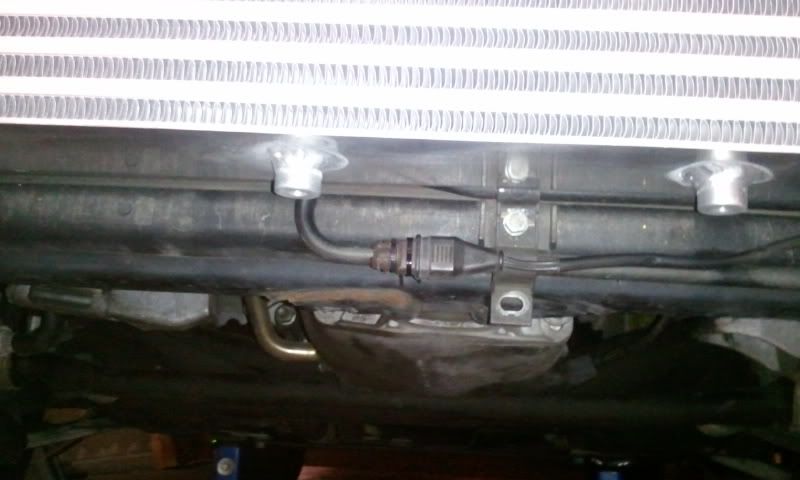
    the power steering tubing and ambient air sensor can be relocated slightly lower by drilling a hole in between the two tubes and remounting to the same location, i just used zip ties on the sensor

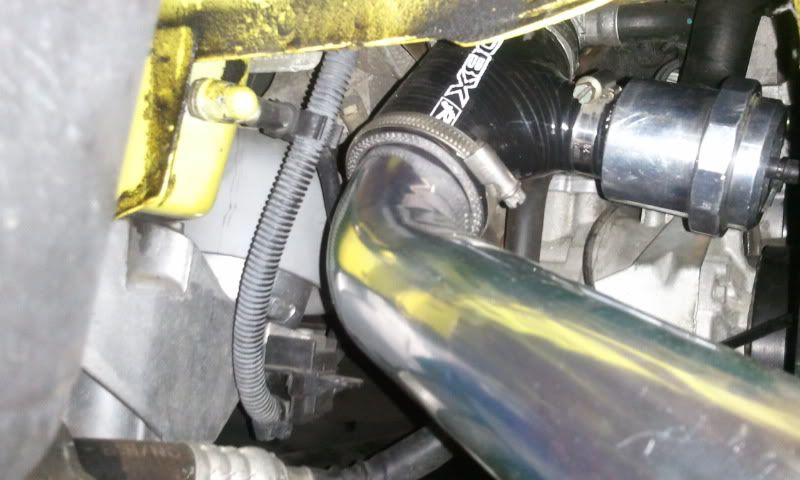
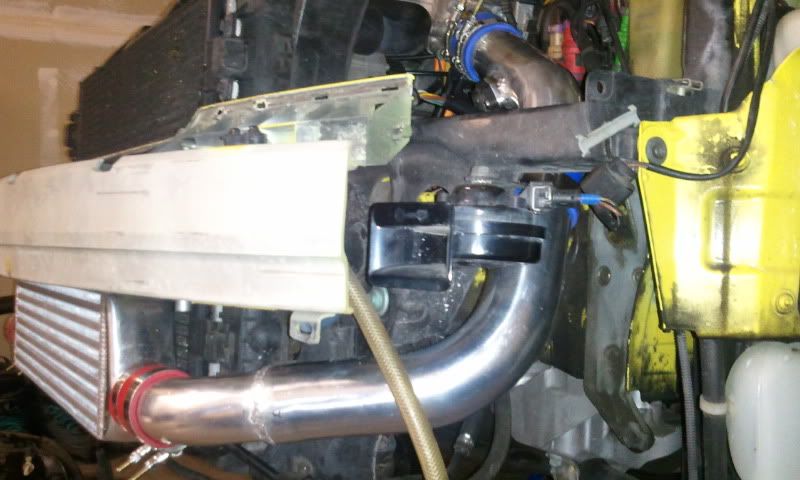
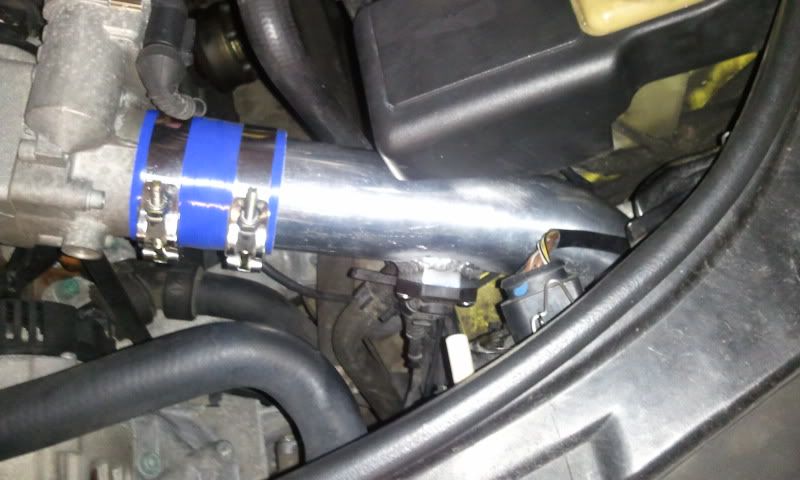
    i didnt want the factory diverter plumbing so i just used a 2"x1"silicone T strait to the turbo w/ a 2" 90º

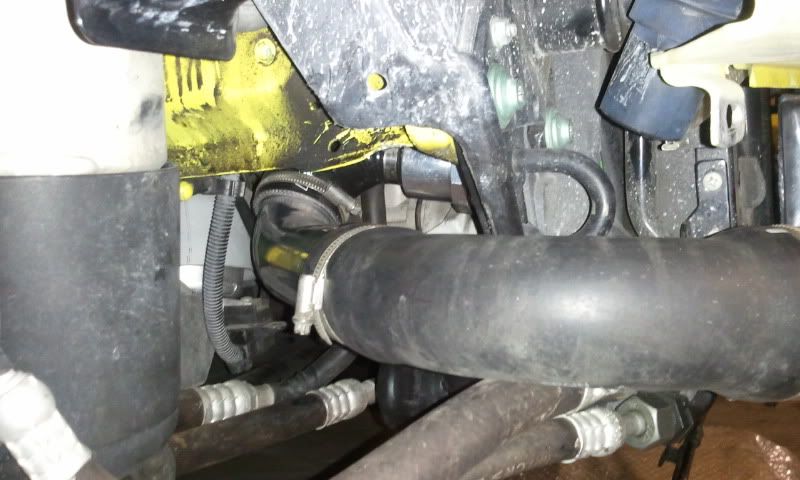
    then the factory hose on the bottom of the side mount got reused here going to the 2-1/4 45º


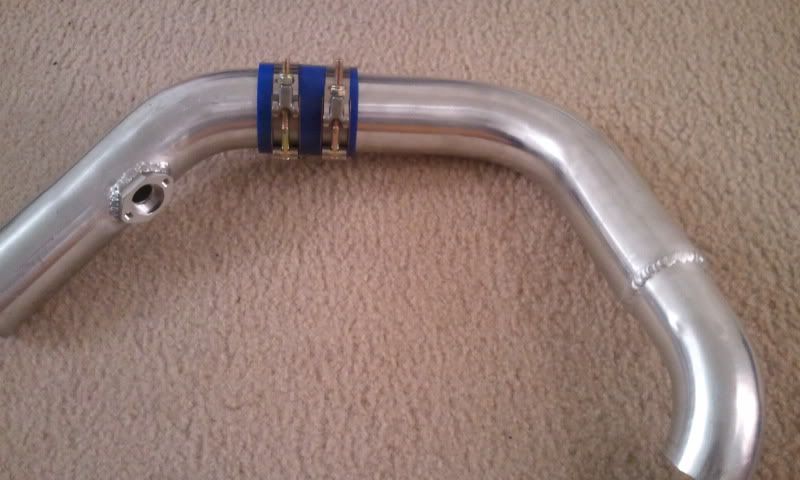
    that completes the hot side, after fitting the cold side up, i had it welded by a local welder

    and yes i know my couplers are different colors, i got some for free, lol

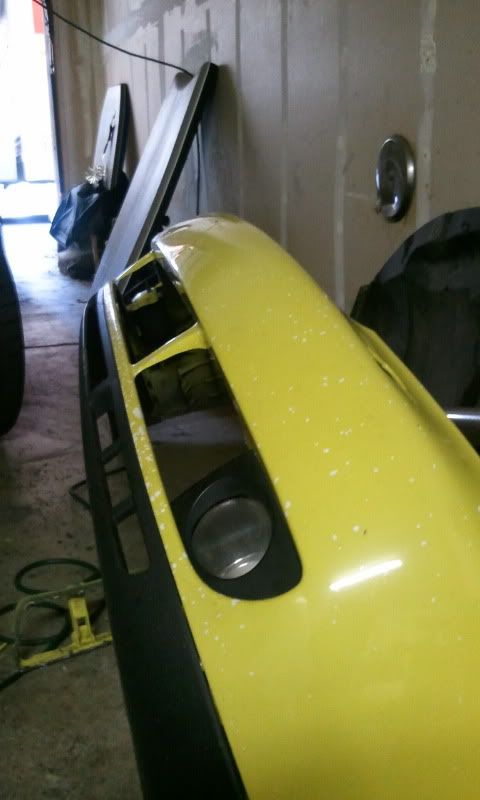
    keep in mind i did trim the plastic framing on both sides


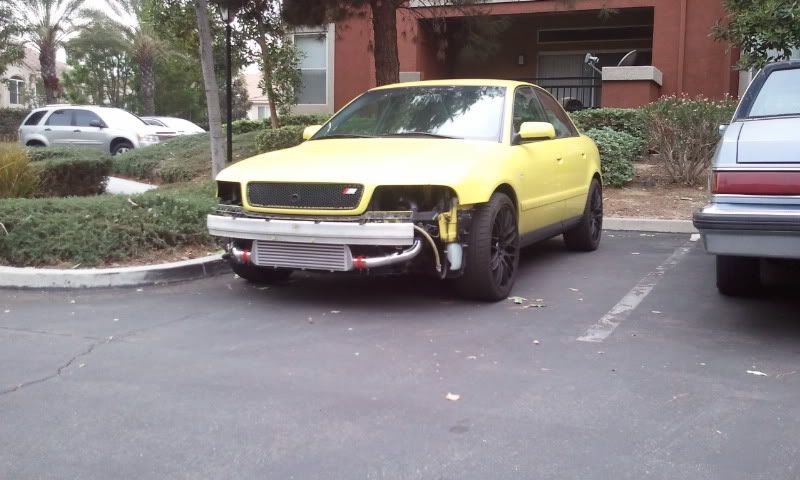
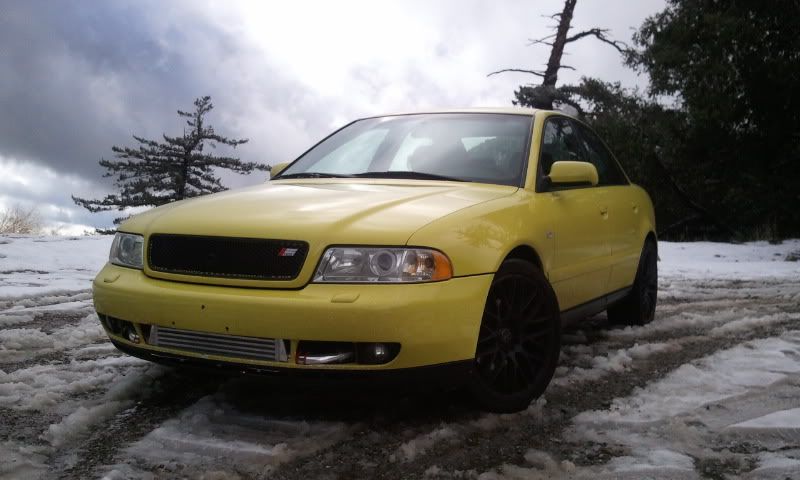
    now because of what i did to the bumper, getting it back on was the hardest part. i dont know how some guys get these to fit so well. my core was only 2-1/2" but i had to hack most of the bumper just to get a almost decent fit. its hard to tell but the lower lip is mostly held on by zip ties on the inside, there really isnt much left.


    then trimmed up the parts in the bay a bit

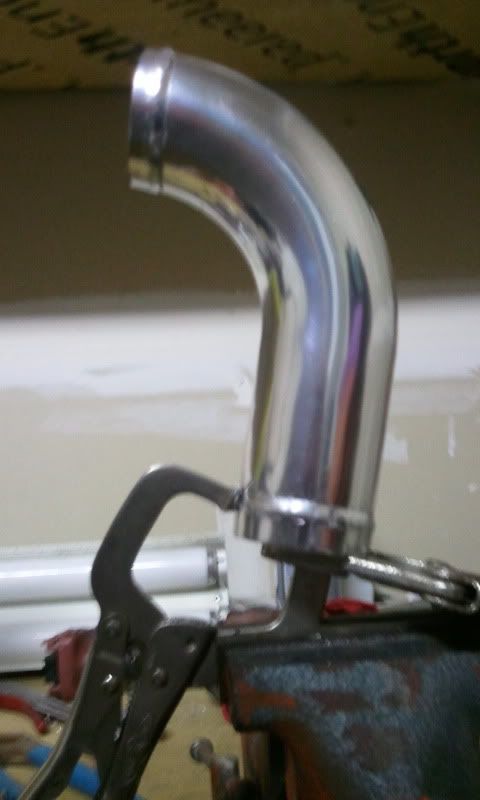
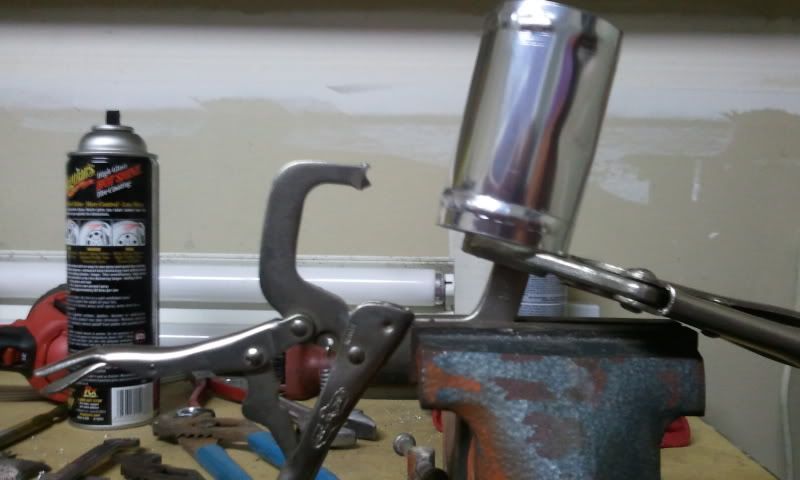
    then after a testdrive i blew a hose off and had to ghetto bead my pipes by grinding a groove into a vise clamp and hand grooving some beads

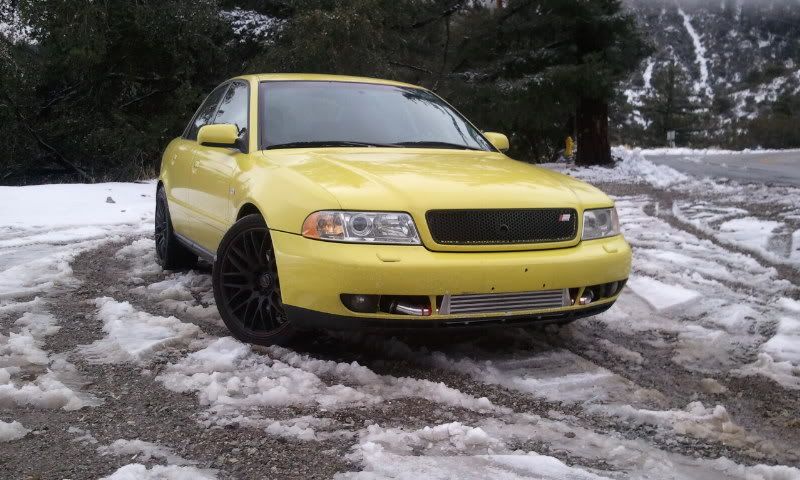
    completed and holding strong!


    Last edited by p24rick; 12-08-2010 at 11:59 PM.

  2. #2
    Established Member Two Rings yuriy's Avatar
    Join Date
    Jun 18 2010
    AZ Member #
    60438
    Location
    Toronto

    haha for the past couple of days ive been looking all over for diy's because I'm gonna grab this kit http://cgi.ebay.ca/CXRacing-2-25-Tur...item2c58d15665
    What were the dimensions for your intercooler? Also, did you you buy the bung for the map sensor seperately and have it welded on, or was it made by the exhaust place?

  3. #3
    Veteran Member Four Rings biketsai's Avatar
    Join Date
    Jun 04 2007
    AZ Member #
    18558
    My Garage
    01' A4 1.8TQM;15' Wrangler
    Location
    Austin/DFW, TX

    Nice, can you elaborate on how you did a ghetto bead job? Im sure many people would be interested in knowing this too.
    BetaAlphaTau Member #12
    01' A4 1.8TQMS 5spd swapped
    GT2871R|CTAPP MAFless|034 EM|Godspeed FMIC|APR 2.5"|EVO MS DV|CM FX400-LWFW
    18" RS4 Reps.|S4 Front/Skirts/Seats/Brakes|RS4 Grill|CF Trim
    Stasis SS|LLTEK Tower|KW F/R Sways|Profec Spec 2
    My 5-Speed Swap DIY
    - B6 USP
    Chris:Mod|PM me with any questions

  4. #4
    Veteran Member Four Rings thenj3's Avatar
    Join Date
    Dec 25 2009
    AZ Member #
    52506
    Location
    North Jersey

    How much did your welderr charge you to weld the map flange on? Nice write up though. I'm debating whether or not to delete the sai when I do my front mount

  5. #5
    Senior Member Two Rings
    Join Date
    Feb 10 2009
    AZ Member #
    38516
    My Garage
    '01 A4, '87 Chevy 1 Ton
    Location
    Knoxville, TN

    Also, another trick is to use hairspray. Spray the ends of the pipes where the couplers slide on with aquanet and it acts as a lubricant to make it easy to slide them on and a few minutes later it acts like glue.
    1988 Shelby Dodge CSX-T, 2.5L 4cyl, T04E 40 trim w/ .63 A/R, Stg2 Ported 8v Head (Sold) it was a torque monster!!! :(
    2001 A4 1.8T turbo back 2.5in exhaust, SB clutch w/ 17lbs SMFW, Forge splitter, Revo stage 1 flash, 4:1 Center diff, ST Coilovers, 034 RSB, Forge FMIC.

  6. #6
    Active Member Two Rings p24rick's Avatar
    Join Date
    Oct 27 2009
    AZ Member #
    49876
    Location
    ontario CA

    Quote Originally Posted by thenj3 View Post
    How much did your welderr charge you to weld the map flange on? Nice write up though. I'm debating whether or not to delete the sai when I do my front mount
    welder charged $40 for two welds, was a pretty good deal actually.

  7. #7
    Active Member Two Rings p24rick's Avatar
    Join Date
    Oct 27 2009
    AZ Member #
    49876
    Location
    ontario CA

    diy ghetto bead; on the C clamp i grinded a groove in one end and a point on the other so that when it is compressed the two fit together, on in the other. now this only seemed to work on thinner wall pipe because you need a bit of clamping force. i had to use a wrench as a small cheater to get enough force. start in one spot and with the point side of the clamp inside the pipe and compress the clamp to create a small dent in the pipe. then repeat all the way around until you have a bead all the way around.

    but i hear hairspray also works well too.

  8. #8
    Active Member Two Rings p24rick's Avatar
    Join Date
    Oct 27 2009
    AZ Member #
    49876
    Location
    ontario CA

    Quote Originally Posted by yuriy View Post
    haha for the past couple of days ive been looking all over for diy's because I'm gonna grab this kit http://cgi.ebay.ca/CXRacing-2-25-Tur...item2c58d15665
    What were the dimensions for your intercooler? Also, did you you buy the bung for the map sensor seperately and have it welded on, or was it made by the exhaust place?
    sensor adapter and intercooler were off ebay. sensor adapter= $16 ,intercooler (27.25” x 5.5” x 2.5”)= $75

  9. #9
    Veteran Member Three Rings CamrideA4's Avatar
    Join Date
    Jan 05 2011
    AZ Member #
    69055
    Location
    Raleigh, NC

    I just wanted to say thanks to the OP for this thread, it has helped me out a ton. I'm currently figuring out everything I need to order for my FMIC setup and I was wondering where you got the silicone T for the diverter valve? The only ones I've found on eBay are $30 shipped which seems a bit steep for that tiny piece.
    2001.5 A4 1.8TQ Tiptronic - FrankenTurbo F4 - 440cc Green Giants - TT225 MAF - Borla exhaust - ST Coilovers - Malone Tuning - Garrett FMIC

Bookmarks

Posting Permissions

  • You may not post new threads
  • You may not post replies
  • You may not post attachments
  • You may not edit your posts
  •  


    © 2001-2025 Audizine, Audizine.com, and Driverzines.com
    Audizine is an independently owned and operated automotive enthusiast community and news website.
    Audi and the Audi logo(s) are copyright/trademark Audi AG. Audizine is not endorsed by or affiliated with Audi AG.