


AWD Transmission. (Make sure the gear ratios match between the AWD tranny & Rear Diff.)
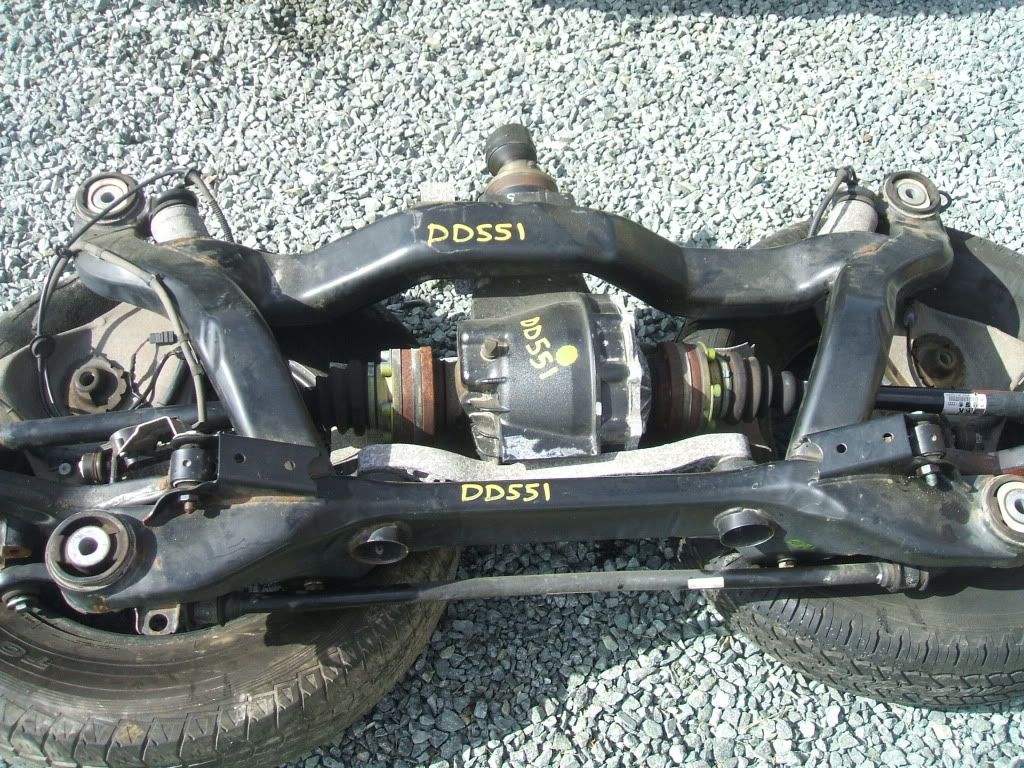
Complete AWD rear subframe including Rear Diff + axels.
Complete AWD fuel tank including LPFP & Driver side Sender & heat shields.(it's very hard to get the heat shields with the tank from the salvage yard)
AWD Center drive shaft.
AWD exhaust. (you can either use a used stock AWD exhaust to save cost or go aftermarket.)
AWD Emergency Brake cable. (You can use the FWD cables, they hang a bit but work)
AWD system is MECHANICAL so no ECU or VAG changes are needed.....
Two things to note:
1. Make sure the final drive gearing is the same between the Transmission and the rear Differential ( I'll get the tranny & Rear Diff codes as soon as I can)
2. Make sure you have the SAME CV joint cups as to what is on your car currently or you might have to change them.
Here is the thread where it all started:
http://www.audizine.com/forum/showth...gun-FWD-to-AWD
Order of events
1. Put rear of car on jack stands. Make sure the car is high enough in the air or you will have trouble getting out the rear pieces ( Rear end, Fuel tank & exhaust)
2. Disconnect battery.
3. Take off tire.
4. Take off exhaust and all brackets
5. Take the 2 bolts that hold the bottom of the shocks on off.
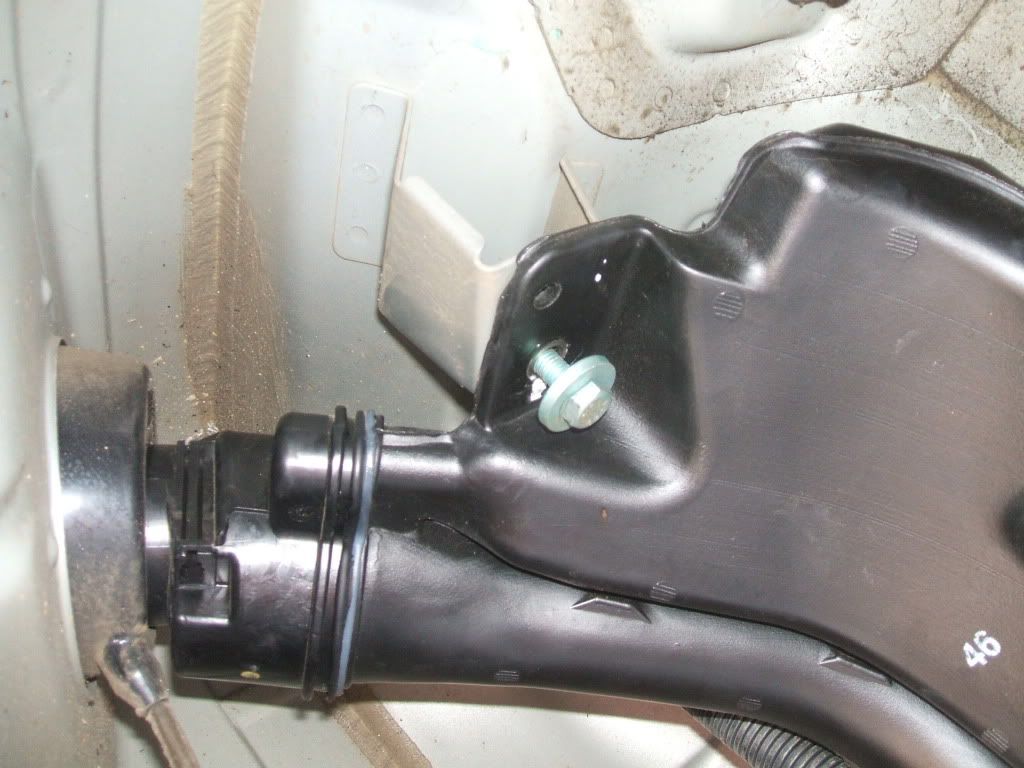
6. Now there are 3 electrical connectors connected to the rear end, Trace the 3 sets of wires from the axel (2wheel speed sensor & 1 auto leveling connector) the auto leveler is on the driver side so there are 2 electrical connectors on driver side and only 1 electrical connector on passenger side. You will need to take out the entire rear seat to get to the connectors, they are behind the side leather bolsters there are 2 nuts to loosen to be able to move the bolsters they bolt to the floor pan and there 1 obviously 1 on each side. You will also need to loosen part of both sides of the plastic under pans on each side to trace the wires. The first picture is where the bolt is that you will need to loosen in order to move the side bolster to get to the wire. The second picture is the hole where the wire comes up from the bottom of the car the driver side has 2 wires coming up through one hole and the passenger side only has the one wire coming up through the hole.


Driver side.

Passenger side

7. Disconnect the E-Brake cable from both calipers. Now to make it a little easy you can do one of 2 things...the 2nd is easier but 1. Is to take the brake assembly off each side which may be difficult to get to the bolts with the shock in the way and 2. The way I did it is to disconnect the brake lines from the calipers and then remove the brake assembly when the rear is out of the car.
NOTE: FWD E-Brake cables are longer than AWD ones. The FWD will work or you can replace them with the AWD cables. It’s up to you.
8. This part is tricky if you are doing this in your driveway without a lift but it is still pretty easy for anyone (at least I thought it was easy) you will need 2 hydraulic jacks 1 one each lower control arm…..When you have the rear supported by that jacks you can then loosen the 4 main bolts that hold up the rear onto the car. IMPORTANT NOTE: You may want to compress the springs as much as you can with spring compressors before continuing on with removing the 4 main bolts I didn’t and had absolutely no problems, the springs gently released all their tension nicely as I lowered the rear out of the car.
9. Once all 4 bolts are removed and the rear is supported by the jacks you can the SLOWLY lower the jacks little by little alternating back and forth until they are completely down Being that the FWD rear is relatively light you shouldn’t have too much trouble sliding it out from under the car.
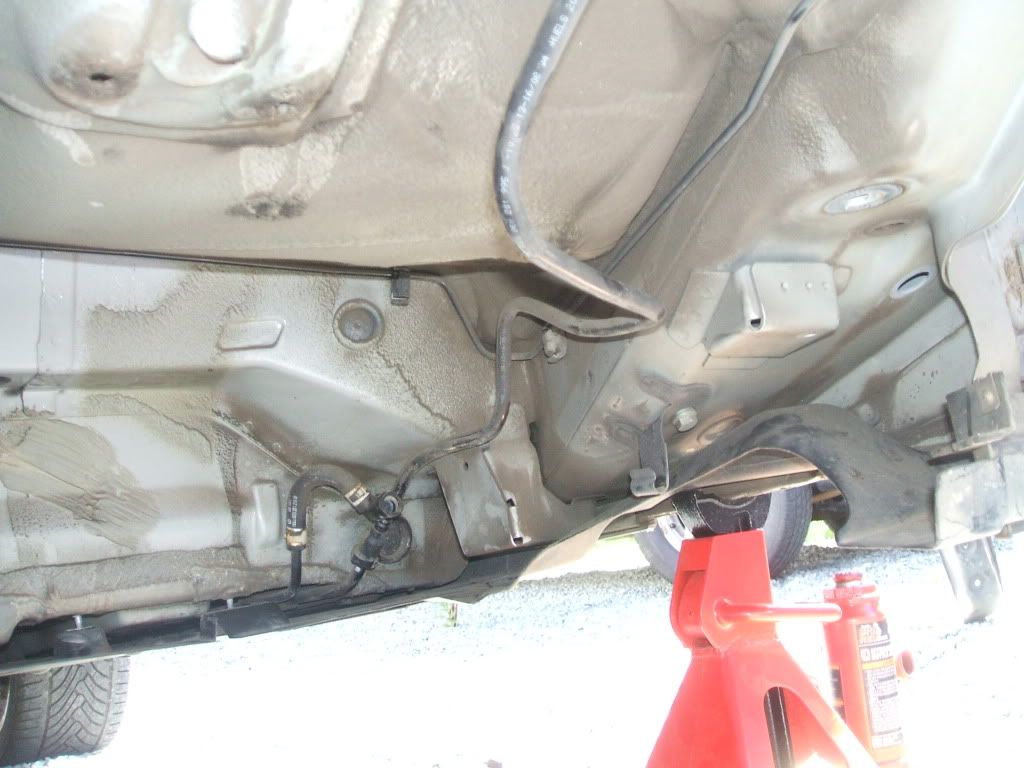
10. Now for the last piece... The fuel tank (Easier to remove the tank if you take off all the heat shields or whatever they are from under the rear as well as making sure there is as little fuel as possible in the tank obviously.)To remove the fuel tank you will need to put something like a jack to hold the tank up while you are removing all the hardware and it doesn’t come crashing down on you. (granted the tank is light depending on how much fuel is left in the tank) Once that’s done then you can remove the 2. ¼” fuel lines on the fuel pump then the 1. ¼” line on the fuel filter and the 1. 3/4” breather line on the tank and then there are 2. ¾” lines on the filler neck one on top and one on the bottom. Once that’s done then you will need to remove the rear passenger side inside wheel well to get at the filler neck. There are only 8 bolts to remove the fuel tank from the car. There are 6 that hold the 3 straps around the tank that hold it on the car and there are 2 on the filler neck. Once all that is done the the tank is ready to come out.
The 2 pics below show both the bolts and lines to remove.

The two pictures below are of the (top one) Fuel sending unit and (Bottom one) is of the fuel pump on a AWD tank. I’m currently just using the sender unit that is on the fuel pump side.
As for the fuel gauge I have not figured that out yet. That will be a work in progress type thing.


Putting it all back in is in the reverse order of how it came out..
1. Fuel tank
2. AWD rear end
2. Exhaust
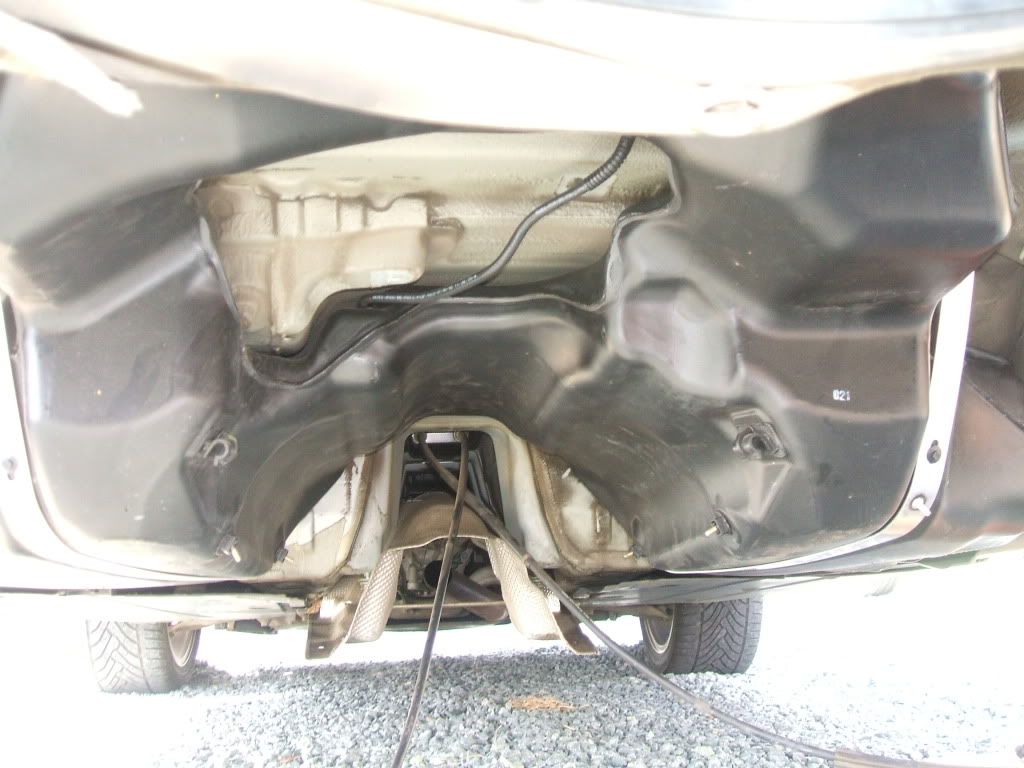
There are 2 cross member bars on the FWD. There is the tunnel that runs from the front of the car to the rear. The front of the tunnel there is a roughly 16 inch flat bar in the front and a 7 inch bar in the rear. Neither bar will be for the QUATTRO car. The pic below shows the REAR cross member bar for the FWD I tried to use it but as you can see the QUQTTRO exhaust rests heavily on that bar. Not good!

For the front you will need the angled bar (AUDI Part # 8E0-804-813-C). The rear one will need to come off permanently as there isn’t one on the QUATTRO.
Once the back of the car is complete you can drive the car as long as you still have the FWD transmission in if you want to do this in two stages. The second stage of the conversion would consist of putting the QUATTRO transmission and the center drive shaft in.
11. Next you will need to install the QUATTRO transmission. I’m sure no explanation is needed on how to do that..
12. Now for the center drive shaft :
Note: Do not remove the end joints off and take them apart you WILL RUIN them if done so!!!
The center drive shaft is kind of a chore because you will need to relocate the mounting brackets shown in the picture below. Unless you know how to weld its best to let a shop do this part for you.

And that’s all there really is for the AWD conversion. If you have any questions just PM me and I’ll do my best to answer them for you.
P.S. If I forgot to mention anything please ask...

Here are some extra pics:


vizi

 Reply With Quote


Bookmarks