


The most common failure of the Valeo-manufactured Audi alternators is simply the brushes. Replacing these brushes is not very difficult. It is also very inexpensive, especially compared to buying a new alternator, or a sketchy parts-store (chinese) "rebuild". The brushes will usually last until at least 100k miles, and will generally fail somewhere between 120-180k. At the shop I work at, we usually replace or at least inspect the brushes during the timing belt service to prevent the failure.
A couple things to note:
- Standard DIY disclaimer applies. Info purposes only. Use at your own risk. I'm not responsible if you hurt yourself or your car.
- There are 2 brands of alternators Audi uses. Bosch and Valeo. This guide is for brush replacement on Valeo alternators. Perhaps a forthcoming addendum may cover the Bosch units.
- Not just for B5's. This repair will work for many modern Audi and VW models with Valeo alternators: B5, B6, C5, MKIV, etc
- This service is best done as preventative maintenance. If the brushes are permitted to fail, it can cause strain on the other alternator components as the charge circuit falls off and returns intermittently. That said, if the unit is dead anyway, it is probalby worth $5 to try this fix first.
- This repair is to fix or prevent a "no charge" or intermittent charge situation. If you're having other troubles, this fix may not help you.
- 1.8T owners CAN replace the regulator without removing the alternator. See post #17 (thanks to flashburn).
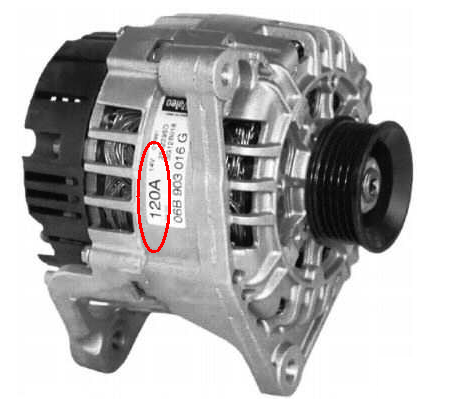
- Procedure is the same for 90A and 120A Valeo's. In fact, the regulator/brush pack is interchangeable.
- Early alternators use a different regulator than shown here (has a ring terminal instead of D-shaped connector). Be aware of this if you are purchasing a regulator or entire alternator to make sure you get the correct one. See post #41 for more details.
Parts:
- The replacement brushes I use are Standard (brand) JX94 brushes. These are usually around $5 for the set. This particular part number is listed for the early 80's Toyota trucks. Not a direct fit, but require minor filing.
- The entire voltage regulator/brush pack is available aftermarket. Details at the end.
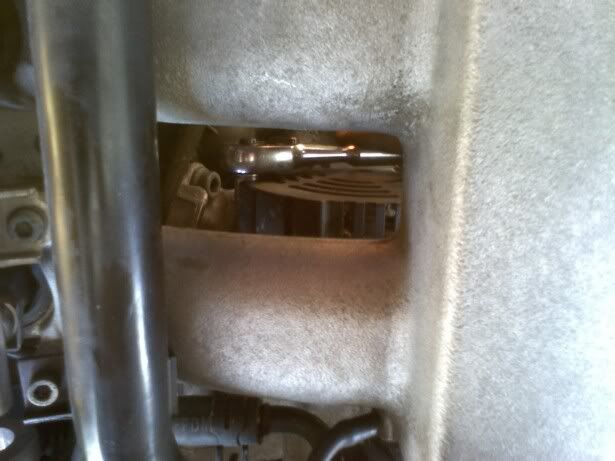
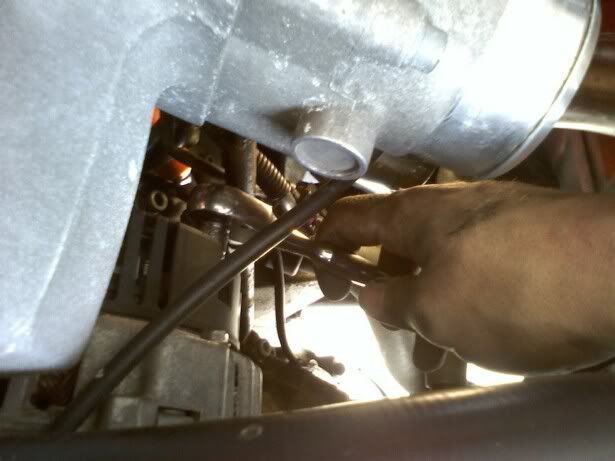
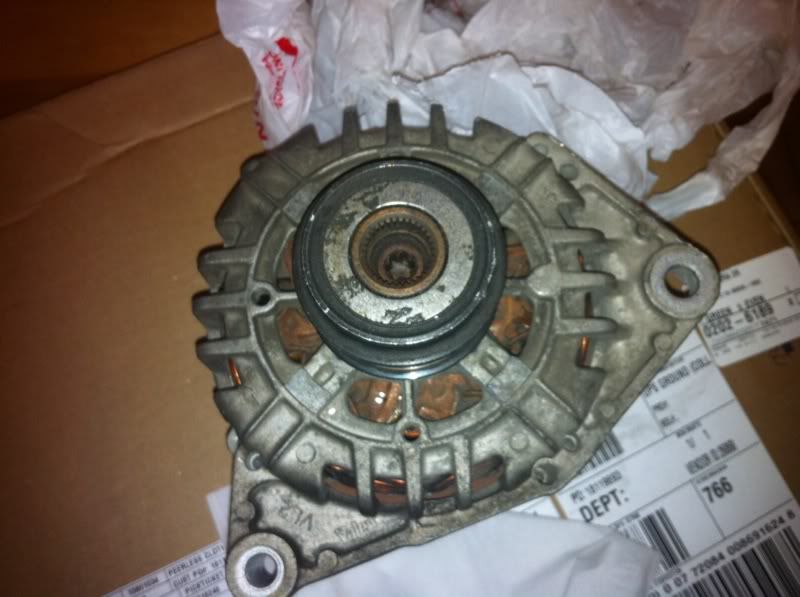
Remove the alternator. This differs greatly depending on chassis/engine. By "differs greatly" I mean it's super easy on an A4 1.8T and a pain in the butt on a B5 S4 2.7T. Make sure you disconnect the battery first. Here is a pic of the only tricky part on the B5 1.8T, removing the cooling fan. I also recommend removing the top intercooler/TB hose as it gives you more room, but it isn't absolutely necessary.

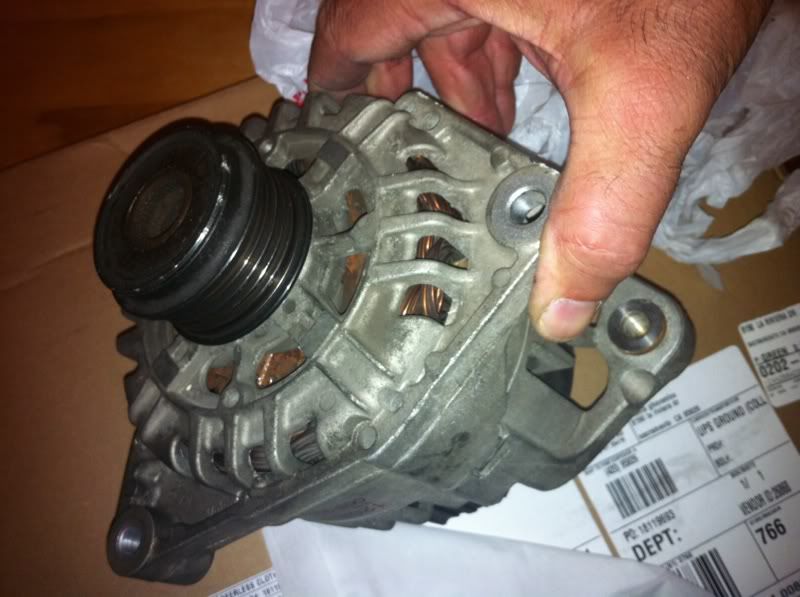
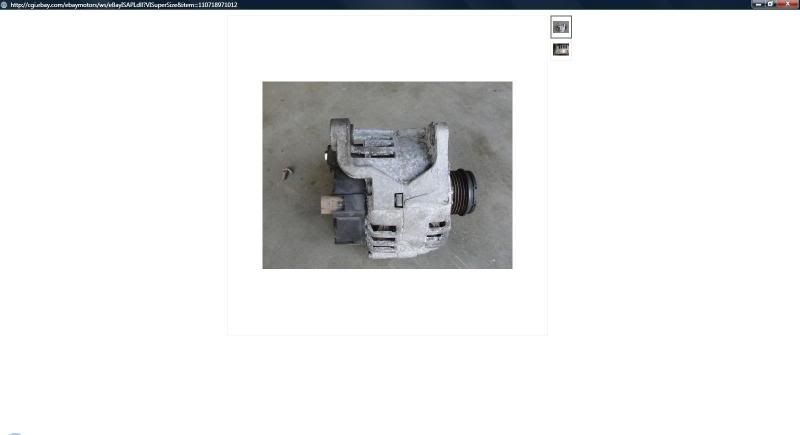
Alternator removed

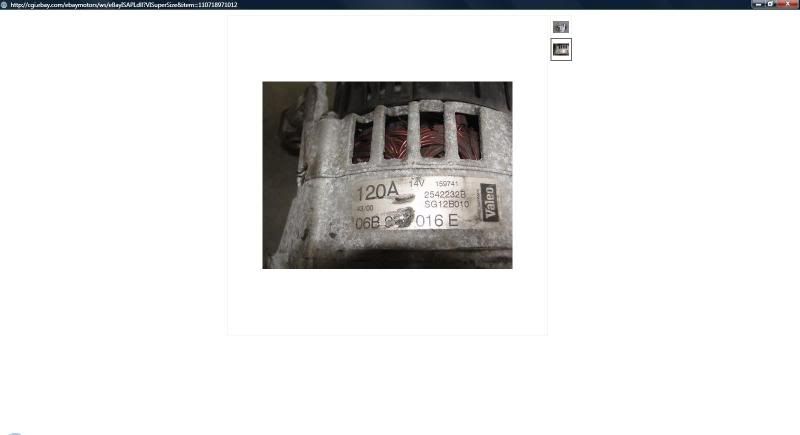
See Valeo markings

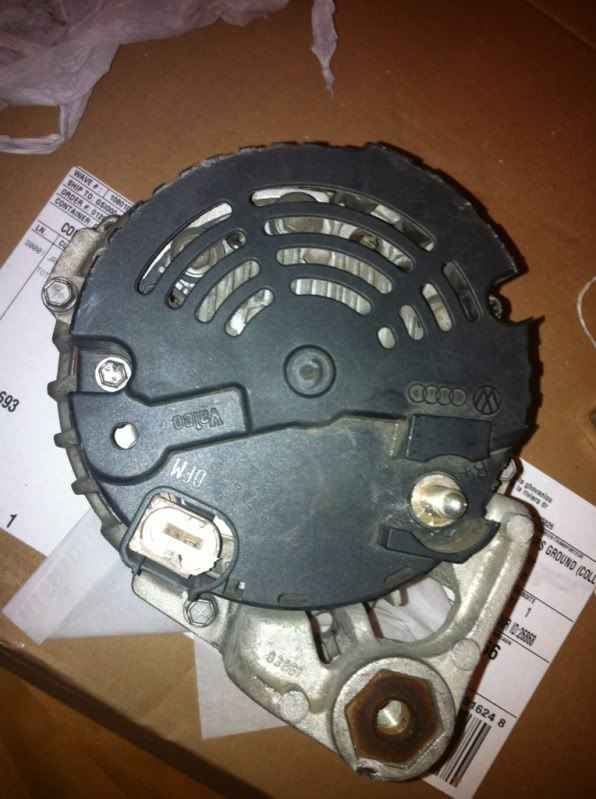
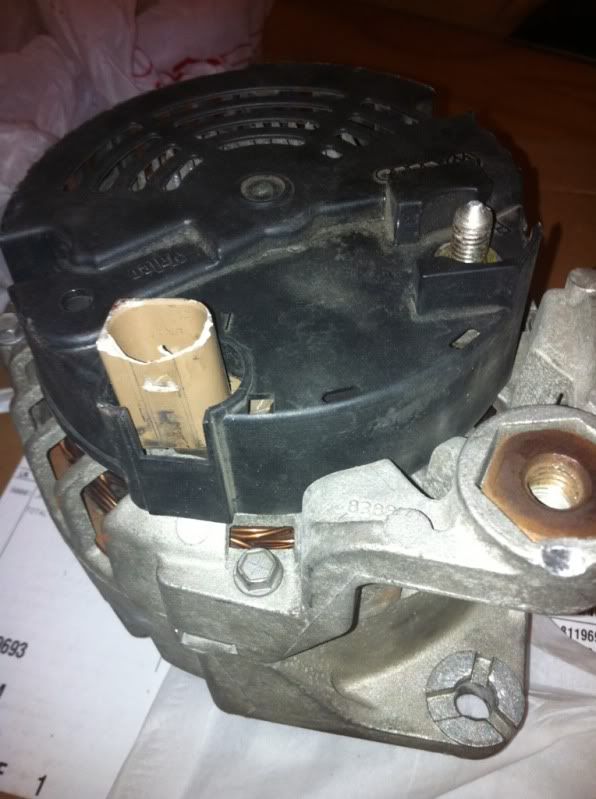
Back cover off. Two 7mm bolts

Remove regulator/brush pack. 3 7mm bolts.

See very little brush material remaining

Especially if you are repairing a non-working unit, now is a good time to check for other failures. With a multimeter, testing across the 2 rotor contacts should give continuity with low-resistance. I measured about 3-5 Ohms. I have seen a rotor failure before. The contacts had no continuity (open circuit, O.L.). In that case, I had to source a used replacement (further disassembly is much more difficult). You should also check that neither contact is shorted to the case (should be open circuit). You may also want to verify that the bearings are good, etc. The diode pack is another item you can test, but it requires desoldering some very high-temp solder (it must be disconnected to test it). I've yet to see a diode pack failure on an Audi/Valeo unit, but it is certainly possible.

Back to the brushes. Remove the goop from the contact. Just pick it off.


Remove the black cover from the regulator. You should be careful from here on, as the beige colored plastic is somewhat brittle.

Next we will be de-soldering the contacts at the back. Use your own favorite method for this. I used a soldering iron and blow-gun liquify then blast off the solder (watch your eyes!). Once most of the solder is off the joint, I used small metal pick/screwdriver to slightly open up the metal "tube" the wire is soldered in. Then I added some more heat, and the spring tension pulled the wire out for me.


Repeat on the other side.
Here are the new brushes

They are not a direct fit, but after some quick work with a file, they are perfect. Compare with the original brushes for a size target You can also test fit as you go by sliding the brush into it's slot until it fits. Not snugly, it has to slide easily. But no too loose either.

Put the spring over the wire and push it into the slot. Hopefully the wire will come through the hole at the back for you. It may take a couple tries and some creativity.


Once the wire is out the back, you adjust the wire length for the maximum "out" position. You want it as far out as possible without being too loose. Once you choose the length you can crimp the metal tube slightly with some pliers to hold the wire position.


Then solder away.

After it's cooled a bit, clip the excess wire and apply a glob of RTV silicone, just like the factory did.

Reinstall the regulator/brush pack. This takes slightly more finesse, as the brushes are longer now, and will need pushed in against their springs. Bolt it down and push on the black cap. It should click.

Slap on the cover and install your rebuilt alternator!
If the filing and soldering looks a bit daunting, or if your problem is not the brushes but the voltage regulator, fear not. The voltage regulator/brush pack assembly is available. This one is from Transpo, part M521. Price is around $30. The replacement regulator comes with this nifty blue tool. It helps with installation of the new regulator by holding back the brushes for you.


 Reply With Quote


Bookmarks