


So I decided to do this mod after I was working on my engine and cracked the boost hose of the spider hose assembly. I didn't realize it at the time, and couldn't find my boost leak for a week or two (after checking every charge tube, and finally buying a set of silicon hoses). When I pulled the assembly, the boost hose, and smallest hose were both cracked. That's why in the first picture (and the whole writeup) those two hoses are already done. I decided to do the other three hoses, and thus did the writeup for anyone else that wants to give it a go.
Cost of Mod: Less than $25 @ Home Depot or Lowes
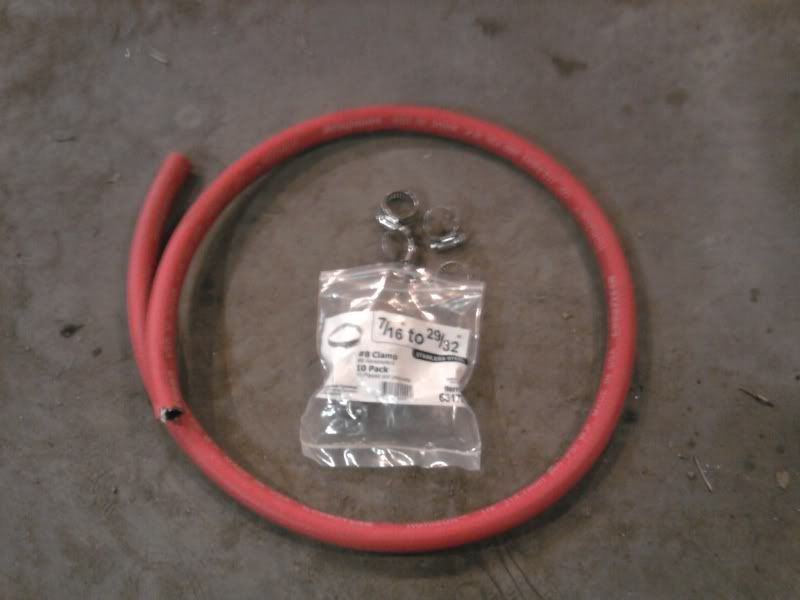
Parts:
- ~6 feet of rubber hose. (I used 1/2" hose from Lowes, good to 200psi. If I were to do it again I would get slightly larger because the fittings were a PITA to get in.)
- Pack of 10 small hose clamps
Tools:
- Utility knife
- Small flathead screwdriver
- Flathead or socket for clamps
- Hose cutter (optional. Can use utility knife)
STEP 1:
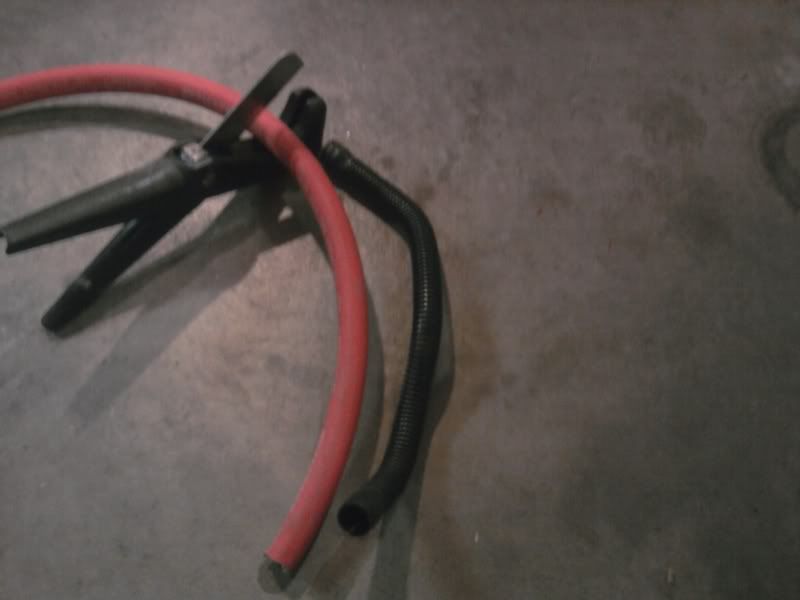
Ok so here's what your spider hose assembly should look like (again, ignore the 2 red hoses that are already on there as I had previously done this.)
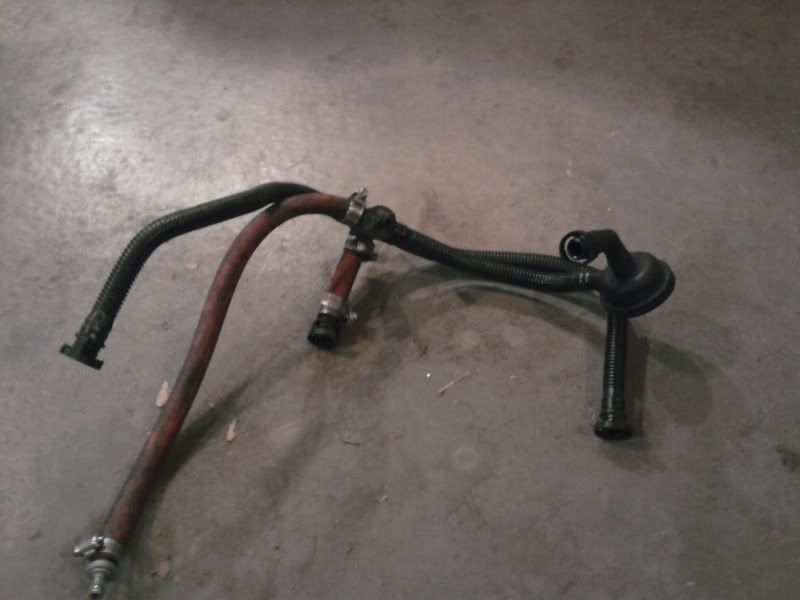
You want to do one hose at a time, so that you keep the correct orientation of all the hoses. Start by taking your utility knife and making a slit down the smooth portion at the end of the accordian style hose. It will take a couple passes to get deep enough to actually cut through the plastic. Make sure you're going from the end of the hose towards the middle of the hose. Repeat for the other end of the hose.

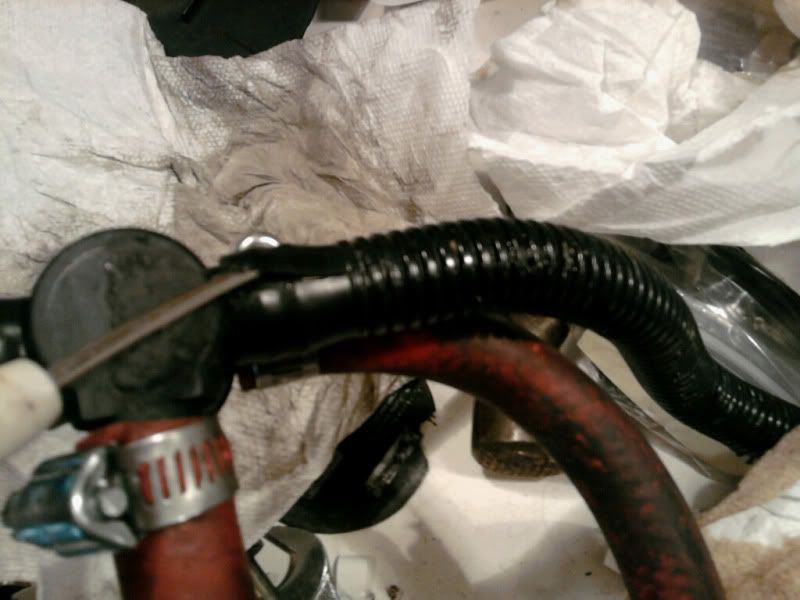
STEP 2:
Take a small screwdriver and insert the tip into the slit you just made with the utility knife. Get the flathead under the plastic until you feel the hose pop out of place. Pull the hose off the fitting. Repeat for the other end of the hose.
STEP 3:
You should have something that looks like this (two bare hose fittings).
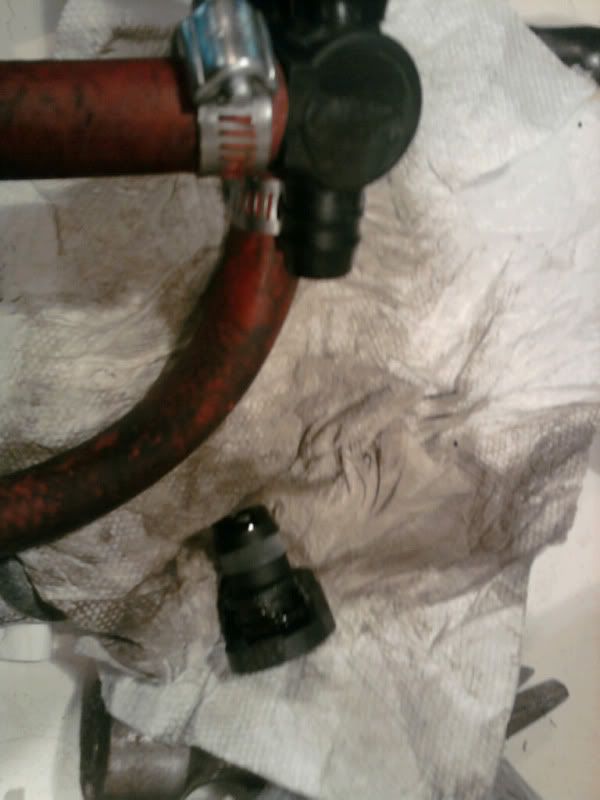
Now take the plastic accordian hose, and hold it up to your rubber hose. Use your hose cutter (or utility knife) to cut the rubber hose to approximately the same size as the stock one. You don't have to be perfect here since it's rubber hose and will flex easily. Cut slightly long to be on the safe side.
STEP 4:
Now comes the fun part. Work the rubber hose onto the fitting for each end. My hose was slightly small and required a tiny bit of stretching and a LOT of force. Now clamp each end down tightly with your clamps. Check to make sure the hose will not pull off.
STEP 5:
Repeat for all the other hoses.
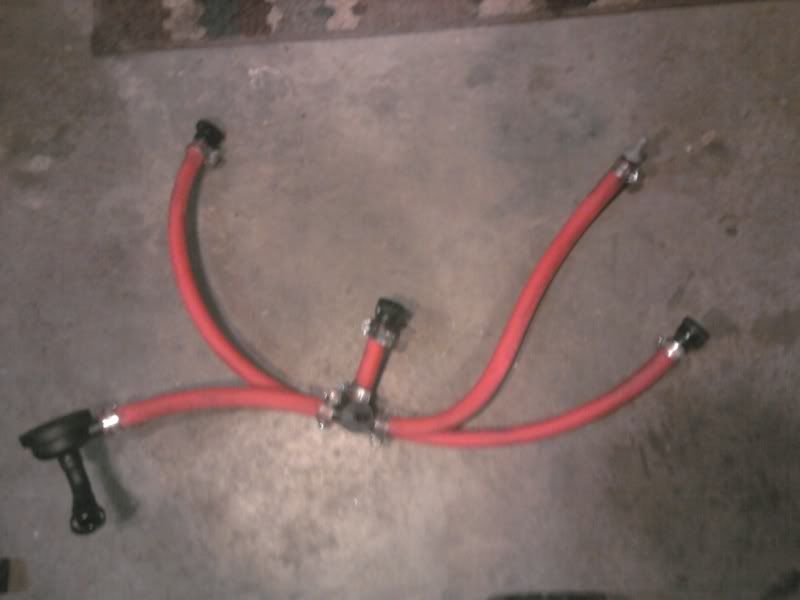
And VOILA, you're finished! Final product should look something like this:
Hope this was helpful! Let me know if you have any questions, or want any more pictures.

 Reply With Quote


Bookmarks