


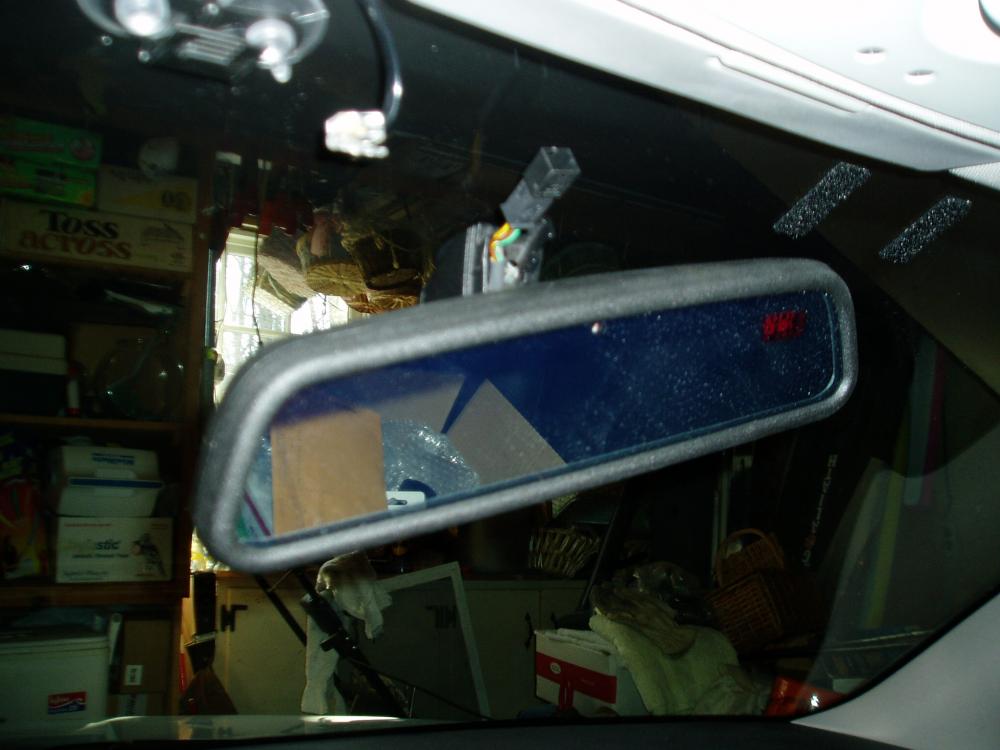
First off, you need to buy an auto-dimming mirror. There are two basic types, one with a power button and one without. Both work the same way and include a compass. I chose the non-power button one. They are for sale in the classifieds quite often (which is where I bought mine), ranging in price from $70-$100, depending on condition and type. When you buy your mirror, make sure it includes the big mirror piece (part number 4Z7857511), a felt backing pad that goes against the windshield, and the little cover piece that hides the wires (part number 4B9857593). Note that the part numbers listed are for the satin black, non-power button mirror.
The next piece of information concerns the mounting of the mirror. If you have the little flip down dimming mirror now, the mount on the windshield should be the same mount as the one required for the auto-dimming mirror, so it should just pop on (mine did, as did several other people I spoke to). The other big concern is getting power to the unit. There are a few different ways to do this. First, check in the headliner (in front of the sunroof controls; you’ll have to take this down to see in) and determine whether or not you have a connector for the mirror (I did). You’ll have to look hard and poke around; it’s not clearly visible (I noticed mine well over a month after I started the project). If you have this, great! Fish it out. If not, then you need to move on to option #2 (or the easier option if you want the power and ground source locally). You can either buy the end of a harness that came out of a car with auto-dimming mirrors (this is what I did initially), or just tap lines for power and ground at the sunroof control panel.
So off to the write-up. As a disclaimer, this is strictly for informational purposes only. I take no responsibility if you work on your car and break something. Use common sense. It’s not a very hard DIY to do once you’ve figured everything out (which is why it took me a month). Doing this from start to finish should take less time than it took me to do this write-up (~2 hours).
In addition, all the tools listed are not necessary. I’m merely including the tools I used. This entire process took well over a month to do, so there were a few different variations. And yes, the pictures are taken at different times/places with either a crappy P&S or my BlackBerry camera, neither of which takes good photos.
Parts Needed:
Auto-dimming Mirror: 4Z7857511
Wire Cover: 4B9857593
Felt Pad: No part number listed in EKTA
Wire Harness from another A4/S4
Wire Taps/Splicers (available from Radio Shack, etc.)
Fuse Taps
Extra Wire
Electrical Tape

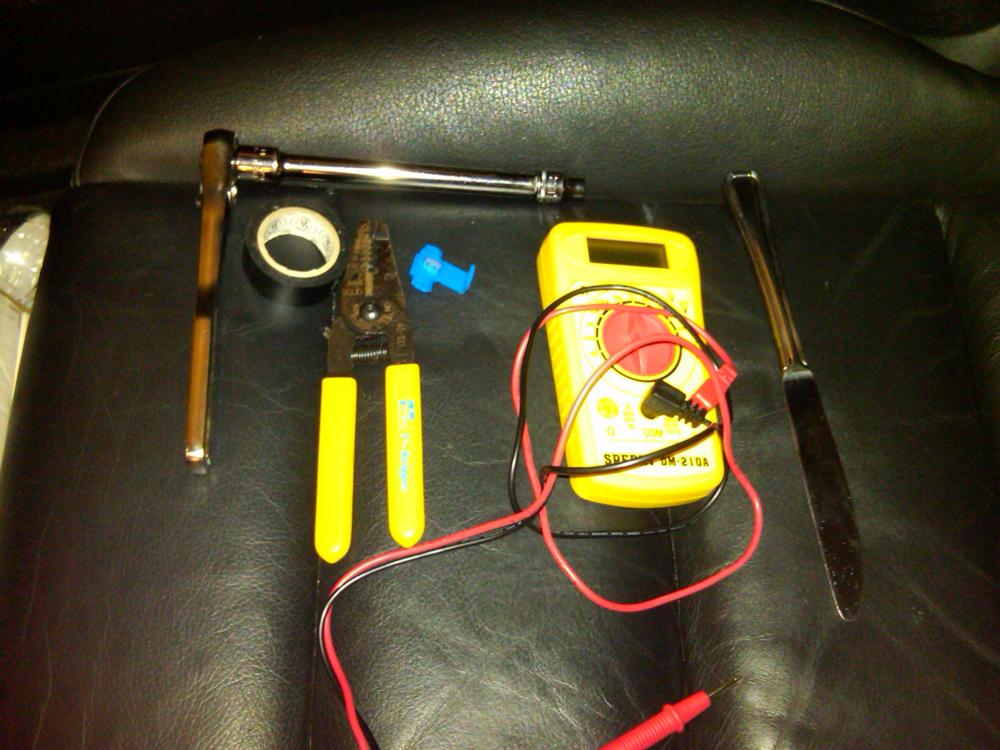
Tools Needed:
Something with a flat blade (butter knife, etc)
Phillips Head Screwdriver
Flat Head Screwdriver
Wire Strippers
Multi-Meter
Needle-nose Pliers
Channel-lock Pliers
Ratchet w/ 8mm socket
Paper Clips
Flashlight (or something similar)
Before:

Step 1: Grab hold of your non-auto-dimming mirror and rotate it counterclockwise to release it. It takes some pressure, but be sure to apply the pressure firmly. Once the mirror pops off, set it aside.

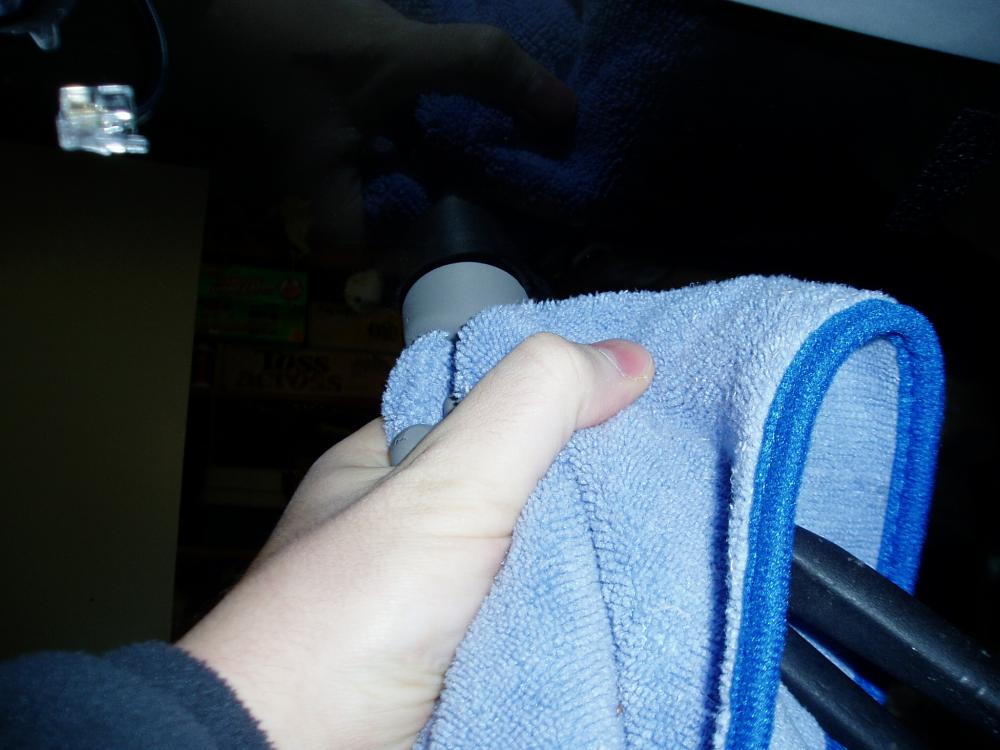
Step 2: Wrap a towel around the mirror base (the beige thing still on the windshield). Take the channel lock pliers and grab onto the base and twist it counter clockwise. Be very careful to keep even and steady pressure so that you don’t break the windshield (not sure if it’s even possible, but better safe than sorry). Once it’s off, set it aside.
Step 3: Put the felt piece (the one that goes against the windshield) so it slots in behind the mirror. You’ll see how it goes.
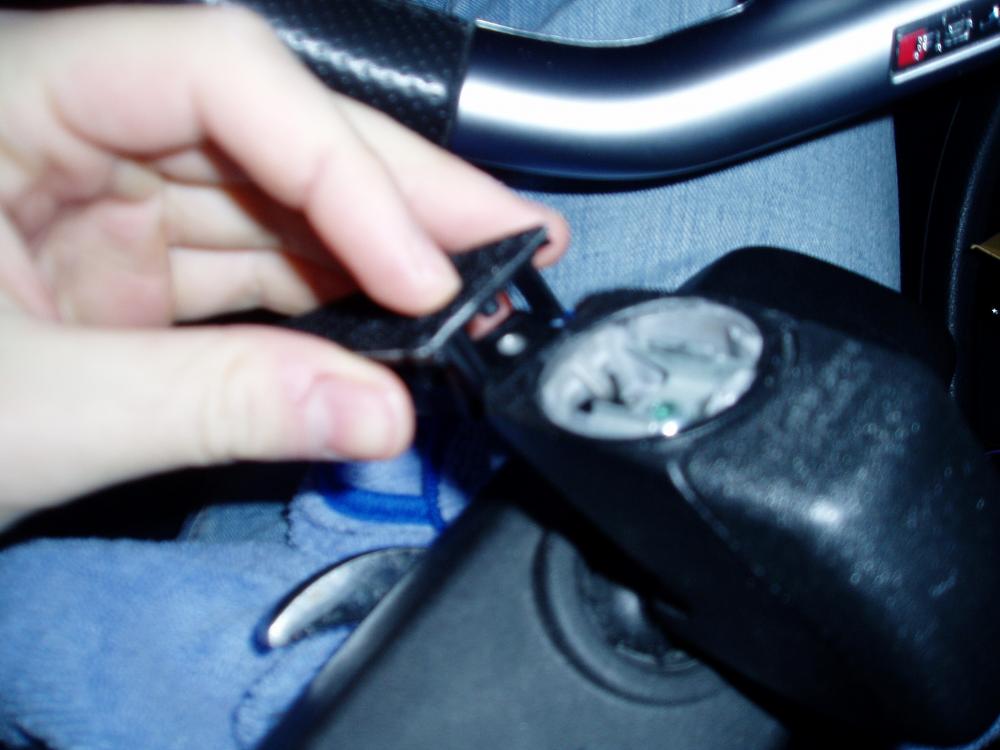
Step 4: Look at the metal attachment point on the windshield in relation to the receptor piece on the auto-dimming mirror. It goes on the same way the old mirror came off, except the base and mirror are one piece instead of two. This means you will have to put the mirror on at a 90 degree angle and then rotate it clockwise to engage it in place. It’s fairly straight-forward. Take the harness that’s coming from the mirror and click it into the tab thing.
These first four steps are generic to either of these two write-ups. However, it branches off here. The first part it assuming that you need to create your own power and ground in the sunroof controls. The second part assumes that you have the mirror harness already in the headliner. You will only need to follow one or the other. I had the harness in my car already, so my apologies if the details on the “create your own” DIY are a bit sketchy.
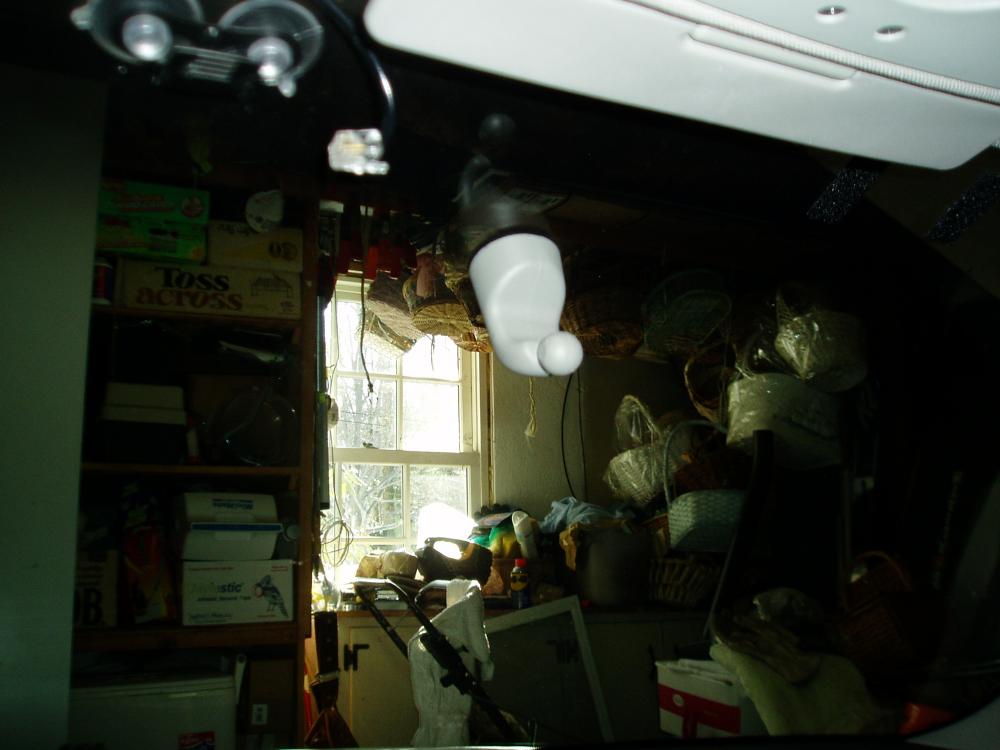
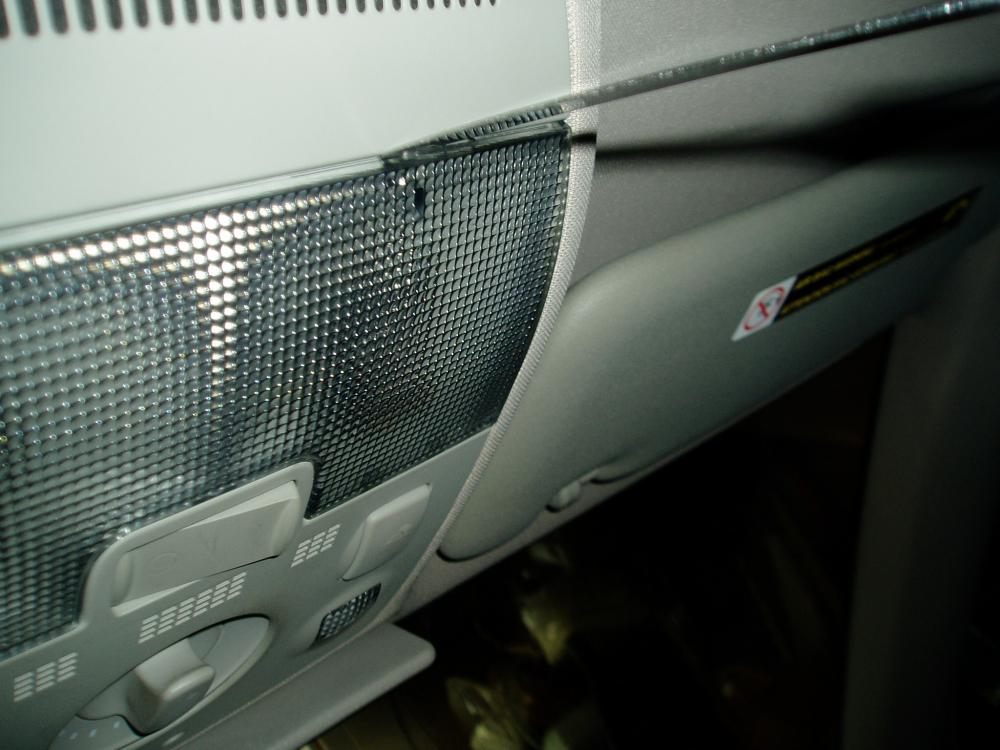
Step 5: Use the butter knife to release the two tabs on clear, plastic map light cover. There is a tab on each side. Then use the butter knife to release the beige plastic surround that covers the area around the individual map light buttons. Next, remove the two Philips head screws towards the front of the assembly (if you’ve never done this before, look directly up underneath everything and you should see them), and remove the assembly. Disconnect all the connectors, but remember where they go!
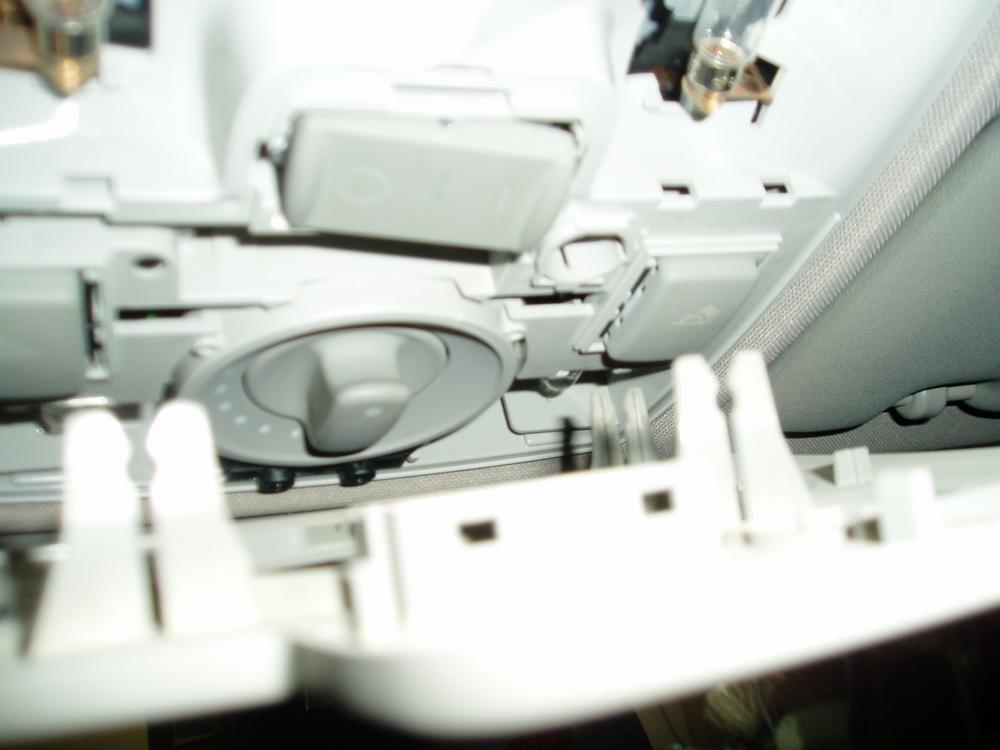
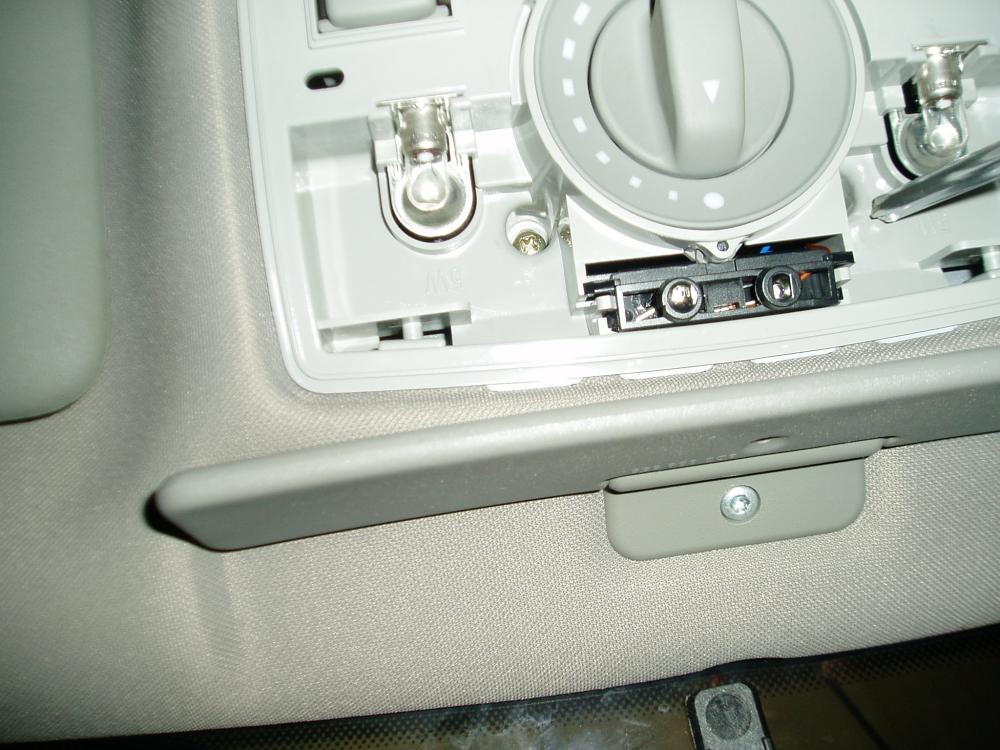
Step 6: Locate which wires on the connectors have power. They vary from car to car. I found that on mine, the grey sunroof connector had power going to Pin #1. A good test is to locate a ground (any bolt on the roof should work), and use a paper clip stuck into the Pin slot to test with your multi-meter (straighten the paper clip out and stick it in the hole at the location you want to test). Put the multi-meter’s ground pointer on the ground and touch the power to the paper clip. You’re looking for a reading somewhere around 12V on the multi-meter.
The wires on the mirror that you need to concern yourself with are Pin’s #1 and #2. Pin #1 is power (white wire) and Pin #2 is ground (black wire). If you have a harness from another car, the wires on that harness are also Pin #1 and Pin #2, but Pin #1 is a black wire with a blue stripe (power), and Pin #2 is a brown wire (ground).
Step 7: Either plug the harness from a parts car into the mirror harness and splice the wires, or splice extra wire in to make the connection. When you turn the car to the auxiliary position, the mirror should power on. If so, use the electrical tape and tape up all the connections, reassemble the sunroof switch, and pop the wire cover piece on the mirror. You’re done!
If you have a harness in the car already, follow these steps (this assumes that you’ve disassembled the sunroof controller/map lights in order to find the harness. If you need help on how to do this, refer to step #5 above):
Step 5: Fish the harness out and pop it through the front of the headliner. Plug it into the harness coming from the mirror (it can only go one way). Pop the wire cover on. Reassemble the map lights and sunroof controller.
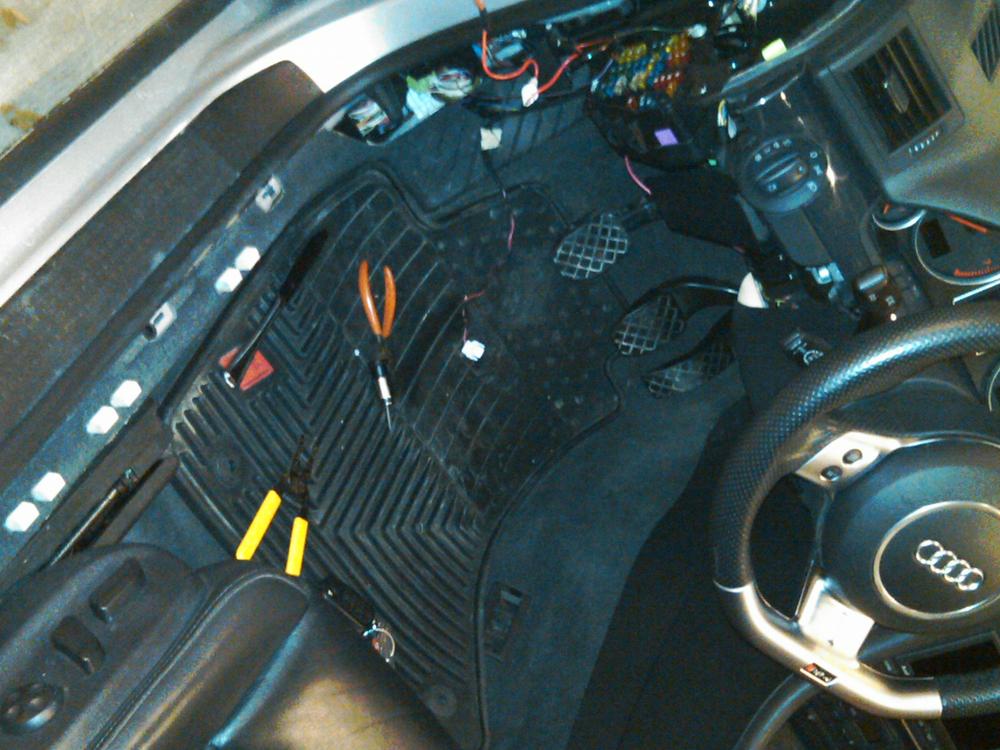
Step 6: Open the driver’s side door and remove the fuse cover (use a flat head screwdriver and pop the fuse cover off). There are three 8mm bolts that you need to drop the knee bolster. I don’t have pictures of these bolts, but there is one on the steel fuse bulkhead, and two at the bottom of the bolster (near the OBD-II port on the left, and in the same general location on the right). Remove the bolts and wiggle the bolster out. Disconnect the footwell light (it’s a white connector, pull the tabs away from each other and it should slide out) and the OBD-II port (it just pops out), and set the bolster aside.
Step 7: You will need to remove the kick panel that is next to the dead pedal. Start pulling out and you’ll get an idea of where the clips in the front are. There is another trim piece by the fuse box that you will need to remove first. Remove that. Next, running along the door sill, you’ll see where the trim continues to run from the kick panel (its one big piece). You’ll need to start nearest to the B-pillar and work your way back, as the kick panel needs to pull out from behind the hood release. I know it sounds complicated, but once you start at it the process will make more sense. Everything is held in by clips that take a fair amount of pressure to remove. Set all these pieces aside.
I don’t have step by step pictures for #6 and #7, but the car should end up looking like this:
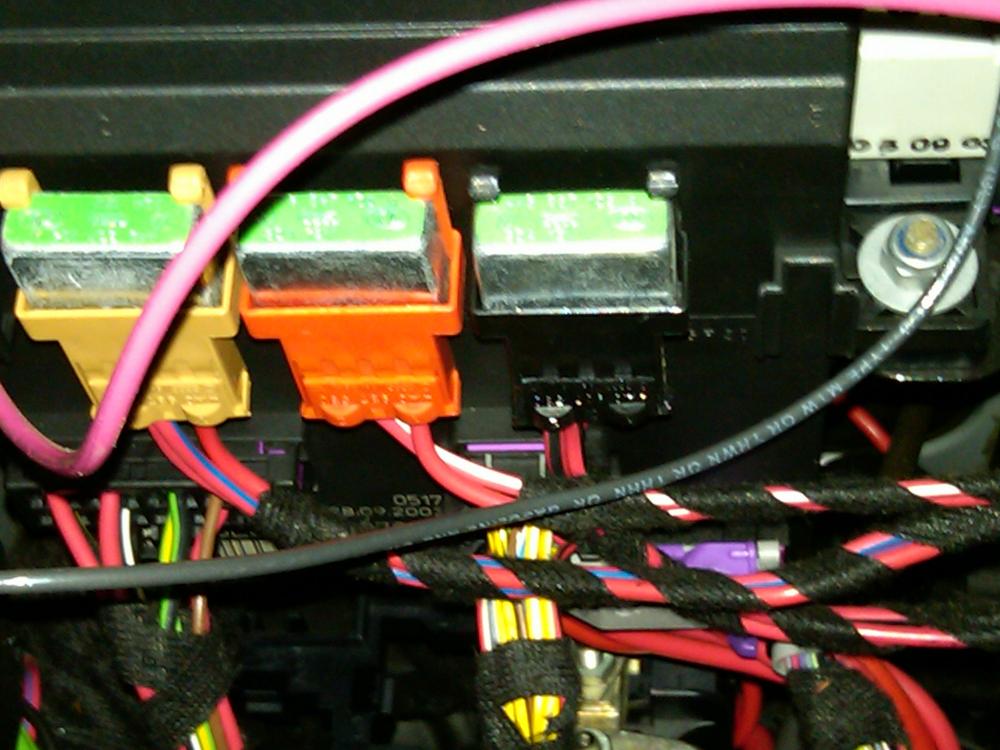
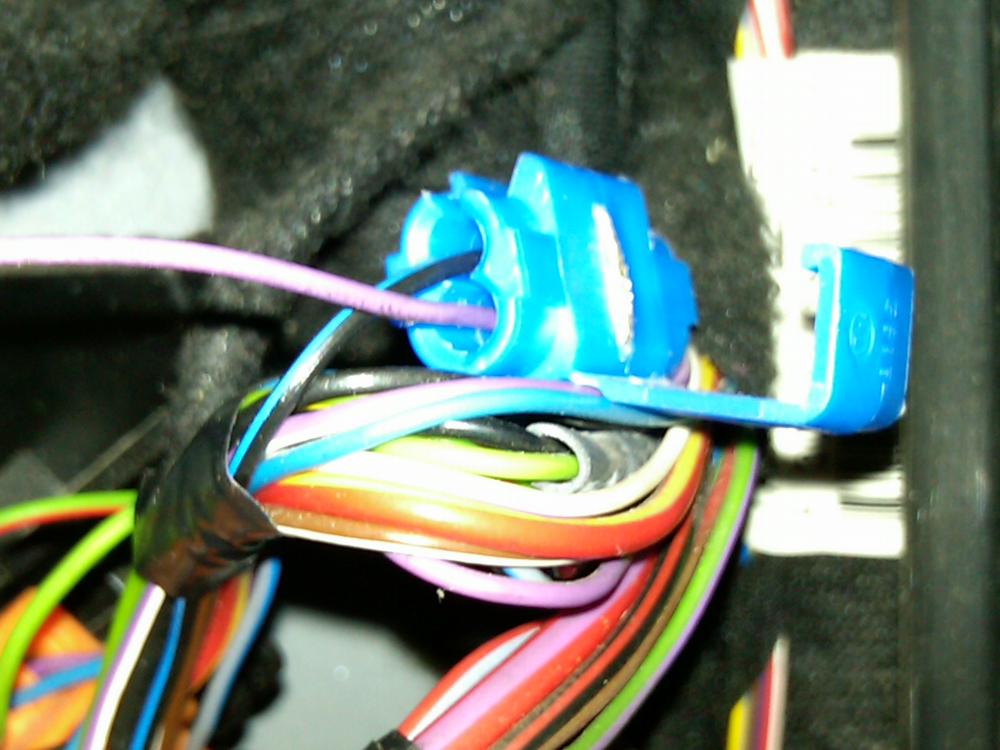
Step 8: This is where you need a flashlight or something like that (since you disconnected the footwell light). You’re looking for an orange T17f harness connector at the left connection station. You’re likely staring at an orange connector. That’s not it. The connector you’re looking for is on the left side of the driver’s side footwell (think of it as being on the left “wall” of the footwell, if there were one). The connector is next to a blue on and a red one (I think). There’s ~20 wires feeding into it. Locate that connector.
Not this:
This:
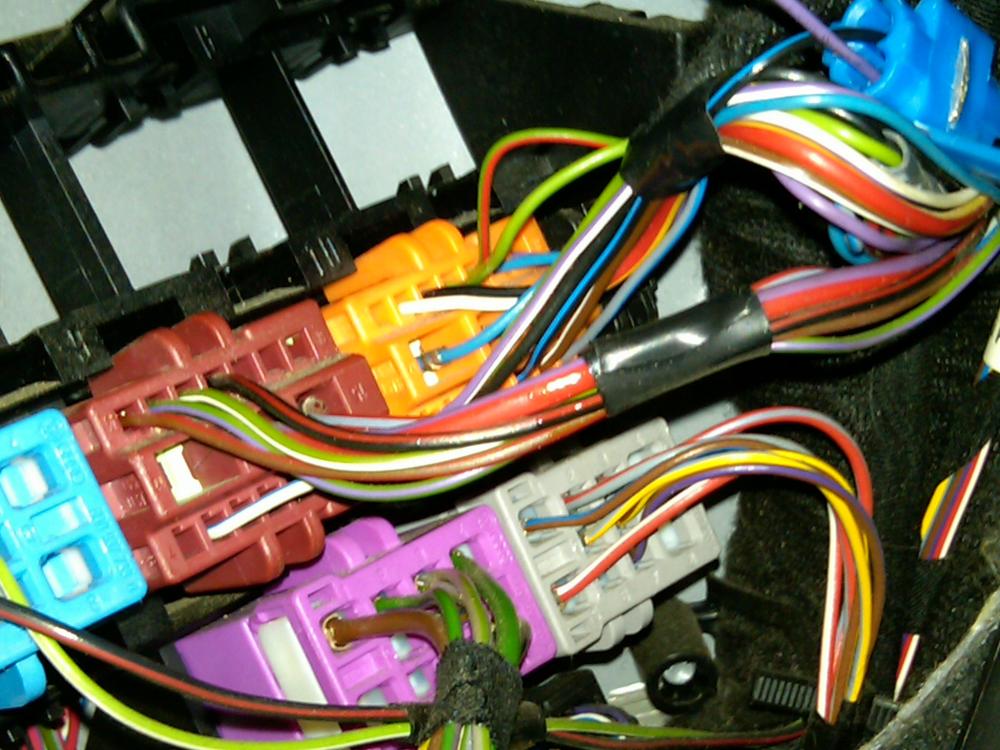
Step 9: Once you’ve found that connector, locate Pin #3. This is a pain in the ass. I couldn’t get my connector unplugged to give me more room to work, so I had to contort myself to work on it. What you need to do is splice a wire from Pin #3 to a switched 12V power source. Start off by locating the beginning and end points (the beginning point is the wire going into Pin #3, end point is a switched fuse). The wire in Pin #3 should be black with a blue stripe. Take your wire tap and your extra piece of wire and splice these two together. Then run the wire to the fuse box. As an FYI, you shouldn’t need more than 18” of wire to get from point A to point B.
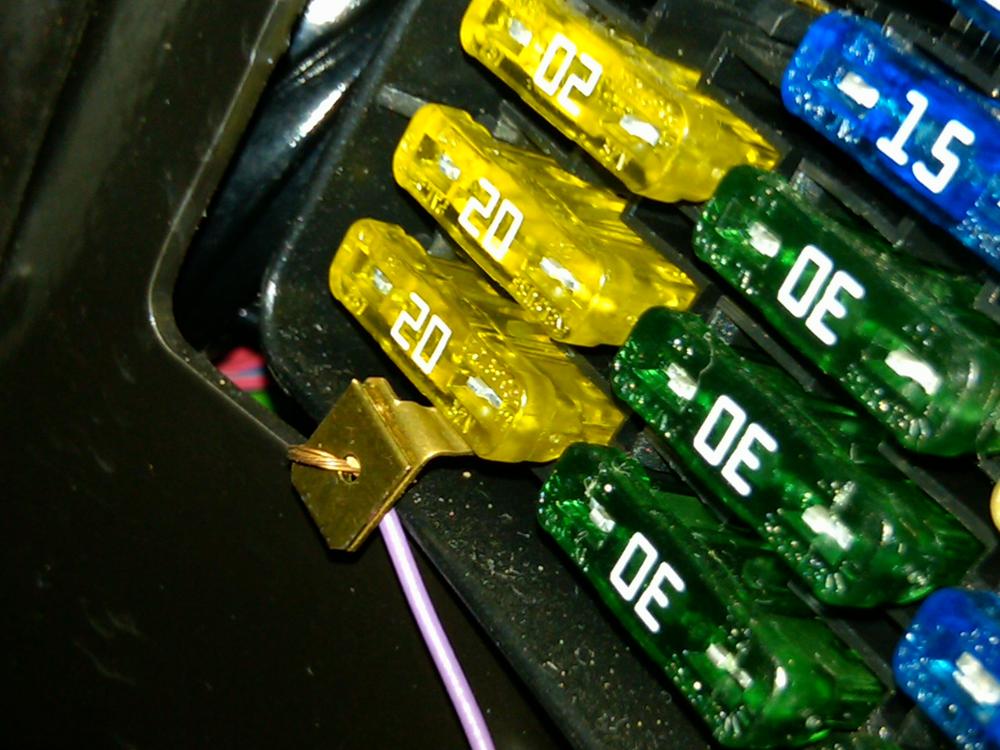
Step 10: I used the fuse at position #31 (for the reverse lights). It’s a switched fuse, which means it will go on and off with the car (fwiw, I had my radar detector wired in at this fuse…I’ve been told that the 15A will support the radar detector and the mirror). The fuse should be a 15A fuse (15-amp…if you’re running the mirror and the detector off the same fuse, you may want to up it to a 20A, but it’s not necessary). Pull the fuse, insert the fuse tap, connect the wire (there’s a few ways to do this, I temporarily ghetto-rigged it. Don’t leave it how I did), and plug the fuse back in. Turn the car into the auxiliary position, and if you did everything right, the mirror should power up. If so, tape up all the electrical connections.
This isn’t the right fuse, but it provided power so I could double check everything.
Step 11: Put the car back together. Enjoy. If you have any questions, comments, or need clarifications, please don’t hesitate to let me know. Big thanks for Minh for the mirror and diagnosticator for all the technical hand-holding along the way.

 Reply With Quote


 FS: Audi TT 225Q Roadster


Bookmarks