


Not too much needed as far as tools:
Got my symphony 2 to 2+ harness:

Antenna Adapter

Radio Keys

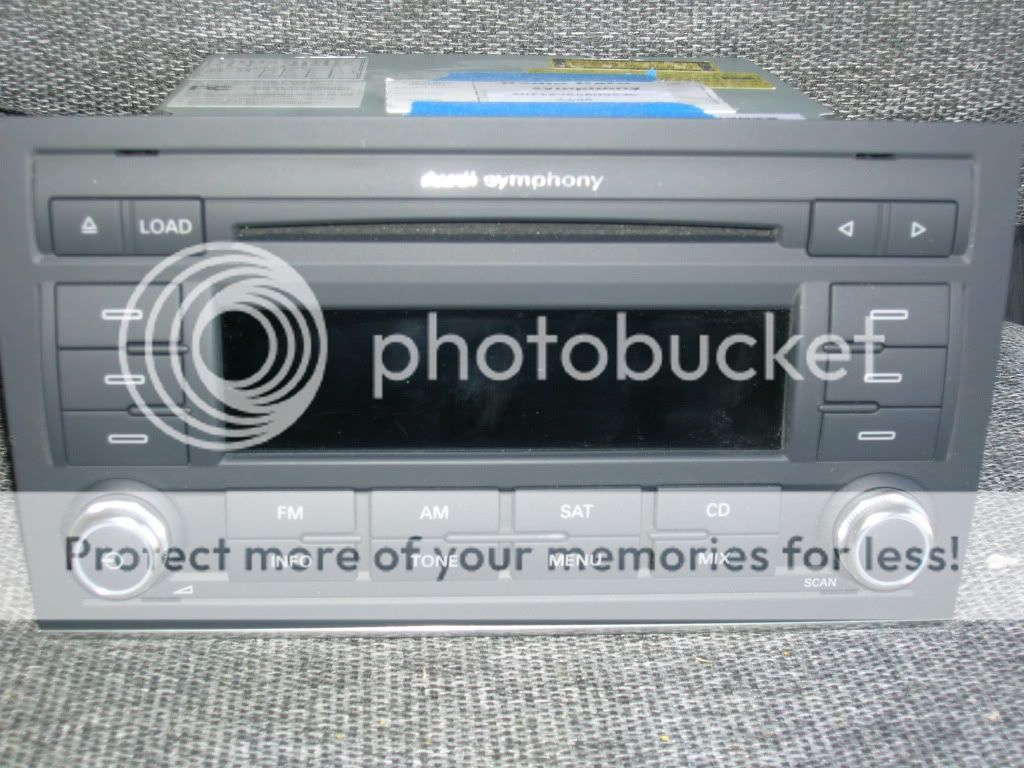
And most importantly, the radio!
Here is the before pic:

Yes I'm missing the trim. But Matt at OCarbon is going to remedy that pretty soon.

Step 1: Insert the radio keys. You need four of them. One for each corner. The notch on the key goes toward the center of the radio as shown. Insert them until they click. If you put them in backwards, you'll know, and they'll be hard to get out.


Keys are all in:

Step 2: After the keys are all in, pull on all four corners with even force to get the radio out.

If necessary, insert a finger into the tape deck and pull gently.

Step 3: After the unit is out, you'll see how the plugs are connected in the back. The 2 small plugs in this picture are for the antennas. You will need the adapter to connect the antenna from to the back of the Symphony 2+ because it uses a different type of connector.

In this picture you see the 3 connectors that need to be plugged into the new adapter. They're very easy to remove. Unplug them and attach them into the appropriate ends of the new harness. They only fit in one way so it's foolproof.


Step 4: Attach the Quadlock connector onto the back of the Symphony 2+. This is also foolproof because it only fits on one way. Remember that the connector has a lock on it to hold it in place. (Hence the name) so, here it is in the locked position.
 .
.You'll need to unlock it to put it onto the radio:

Step 5: Unlock it, attach it to the back of the radio, and lock it once it's in place.
Step 6: Attach the antenna adapter to the open end of the antenna connection. Once again, it only fits on one way.

Step 7: Once all of the connections are in place, you should hear the internal CD changer cycling. Push the on button and you'll come to this screen so that you can enter the code.

Step 8: Each button on the side of the screen corresponds with a number position in the code sequence. You just push the button for the number that you want to enter and use the right knob to scroll to the proper number. After you have entered all of the numbers, you will come to the radio screen.

Step 9: Remove the radio keys from the old unit. Now obviously you can't pull the keys out because then you could never pull the radio from the car. there is a very small tab inside the hole that is by the barcode in this picture. Don't worry, you'll see it. You need to push down on that tab and the key will be able to be pulled out. It, will come out very easily.

Step 10: Enjoy!!

Although it looks lengthy, it only takes about 15 min or so. i just wanted to make sure that I took plenty of pictures so that it would be as helpful as possible. Hopefully this will help somebody out.
BTW, I love the Symphony 2+. It looks great and sounds far better than the Symphony 2. The only gripe is that it looks more grey than black so there is a bit of a color mismatch. I'll deal with it though.

 Reply With Quote


")


Bookmarks