


If you've ever done any type of automotive work, this job is pretty straight forward, however, it's also a huge pain in the butt.
In this DIY, my DPs are off since I was replacing them at the same time, but you should still be able to remove/replace the starter with the DPs on...you'll just have less clearance.
First, get your car up on ramps or jackstands, and disconnect the battery.
Tools you will need for removing/installing the starter:
- ratchet
- 13mm socket
- 16mm socket
- 18mm deep socket
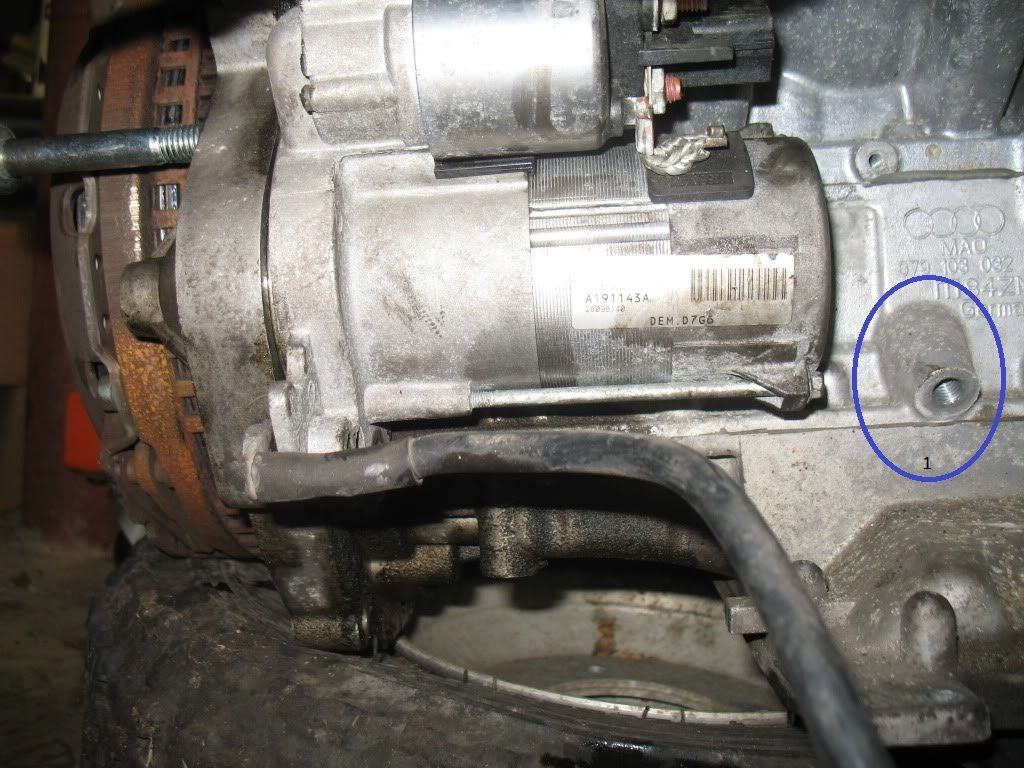
Locate the starter underneath the car.
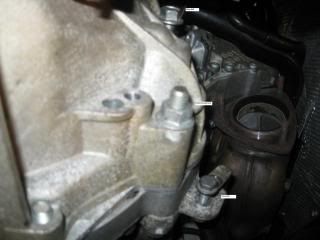
Before removing the 2 starter mounting bolts, there are 3 electrical connections that will need to be disconnected. On the far side of the starter there is a electrical connector that needs to be unclipped as well as a power wire that is secured with a 13mm nut. On the near side, there is a ground wire held by a 13mm bolt just below the bottom starter mounting bolt.
Now you can undo the 2 mounting bolts. The top bolt is a 16mm and the bottom bolt is an 18. The bottom bolt is a through bolt, so you may need to use a 16mm wrench/socket on the other side to prevent it from spinning.
There is just enough room to maneuver the starter out, and it's going to take a few tries to find that spot that allows the starter to slip free.
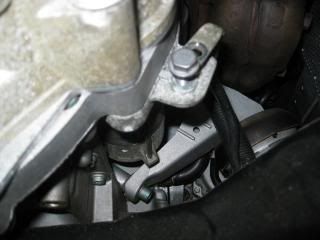
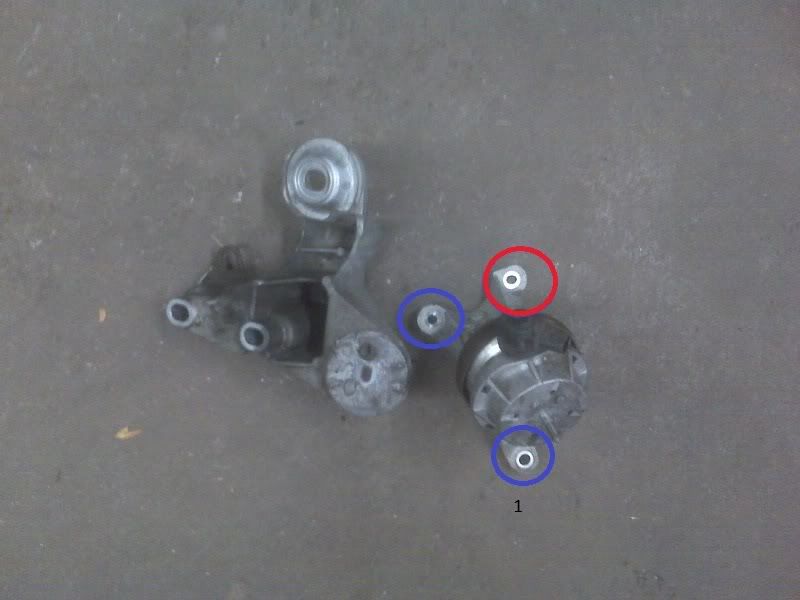
In the above pic, you can see the motor mount and the open center portion between the mount and the engine where you will need to slide the starter. You will need to wiggle the starter far enough through the opening to clear the starter snout from the starter mounting location. Once you get enough space, tilt the starter towards the passenger side and then out.
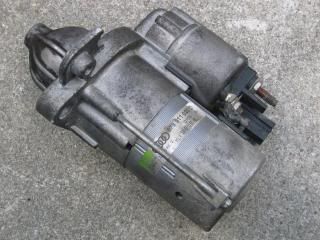
Installation is the reverse , however, I found that I needed to grind down the snout of the replacement starter as it was slightly longer than factory and wouldn't clear.


 Reply With Quote


Bookmarks