


So lets start with a list of things you need.
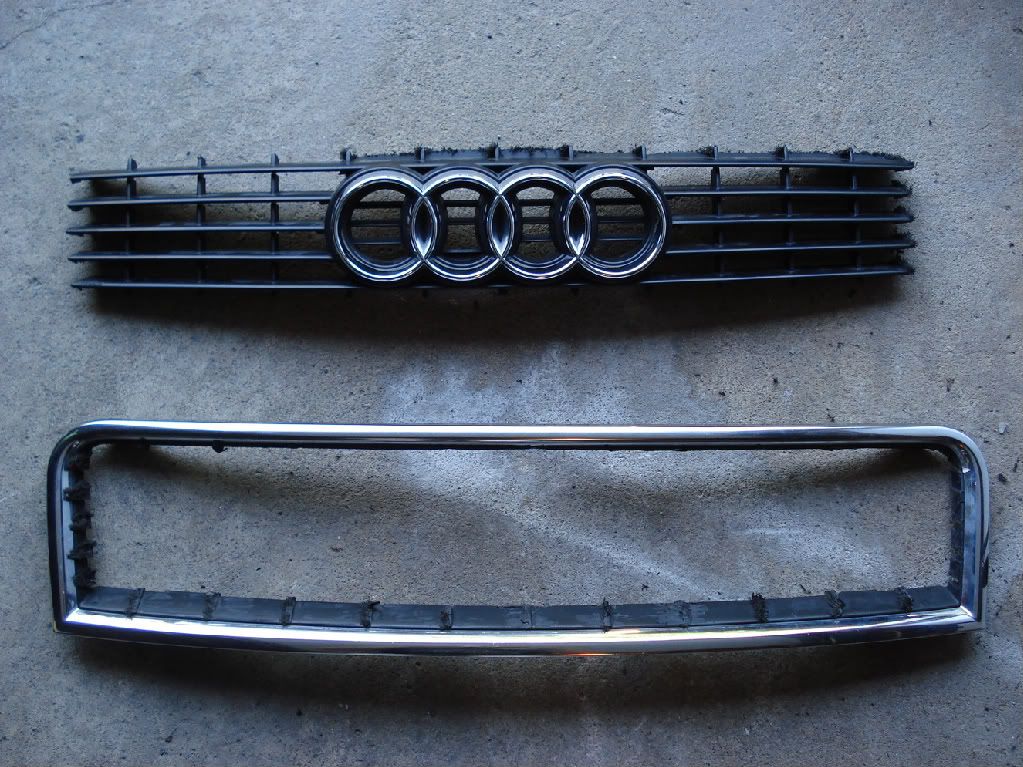
1) Stock grill shell
2) Duramix 4040 (what i used), or Duramix 4058 (slower drying time)
3) Duramix applicator or a DIY applicator made from a caulking gun (which i used)
4) Expanded steel (comes in 4x8 foot lengths if you go to a metal shop, or buy an off cut. I found a decent sized off cut for 10$ at McKinnon Metals in Toronto)
5) an angle grinder, die grinder or cutoff wheel to cut the expanded steel. (It will turn your dremel bits into turd)
6) plenty of sand paper and palm sander
7) Adhesion promoter and paint of your choice.
__________________________________________________ ________________
Onto the work:
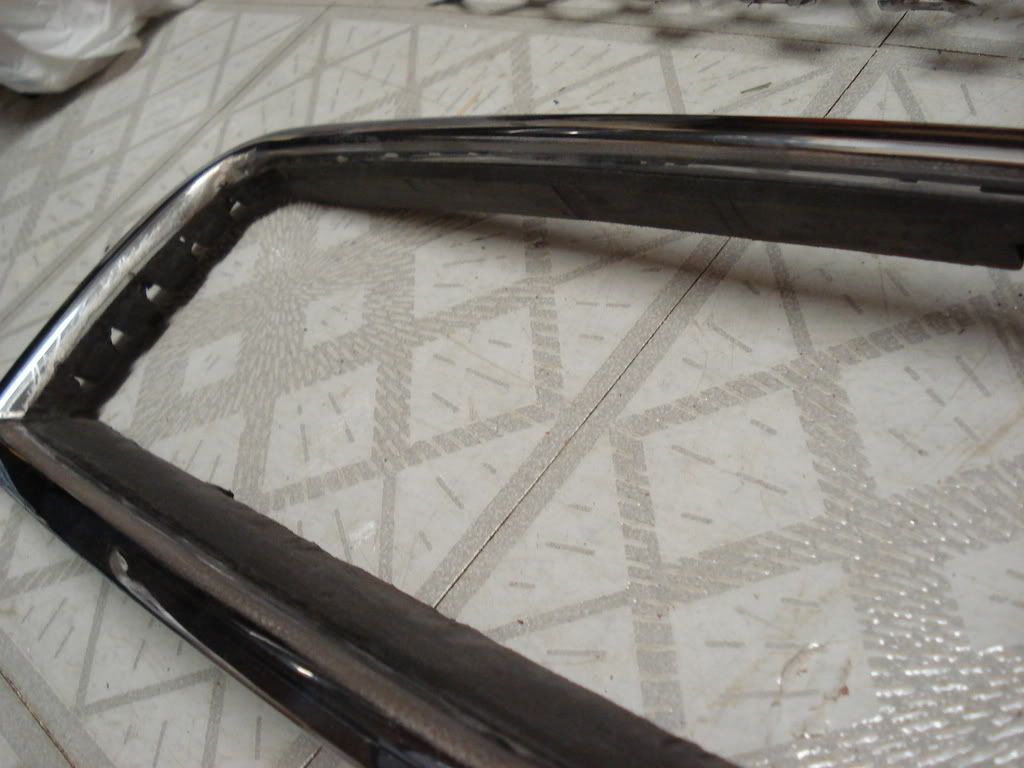
The first step AFTER REMOVING THE GRILL, is to cut out your stock centre.
Then once this stock centre is out, you can sand the shell smooth. I used my dremel and sanding cylinders to smooth it out. Keep in mind if you use this method, the sanding cylinders clog quickly.
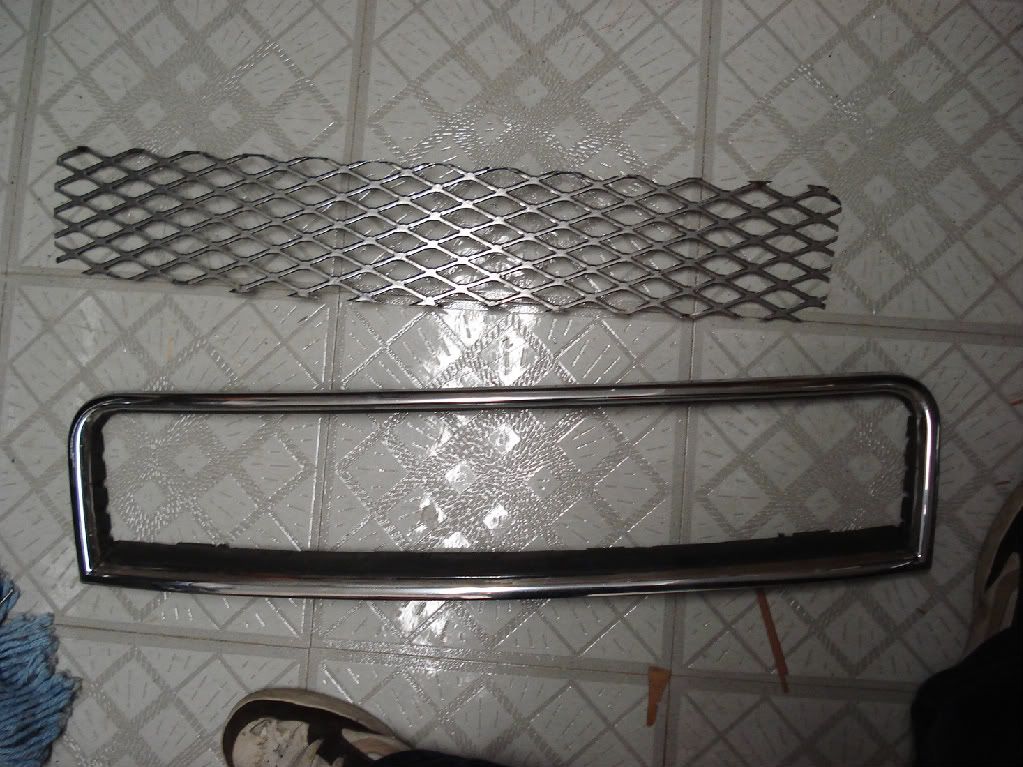
It should look something like this:
After you have a smooth grill shell, make a cardboad template to fit inside the opening. Once you have the proper size/shape, you can trace this onto your expanded steel, and cut it out:
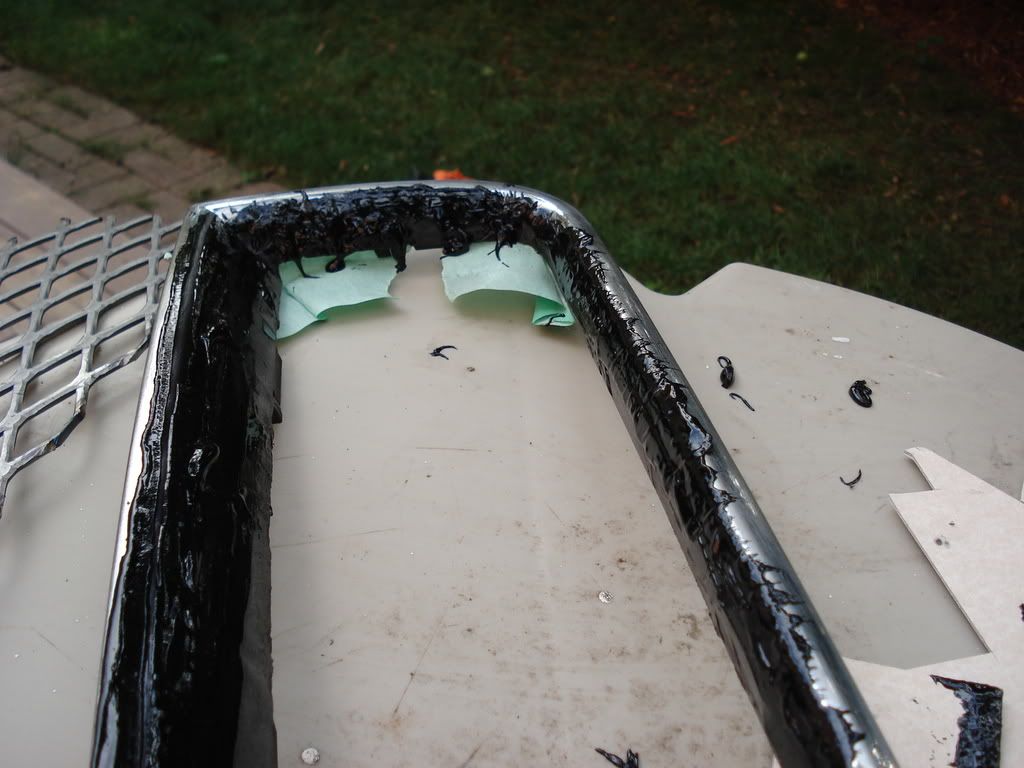
Now the fun part begins. You may want to do this outdoor because the Duramix fumes will get to you

Spread the duramix onto the stock grill shell. Try to do it as evenly as possible but make sure to fill any holes (on the sides) and as well as moulding the black part to the chrome part in a smooth transition.
It should look something like this:

Next, sand the duramix as smooth as possible. This is the time consuming part. You want to make sure everything is a consistent level, and if there are any low spots, be sure to fill them now. I used (bondo) spot filler, but i recommend using more duramix.
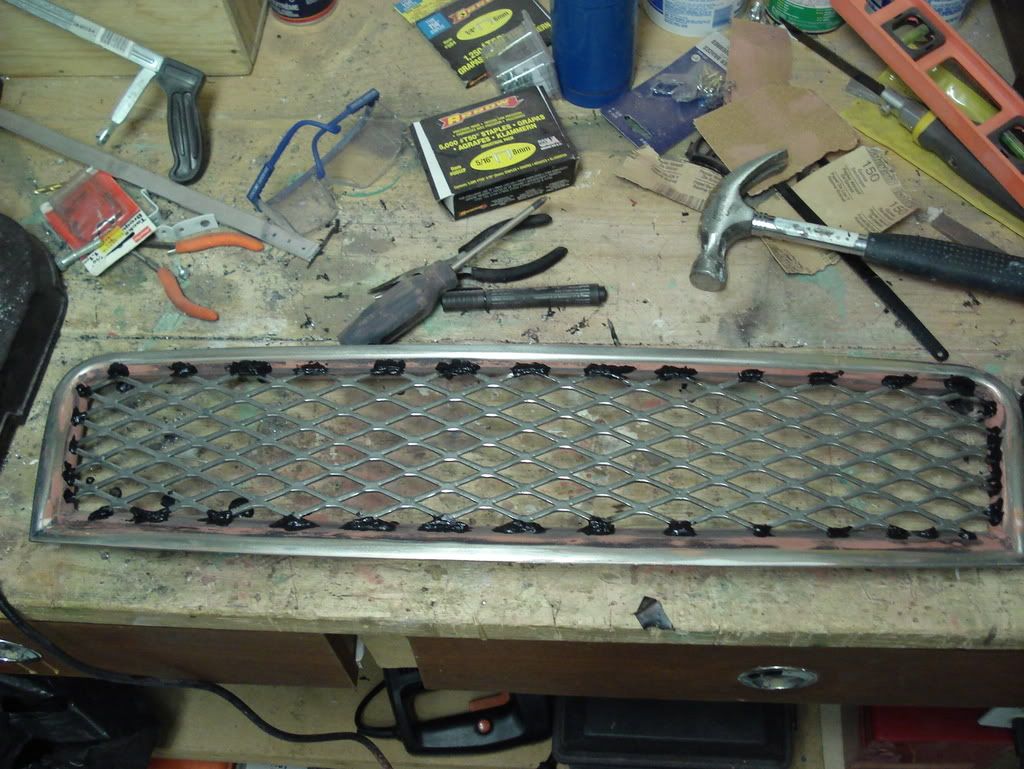
Once everything is sanded to your satisfaction, sit the expanded steel cutout into the opening. My cutout was large enough so it sits in without falling through the other side. Once its in the place you want it, apply more duramix to every possible contact point between the expanded steel, and your grill shell.
it will look something like this:
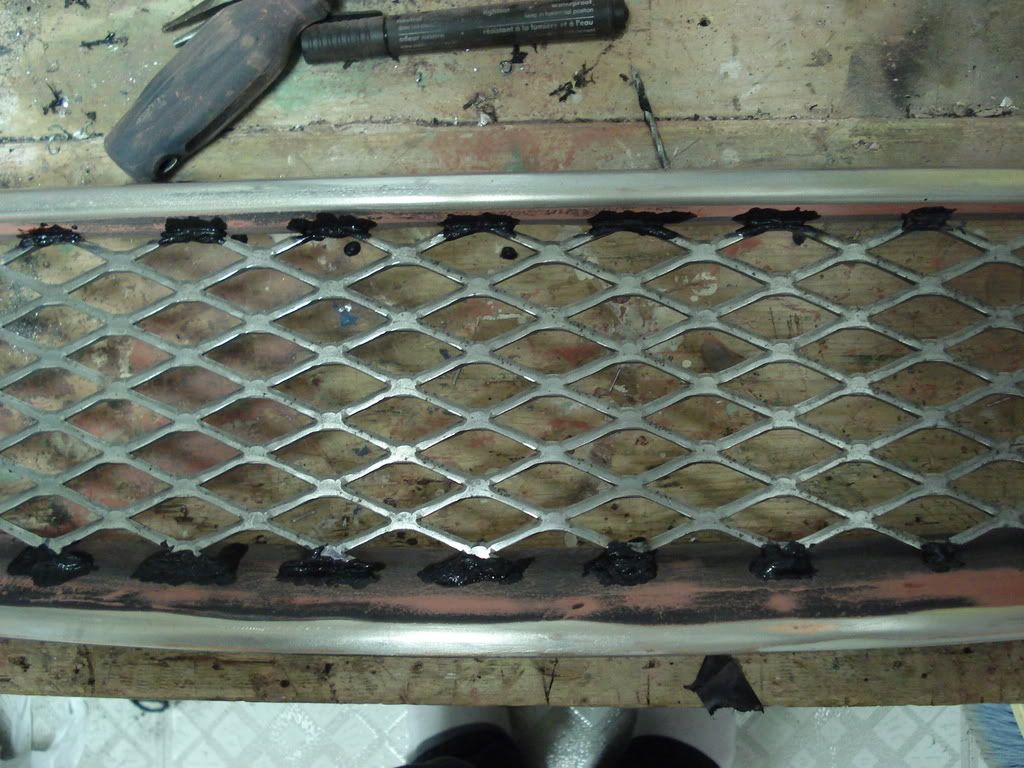
After you apply the duramix to the front of the grill and it has dried, flip it over and do the same to the backside. This will ensure it is secure and permanent.
Then sand smooth the areas you just bonded.
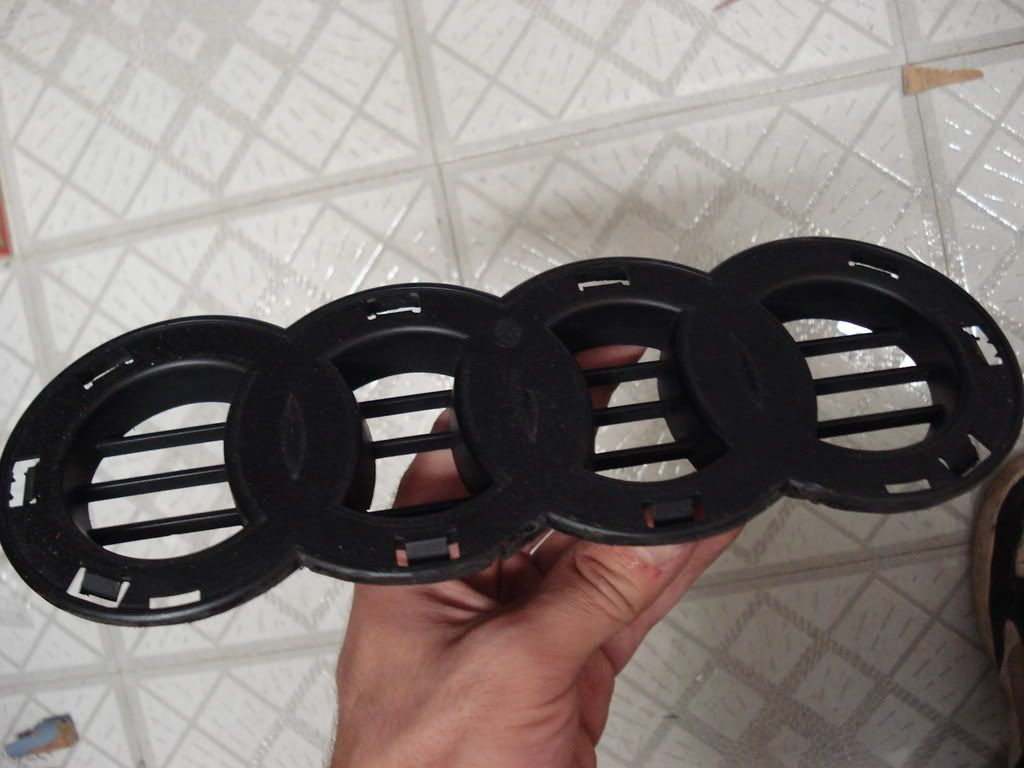
The next step is cutting the emblem mount out from your old grill.
Like this:
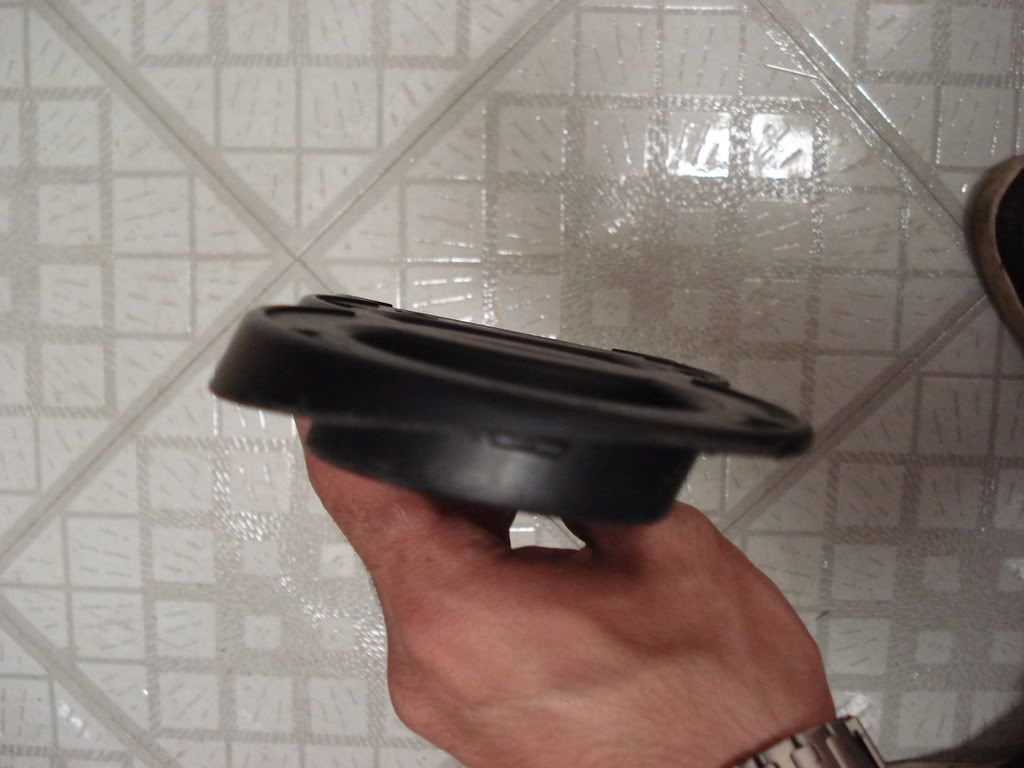
Note the angle it has been cut on:
Then use the duramix again to bond the emblem mount into place. You will need to cut an opening in the expanded steel for the hood release to come through.
Once everything has been sanded as smooth as possible and any low spots have been filled, you are ready to paint.
First apply an even coat of adhesion promoter. This will help the paint stick to any surfaces it may have problems sticking to.
The spray on the paint of your choice. I used duplicolor black primer and then flat black paint. This chipped fairly easily. I resanded it and repainted it using Tremclad rust paint (satin black). The tremclad has held up very well and still have no stone chips or anything.
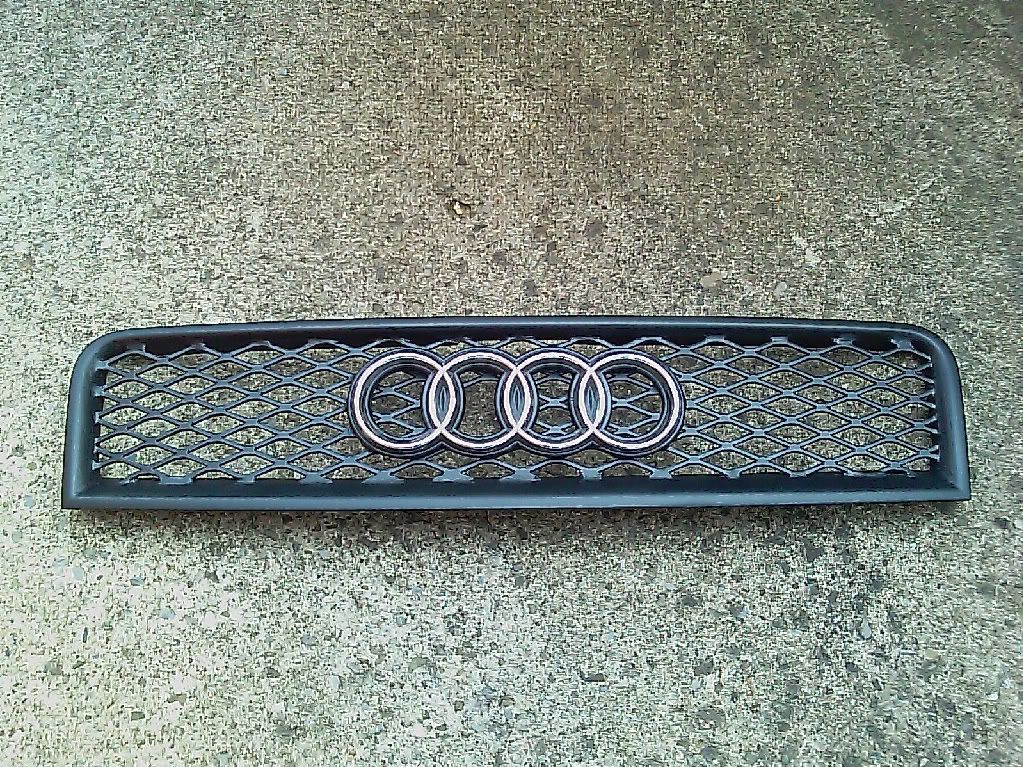
and VOILA!
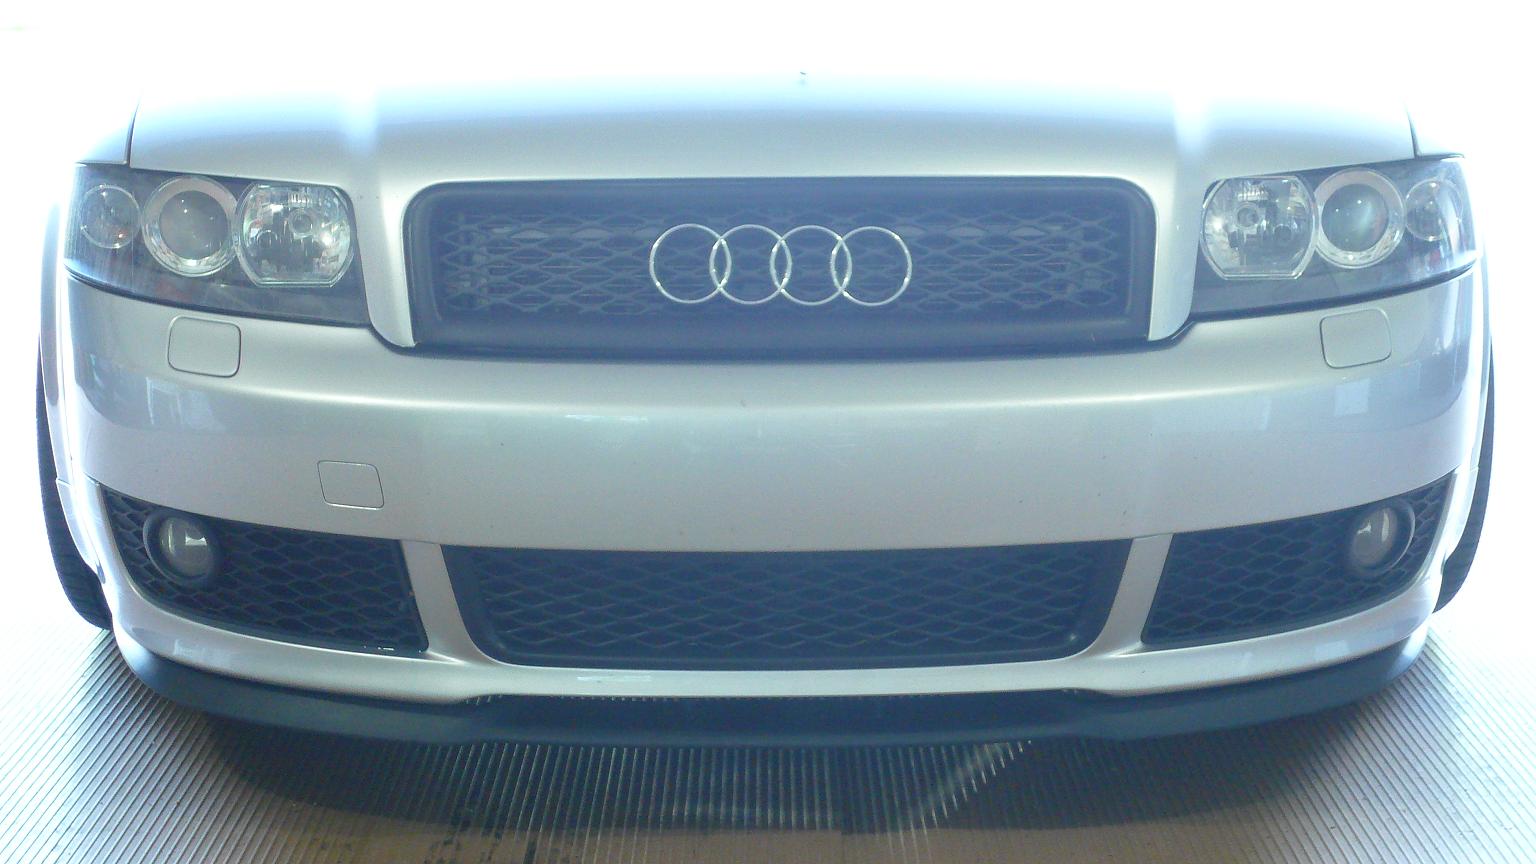
it also matches the OEM Ultrasport fog grills very well....the main reason I did this.

I also used a palm sander in order to get the plastic to one consistent thickness (to avoid gouges and waves)

 Reply With Quote


 well worth it.


Bookmarks