


- Does your car look too aggressive for a stock looking hood?
- Do you not like the look of eyelids?
- Do you NOT like the shape of the Eurogear or DTM Karbon boser hoods?
- Do you not even like Carbon fiber?
If you answered yes to any of the questions above, then you may be in the market for making your own boser hood.
WARNING: This is not an easy task, you will need to know how to weld, gind, cut, do body work and most likely paint or at least spray sealer/primer.
You are probably better off letting a body shop do the work for you, so consider this for entertainment purposes only.
If you are able to do all of the above, then here we go.
1) Start off by making templates for your boser. You can use a basic piece of paper, cardboard or anything else crafty which you can easily trim and cut with scissors.
This step is very basic and straight forward, I did not provide a picture for this because I do not have one for one, but also because you basically just cut out a piece of cardboard that is supposed to be the shape of the piece of metal that you will later on weld onto your stock hood.
2) Once you are satisfied with your piece of cardboard, trace the outline of it on more cardboard and cut out an identical piece (so both sides match on the left and right side).
3) Next, outline the pieces on 16-18 gage thick metal. Cut the pieces out of the metal.
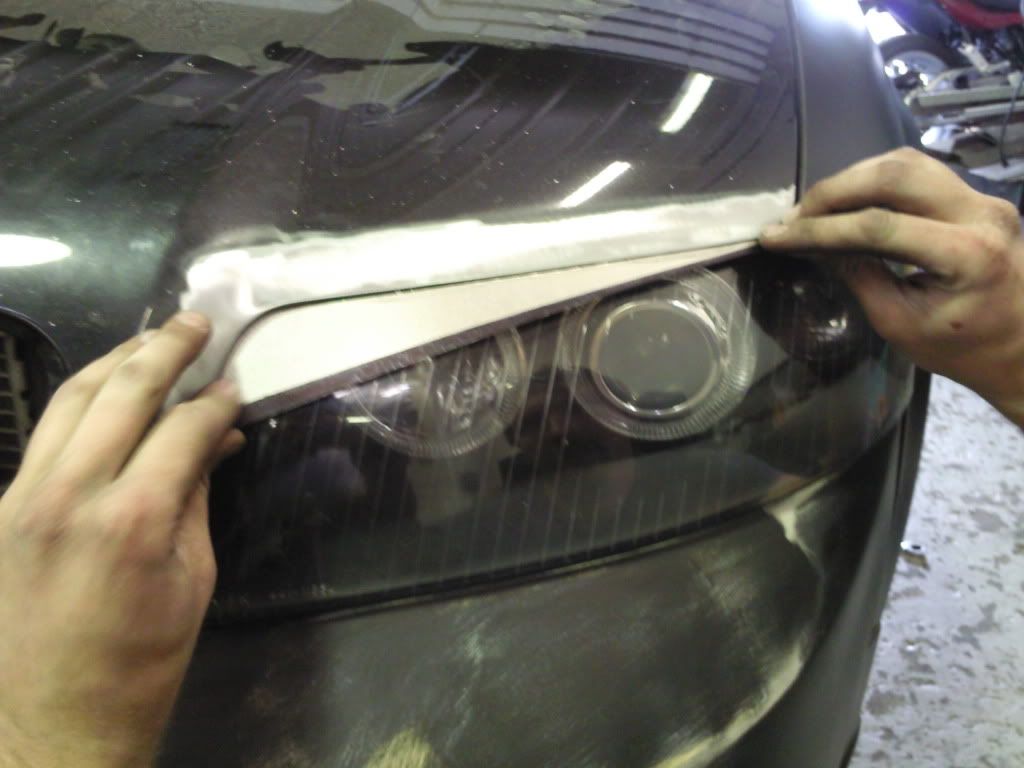
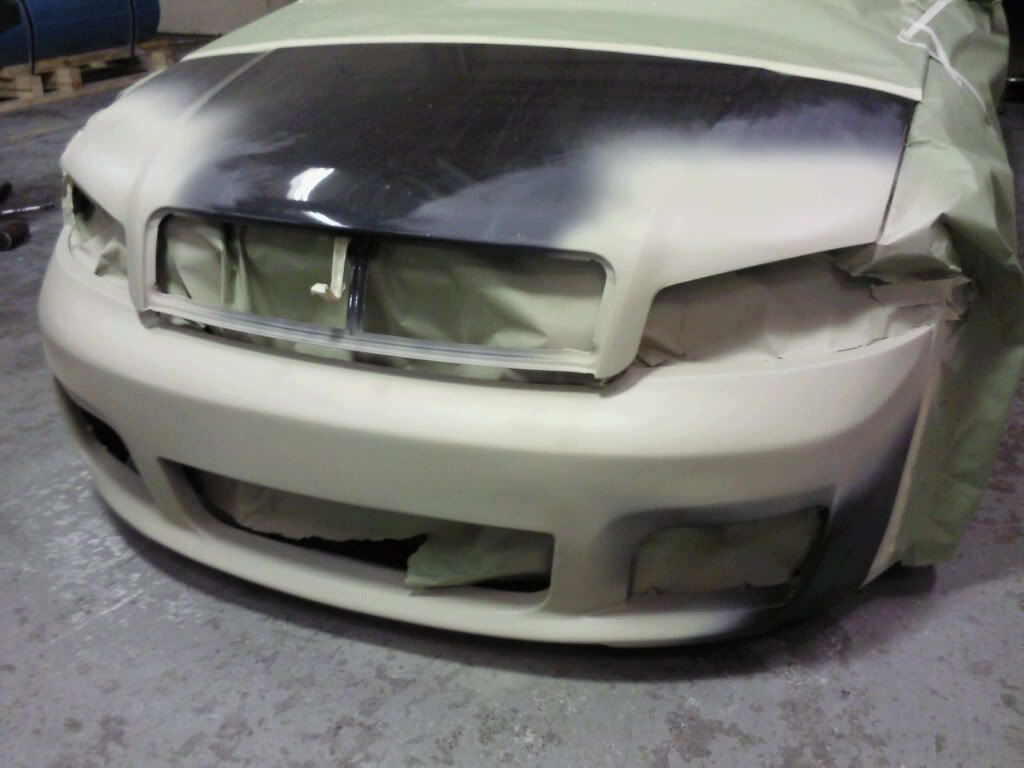
4) Now starts the fun. You want your headlights in for this part. Since every cars lines are adjusted somewhat differently, this will truly be a custom boser. Tape up your headlights with masking tape to avoid scratching them, as well as keep them from welding spark damage.
You are gonna want to slightly curve the piece of metal to match the shape of your hood, which curves over the lights.
Once you are satisfied with the curvature of the piece, you need to trim and grind it down so there is no gap left between the boser piece and your hood. You want a very flush fit, with your hood.
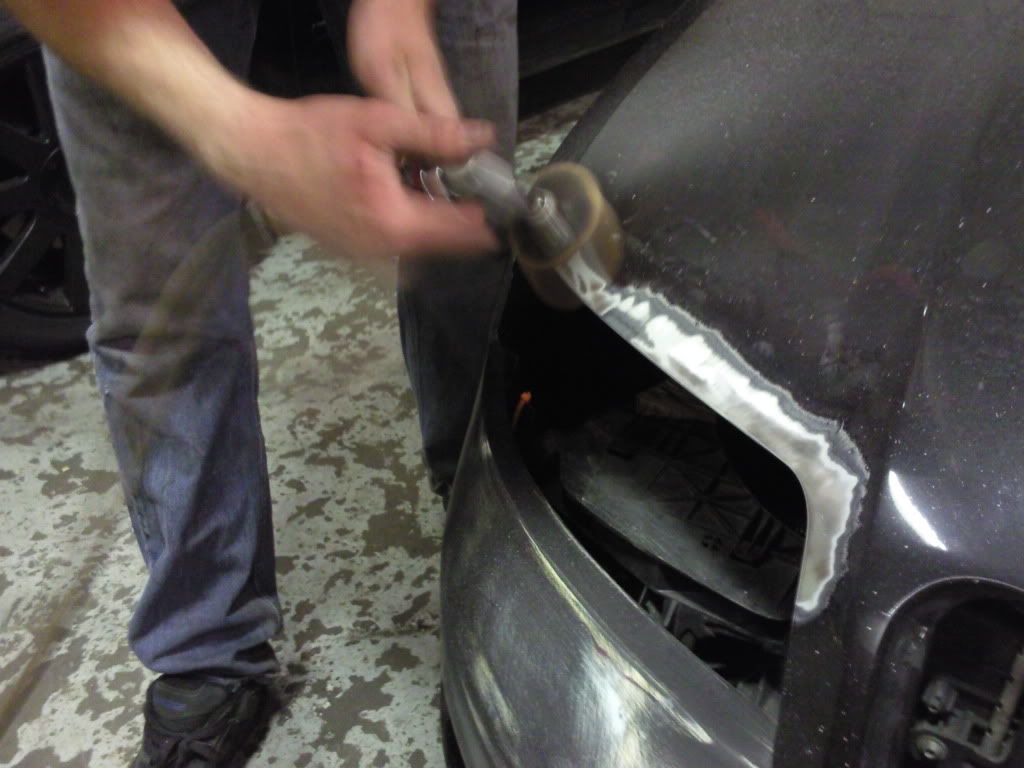
5) Gring down your hood to bare metal around your headlight.
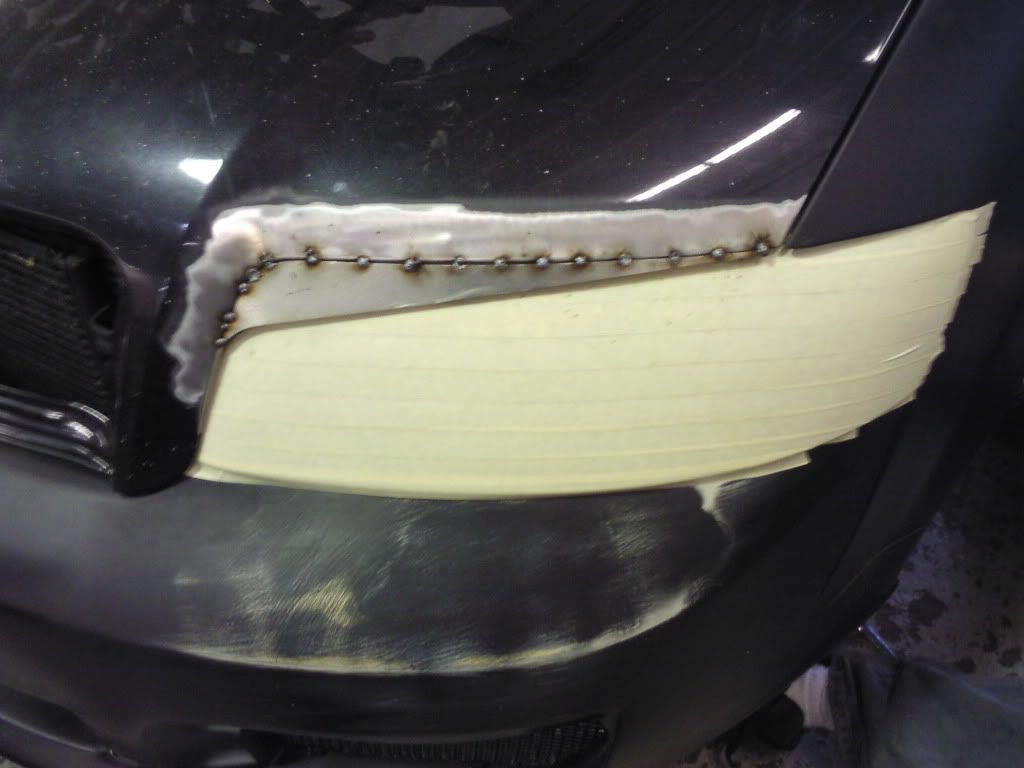
6) Spotweld your boser piece on the very left and very right as well as the middle. Now you can further adjust the piece so that you are happy with the spacing between the light and your boser piece.
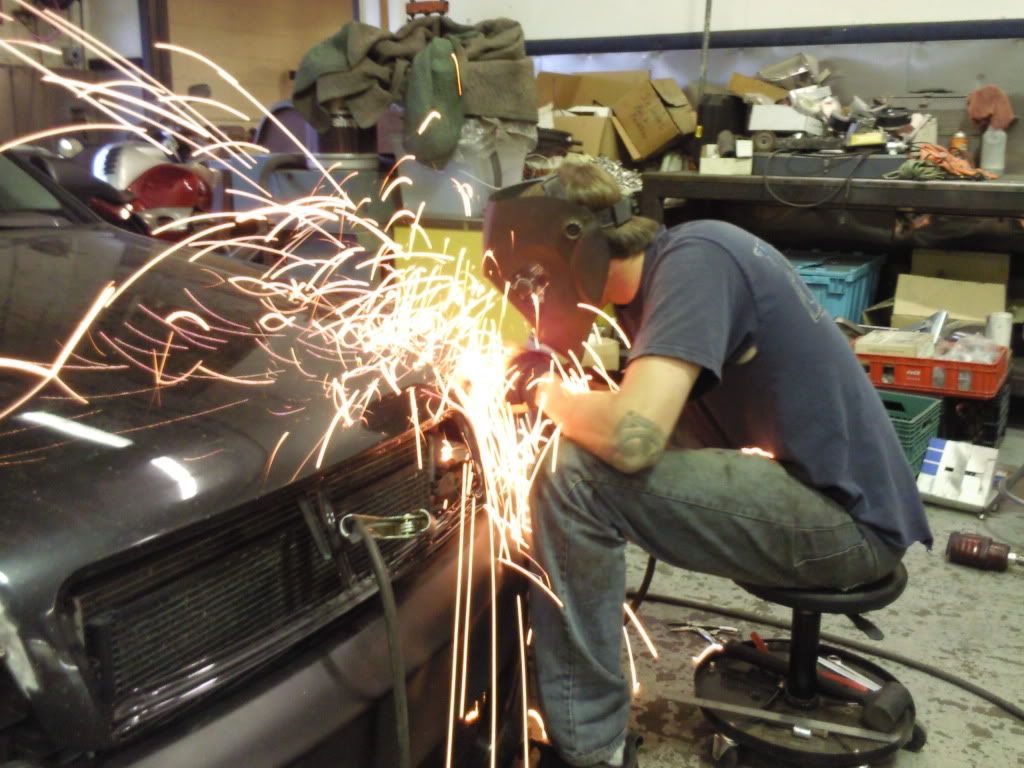
7) Weld the piece leaving even spaces between your welds.
8) Once you did a first welding pass, leaving even spaces between your welds, grind them down so the area is nice and flush. Don’t worry about doing it perfectly, you just don’t want 5mm of welds sticking up above your hood. You are ready for another pass.
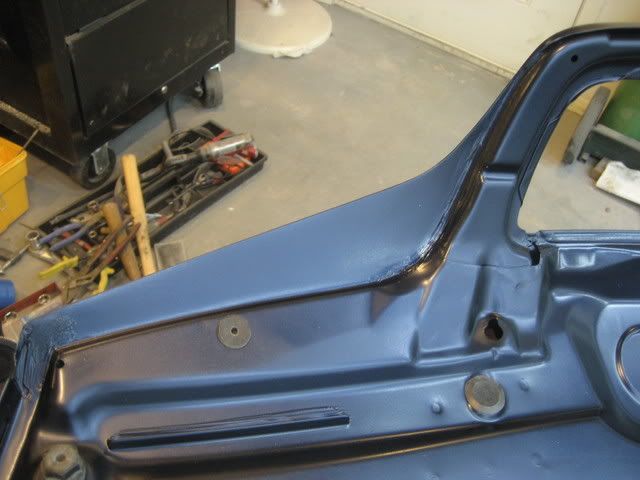
9) Once you completely welded on your boser piece, do some final grinding to flush out the aread. You are now ready for body work.
10) I used Glasslite body filler do the body work. Use 220 grid sand paper and block to finish off your work.
11) Next, spray sealer over your completed body work. Then primer
12) Next you want to spray guidecoat on your primered area. You can use basic spraypaint. Just mist a coat and let it dry. This will be your guide when sanding out the area to get it perfectly smooth. You are gonna want to use a sanding block again with some 320 or finer sand paper.
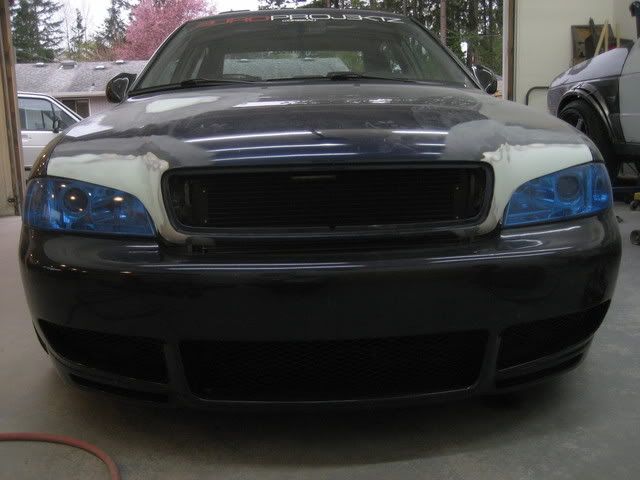
Once you are happy with the final finish of the primer, it is ready for paint.
In my case, it turned out like this:


 Reply With Quote


 ...its not A+ level work, but you need to atleast be a C+__B- body guy to pull it off like he did...practice first on a spare hood
  ...
...


Bookmarks