


Ok here we go:
Do you have to remove the timing belt to take off the head? Yes and No.
I do not remember the exact allen sizes because I bought the Switch-out allen key tool from Autozone, this helps tremendously and is only $10, Everything else is off the top of my head.
Plan to take everything apart , unless you know the secret to put the belt on w/o putting it in service position, i know how to do it , but didnt have the tools, the hard part is putting the belt back on out of service pos. and tensioning it w/o the right tools, but dont sweat it.
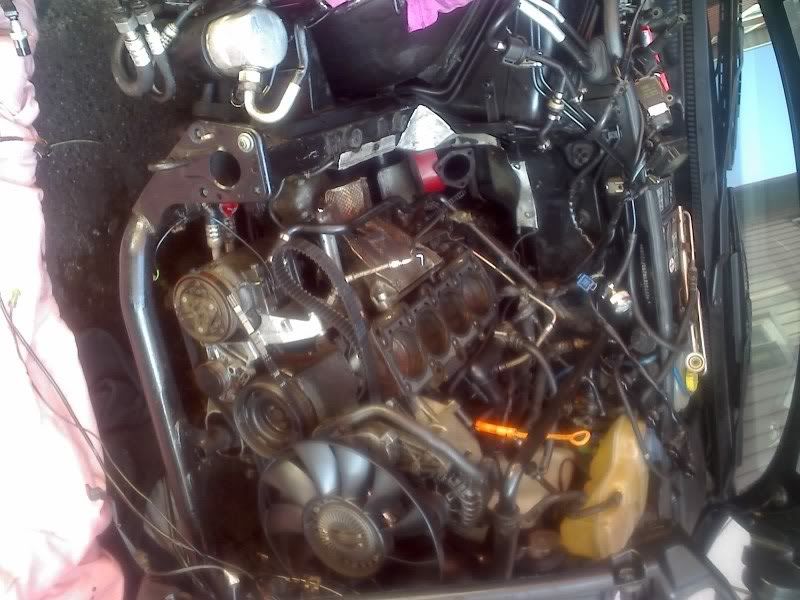
There are writeups for the Timing belt, but not for head removal.- Plan on putting the car in service position, then work on the head. Get down to the timing belt (service position) Then just remove the Hydraulic dampener and take the belt off - Dont forget the cam sensor . If you are in a rush,and are replacing the belt you can CAREFULLY remove the belt from the cam gear-- Pull side to side then easily use a blunt object to slowly push the belt off the teeth, side by side, carefully and slowly.
Once its off , start disconnecting the exhaust manifold bolts first-The bolt (size 17) nearest the head is a toughguy, use a small ratchet in there and remove it while it still has room to be pulled out, then use an open ended wrench to take it out.
After the EM, start at the Throttle body , remove hose and throttle body (4 screws, size 6 or 8 allen i believe) Remove throttle cable and 2 bolts holding it in. Unhook cruise control nipple. Now is the time to remove the lines under the Intake manifold. There are two. Remove those hoses easily and disconnect throttle body sensor wire. Now remove the 10mm Allen bolt for the IM brace. Then, work your way to the black cooling line that runs from the upper rad hose. Remove those screws holding the metal hose down to the IM. Then there is a connection at the corner of the head that goes down to the filter . Disconnect that hose (using pliers), then start working at the rear head coolant flange. 2 size 10 bolts await you. Try to unscrew these with care, they are sensitive and so is the flange. After that, remove remaining hoses from Coolant flange, 2 I believe , 1 rear , 1 right side. Replace all those gaskets and do not lose clips. Pull and replace Coolant temp sensor while you are at it.
While back there, remove the 2 10mm bolts that connect the rear head flange to the radiator hose. After that, remove the bolt holding down the metal coolant line going across the head and swing out of the way.
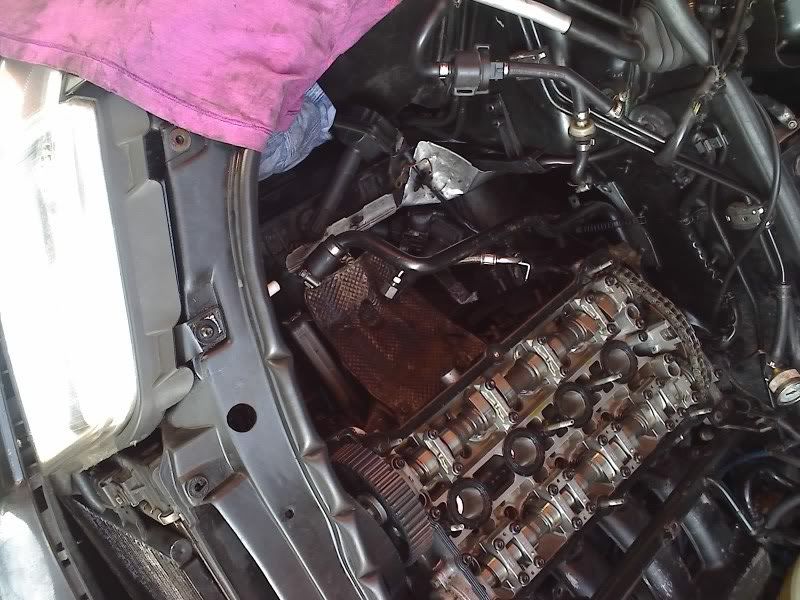
Remove Fuel rail and injectors. Youll need a 6mm Allen to get the 2 bolts holding down the rail. After they are out, the injectors pop out with a straight pull. Now remove the 10 10 mm bolts holding down the VC. After that, remove coil pack ground (size 10 as well) then, remove coilpacks and peel them back , resting in them behind the firewall. Remove PCV line that is bolted to VC ( 2 allen bolts) Remove valve cover and carefully set aside, upside-down. Your almost there.
Now: Onto removing the headbolts-
There are two tools that are required for some.
For earlier B5's (97-98.5, maybe 99.5), you need those two. (Go figure)
First, Go to Napa. Get their headbolt kit (GM) , Its cheap. You are looking for a 12 point.
One of the 5 tools is going to fit our headbolts. From there the tool is short, It'll only remove the center headbolts and not the bolts in the corners of the Head, as they have a deep well. Well, To solve this problem, I welded a ratchet extension onto the tool itself. ( Or pay someone, cant be more than $5) Make sure they (or you) grind down the weld in order to avoid scraping the walls of the head.
Newer B5 Guys : : You need this Poly-Drive tool::

From here - http://www.zdmak.com/wbstore/main.as...CTMP=1&LowCt=0
(its a 1/2" drive type)
Earlier B5 guys, You have to have this as well after removing headbolts because when you buy new ones (which you have to), they will be Poly-Drive bolts.
First, Naturally, Remove the Valve cover-- Ten 10mm nuts hold it on, as well as the coil packs. They are easy to remove, But remember when pulling the VC up, Pull Evenly from each side, or else it will get stuck and its pretty annoying if you dont.
Removing Headbolts
Removing the headbolts requires a removal pattern in this order:
(Intake cam being the Bottom Row)
1 7 9 5 3
[4 6] 10 8 2 -- Parenthese= Plastic Splash cover
They loosen up easy, but make sure you keep unscrewing, as the threads are long.
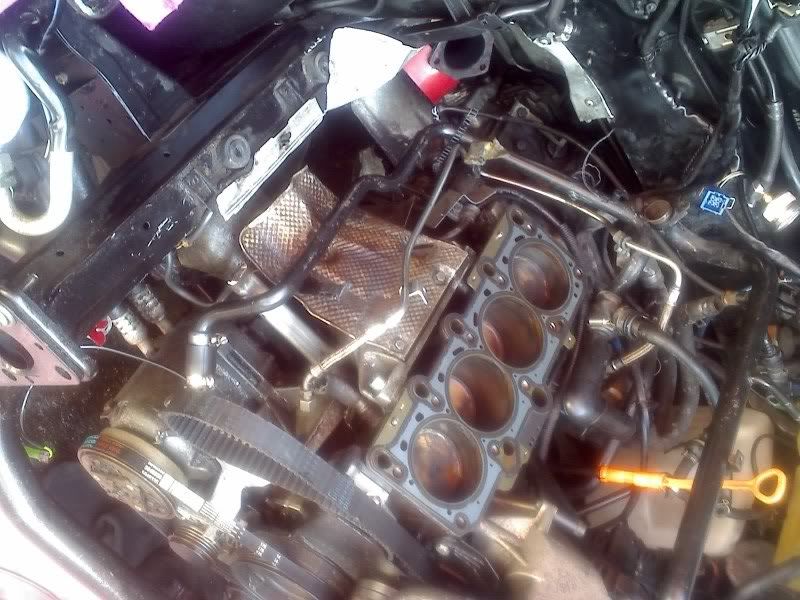
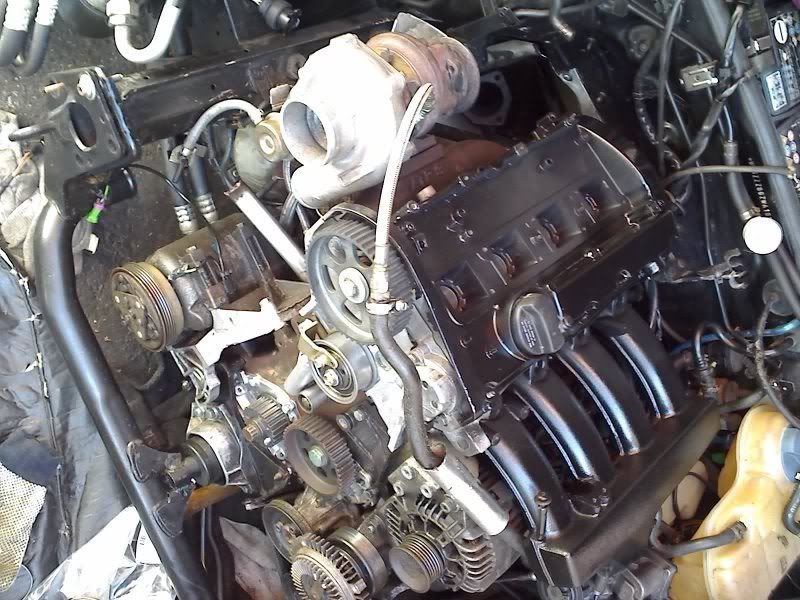
The head is ready to come off. Put the valve cover back on (just one screw will do) If you are doing it alone like I did, start to break it free from the block easily and rotate and move it around. After it gives weigh, Grab the exhaust manifold and the base of the runners and lift evenly and have something right next to you ready to rest it on, Its not light. Easily place it upside down, resting on the VC on a soft surface, I used a "boogie board" which was made out of strong foam.
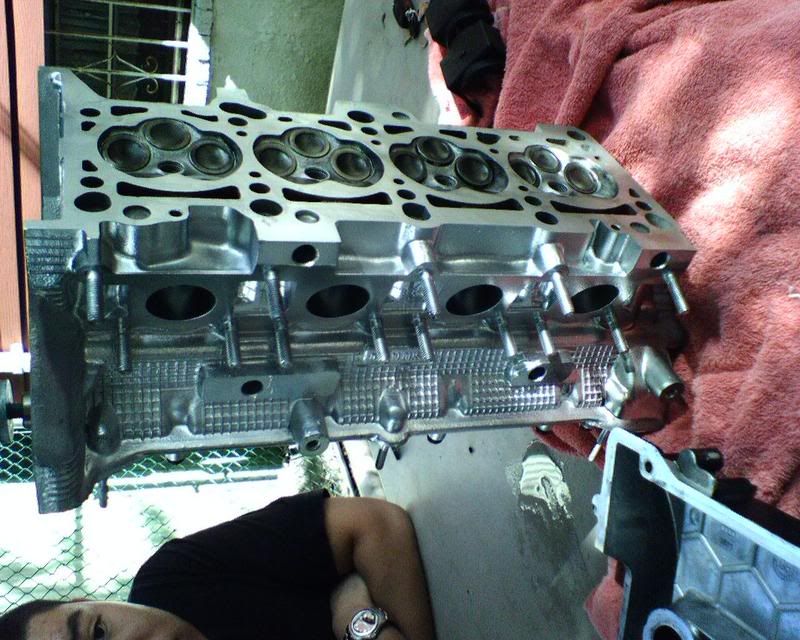
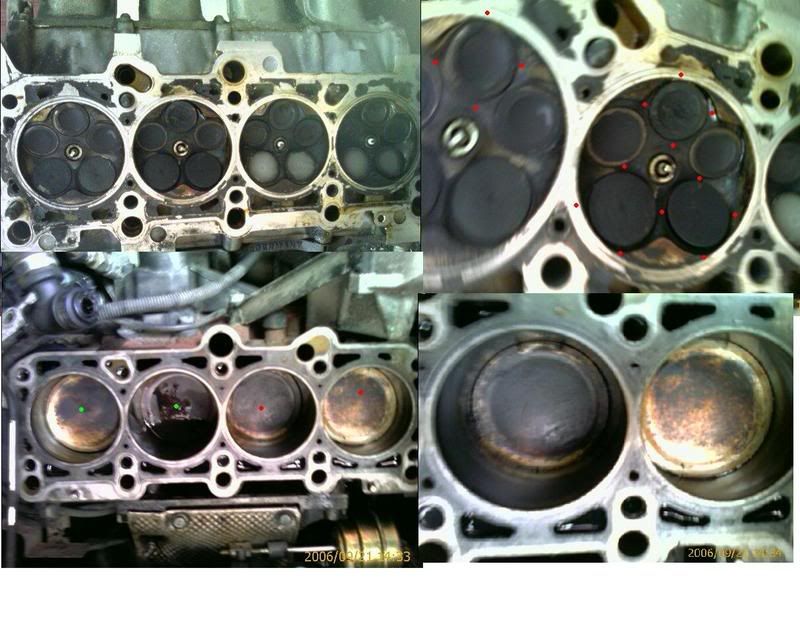
And her head's off:
The red dots signify my bent valves (if you can't already tell)
While you have the head off, now is a great time to replace a few more things and one mandatory thing:
-I cleaned my squish area just a bit and as well as the surrounding area. Some may argue that it needs to be dirty to form a nice seal, But after cleaning mine, I had zero issues.
-Replace stock oil feed line to the turbo
-Replace PVC pipe from the block , Part number 058 103 213 (wasnt expensive)
http://www.scottweese.com/images/pcv/old_new.jpg
This is a culprit to boost loss and very hard to replace w/ the IM on.
- Onto the mandatory part, you guessed it, The Head gasket ($60)
When you are ready to install the head (dont remove gasket from pkging until you are ready), installation is reverse of removal w/ a few exceptions:
-Remember to PROPERLY install headgasket rightside up with Audi VW emblem facing UP in the lower right hand corner of the head, quite a few people had made this mistake and had to repeat the process all over again.
-Replace coolant
-Remember to replace all coolant line and flange washers
And most importantly,
Install Headbolts in this specific order
Intake cam being the bottom row-
10 4 2 6 8
[7 5] 1 3 9
Start w/ your regular 1/2" ratchet then torque to 44 lb Ft (60 NM) After that, Take your Regular half inch ratchet and Give an additional HALF TURN. I used two quarter turns for extra control.
- Try to get some help installing the Head if you can- youll need it when trying to line it up with the points. If you cant, take your time and set easily. After it is set, test to see if the head easily moves out of place, if it does, then its not in the right place.
Before you put the VC on, pour some oil over the cams and valves for startup and start connecting the exhaust mani and the rest after you set the Timing belt to TDC and your all done and saved yourself massive amounts of money.
And thats it! Whole process maybe took an hour and a half , wasnt hard right?
NOTE: When setting engine to TDC, set crank a few teeth before TDC if the head isnt already at TDC. This will avoid any compression and allow you to adjust the cam sprocket accordingly with the safety of avoiding the bending of valves.
Now enjoy putting everything else back together!
If you have any further questions, Im me on AIM or PM me.


Bookmarks